Rolleivision twin MSC 325 P / 535 P
User’s manual
CONTENTS
Contents
Components and controls » 3
1. Programming basics
Foreword » 6
» 1.1 Logging a manually controlled
Brief instructions 7 slide show » 32
1.2 Running a test » 33
1.3 Chip modules » 34
Preparing for projection 1.3.1 Saving in the chip module » 35
» 1.3.2 Playback 35
Setting up the projector »
1.3.3 Miscellaneous » 36
15 » 1.4 Direct access » 37
Loading slides
2. Advanced programming techniques
16
Inserting the magazine » 2.1 “Enter mode 1” » 38
18 » 2.1.1 Program number » 38
Selecting a specific slide 2.1.2 Slide number » 39
19 » 2.1.3 Dissolve time » 39
Direct access to a specific slide slot 2.1.4 Screen time (timer) » 40
19 » 2.1.5 Special functions » 41
Setting up the projector and screen 2.1.6 Next program line » 41
20 » 2.1.7 “Enter mode 1” details » 42
Focusing 2.1.8 Additional corrections during
21 » test run » 42
Adjusting image registration 2.1.9 Description of special functions » 43
22 » 2.1.9.1 Special light functions » 44
Remote control Fade/freeze/blink/flash/toggle/
23 fade-in/fade-out
2.1.9.2 Special mechanical functions » 45
Autoreverse/master-slave
Projection 2.1.9.3 Entering special functions » 45
» 2.1.10 Combining several shows in one
Setting dissolve duration » 24
module 50
Laser pointer » 25 »
2.1.10.2Combining several shows in one
Timer-controlled slide changing » 2 6
magazine 51
Selecting the memo function »
» 2.2 “Enter mode 2” 52
27 Displays and warnings » 28 »
2.2.1 Changing dissolve time with
Changing magazines
the IR remote control » 52
29 » 2.2.2 Dimming the lamps 53
Rollei CM-55/50 magazine »
2.2.3 Stereo mode 54
30 »
2.2.4 Saving/reactivating projector
2
Contents
CONTENTS
3. Computer control
3.1 “DiaEdit Win” program » 55
4. Sync-pulse control » 55
Helpful hints on slide projection
Standby/pause » 56
The screen » 56
Changing lenses » 57
Sophisticated slide shows » 57
Stereoscopic projection » 58
In case of malfunction » 59
Changing lamps » 60
Care and maintenance »
Dedicated accessories » 61
64
Troubleshooting » 66
Sreen sizes and projection distances » 68
7
Contents
COMPONENTS AND CONTROLS
1 Slide magazine 38 »autofocus off« button with LED
2 Feed heel on slide changer, adjustable 39 Red »enter« button with LED
for different magazine types 40 Numerical keyboard for onboard
3 Slide changer programming
4 Cover retaining screw 41 Screen-time/dissolve-time/slide/program
5 IR sensor no. display
6 Cover Special functions and projector parameters
7 Left-hand foot with height adjustment 42 Pause light
8 Interchangeable lenses 50 »Laser pointer« button
9 Magazine track 51 Laser exit window
10 Remote tray
11 IR remote control
12 »end« button
13 »timer« button Parts number 43 to 49 in separate
14 »dissolve« duration buttons illustrations
15 Manual-focusing and magazine-
advance buttons 43 Battery connector
16 »stop/go« button 44 Chip module
17 Transmitter diodes 45 Projection lamp
18 Red LED blinking to confirm transmissi- 46 MT2A/250V fuse for magazine drive and
on electronics
of signal input, also battery check 47/48 T8A/250V overload fuse for lamps
19 Green button for forward slide change (MSC 325 P)
20 Red button for reverse slide change 49 Lamp-unit release
21 »memo« button 52 Transit lock
22 Rear left foot 53/54 T10A/250V overload fuse for lamps
23 Socket for power cable (MSC 535 P)
24 Master switch
25 PC control terminal
26 Sync-pulse/remote-cable terminal
27 Rear right foot with height adjustment
28 Chip-module slot
29 Emergency lever disengaging magazine
drive
30 Front right foot with height adjustment
31 Lateral overlap dial
32 Vertical overlap setscrew
33 Lamp unit, interchangeable
34 Mode display
35 »mode« button
36 Red »module« button with LED
37 »+/-« timer buttons with LED
INTRODUCTION
The Rolleivision Twin MSC 325 P and Rollei- projectors. At the end of the instructions, you
vision MSC 535 P are highly precise opto- will find practical hints as well as troubles-
electronic projectors designed for dissolve hooting help. A table lists screen sizes and
projection. Focusing, magazine advance, slide projection distances.
changing, dissolve time and screen time are
microprocessor-controlled. A remote infrared
handset with integral timer and dissolve-time Whether you use your projector in your work
control plus integral laser pointer ensures or as a fascinating hobby – we wish you a lot
high operator comfort. Intelligently organized of fun with dissolve projection.
indicators keep you informed about the cur-
rent operating status. The line of interchange-
able lenses includes suitable focal lengths for
all normal projection distances.
Either projector accepts LKM, CS and stan-
dard magazines, including the Rollei CM-55/
50 hook-up magazines based on the latter.
There is no need to use special magazines
that would require rearranging your slides.
Awkward blackout between screen images
and abrupt image changes are a thing of
the past: Projection with smooth transitions
opens up new perspectives for creative slide
shows.
We have prepared detailed operating instruc-
tions that will enable you to use the full
potential of these unique projectors to best
advantage. An explanation of all important
components and their functions is followed
by brief information on essential controls.
This in turn is followed by a detailed descrip-
tion of use and operating modes of the
10
IHnatrnoddhuacbtuionng der Komponenten
BRIEF INSTRUCTIONS
This section is intended for the hurried reader.
It describes the most important steps for first-
time use of the projector.
Before using the projector for the first
time
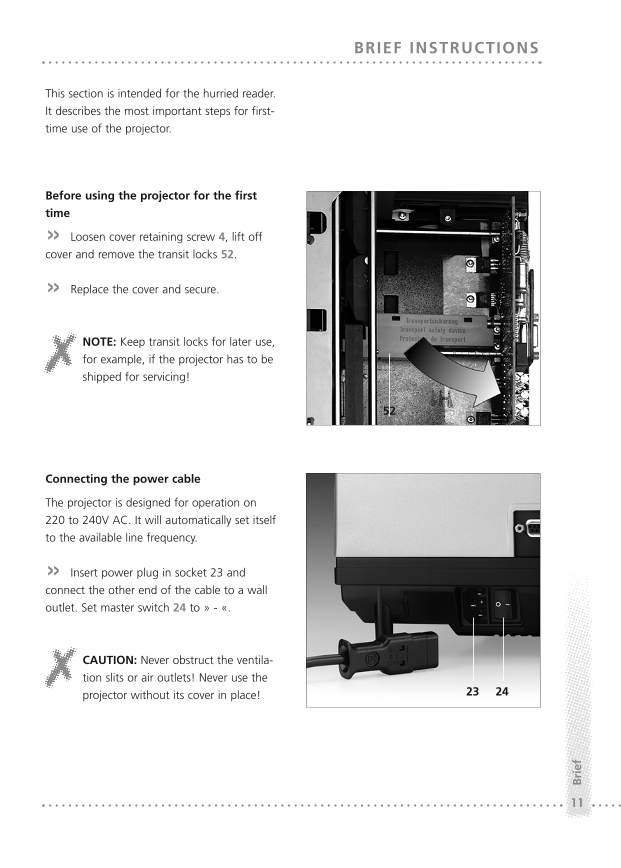
» Loosen cover retaining screw 4, lift off
cover and remove the transit locks 52.
» Replace the cover and secure.
NOTE: Keep transit locks for later use,
for example, if the projector has to be
shipped for servicing!
52
Connecting the power cable
The projector is designed for operation on
220 to 240V AC. It will automatically set itself
to the available line frequency.
» Insert power plug in socket 23 and
connect the other end of the cable to a wall
outlet. Set master switch 24 to » - «.
CAUTION: Never obstruct the ventila-
tion slits or air outlets! Never use the
projector without its cover in place! 23 24
10 11
Handhabung der Komponenten
Brief
BRIEF INSTRUCTIONS
Loading slides (standard magazine, Rollei
CM 55/50)
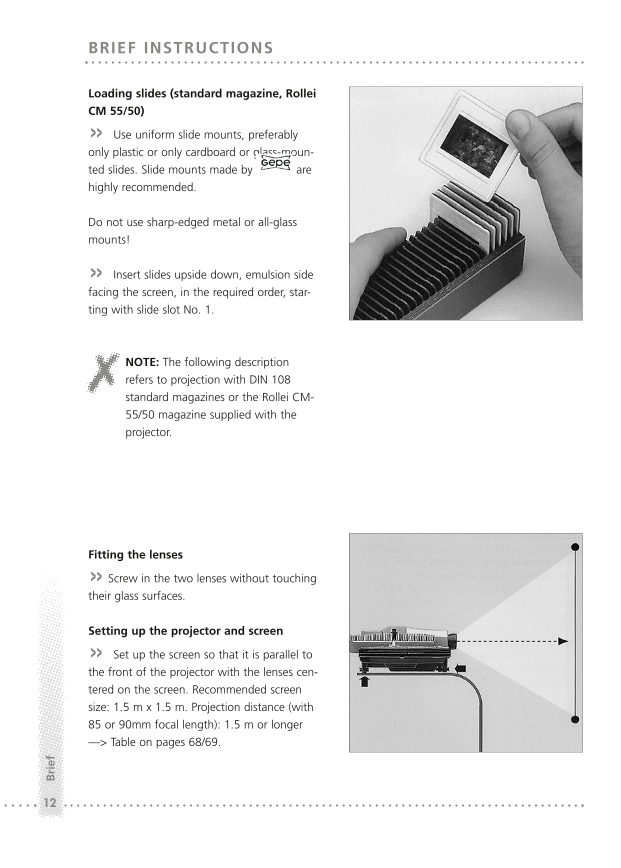
» Use uniform slide mounts, preferably
only plastic or only cardboard or glass-moun-
ted slides. Slide mounts made by are
highly recommended.
Do not use sharp-edged metal or all-glass
mounts!
» Insert slides upside down, emulsion side
facing the screen, in the required order, star-
ting with slide slot No. 1.
NOTE: The following description
refers to projection with DIN 108
standard magazines or the Rollei CM-
55/50 magazine supplied with the
projector.
Fitting the lenses
» Screw in the two lenses without touching
their glass surfaces.
Setting up the projector and screen
» Set up the screen so that it is parallel to
the front of the projector with the lenses cen-
tered on the screen. Recommended screen
size: 1.5 m x 1.5 m. Projection distance (with
85 or 90mm focal length): 1.5 m or longer
––> Table on pages 68/69.
12
Brief




 V2版本原理图(Capacitive-Fingerprint-Reader-Schematic_V2).pdf
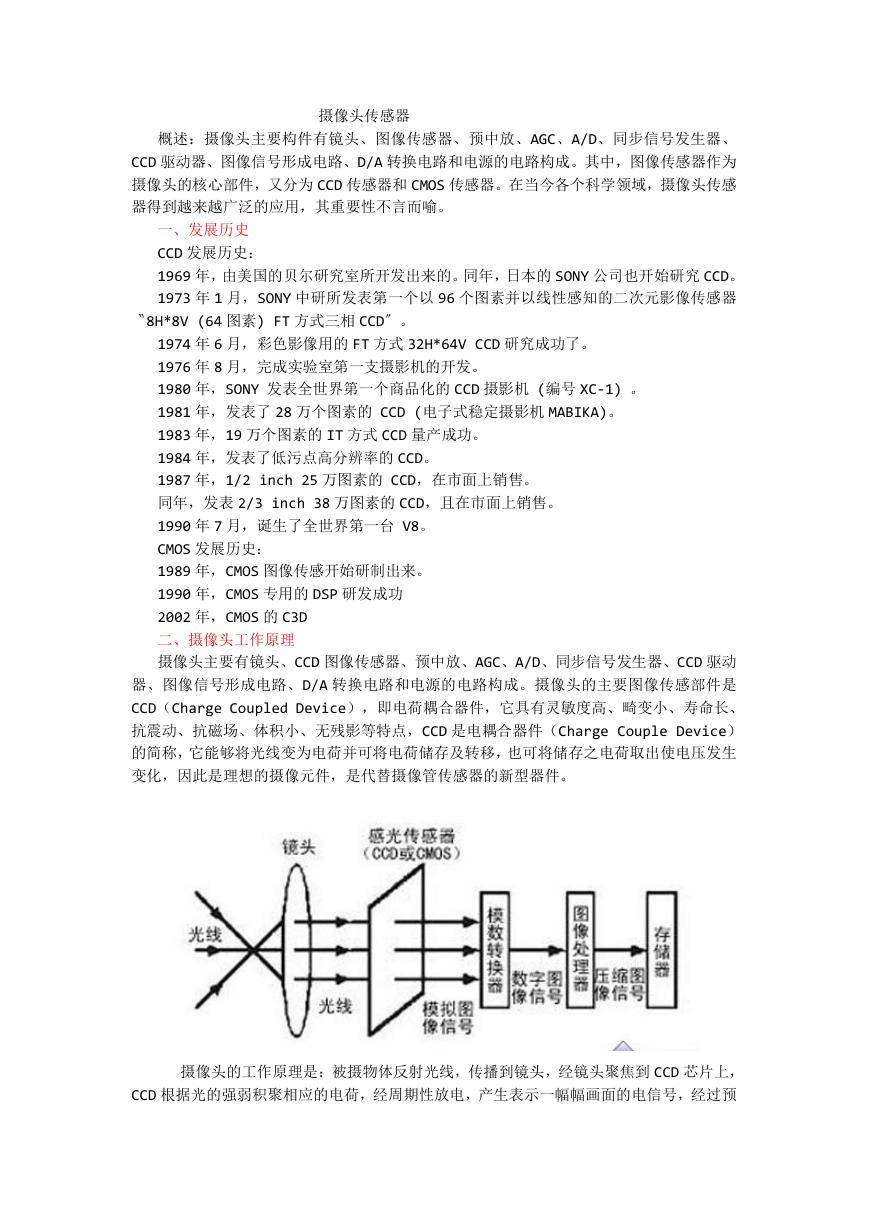 摄像头工作原理.doc
 VL53L0X简要说明(En.FLVL53L00216).pdf
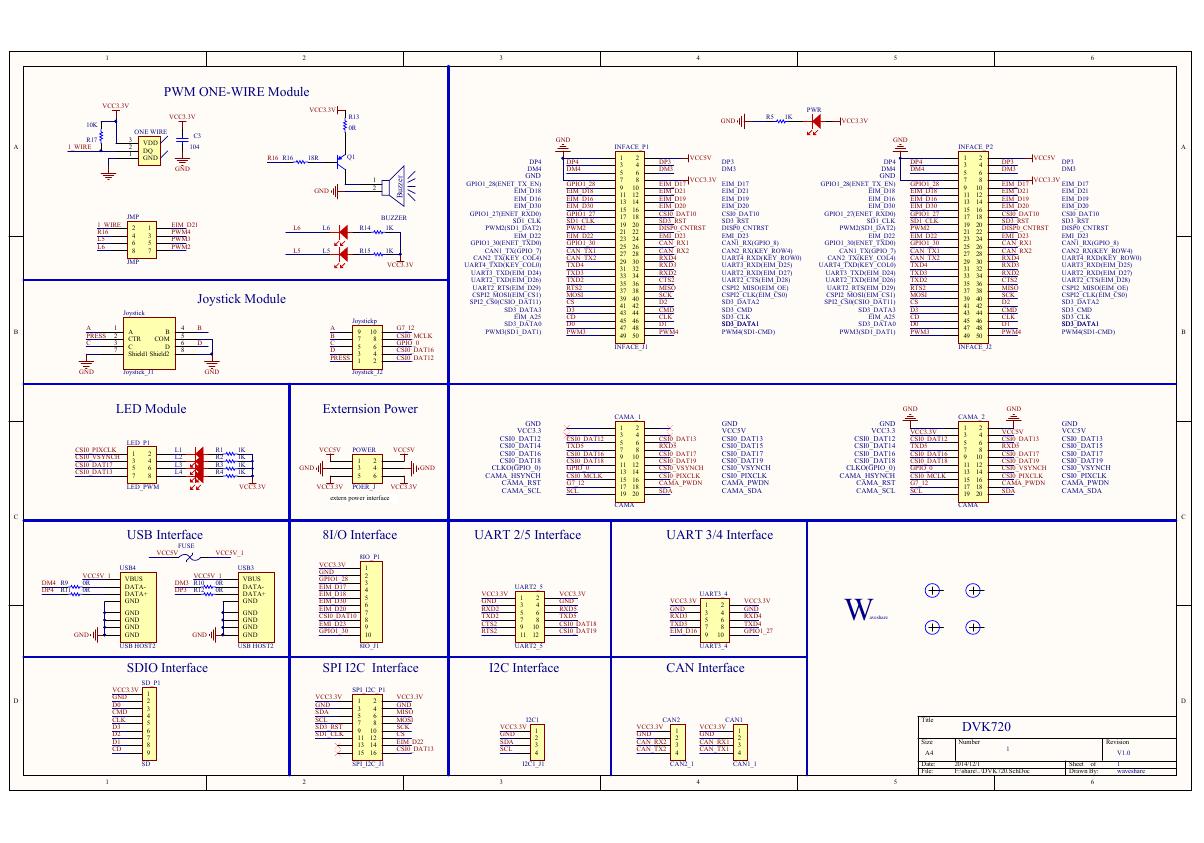 原理图(DVK720-Schematic).pdf
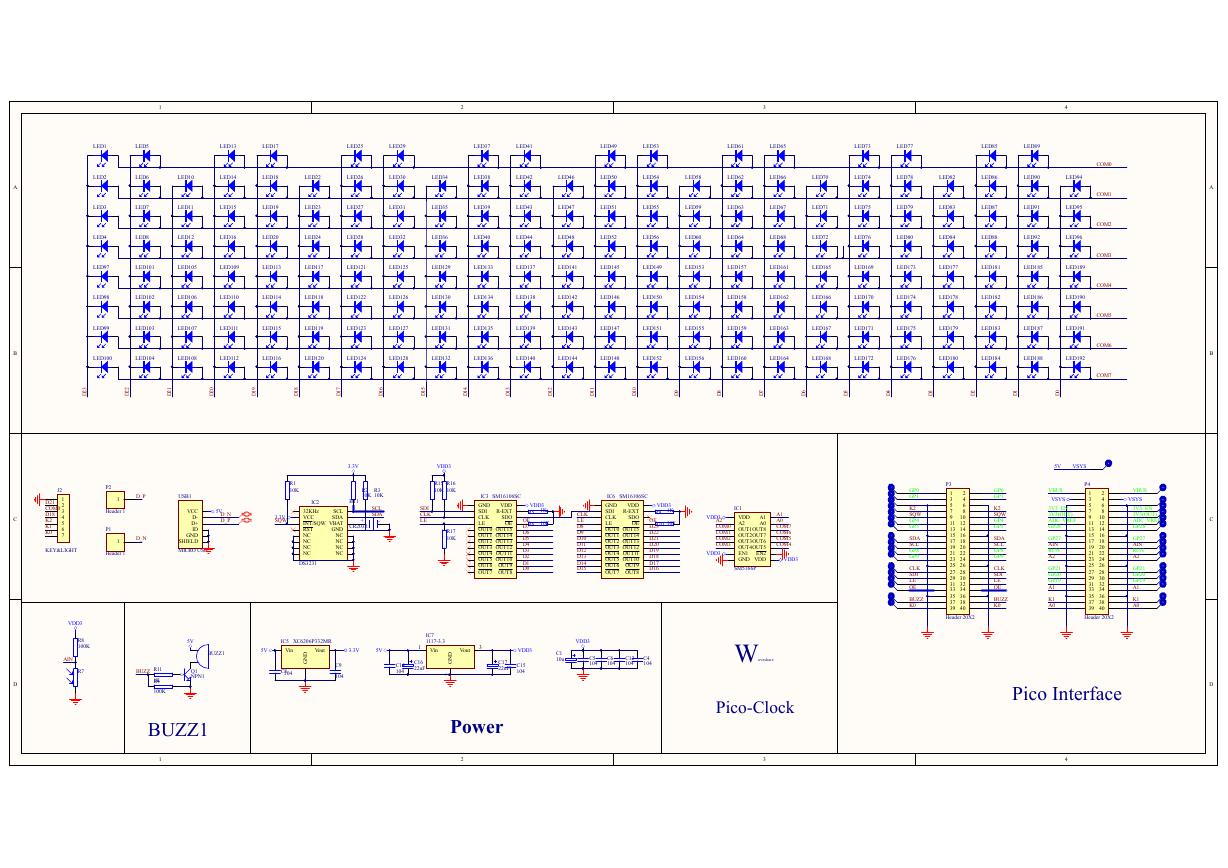 原理图(Pico-Clock-Green-Schdoc).pdf
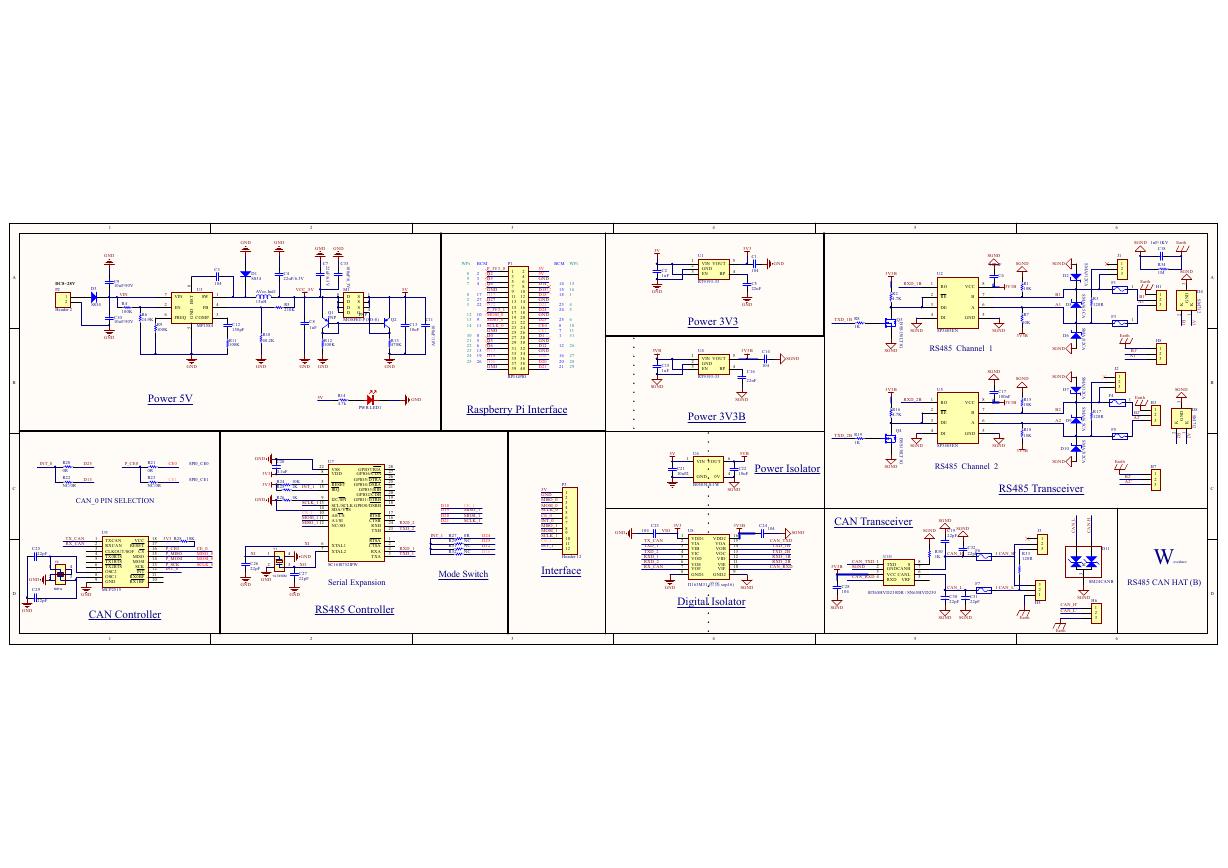 原理图(RS485-CAN-HAT-B-schematic).pdf
 File:SIM7500_SIM7600_SIM7800 Series_SSL_Application Note_V2.00.pdf
 ADS1263(Ads1262).pdf
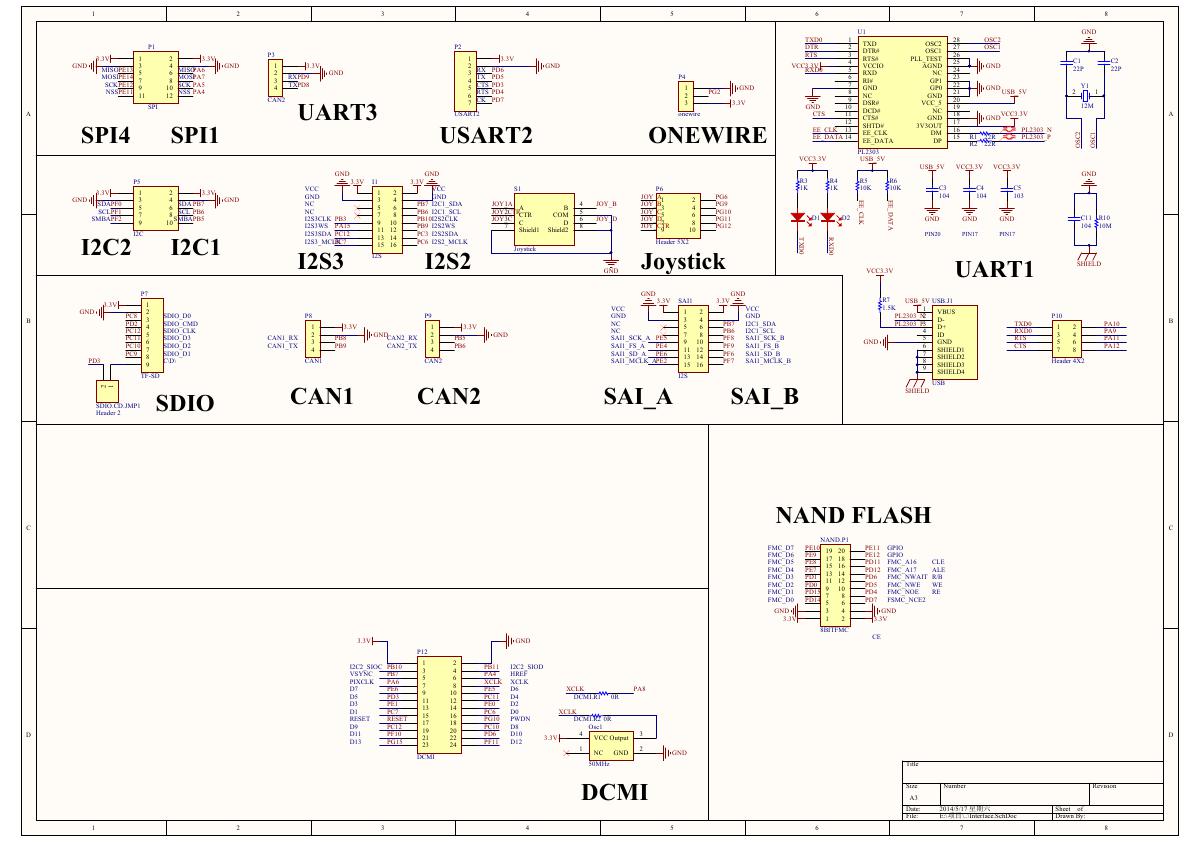 原理图(Open429Z-D-Schematic).pdf
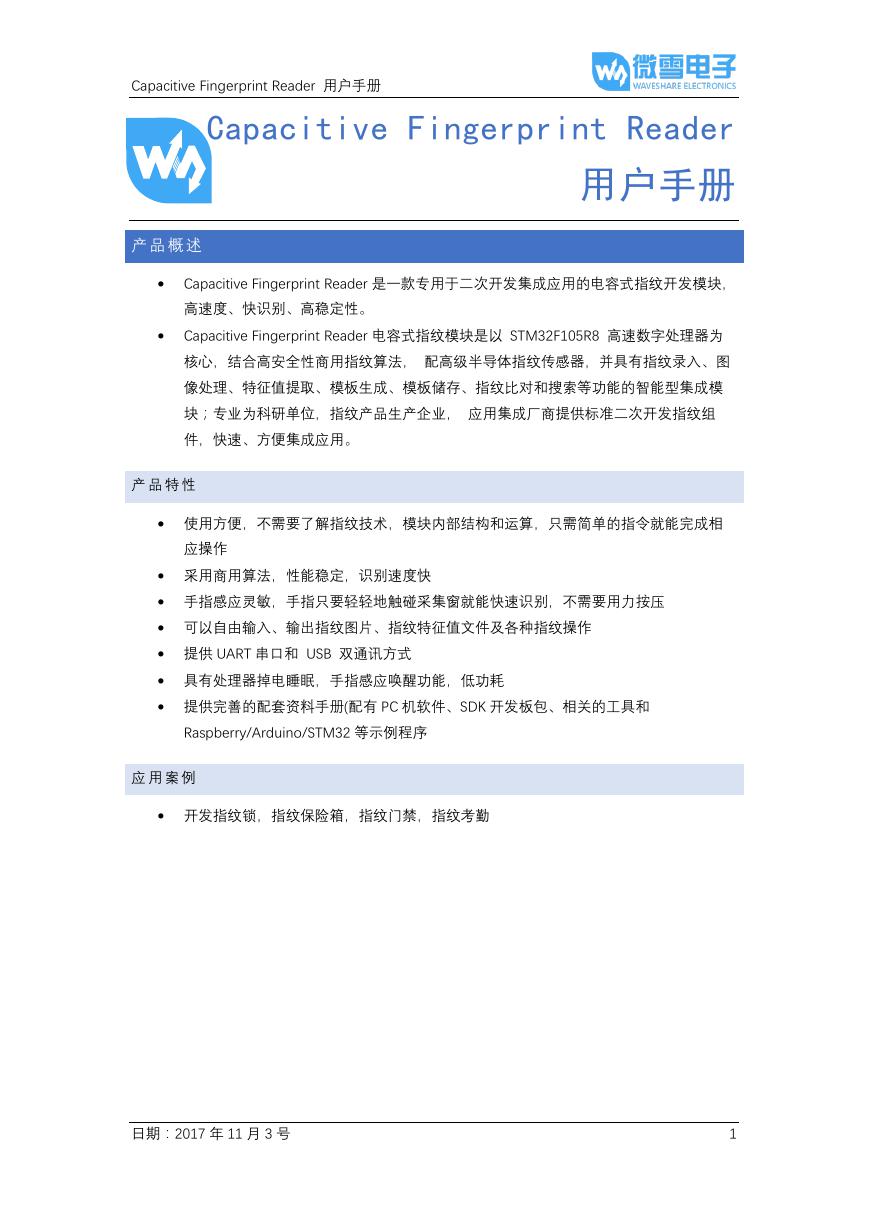 用户手册(Capacitive_Fingerprint_Reader_User_Manual_CN).pdf
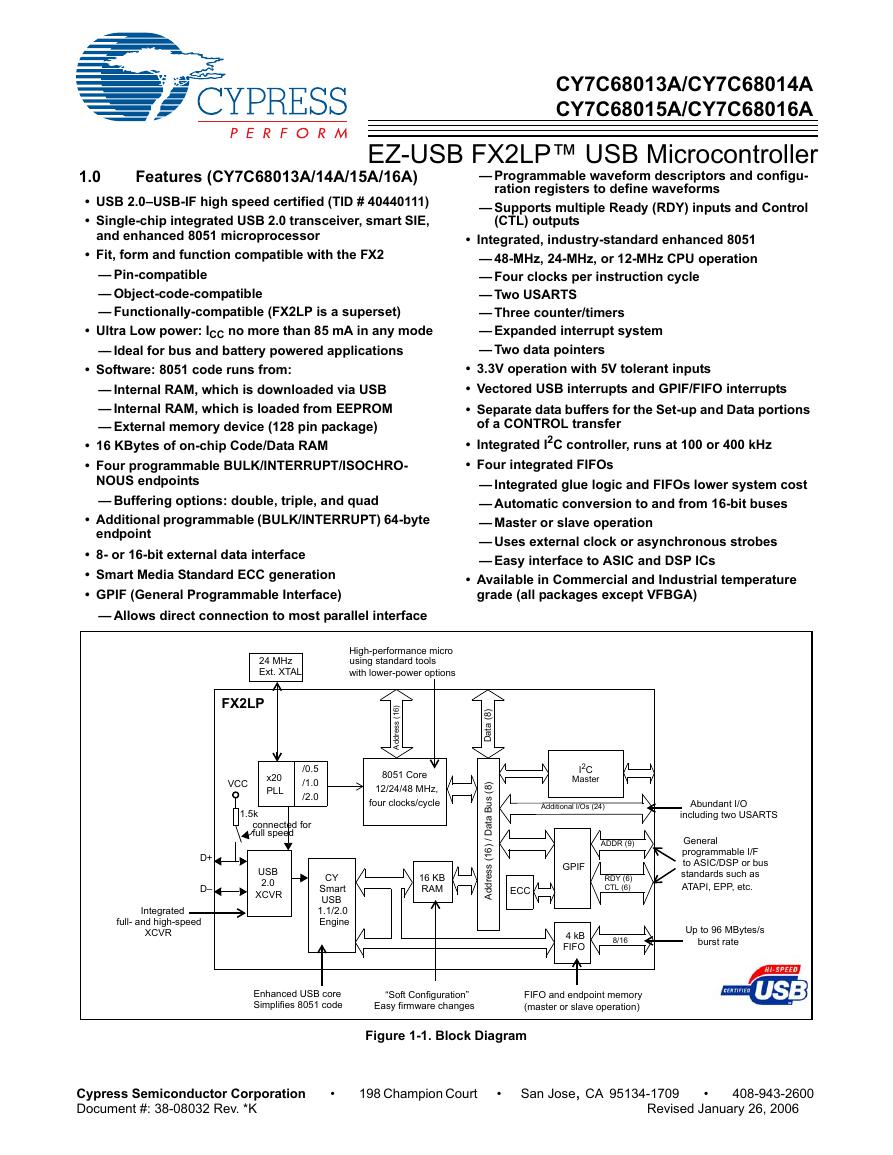 CY7C68013A(英文版)(CY7C68013A).pdf
 TechnicalReference_Dem.pdf