User’s Guide
Batch Feeder for
Flextight 848 and 949 Scanners
by Hasselblad
�
© 2005 Hasselblad A/S. All rights reserved.
Feeder for Hasselblad Flextight 848 and 949 Scanners User’s Guide, Part No 70030031, revision E.
The information in this manual is furnished for informational use only, is subject to change with-
out notice, and should not be construed as a commitment by Hasselblad A/S.
Hasselblad A/S assumes no responsibility or liability for any errors or inaccuracies that may appear
in this manual.
Hasselblad A/S assumes no responsibility or liability for loss or damage incurred during or as a
result of using Hasselblad software or products.
Hasselblad, FlexColor and Flextight are trademarks of Hasselblad A/S. Adobe and Adobe Pho-
toshop are trademarks of Adobe Systems, Inc. Macintosh, Mac OS, FireWire and ColorSync are
registered trademarks of Apple Computer, Inc.
Printed in Denmark.
�
Table of Contents
Introduction 4
Important Warnings and Restrictions 4
System Requirements 5
Batch Feeder Diagram 6
Preparing the Feeder for First Use or after Shipping 7
Mounting and Unmounting the Batch Feeder 8
Mounting the Batch Feeder 8
Unmounting the Batch Feeder 12
Loading Originals into the Feeder 14
Scanning with the Batch Feeder 16
Batch Scanning with 3F 16
Custom Setups and Single Scans 19
Troubleshooting 22
Aligning the Feeder 23
Adjusting the Feeder Angle 23
Adjusting the Load Position 25
Preparing the Feeder for Storage or Shipping 31
Storing the Feeder 31
Shipping the Feeder 31
Preventive Maintenance 33
Disposal 33
Technical Information 34
Specifications 34
CE Declaration 35
�
Introduction
The Batch Feeder enables you to load up to 10 original holders (up to 60
originals, depending on format) for batch scanning with your Flextight
848 or 949 Scanner.
This manual provides important information about using the Batch
Feeder for your Flextight 848 or 949 scanner.
Topics include:
• Important warnings and restrictions
• System requirements
• Installation instructions
• Operating instructions
• Instructions for preparing the unit for transportation
• Disposal instructions
Important Warnings and Restrictions
General
• Read all of the included documentation before attempting to install
and use the Batch Feeder.
• Never attach or detach the Feeder when the scanner is switched on.
• Always use the standard, software-guided procedure when mounting
or unmounting the Feeder from your scanner. See “Mounting and
Unmounting the Batch Feeder” on page 8 for details.
• Keep the original box in which the Feeder was delivered to you. This
box is made of sturdy cardboard and includes a foam lining custom
cut to hold the Feeder safely and securely. Always store the Feeder in
this box when you are not using it.
• Before shipping the Feeder, always refit the two transportation safety
screws and pack it in its original box. If you must return the Feeder to
Hasselblad for service, you must use this box for shipping or the ship-
ment will be refused. See “Preparing the Feeder for Storage or Ship-
ping” on page 31 for instructions.
�
• When you switch on the scanner, the Feeder will position itself into
its “home” position, if not already there. Do not touch the Feeder
while the magazine is moving.
• Before servicing the scanner and/or Feeder, the power supply must be
disconnected from the mains (unplugged). It is not sufficient simply
to press the on/off button on the scanner.
• Install the scanner and Feeder in a location where they are not acces-
sible by children. The units contain small openings and moving parts
that can cause injury.
• When using the Feeder, a huge amount of data is generated. Make
sure to allocate ample hard disk space for scanned images on the disk
of the attached host computer.
When Operating the Feeder
• Do not touch the Feeder while the magazine is moving.
• Do not touch the originals or the original holders during scanning.
• Do not start scanning or previewing until an original holder with an
original has been mounted.
• Flexible original holders are only to be mounted or removed when the
drum is in the load position.
System Requirements
For All Users
• Hasselblad Flextight 848 or 949 Scanner.
• Additional original holders.
For Macintosh Users
• A computer running Mac OS 10.2.1 or later
• FlexColor 4.0.2 or later for Mac OS
For Windows Users
• A computer running Windows 2000 or XP
• FlexColor 4.0.2 or later for Windows
�
Batch Feeder Diagram
A
C B
F
D G
H
E
Figure 1: Hasselblad Flextight 848 Scanner with Batch Feeder
A Hasselblad Flextight 848 (or 949) Scanner.
B Batch Feeder
C Dust cover: to protect the originals and scanner entrance from dust.
D Magazine: showing original holder position 1.
E Magazine: showing original holder position 10.
F Power Indicator (Green): Remains lit when ready to scan. Flashes
when the scanner is switched on.
G Motor Drive Indicator (Yellow): lights up when the scanner is repo-
sitioning the optics, drum or Feeder magazine.
H Scan Indicator (Red): lights up when scanning. Do not touch the
scanner or Feeder while this indicator is lit. If the light is flashing
when not scanning, then an error has occurred - please contact your
Flextight dealer for assistance.
�
Preparing the Feeder for First
Use or after Shipping
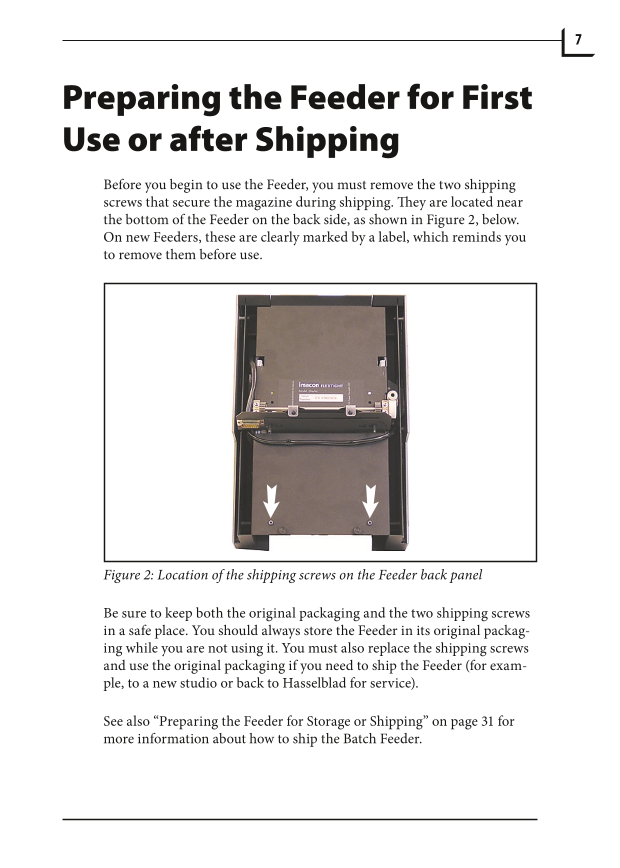
Before you begin to use the Feeder, you must remove the two shipping
screws that secure the magazine during shipping. They are located near
the bottom of the Feeder on the back side, as shown in Figure 2, below.
On new Feeders, these are clearly marked by a label, which reminds you
to remove them before use.
Figure 2: Location of the shipping screws on the Feeder back panel
Be sure to keep both the original packaging and the two shipping screws
in a safe place. You should always store the Feeder in its original packag-
ing while you are not using it. You must also replace the shipping screws
and use the original packaging if you need to ship the Feeder (for exam-
ple, to a new studio or back to Hasselblad for service).
See also “Preparing the Feeder for Storage or Shipping” on page 31 for
more information about how to ship the Batch Feeder.
�
Mounting and Unmounting
the Batch Feeder
The procedures for both mounting and unmounting the Feeder to/from
your scanner require that you use the software-guided procedure, which
ensures that the mechanical pars of the scanner and Feeder are correctly
aligned for each step. Always use this software feature when you need to
mount or unmount the Feeder. Otherwise, you may damage your Feeder
and/or scanner. Also, the unmount procedure makes sure that the Feeder
is correctly positioned for storage in its original box.
Mounting the Batch Feeder
Always use the software-guided procedure below to mount the Feeder. It
is otherwise possible to damage the Feeder and/or scanner while mount-
ing the Feeder
1. If you have not already done so, set up your Flextight Scanner, con-
nect it to your computer and install the FlexColor software as de-
scribed in your scanner and software user manuals. Confirm that the
scanner is working correctly by making a test scan using one of the
standard original holders.
2. If there is still an original holder mounted inside the scanner, then
remove it. Close the light table, if it is open, by lifting its front edge.
See your scanner manual for instructions.
3. Make sure the scanner is turned on and launch the FlexColor soft-
ware. If FlexColor is already running, then quit and restart the pro-
gram.
4. Select Maintenance > Feeder from the FlexColor menu bar.








 V2版本原理图(Capacitive-Fingerprint-Reader-Schematic_V2).pdf
 摄像头工作原理.doc
 VL53L0X简要说明(En.FLVL53L00216).pdf
 原理图(DVK720-Schematic).pdf
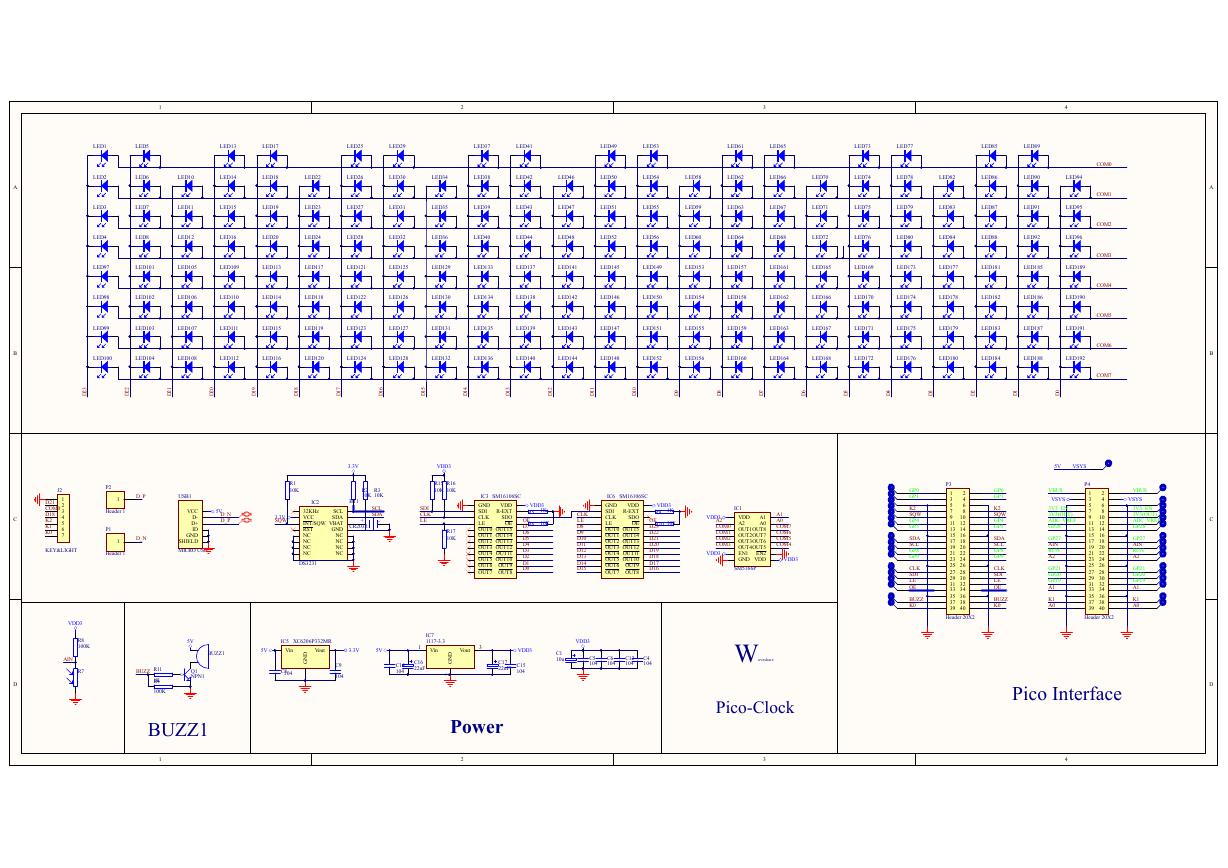 原理图(Pico-Clock-Green-Schdoc).pdf
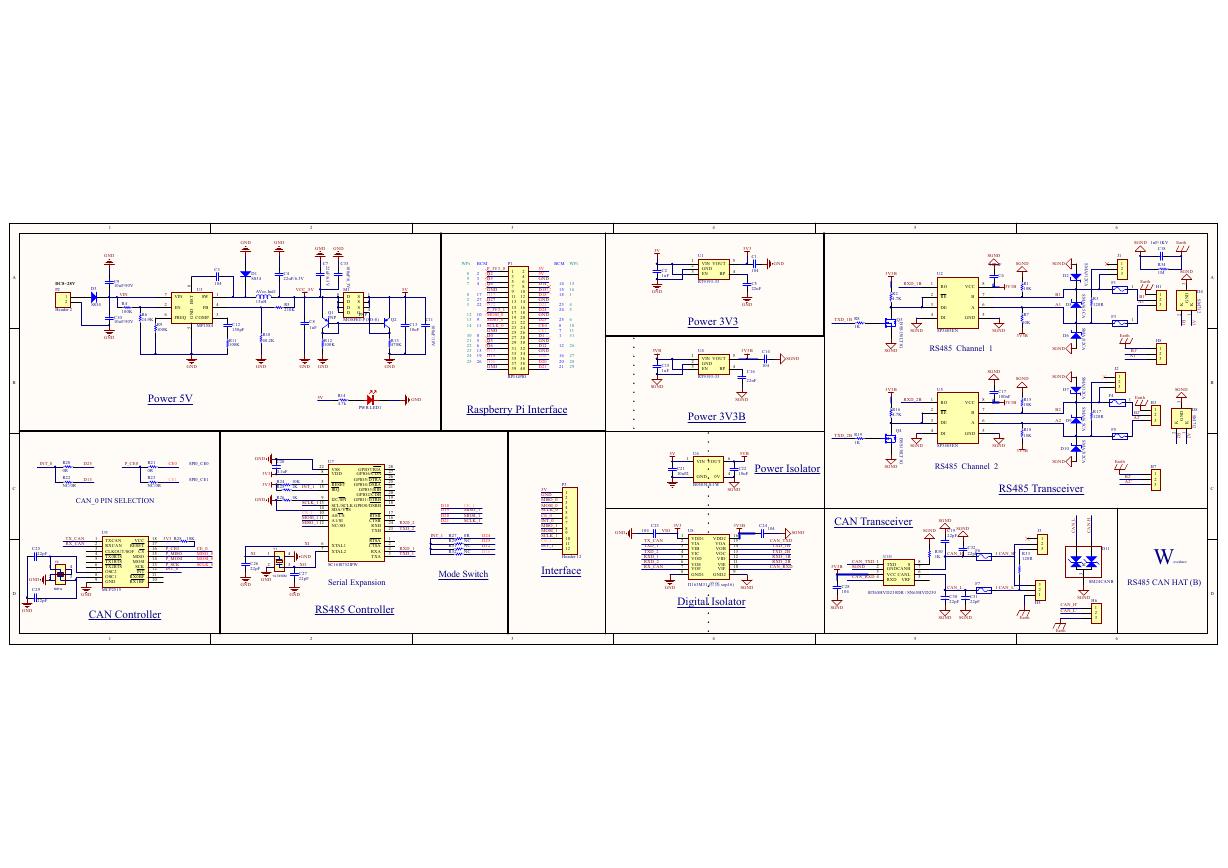 原理图(RS485-CAN-HAT-B-schematic).pdf
 File:SIM7500_SIM7600_SIM7800 Series_SSL_Application Note_V2.00.pdf
 ADS1263(Ads1262).pdf
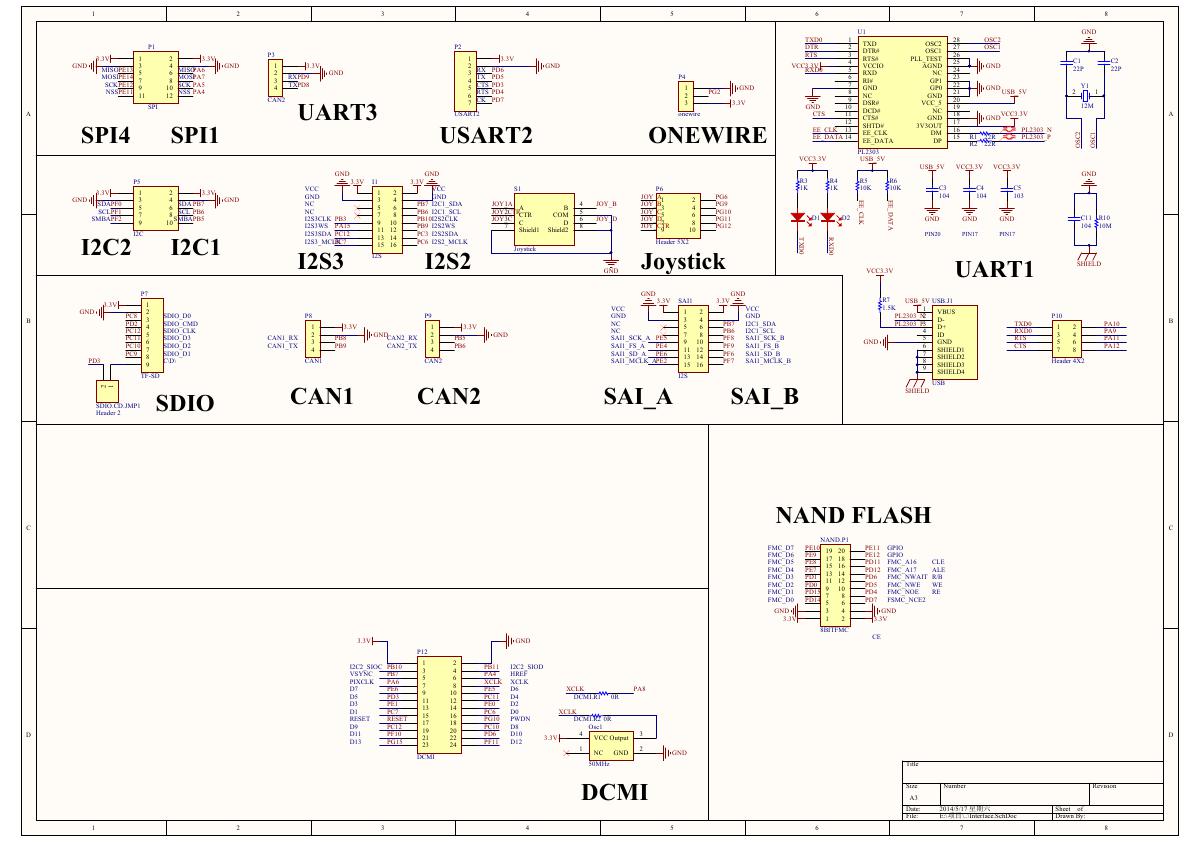 原理图(Open429Z-D-Schematic).pdf
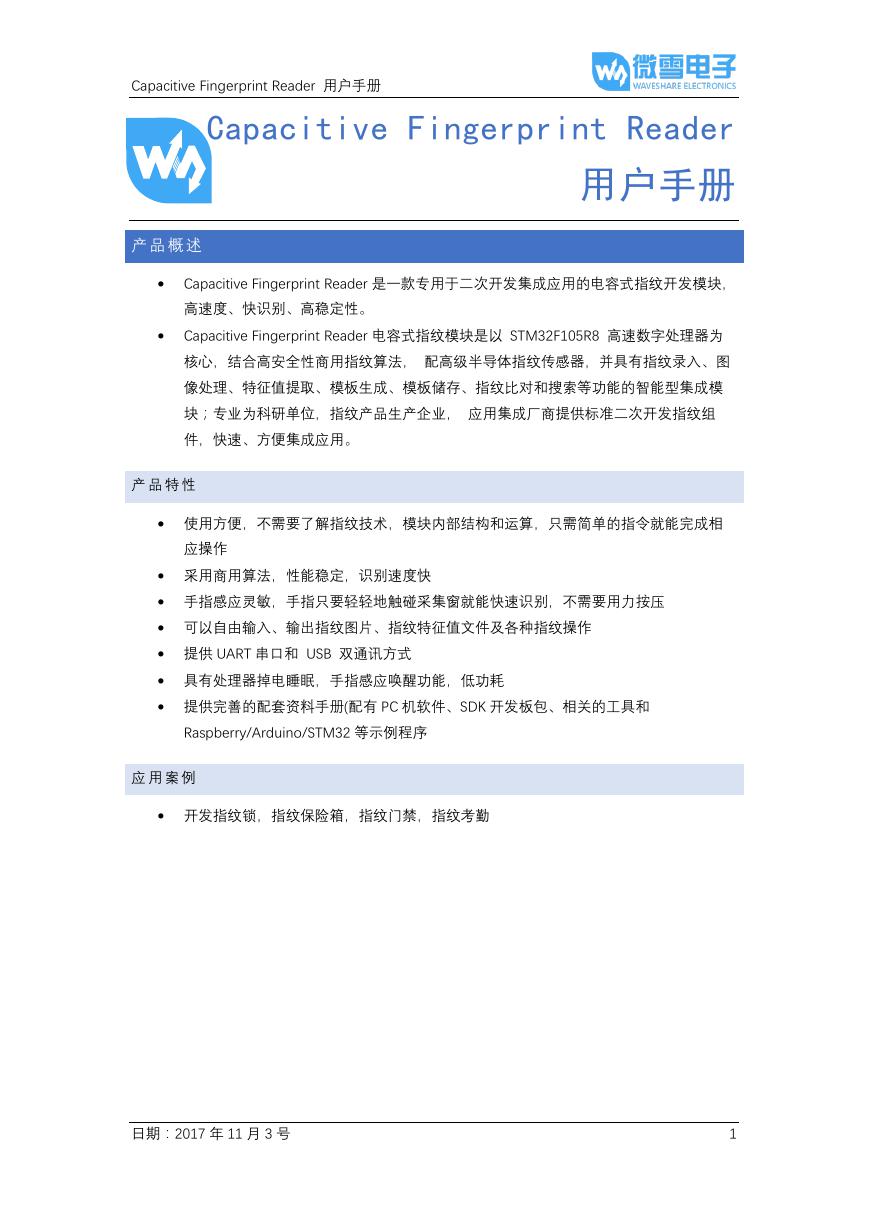 用户手册(Capacitive_Fingerprint_Reader_User_Manual_CN).pdf
 CY7C68013A(英文版)(CY7C68013A).pdf
 TechnicalReference_Dem.pdf