Key Operator Training
Welcome to the enhanced Kodak i1860 Scanner Key Operator Training. This course is
designed to provide you with a thorough understanding of the operation and care of your new
state-of-the-art, high-speed document scanner. All new Kodak i1860 Scanners include this
training course as a professional service during installation to ensure that your site (and any
other sites your company may have) will be able to achieve peak productivity starting from the
day of scanner installation.
Checklist
Following is a summary of the topics that will be covered. This class will require between 1.5
and 2 hours of dedicated class time to complete.
Introduction
Review of Resources
Scanner orientation
Document journey through the transport
Replacement of consumables
Maintenance
Calibration
What type of scanning does your site do?
Basic printing
Overview of accessories
OCP and touchscreen overview
Scan Validation Tool
Troubleshooting
Service issues
Safety
Other issues
.
A-61579 October 2006 1
INTRODUCTION
This training program provides you with the hands-on experience you need to be able to
operate the scanner. All of the physical aspects of operating and maintaining the scanner will be
demonstrated, with opportunities for you to interact with the scanner, with the assistance of a
Kodak trained engineer. Procedures for replacement of consumables and the recommended
scanner cleaning regime will be covered.
The operation of your site’s particular scanning application and procedures will not be covered
as part of this training. The Kodak i1860 Scanner is supported by a number of different scanning
applications that have been developed by many companies around the world. We recommend
that you request software and image processing training from the original software vendor who
knows these products best. If your site has chosen Kodak Capture Software as your scanning
application, then we would be glad to arrange a separate training session that is customized to
meet your particular needs.
REVIEW OF RESOURCES
As you gain experience with the scanner you may have questions about different features and
capabilities that did not occur to you during the class today. In order to help you find answers
you need in the future, we have compiled this list of resources and what you will find in each.
User’s Guide
Publication A-61555: One hard copy (English) is included with a new scanner and other
languages are in PDF in the \UserGuide folder on the Kodak i1860 Scanner Firmware,
Drivers and Users Guide CD.
This is the place to go for ‘how to’ type questions related to the operation of the scanner.
Much of what will be covered here is detailed in the User’s Guide; from how often to
change the pre-separation pad to how to change the sound that is used for the multifeed
alarm.
Quick Tips Guide
Publication A-61556: One hard copy version in all languages is included with the
scanner and in PDF in the \Documentation folder of the Kodak i1860 Scanner Firmware,
Drivers and Users Guide CD.
This is a handy reference card for quickly finding catalog numbers for consumables or a
reminder of proper cleaning procedures at the end of your shift.
2 A-61579 October 2006
Image Processing Guide
Publication A-61580: A PDF version, in English only, is included in the \Documentation
folder of the Kodak i1860 Scanner Firmware, Drivers and Users Guide CD.
This is the complete reference for the many different ways this scanner can capture
images. “What are all those options for image quality on the TWAIN or ISIS driver for?”
Or “How do I setup my level to follow level rules for 3 level indexing?” Those answers
and more are in the Image Processing Guide. As an operator, this level of information
should not be needed, but if you are involved in job setup you will be glad to have all of
the capabilities of the scanner spelled out for you in this guide.
Installation Planning Guide
Publication A-61578: A PDF version, in English only, is available from a Kodak FE or
RTC (Regional Technical Coordinator).
This guide should have been provided to your site well before the installation date and
should have been used as a guide for planning for the installation day. This document
gives details on the site specification requirements (such as power quality) and layout
expectations for both you and Kodak during the scanner’s installation.
Brightness & Contrast Control Reference Guide
Publication A-61587: A PDF version, in English only, is available on the Brightness and
Contrast Control CD.
This guide should be referenced when using the Brightness and Contrast Controls utility
if you ever need to create custom ‘color tables’ that allow you to control the colors that
are used to create your images. Again, like the Image Processing Guide, as an operator
only, this level of information should not be needed unless you are involved with job
setup.
Supplies and Consumables Catalog
Publication A-61403: A PDF version, in English only, is included in the \Documentation
folder of the Kodak i1860 Scanner Firmware, Drivers and Users Guide CD.
This is where you will want to go to determine the size of a consumables kit you want to
order: Large, Extra Large, or Extra Extra Large. All consumables for all Kodak Document
Scanners are listed here.
On-line Help
Our scanner driver (TWAIN) now includes a complete on-line help system that, if
needed, can provide you with on-line help to understand scanner settings. Access to this
tool is dependent on the scanning application that you are using. If your software allows
access, this on-line help can be a great way of getting your questions answered quickly.
A-61579 October 2006 3
www.Kodak.com
The latest scanner information and drivers can always be found on our website. To
make it easier for you to get to the pages related to our document scanners, use these
URLs:
www.kodak.com/go/di General information on Document Imaging Scanners
www.kodak.com/go/disupport Scanner Firmware and Driver updates for free
download and publications in PDF format.
Kodak frequently adds features to our scanners though driver updates so your scanner
application support can go to our website for the most up-to-date information. Also, if you
cannot find a copy of your User’s Guide or other publications, the website provides PDF
files that can be easily downloaded.
Create a folder on the scanner’s host PC desktop called “Kodak Scanner Manuals” and
copy these files from the Kodak i1860 Scanner Firmware, Drivers and Users Guide CD
into that folder so they will be at the operator’s fingertips if needed.
User Guide (x:\UserGuide\ User's Guide xxx.pdf)
Supplies and Consumables (x:\Supplies and Consumables.pdf)
Quick Tips Guide (x:\Documentation\English\Quick Tips Guide.pdf)
Also within that folder create a shortcut to the web page
www.Kodak.com/go/disupport.
Be sure the hard copy of the Users Guide and Quick Tips Guide is properly stored in the
pocket inside the door of the scanner’s base.
4 A-61579 October 2006
SCANNER ORIENTATION
You will now have a demonstration of the scanner using the Count Only mode and the instructor
will point out the basic components of the Kodak i1860 Scanner.
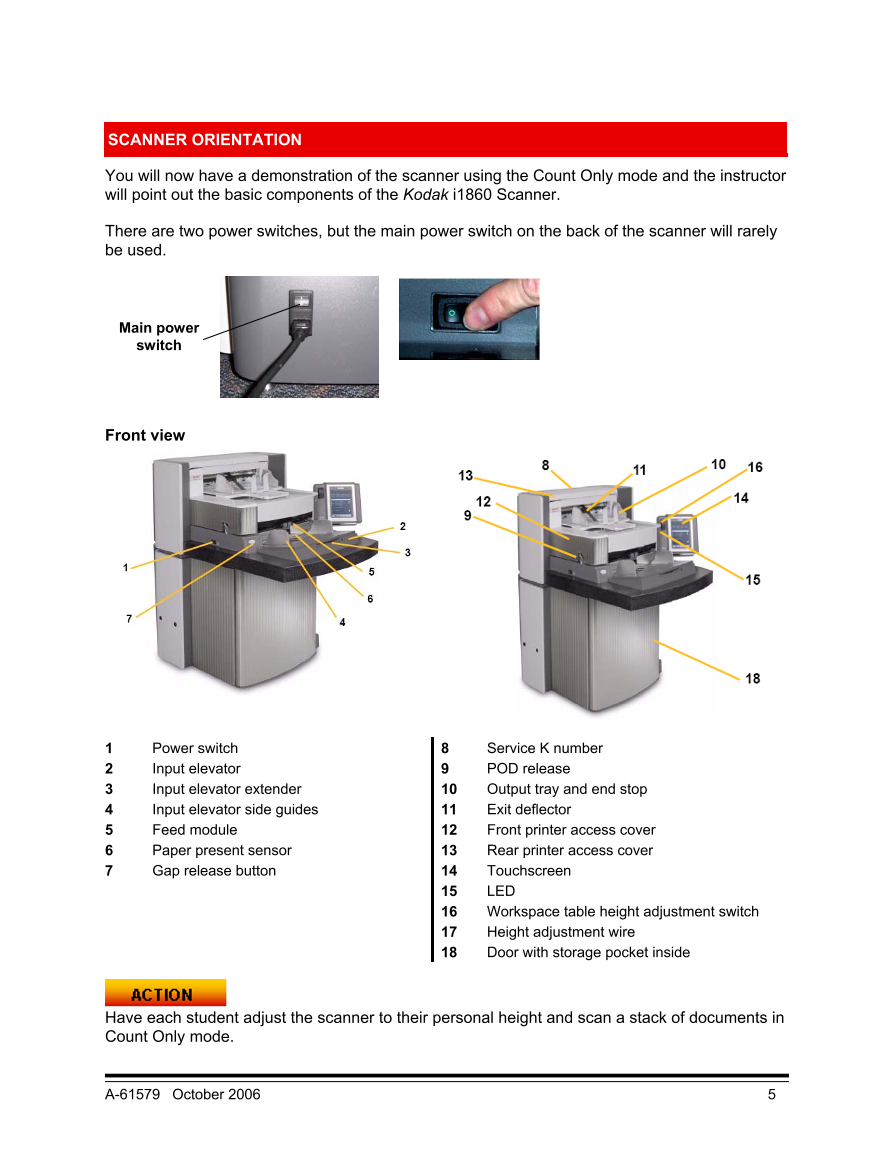
There are two power switches, but the main power switch on the back of the scanner will rarely
be used.
Main power
switch
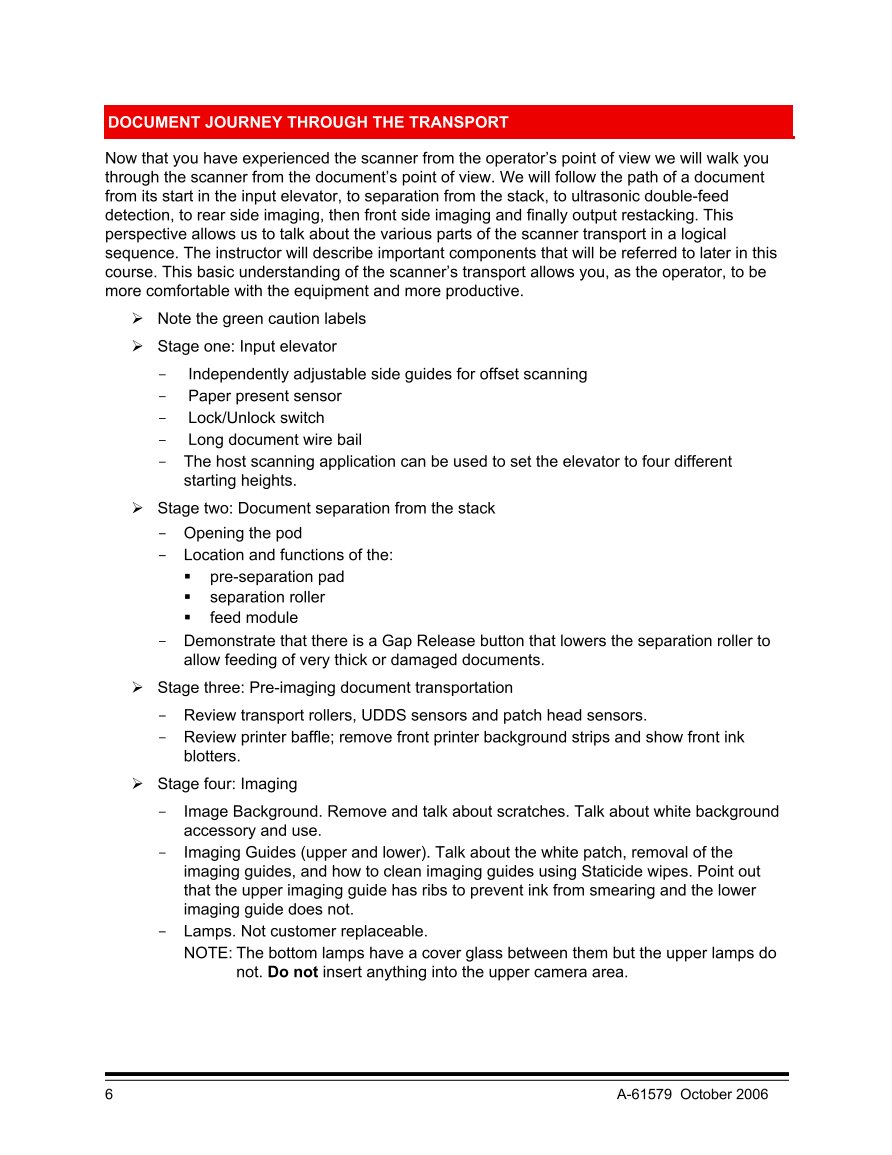
Front view
1 Power switch 8 Service K number
2 Input elevator 9 POD release
3 Input elevator extender 10 Output tray and end stop
4 Input elevator side guides 11 Exit deflector
5 Feed module 12 Front printer access cover
6 Paper present sensor 13 Rear printer access cover
7 Gap release button 14 Touchscreen
15 LED
16 Workspace table height adjustment switch
17 Height adjustment wire
18 Door with storage pocket inside
Have each student adjust the scanner to their personal height and scan a stack of documents in
Count Only mode.
A-61579 October 2006 5
DOCUMENT JOURNEY THROUGH THE TRANSPORT
Now that you have experienced the scanner from the operator’s point of view we will walk you
through the scanner from the document’s point of view. We will follow the path of a document
from its start in the input elevator, to separation from the stack, to ultrasonic double-feed
detection, to rear side imaging, then front side imaging and finally output restacking. This
perspective allows us to talk about the various parts of the scanner transport in a logical
sequence. The instructor will describe important components that will be referred to later in this
course. This basic understanding of the scanner’s transport allows you, as the operator, to be
more comfortable with the equipment and more productive.
Note the green caution labels
Stage one: Input elevator
- Independently adjustable side guides for offset scanning
- Paper present sensor
- Lock/Unlock switch
- Long document wire bail
- The host scanning application can be used to set the elevator to four different
starting heights.
Stage two: Document separation from the stack
- Opening the pod
- Location and functions of the:
pre-separation pad
separation roller
feed module
- Demonstrate that there is a Gap Release button that lowers the separation roller to
allow feeding of very thick or damaged documents.
Stage three: Pre-imaging document transportation
- Review transport rollers, UDDS sensors and patch head sensors.
- Review printer baffle; remove front printer background strips and show front ink
blotters.
Stage four: Imaging
- Image Background. Remove and talk about scratches. Talk about white background
accessory and use.
- Imaging Guides (upper and lower). Talk about the white patch, removal of the
imaging guides, and how to clean imaging guides using Staticide wipes. Point out
that the upper imaging guide has ribs to prevent ink from smearing and the lower
imaging guide does not.
- Lamps. Not customer replaceable.
NOTE: The bottom lamps have a cover glass between them but the upper lamps do
not. Do not insert anything into the upper camera area.
6 A-61579 October 2006
Stage five: Post-imaging document transportation
- Rear ink blotters; show the location and how to replace them.
Stage six: Output re-stacking
- Review the output tray: side guides and end stop. Review the various positions that
the output tray can be placed in using the wire legs on the bottom of the tray. Also
mention the long document wire bail and the short document stacker.
Answer any questions regarding the components of the transport.
A-61579 October 2006 7


 V2版本原理图(Capacitive-Fingerprint-Reader-Schematic_V2).pdf
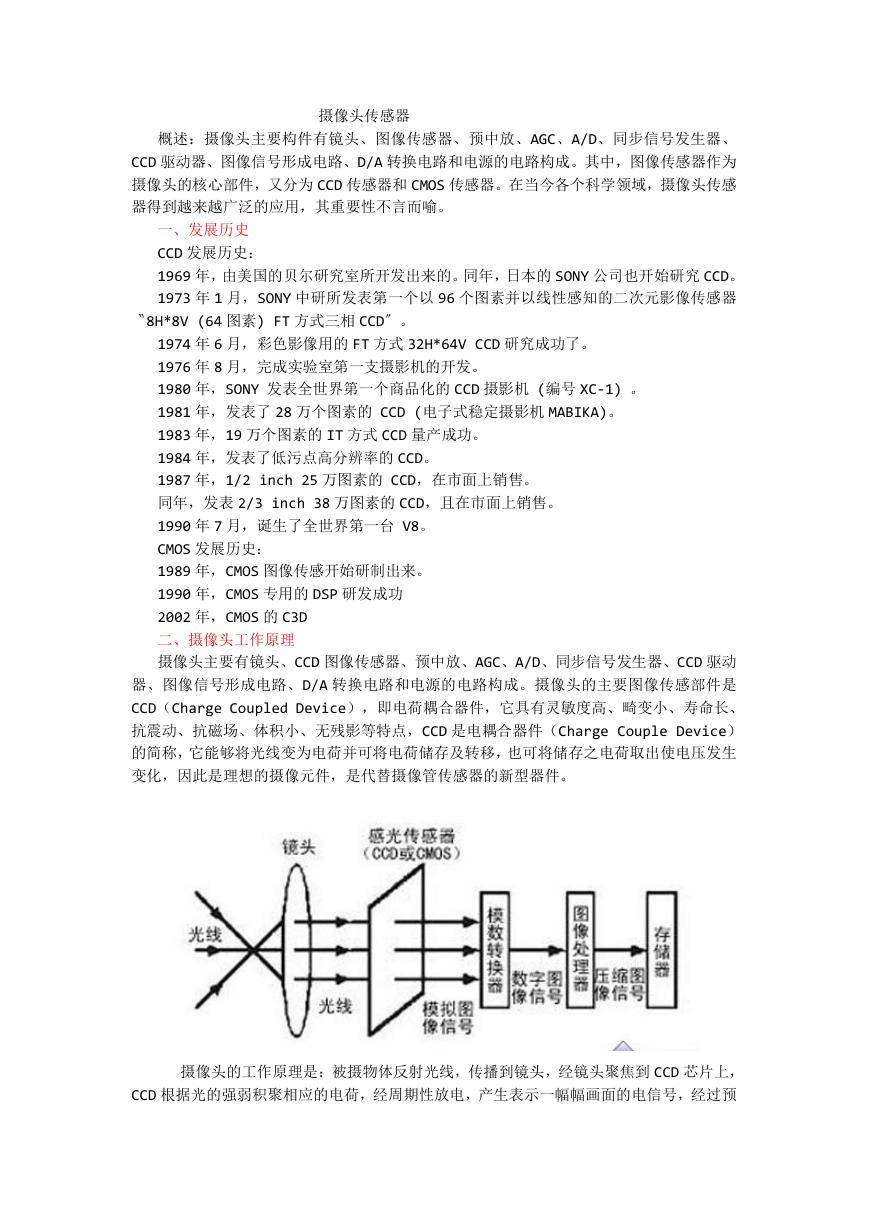 摄像头工作原理.doc
 VL53L0X简要说明(En.FLVL53L00216).pdf
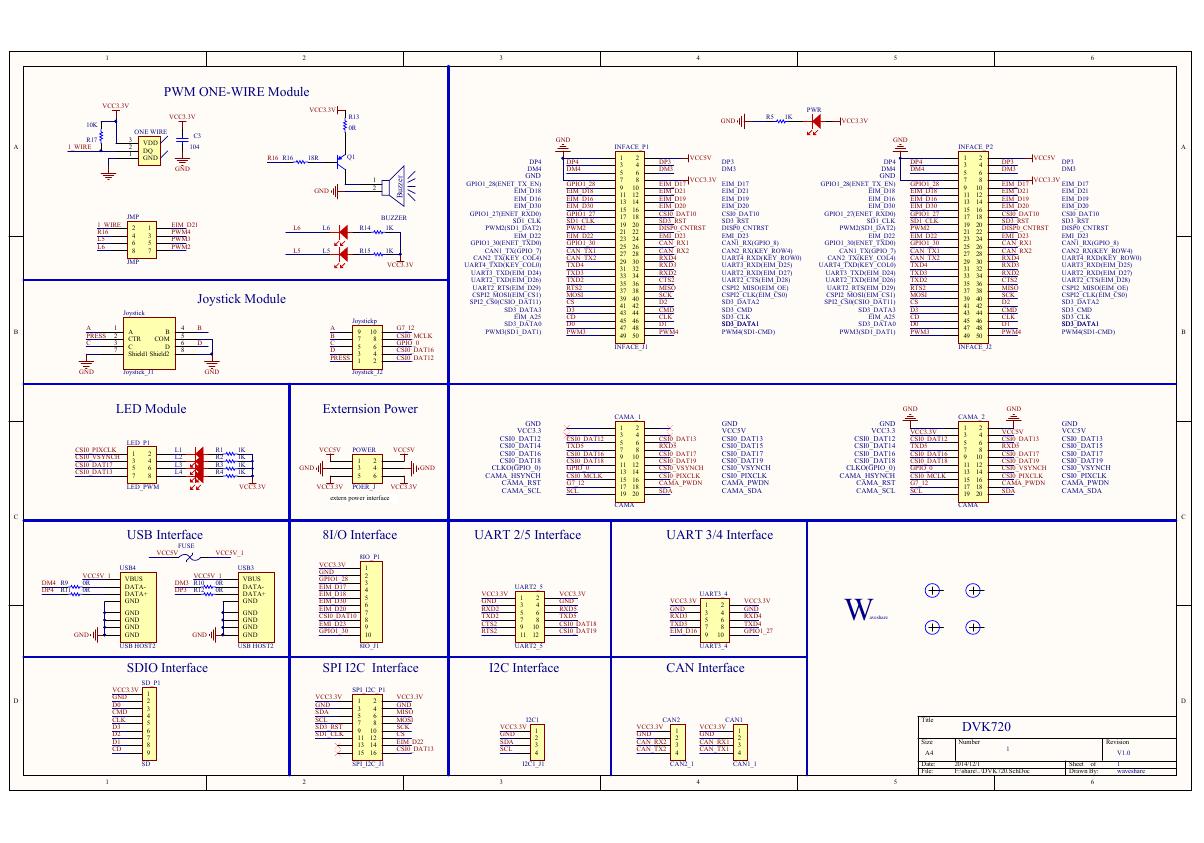 原理图(DVK720-Schematic).pdf
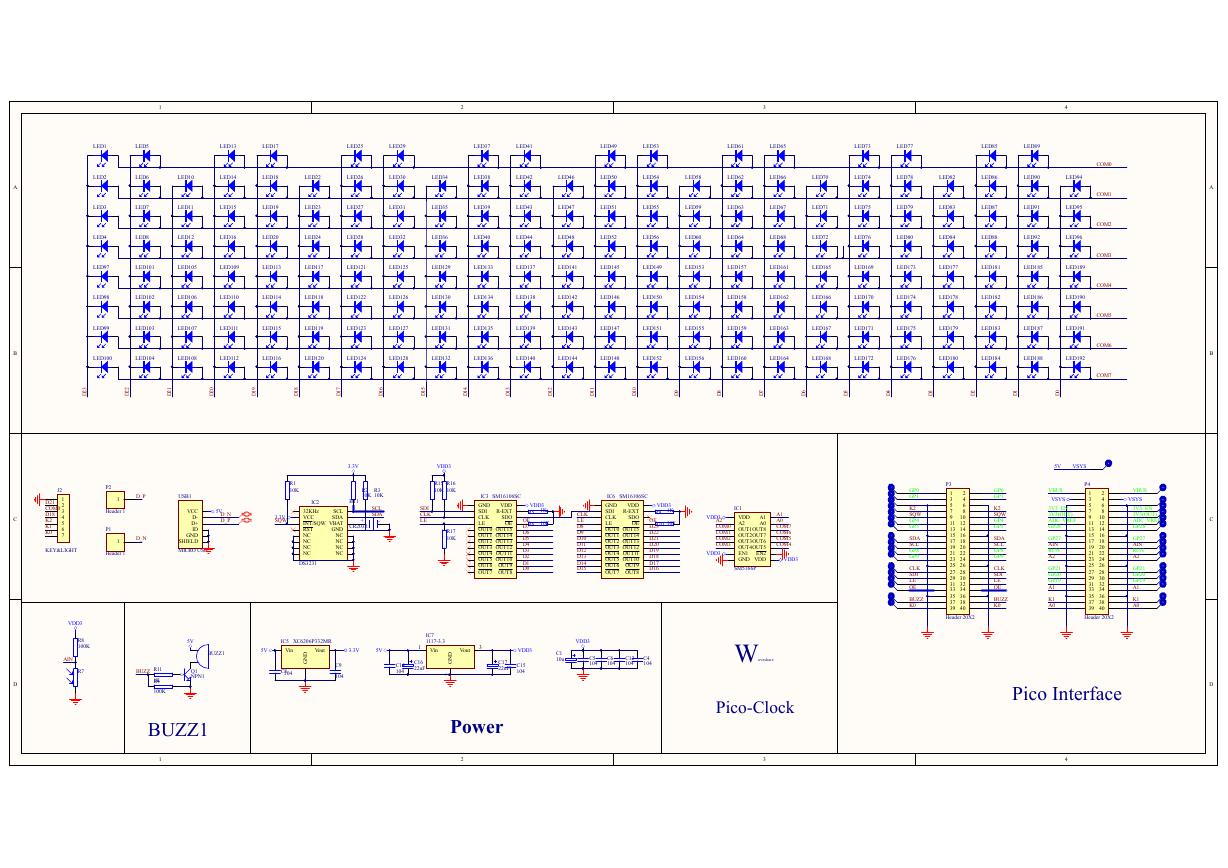 原理图(Pico-Clock-Green-Schdoc).pdf
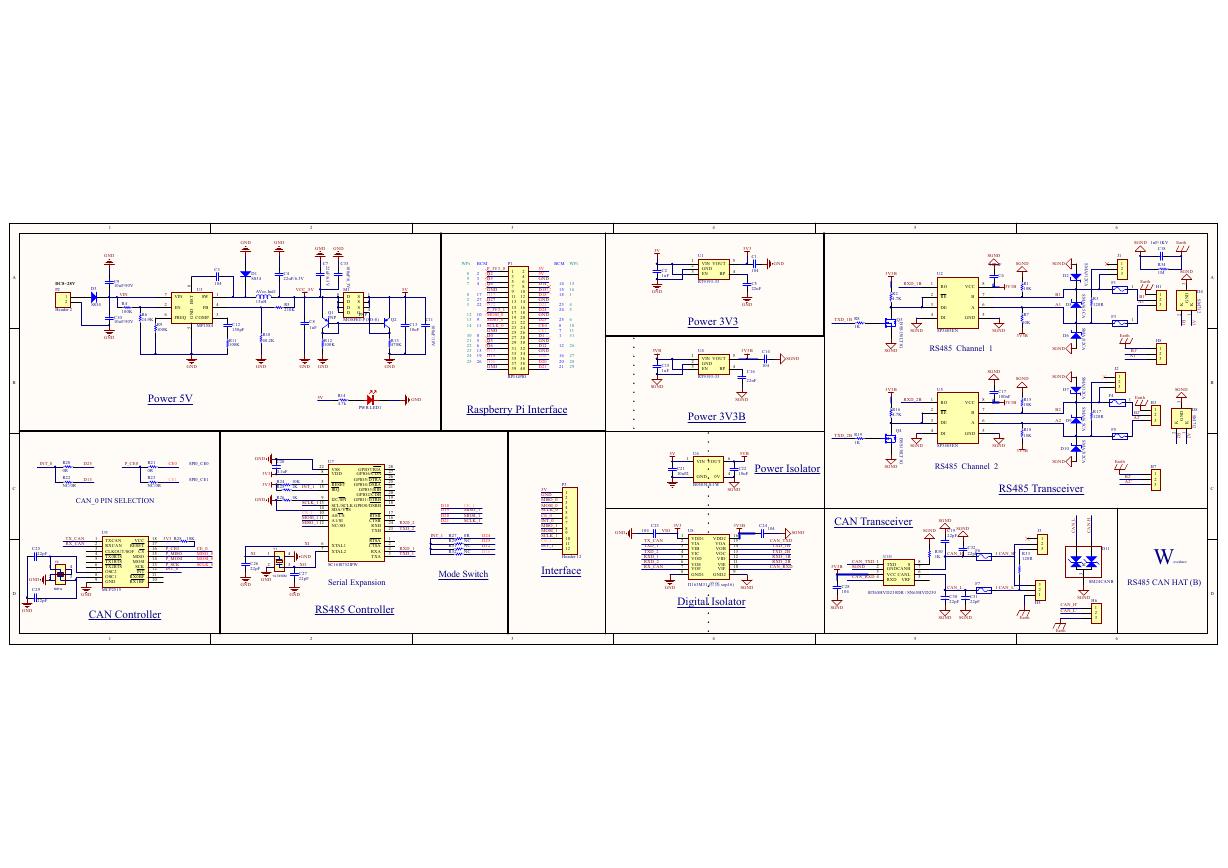 原理图(RS485-CAN-HAT-B-schematic).pdf
 File:SIM7500_SIM7600_SIM7800 Series_SSL_Application Note_V2.00.pdf
 ADS1263(Ads1262).pdf
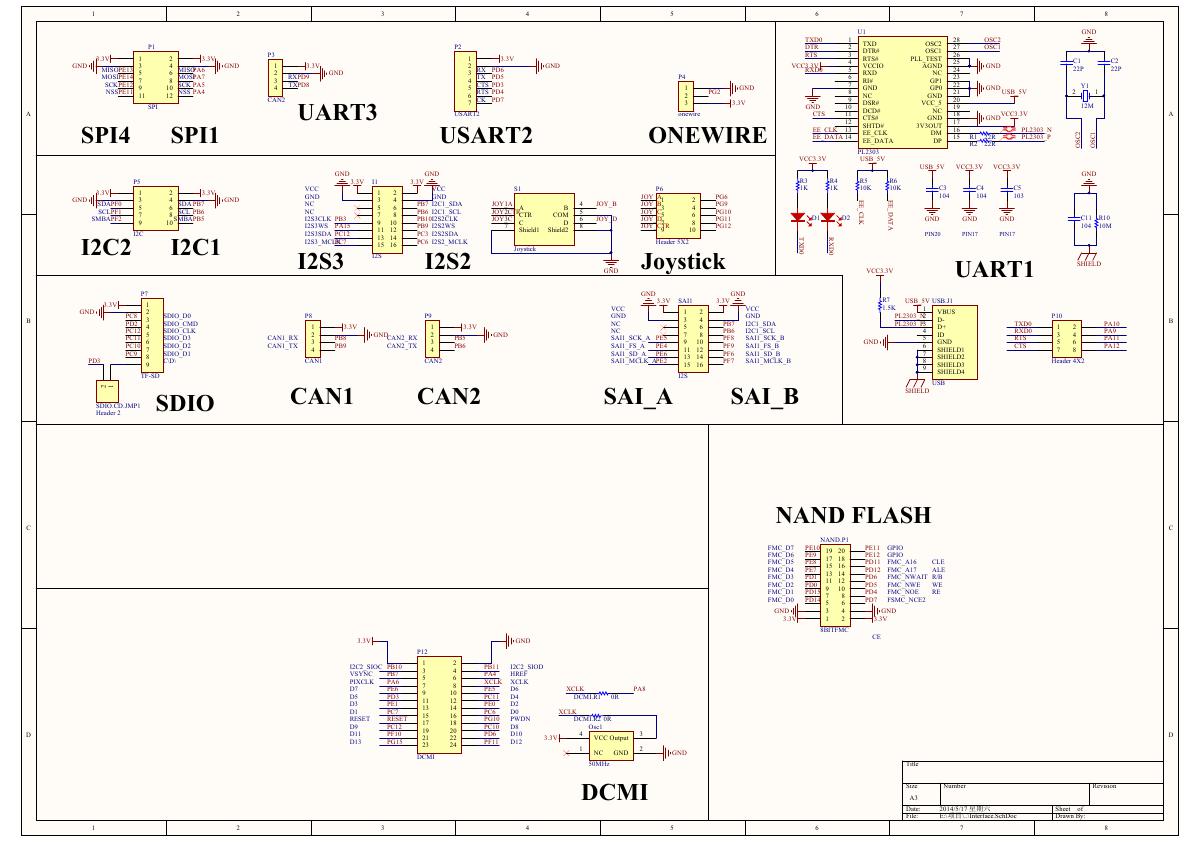 原理图(Open429Z-D-Schematic).pdf
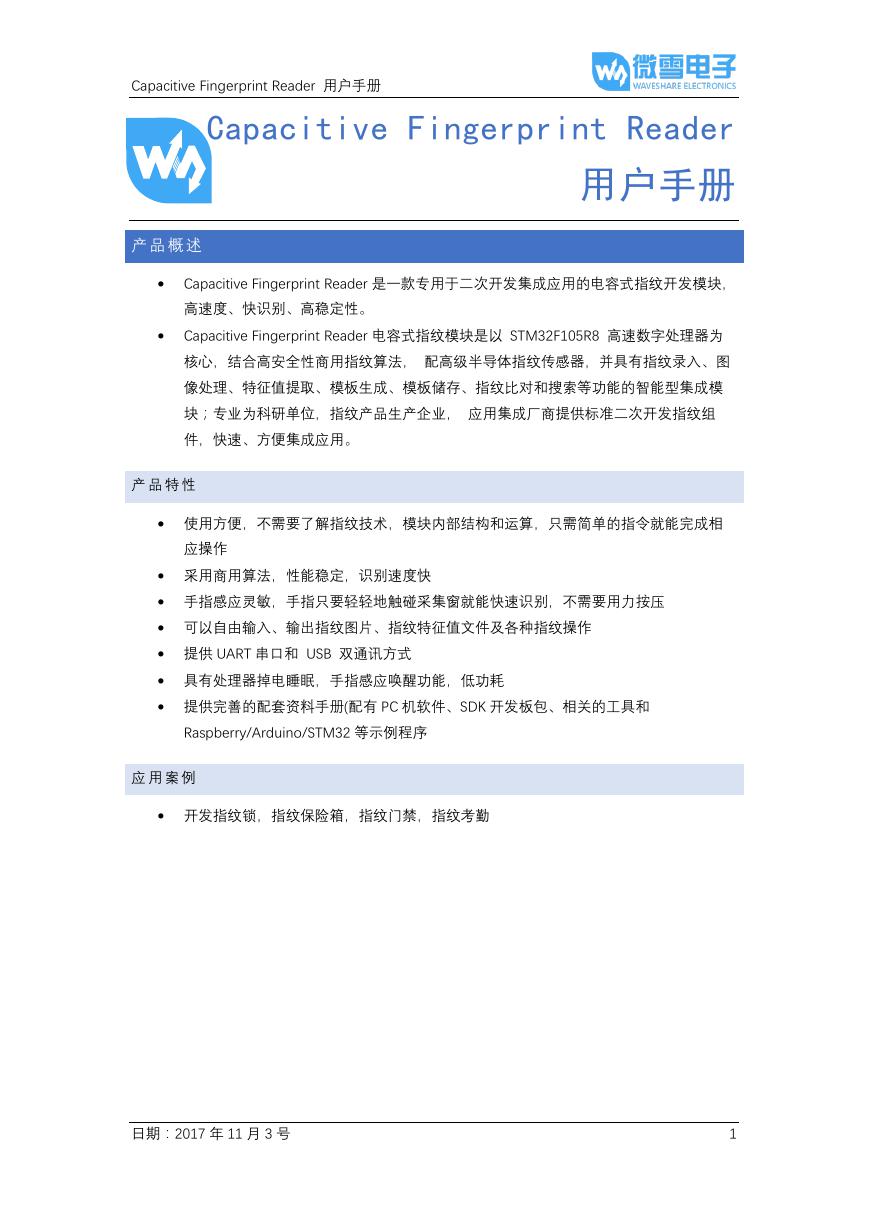 用户手册(Capacitive_Fingerprint_Reader_User_Manual_CN).pdf
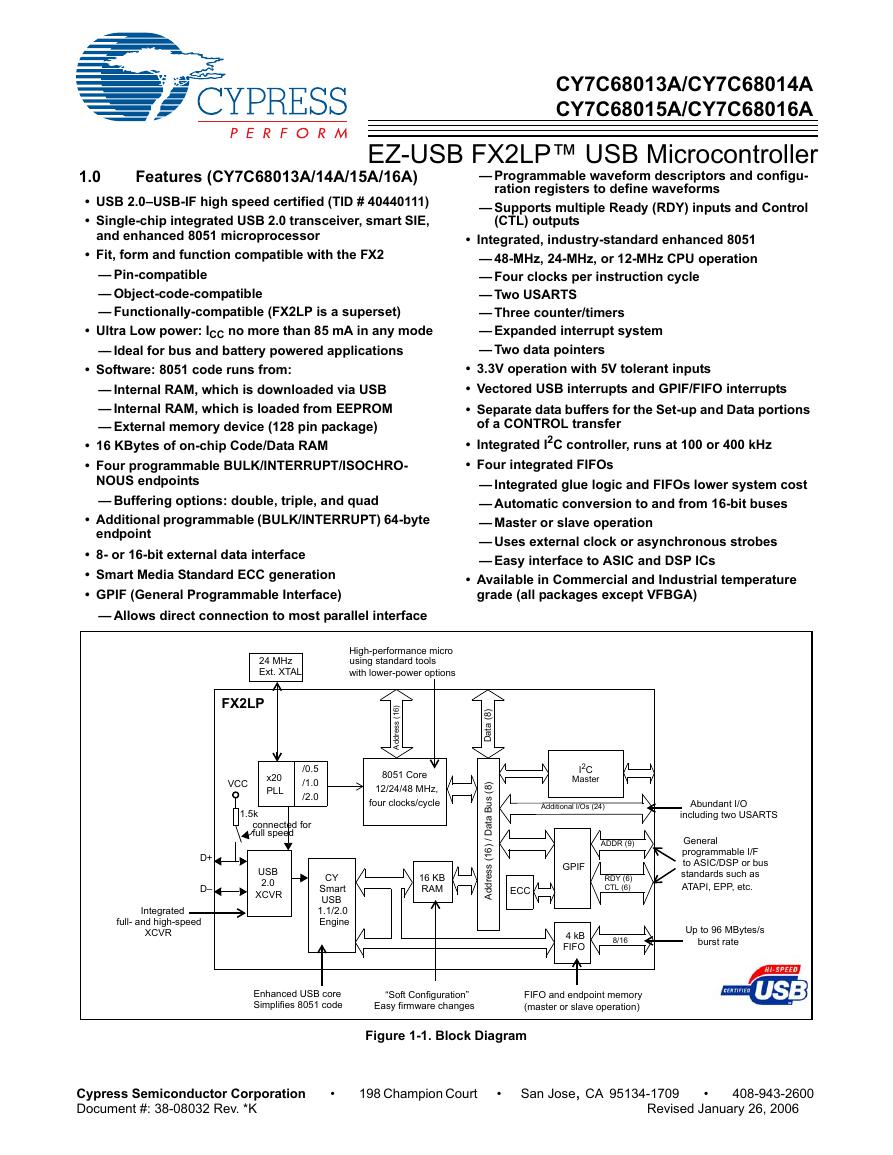 CY7C68013A(英文版)(CY7C68013A).pdf
 TechnicalReference_Dem.pdf