C150-E153-03XA
M4099D/fi-4990 Image Scanner Endorser
Operator's Guide: Option
English
Japanese
00-OpGCover(E) 1 00.10.24, 1:57 PM
1. Specification
Table 1.1 presents the endorser specification.
Table 1.1 Endorser Specification
Item Specification
Printing Method Thermal inkjet printing
Printed CharactersAlphabet Letters: A to Z, a to z
Numeric Characters:0, 1 to 9
Symbols: ! " # $ % & ' ( ) * + , - . / : ; < = > ? @ [ ¥ ] ^ _ ‘ { |- }
Maximum 30
Number of
Characters Printed
Character Size Height 2.9 mm to width 2.34 mm
Character Pitch About 3.9 mm
Printing Area Backside of document
A>5.0 mm
B>118.5 mm (30 characters or less)
C>5.0 mm
D>28.1 mm
NOTE: The document width varies depending on W size.
• If document is small Document
(W=76.2 mm) Center of Standard
Document D E
D=28.1 mm to 33.1 mm
E=5.0 mm to 10.0 mm
• If document is A4 vertical Feeding
Direction
document (W=210 mm)
D=28.1 mm to100.0 mm
E=5.0 mm to 76.7 mm
Backside
• If document is A3
(W=297 mm)
D=28.1 mm to143.5 mm
E=5.0 mm to 120.4 mm W
Consumable Print Head (CA01023-0701)
1
01-OpGBody(E) 1 00.10.23, 6:08 PM
C B A
ABC . . . . ST
2. Setup, Browse Mode
This is explains the Setup mode and the Browse mode when the endorser is used.
The whole operation about Setup mode and Browse mode, please refer the “M4099D(or fi-4990) Image
Scanner Operator’s Guide, Chapter 6, the Setup mode, Browse mode, and Test mode”.
When “Endorser Initial Setting” makes ON (enable), the ink counter will be counted automatically and
the “Ink empty” alarm will be occurred when the counter reached 200,000. When the alarm occurred,
replace the print head with the new one, and implement the “Ink counter reset” at the Setup Mode.
■ Endorser ON (or OFF), Initial number
When you use the endorser, you must set the endorser on.
The initial number is the number which the scanner starts printing or returns after the reset of the print
number.
Item Options Remarks
Endorser Initial Setting ON, OFF (Default: OFF)
0 to 65535 sheets (Default: 0 sheet)
The following is an example of operation when you
change the setting.
1 <> initial screen, press <>
[ENTER].
The <> menu screen (Settings
or Paper Length Check) appears.
NOTE:
The “Settings” screen is skipped and the “Paper
Length Check” screen first appears when your
scanner is not controlled through the video or
TP interface.
2 Press →[ ] repeatedly until “Endorser Initial <>
Setting” appears in the lower line of the menu Endorser Initial Setting
screen.
3 Press [ENTER]. Endorser Initial Setting
The current option list screen appears with OFF OFF Init : 00000
blinking (blinking indicates “changeable”).
2
01-OpGBody(E) 2 00.10.23, 6:08 PM
4 Press ↓[ ] or [↑]. Endorser Initial Setting
The displayed option changes (ON blinks). ON Init : 00000
5 Press →[ ]. Endorser Initial Setting
00000 (current option for Initial) blinks. ON Init : 00000
(blinking indicates “changeable”)
6 Press[ ↓] or [↑]. Endorser Initial Setting
The displayed option changes (0 to 65535 ON Init : 00025
sheets).
7 When the desired option appears, press [ENTER] <>
to save the change. Endorser Initial Setting
The LCD returns to the <>
menu screen (Endorser Initial Setting).
8 Press [CANCEL] two times. Ready
The LCD returns to the Ready screen.
3
01-OpGBody(E) 3 00.10.23, 6:08 PM
■ Print number reset method
You can choose whether to reset or not the print number when “HOPPER EMPTY” is detected.
Item Options Remarks
Endorser Reset Method YES, NO (Default: YES)
The following is an example of operation when you
change the setting.
1 <> initial screen, press <>
[ENTER].
The <> menu screen (Settings
or Paper Length Check) appears.
NOTE:
The “Settings” screen is skipped and the “Paper
Length Check” screen first appears when your
scanner is not controlled through the video or
TP interface.
2 Press →[ ] repeatedly until “Endorser Reset <>
Method” appears in the lower line of the menu Endorser Reset Method
screen.
3 Press [ENTER]. Reset on HOPPER EMPTY
The current option list screen appears with YES YES
blinking (blinking indicates “changeable”).
4 Press ↓[ ] or [↑]. Reset on HOPPER EMPTY
The displayed option changes (NO blinks). NO
5 When the desired option appears, press [ENTER] <>
to save the change. Endorser Reset Method
The LCD returns to the <>
menu screen (Endorser Reset Method).
6 Press [CANCEL] two times. Ready
The LCD returns to the Ready screen.
4
01-OpGBody(E) 4 00.10.23, 6:08 PM
■ Resetting the print number manually
You can reset the print number to the initial number using the operator panel.
Item Options Remarks
Endorser Reset YES, NO
The following is an example of operation when you
change the setting.
1 <> initial screen, press <>
[ENTER].
The <> menu screen (Settings
or Paper Length Check) appears.
NOTE:
The “Settings” screen is skipped and the “Paper
Length Check” screen first appears when your
scanner is not controlled through the video or
TP interface.
2 Press →[ ] repeatedly until “Endorser Reset” <>
appears in the lower line of the menu screen. Endorser Reset
3 Press [ENTER]. Reset the endorser?
The current option list screen appears with NO NO Init : 00000
blinking (blinking indicates “changeable”).
4 Press ↓[ ] or [↑]. Reset the endorser?
The displayed option changes (YES blinks). YES Init : 00000
Finished resetting!!
5 When the desired option appears, press [ENTER] <>
to save the change. Endorser Reset
The LCD returns to the <>
menu screen (Endorser Reset).
6 Press [CANCEL] two times. Ready
The LCD returns to the Ready screen.
5
01-OpGBody(E) 5 00.10.23, 6:08 PM
■ Print head life counter
You must reset the print head life counter when you replace the print head.
When “Endorser Initial Setting” makes ON (enable), the ink counter will be counted automatically and the “Ink
empty” alarm will be occurred when the counter reached 200,000. When the alarm occurred, replace the print
head with the new one. and implement the “Ink counter reset” at the Setup Mode.
The “Ink counter reset” operation shall be implemented if the print head is replaced regardless of the counter.
Item Options Remarks
Ink counter reset YES, NO
The following is an example of operation when you change the setting.
1 <> initial screen, press <>
[ENTER].
The <> menu screen (Settings
or Paper Length Check) appears.
NOTE:
The “Settings” screen is skipped and the “Paper
Length Check” screen first appears when your
scanner is not controlled through the video or
TP interface.
2 Press →[ ] repeatedly until “Ink counter reset” <>
appears in the lower line of the menu screen. Ink counter reset
3 Press [ENTER]. Reset the ink counter?
The current option list screen appears with NO NO
blinking (blinking indicates “changeable”).
4 Press ↓[ ] or [↑]. Reset the ink counter?
The displayed option changes (YES blinks). YES
Finished resetting!!
5 When the desired option appears, press [ENTER]
to save the change.
The LCD returns to the <> <>
menu screen (Ink counter reset). Ink counter reset
6 Press [CANCEL] two times. Ready
The LCD returns to the Ready screen.
6
01-OpGBody(E) 6 00.10.23, 6:08 PM
■ Printing Position
This function set the Endorser print start position.
Item Options Remarks
Printing PositionM4099 mode, M3099 modeM4099 mode: Start printing at 5 mm from the
(Default: M4099 mode) paper edge.
M3099 mode: Start printing at 20 mm from the
paper edge.
1 <> initial screen, press <>
[ENTER].
The <> menu screen (Settings
or Paper Length Check) appears.
NOTE:
The “Settings” screen is skipped and the “Paper
Length Check” screen first appears when your
scanner is not controlled through the video or
TP interface.
<>
2 Press →[ ] repeatedly until “Printing Position” Printing Position
appears in the lower line of the menu screen.
3 Press [ENTER]. Printing Position
The current option list screen appears with M4099 mode
M4099 mode blinking (blinking indicates
“changeable”).
4 Press ↓[ ] or [↑]. Printing Position
The displayed option changes (M3099 mode M3099 mode
blinks).
5 When the desired option appears, press [ENTER] <>
to save the change. Printing Position
The LCD returns to the <>
menu screen (Printing Position).
6 Press [CANCEL] two times. Ready
The LCD returns to the Ready screen.
7
01-OpGBody(E) 7 00.10.23, 6:08 PM


 V2版本原理图(Capacitive-Fingerprint-Reader-Schematic_V2).pdf
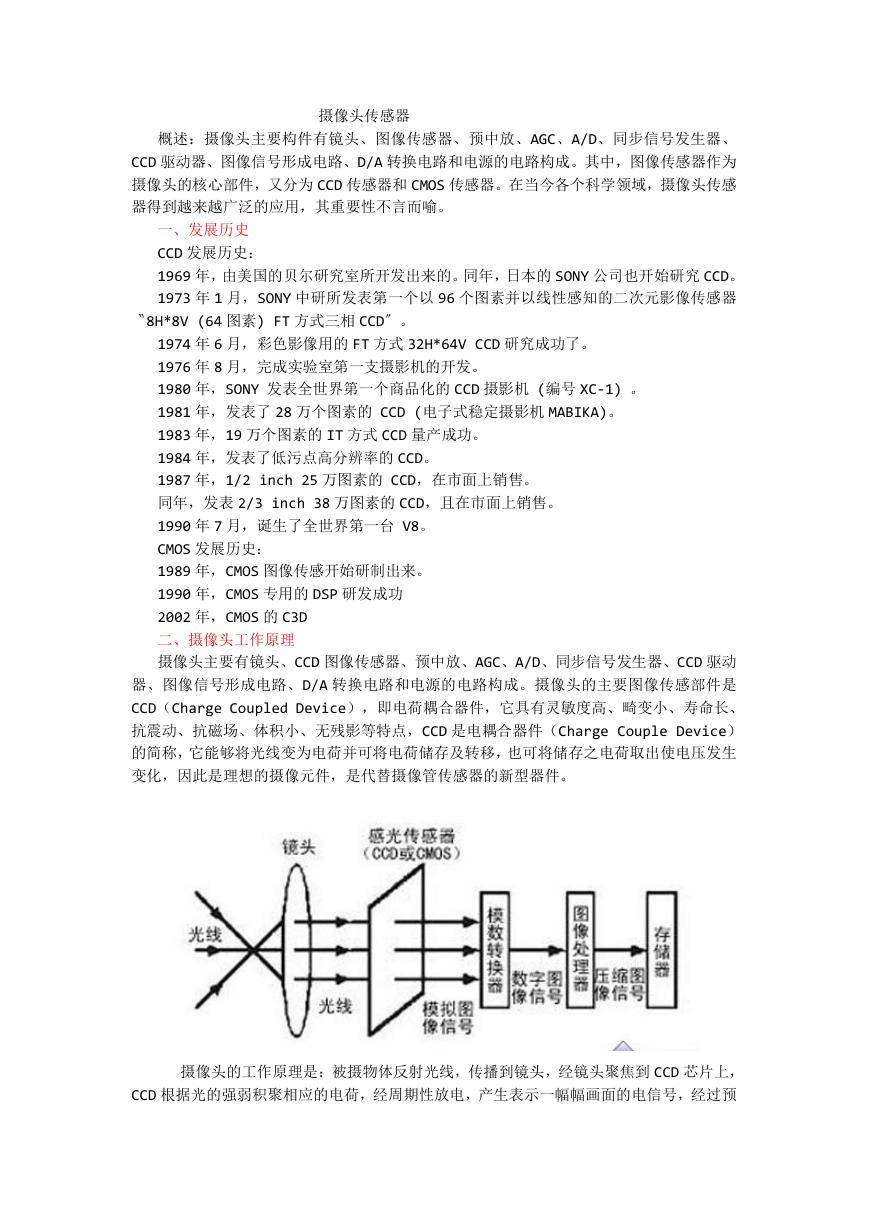 摄像头工作原理.doc
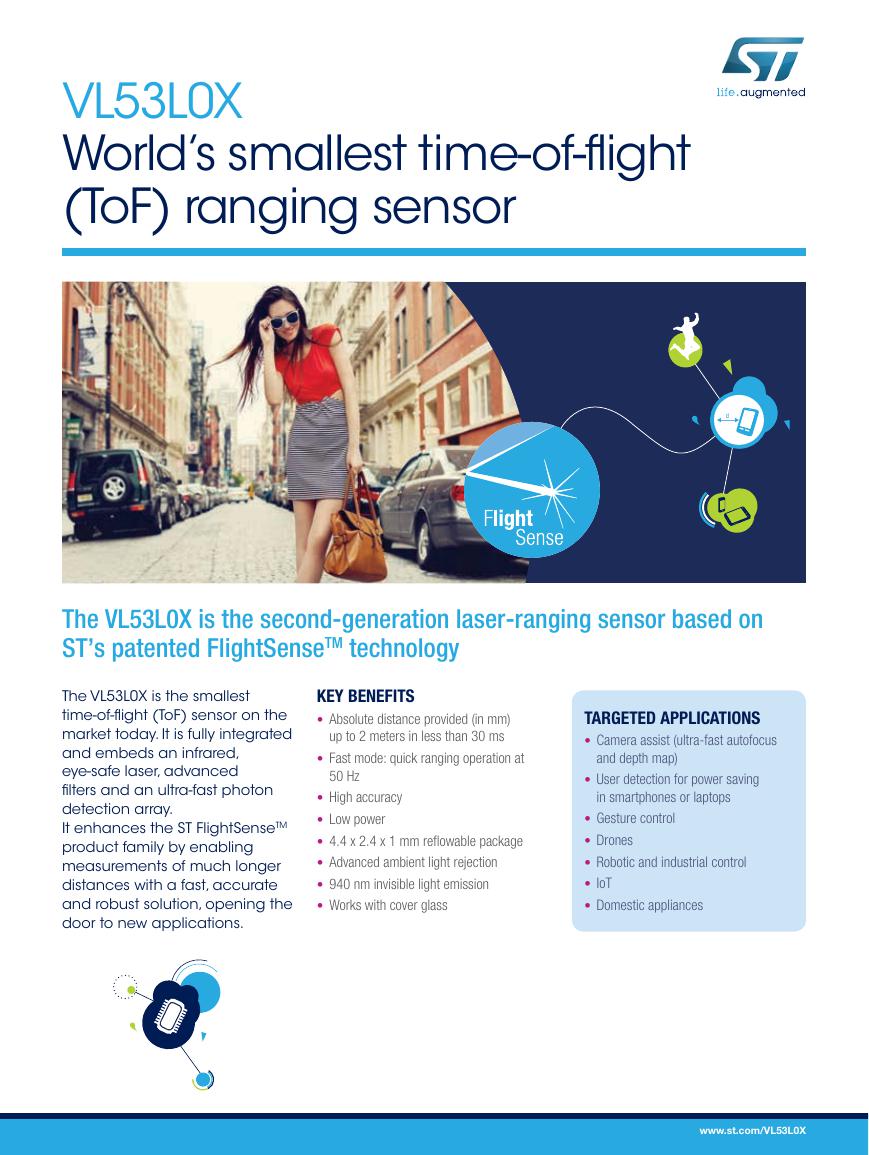 VL53L0X简要说明(En.FLVL53L00216).pdf
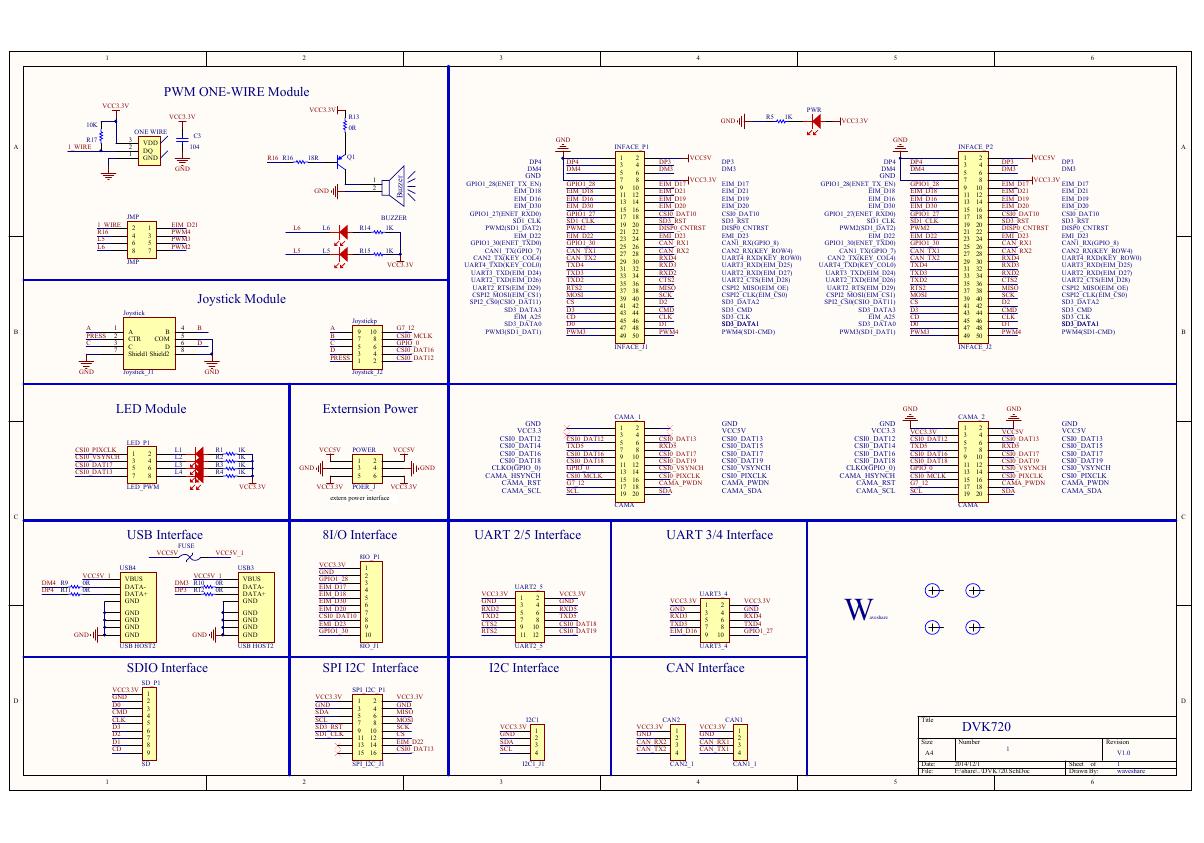 原理图(DVK720-Schematic).pdf
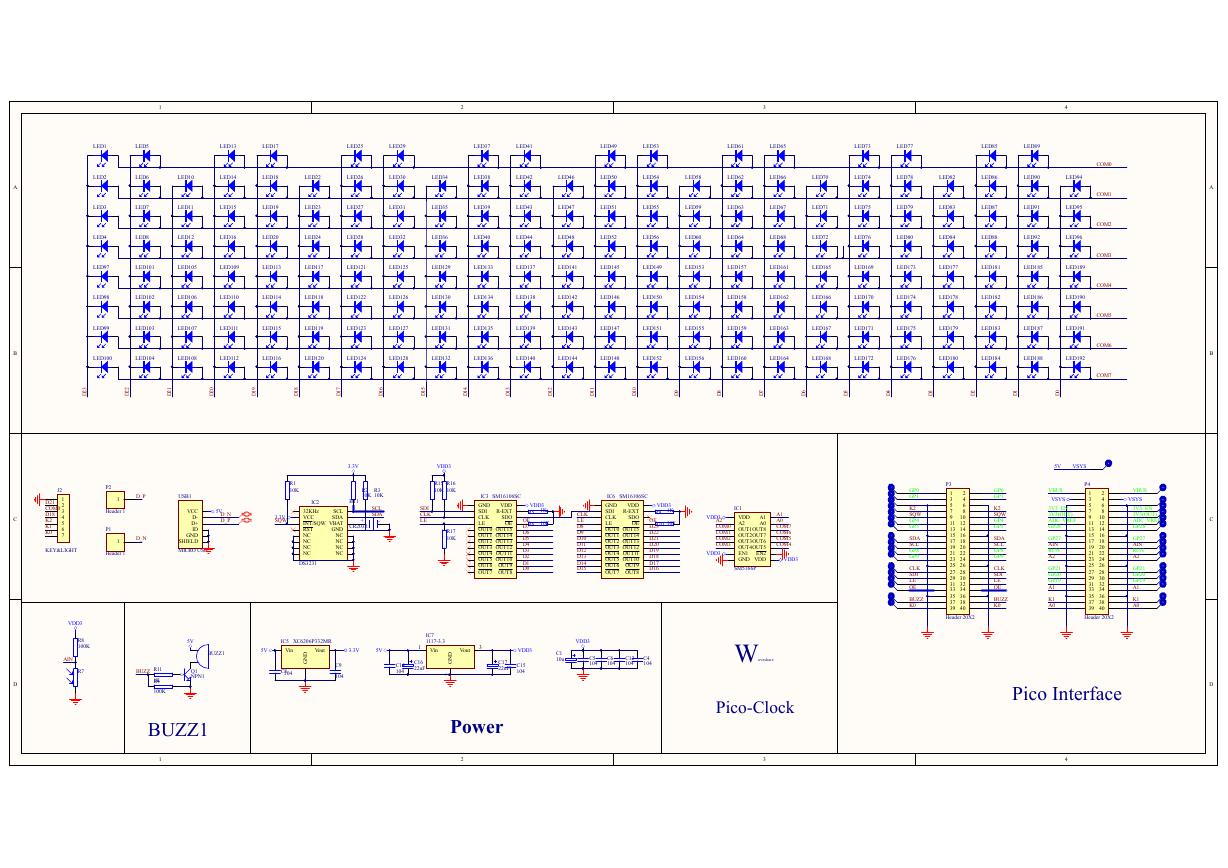 原理图(Pico-Clock-Green-Schdoc).pdf
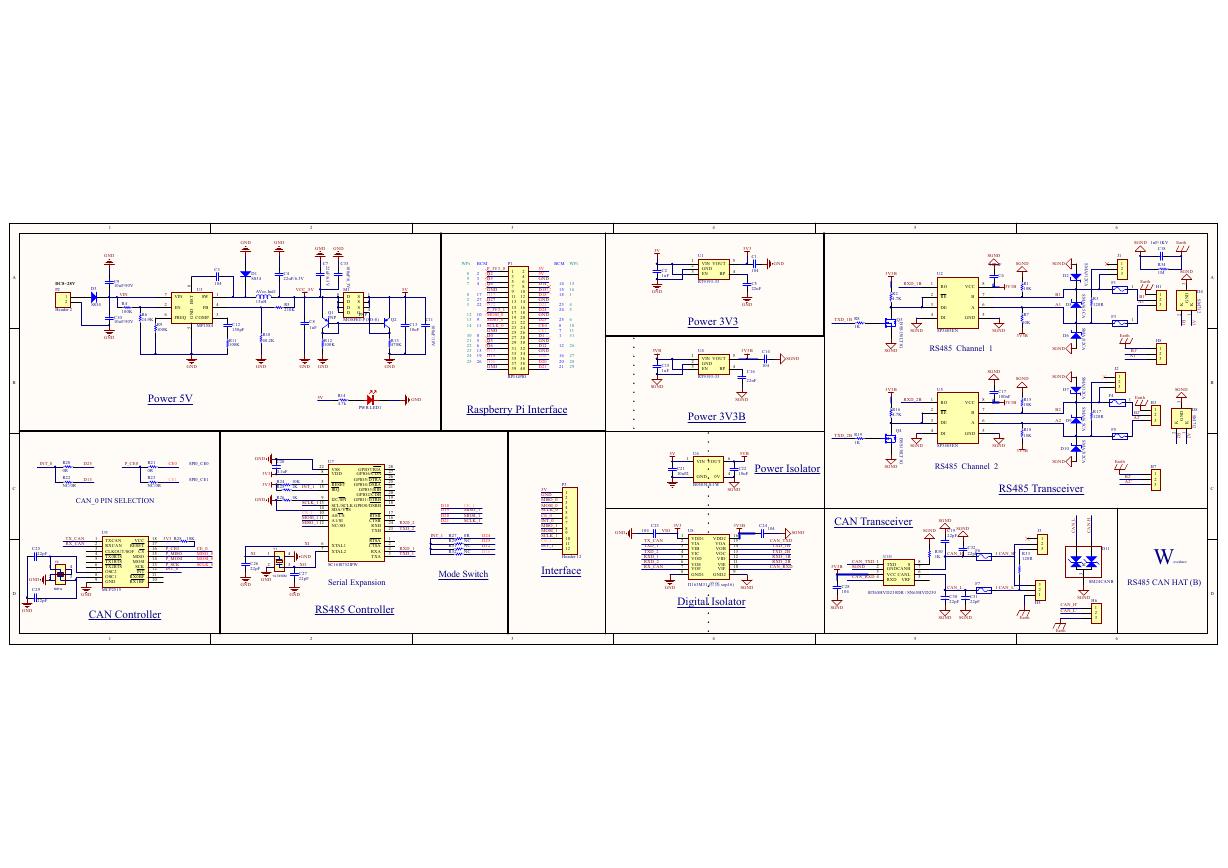 原理图(RS485-CAN-HAT-B-schematic).pdf
 File:SIM7500_SIM7600_SIM7800 Series_SSL_Application Note_V2.00.pdf
 ADS1263(Ads1262).pdf
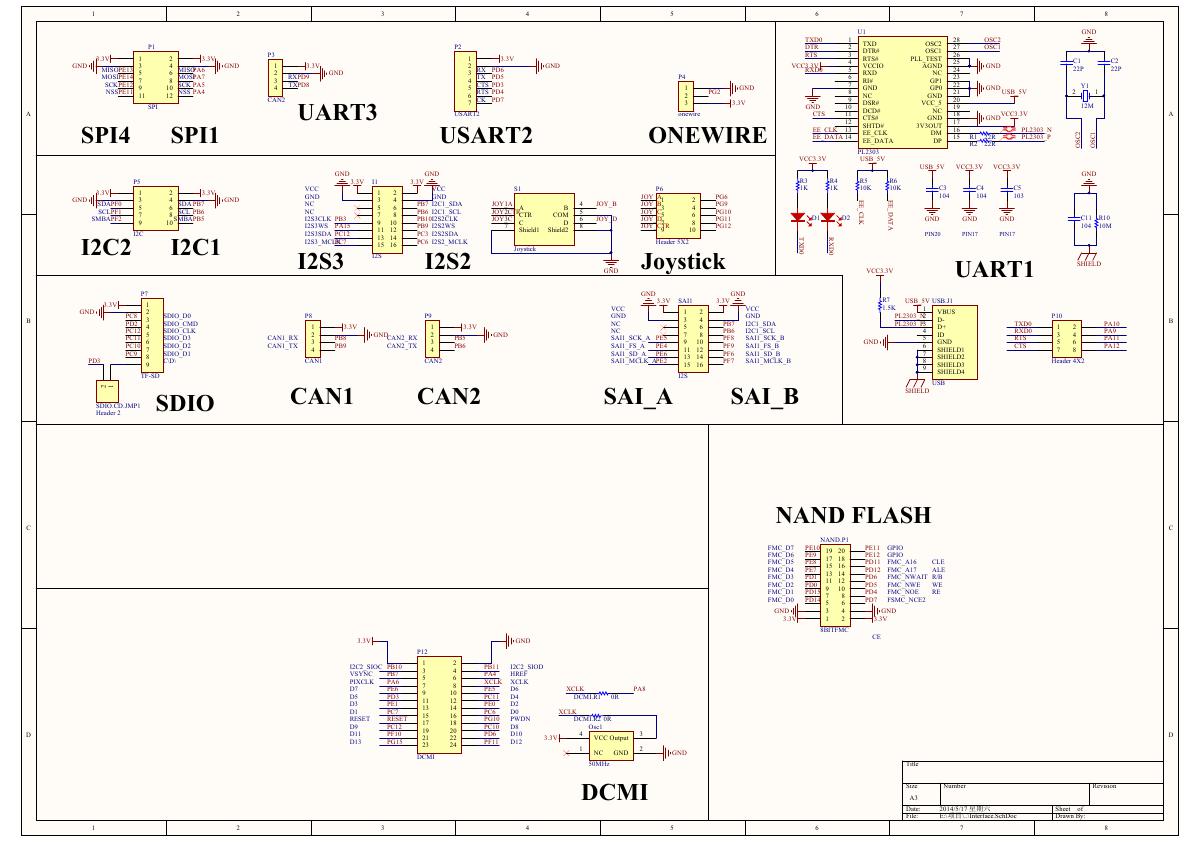 原理图(Open429Z-D-Schematic).pdf
 用户手册(Capacitive_Fingerprint_Reader_User_Manual_CN).pdf
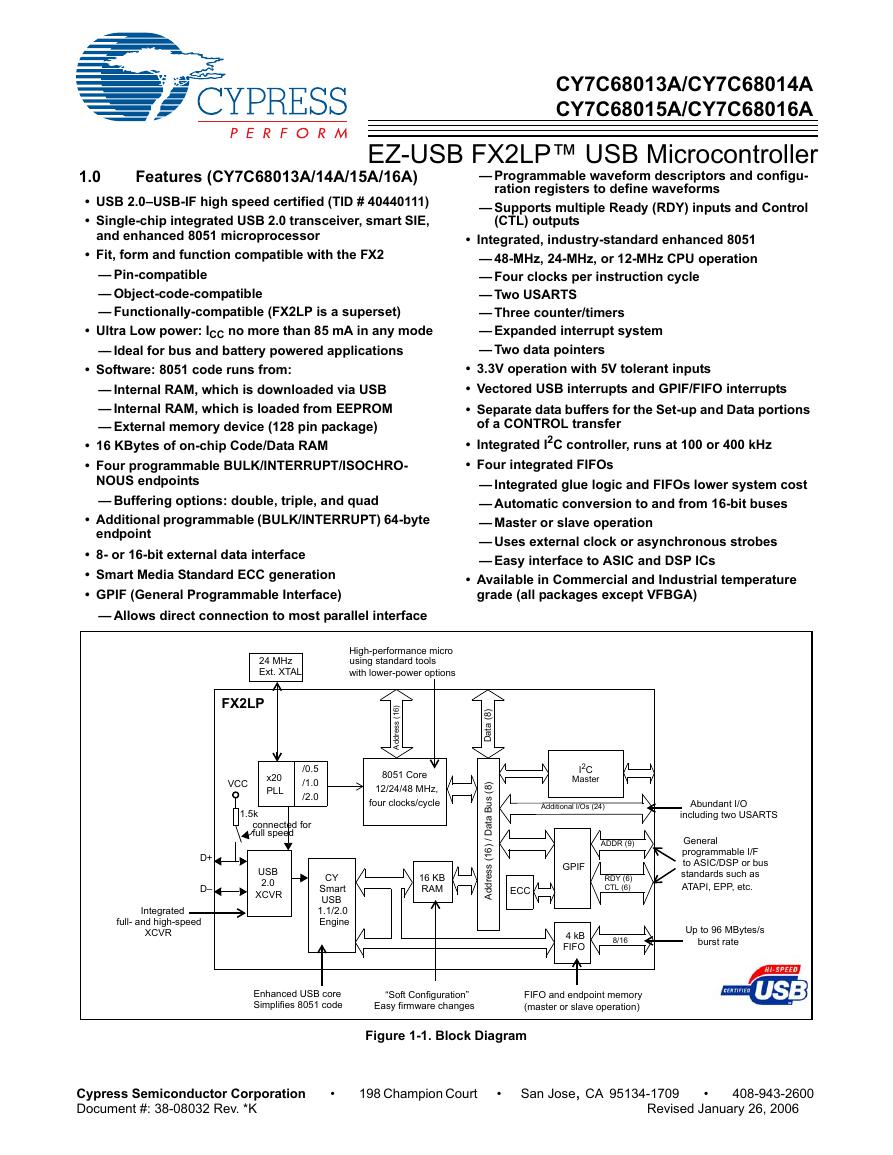 CY7C68013A(英文版)(CY7C68013A).pdf
 TechnicalReference_Dem.pdf