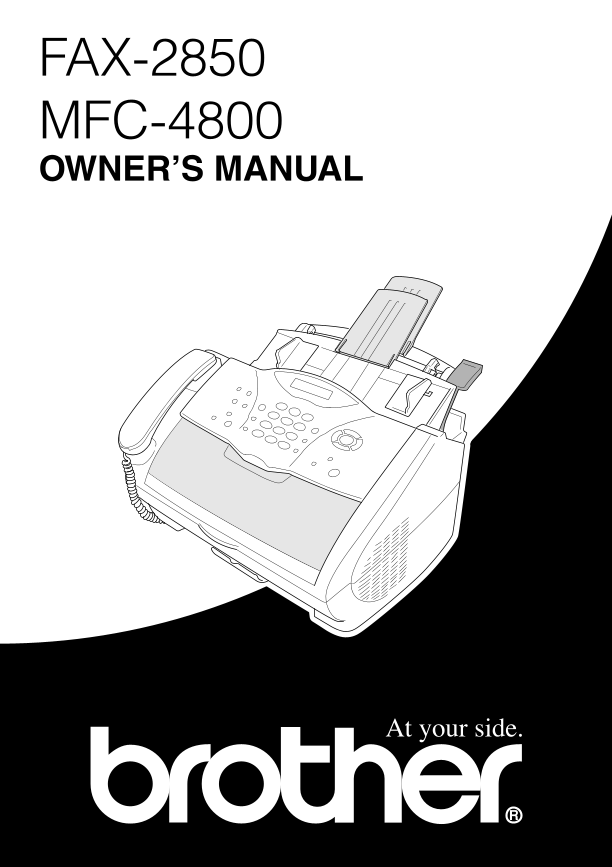
YL4-AUS.pdf
APPROVAL INFORMATION
Using This Manual
Finding Information
Symbols Used In This Manual
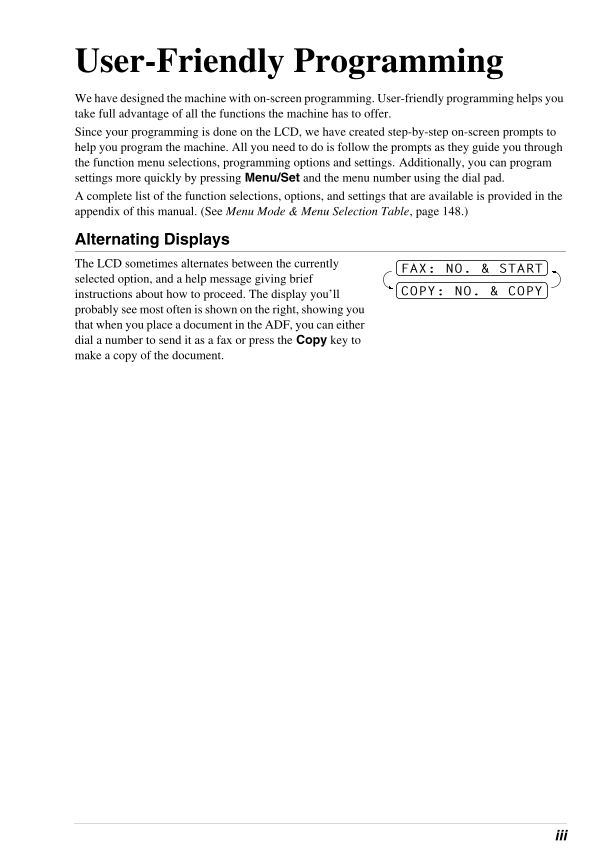
User-Friendly Programming
Alternating Displays
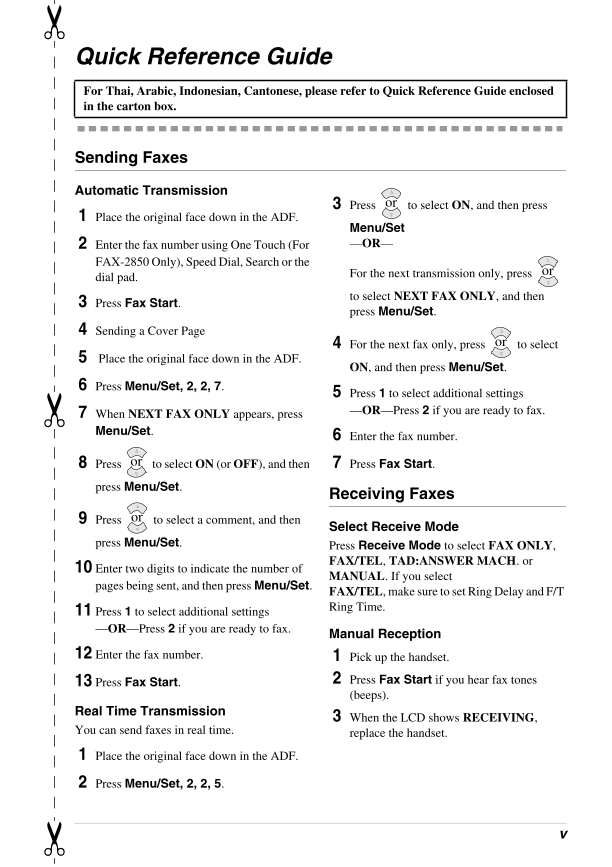
Quick Reference Guide
Sending Faxes
Receiving Faxes
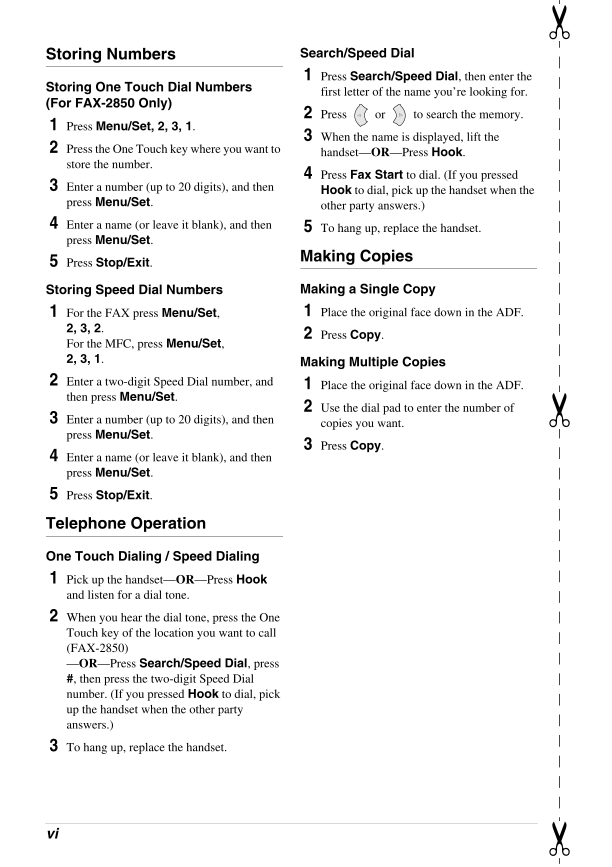
Storing Numbers
Telephone Operation
Making Copies
Table of Contents
Preparation and Simple Use Guide
Steps to prepare and use the machine simply
Advice for Preparation and Simple Use Guide
Choosing a Location
Connecting the Power Cord
Memory Storage
Connecting an External Telephone Answering Device (TAD)
Connecting an External Telephone
FAX-2850 Control Panel Overview
MFC-4800 Control Panel Overview
1 Setup
Initial Settings
Setting the Date and Time
Setting the Station ID
Custom Settings
Volume Settings
Toner Save
Power Save
Sleep Mode
Setting the Dialling Mode (Tone/Pulse) (Not available in New Zealand)
Storing Numbers for Easy Dialling
Storing One Touch Dial Numbers (For FAX-2850 Only)
Storing Speed Dial Numbers
Changing One Touch (FAX-2850) and Speed Dial Numbers
2 Sending a Fax
Scanning Adjustment
Contrast
Fax Resolution
Dialling a Number
One Touch Dialling (For FAX-2850 Only)
Speed Dialling
Search
Chain Dialling
Manual and Automatic Fax Redial
Pause
Sending Operation
Automatic Transmission
Manual Transmission
Dual Access
Real Time Transmission
3 Receiving a Fax
Receive Mode Settings
Select Receive Mode
Setting the Ring Delay
Setting the F/T (Fax/Tel) Ring Time (Fax/Tel Mode Only)
Fax Detect (set ON by default)
Receiving a Fax
Printing a Reduced Incoming Document (Auto Reduction)
Setting the Print Density
Reception into Memory
Printing a Fax from Memory
4 Telephone (Voice) Operation
Making Voice Calls
Manual Dialling
Search
One Touch Dialling (For FAX-2850 Only)
Speed Dialling
Hold
Pause
On Hook Dialling
Tone/Pulse (Not available in New Zealand)
Fax/Tel (F/T) Mode
Hook Key
5 Printing Reports
Transmission Report and Journal Setting
Customizing the Transmission Verification Report
Setting the Journal Period
Using the Reports Key
6 Advanced Sending
Advanced Operations
Electronic Cover Page
Overseas Mode
Delayed Transmission (Timer)
Broadcasting
Cancelling a Job While Scanning the Document
Checking and Cancelling a Scheduled Job in Memory
Memory Security
Using Memory Security
7 Advanced Receiving
Operation from an External or Extension Telephone
For Fax/Tel Mode Only
Switching ON Remote Activation and Changing Remote Codes
8 Telephone Service
Telephone Service for Australia
Distinctive Ringing
Caller ID (Caller IDentification)
How Does the Caller ID Work?
The Caller ID is Stored in Your Machine’s Memory
Viewing Caller ID List
Telephone Service for New Zealand
FaxAbility
Caller ID (Caller IDentification)
How Does the Caller ID Work?
Viewing Caller ID List
Telephone Service for Some Countries
Distinctive Ringing (For Singapore and Hong Kong)
Caller ID (For Singapore and Hong Kong)
9 Polling
Polling Receive
Setup for Polling Receive (Standard)
Secure Polling
Setup for Polling Receive with Secure Code
Setup Delayed Polling Receive
Sequential Polling
Polling Transmit
Setup for Polling Transmit (Standard)
Setup for Polling Transmit with Secure Code
10 Remote Fax Options
Setting Fax Storage
Fax Forwarding
Programming a Fax Forwarding Number
Changing the Remote Access Code
Remote Retrieval
Using Your Remote Access Code
Remote Commands
Retrieving Fax Messages
Changing the Fax Forwarding Number
11 Making Copies
Basic Copy Operations
Using the Machine as a Copier
Making a Single Copy
Making Multiple Copies
Out of Memory Message
Temporary Copy Setting
Copying Using Multiple Settings
Making Enlarged or Reduced Copies (Temporary Setting)
Using the Options Key
Copy Mode (Type of Original)
Copy Contrast
Special Copy Options
Paper Type
Copy Quality – Default Settings
Changing Default Settings
Copy Mode (Type of Original)
Copy Contrast
Paper Type
12 Using the machine as a Printer
Special Printing Features
Windows® Printing
Enhanced Memory Management
Printing From Your PC
Multi-Purpose Sheet Feeder
Two-Sided Printing (Manual Duplex)
Loading Envelopes
Paper Tray
Reset Key (For MFC-4800 Only)
Simultaneous Printing/Faxing
Acceptable Paper
13 Printer Driver Settings (For Windows® Only)
Using the Brother MFC-4800 Printer Driver
Features in the Printer Driver (For Windows® Users Only)
Basic Tab
Paper Size
Multiple Page
Border Line
Orientation
Copies
Collate
Media Type
Advanced Tab
Print Quality
Duplex Printing
Watermark
Page Setting
Device Options
Quick Print Setup
Administrator (For Windows® 95/98/98SE/Me Users Only)
Print Date & Time
Support
14 Using the Windows®-Based Brother MFL-Pro Control Centre (For Windows® Only)
Brother MFL-Pro Control Centre
AutoLoad the Brother Control Centre
How to Turn Off AutoLoad
Using the Scan Keys with Windows PC
Using the Control Panel Keys
Scan Image
Scan/OCR
Scan to E-mail
Brother Control Centre Features
Auto Configuration
Scanning Operations
Copy Operations
PC Fax Operation
Scanner Settings for Scan and Copy Buttons
Global Settings
Setting Up the Scanner Configurations
To access the Scanner Configurations screen:
Perform an Operation from the Brother Control Centre Screen
Scan to File
Scanner Settings
Destination Folder
Scan to E-mail
Scanner Settings
Email Application
File Attachments
Conversion Options
Scan to Word Processor
Scanner Settings
Word Processor
User Defined Button
Scanner Settings
Target Application
Copy
Scanner Settings
Copy Settings
Send a Fax
Scanner Settings
FAX Settings
15 Using ScanSoft™ PaperPort® for Brother and ScanSoft™ TextBridge®
Viewing Items in ScanSoft™ PaperPort® for Brother
Organizing Your Items in Folders
Links to Many Other Applications
Using ScanSoft™ TextBridge® OCR (Converting Image Text to Text You Can Edit)
Importing Items from Other Applications
Exporting Items in Other Formats
Accessing the Scanner
Scanning a Document into your PC
Settings in the Scanner Window
PreScanning an Image
16 Setting Up and Using PC FAX (For Windows® Only)
Introduction
Brother Resource Manager
MFC Remote Setup
PC FAX Sending (For Windows® Only)
Setting Up User Information
Setting Up Sending
Setting Up Speed Dial
The Address Book
Setting Up a Member in the Address Book
Setting Up a Group for Broadcasting
Editing Member Information
Deleting a Member or Group
Exporting the Address Book
Importing to the Address Book
Setting Up Cover Page
Sending a File as a PC FAX using the Facsimile Style
Sending a File as a PC FAX Using the Simple Style
17 Using Automatic E-Mail Printing
For Windows® 95, 98, 98SE, Me Only
Main Features
18 Using the Brother MFC with a New Power Macintosh® G3, G4 or iMac™/iBook™
Set up Your USB Equipped Apple® Macintosh® G3,G4 or iMac™ with Mac OS 8.5/8.5.1/8.6/9.0/9.0.4/9.1
Using Brother Printer Driver with your Apple® Macintosh®
Sending a Fax from your Macintosh Application
Setting Up Your Address Book
Using Brother TWAIN Scanner Driver with Your Apple® Macintosh®
Accessing the Scanner
Scanning a Document into Your Macintosh G3, G4 or iMac
Settings in the Scanner Window
PreScanning an Image
19 Troubleshooting and Maintenance
Error Messages
Document Jams and Paper Jams
Document Jam
Paper Jam
Difficulty with Operation
Packing and Shipping the Machine
Regular Maintenance
Cleaning the Scanner
Cleaning the Printer
Cleaning the Drum Unit
Replacing the Toner Cartridge
Replacing the Drum Unit
20 Important Safety Information
Important Information for Australia
Important Safety Instructions
Important Information for New Zealand
Important Safety Instructions
Important Information for Some Countries
Important Safety Instructions
Important Information for All Countries
21 Specifications
Fax Specifications
Printer Specifications (For MFC-4800 Only)
Computer Requirement (For MFC-4800 Only)
Electrical and Environment
Compilation and Publication Notice
Trademarks
Ordering Accessories and Supplies
Entering Text
Inserting spaces
Making corrections
Repeating letters
Special characters and symbols
Menu Mode & Menu Selection Table
About Fax Machines
Fax Tones and Handshake
ECM (Error Correction Mode)
Glossary
Index




 2023年江西萍乡中考道德与法治真题及答案.doc
 2012年重庆南川中考生物真题及答案.doc
 2013年江西师范大学地理学综合及文艺理论基础考研真题.doc
 2020年四川甘孜小升初语文真题及答案I卷.doc
 2020年注册岩土工程师专业基础考试真题及答案.doc
 2023-2024学年福建省厦门市九年级上学期数学月考试题及答案.doc
 2021-2022学年辽宁省沈阳市大东区九年级上学期语文期末试题及答案.doc
 2022-2023学年北京东城区初三第一学期物理期末试卷及答案.doc
 2018上半年江西教师资格初中地理学科知识与教学能力真题及答案.doc
 2012年河北国家公务员申论考试真题及答案-省级.doc
 2020-2021学年江苏省扬州市江都区邵樊片九年级上学期数学第一次质量检测试题及答案.doc
 2022下半年黑龙江教师资格证中学综合素质真题及答案.doc