Handbook for Palm™ Zire™ Handheld
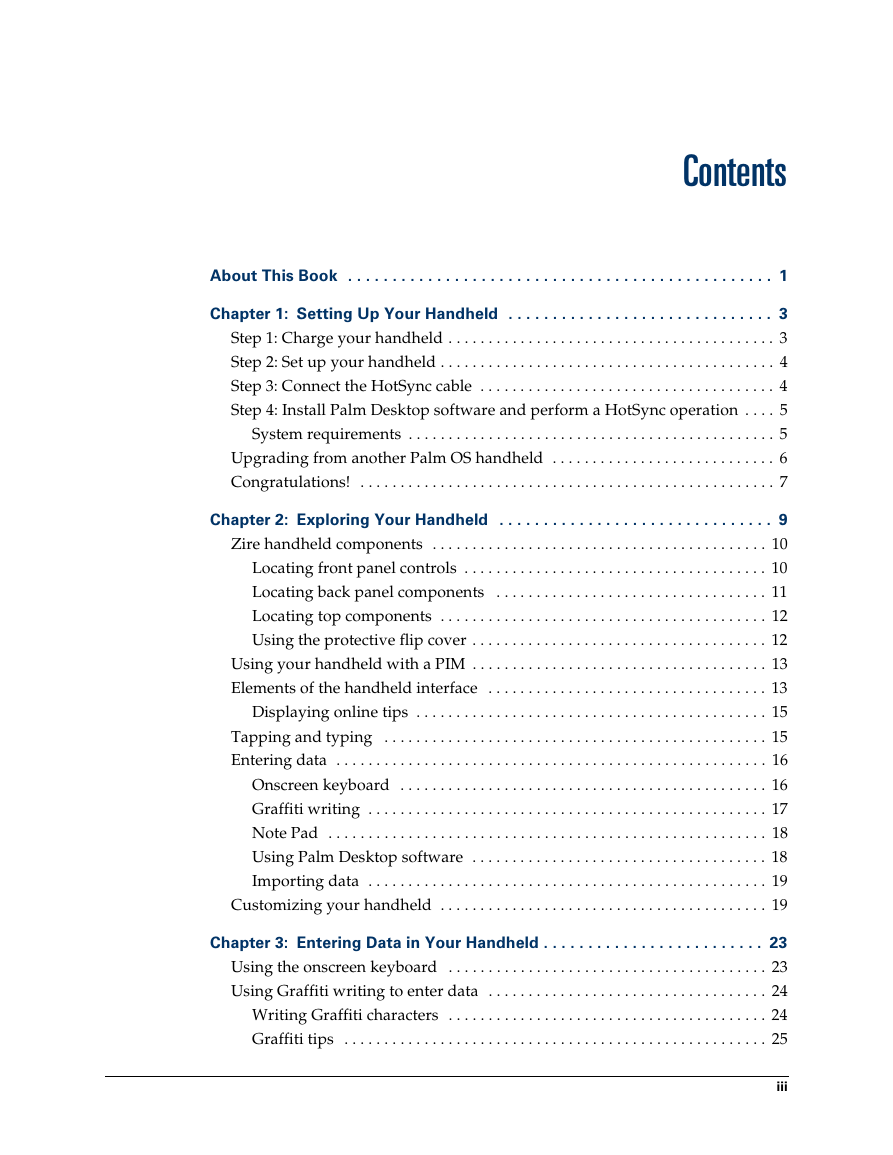
Contents
About This Book
Setting Up Your Handheld
Step 1: Charge your handheld
Step 2: Set up your handheld
Step 3: Connect the HotSync cable
To connect the HotSync cable:
Step 4: Install Palm�Desktop software and perform a HotSync operation
To install software:
To perform a HotSync operation:
System requirements
Minimum requirements: Windows
Minimum requirements: Mac
Upgrading from another Palm OS handheld
Congratulations!
To open the Basic Skills tutorial:
Exploring Your Handheld
Zire handheld components
Locating front panel controls
Locating back panel components
Locating top components
Using the protective flip cover
To attach the cover:
To remove the cover:
Using your handheld with a PIM
Elements of the handheld interface
Displaying online tips
To display an online tip:
Tapping and typing
Entering data
Onscreen keyboard
Graffiti writing
To open Memo Pad:
Note Pad
Using Palm�Desktop software
Importing data
Customizing your handheld
To open the Preferences screens:
To set the date:
To set the time:
To set the time zone:
To set the daylight saving switch:
Entering Data in Your Handheld
Using the onscreen keyboard
To use the onscreen keyboard:
Using Graffiti writing to enter data
Writing Graffiti characters
There are four basic concepts for success with Graffiti writing:
To write Graffiti letters:
Graffiti tips
The Graffiti® alphabet
Writing capital letters
To draw the first letter of a word as a capital letter:
To enter only capital letters (Caps Lock):
Writing numbers
Graffiti numbers
Writing punctuation marks
Additional Graffiti punctuation
Writing symbols and extended characters
Writing accented characters
Accent strokes
Additional non-English characters
Navigation strokes
Graffiti ShortCuts
Using Note Pad
To use Note Pad:
Beaming data
To select a business card:
To beam a record, business card, or category of records:
To beam an application:
To receive beamed information:
Tips on beaming information
Using your computer keyboard
Importing data
Importing data from a Windows computer
To import data from a Windows computer:
Importing data from a Mac
To import data from a Mac:
Working with Applications
Opening applications
To open an application on your handheld:
Switching between applications
Categorizing applications
To categorize an application:
To display applications by category:
Changing the Applications Launcher display
To change the Applications Launcher display:
To open the Applications Launcher to the last opened category:
Using menus
To open the menu bar:
Choosing a menu
Graffiti menu commands
Choosing application preferences
To change preferences for an application:
Common tasks
Creating records
To create a record:
Editing records
Entering text
Edit menu
To select text in an application:
Deleting records
To delete a record:
Other ways to delete records
Purging records
To purge records:
Categorizing records
System-defined and user-defined categories
To move a record into a category:
To display a category of records:
To define a new category:
To rename a category:
Finding information
Using Find
To use Find:
Using Phone Lookup
To use Phone Lookup:
Phone Lookup tips
Looking up Address Book records
To look up an Address Book record:
Looking up names to add to Expense records
To add names to an Expense record:
Sorting lists of records
To sort records in To Do List and Expense:
To sort records in Address Book, Note Pad, and Memo Pad:
Attaching notes
To attach a note to a record:
To review or edit a note:
To delete a note:
Choosing fonts
To change the font style:
Reviewing Reminders
To respond to reminders, do one of the following:
Receiving reminders from Palm�Desktop software
To enable an event alert from Palm�Desktop software:
Hiding or masking private records
Installing and removing applications
Installing add-on applications
To install add-on software on your handheld using a Windows�computer:
To install add-on software on your handheld using a Mac:
Removing applications
To remove an add-on application:
Removing Palm�Desktop software
To remove Palm�Desktop software from a Windows computer:
To remove Palm�Desktop software from a Mac:
Using Address Book
To open Address Book:
Creating an Address Book entry
To create a new Address Book entry:
Selecting types of phone numbers
To select other types of phone numbers in an entry:
Changing address entry details
To open the address entry details dialog box:
Address Book menus
Record menus
Options menus
Using Calculator
To open Calculator:
Performing Calculations
Recent Calculations
To display recent calculations:
Calculator menu
Options menus
Using Clock
To open Clock:
Viewing the time
Setting an alarm
To set an alarm:
Clock menus
Options menu
Using Date Book
To open Date Book:
Scheduling an event
To schedule an event for the current day:
To schedule an event for another day:
To schedule an untimed event:
Rescheduling an event
To reschedule an event:
Setting an alarm for an event
To set an alarm for an event:
Setting an alarm for an untimed event
Scheduling repeating or continuous events
To schedule a repeating or continuous event:
Changing repeating or continuous events
To delete repeating events:
Considerations for repeating or continuous events
Changing the Date Book view
To cycle through Day, Week, Month, and Agenda views:
To display the current time:
Working in Week View
To display the Week View:
Tips for using Week View
Working in Month View
Tips for using Month View
Working in Agenda View
To display the Agenda View:
Spotting event conflicts
Date Book menus, preferences, and display options
Record menu
Options menu
Using Expense
To open Expense:
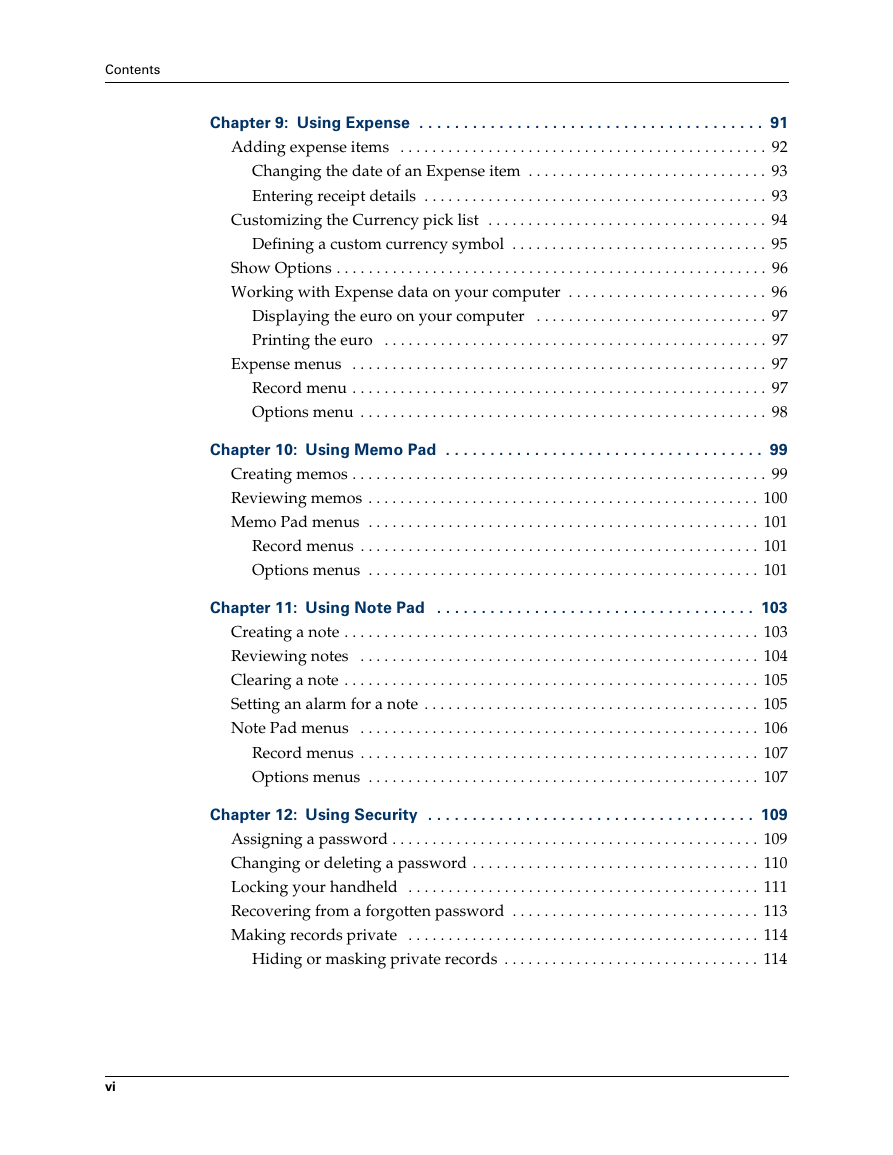
Adding expense items
Changing the date of an Expense item
To change the date of an Expense item:
Entering receipt details
To open the Receipt Details dialog box:
Customizing the Currency pick list
To customize the Currency pick list:
To change your default currency:
Defining a custom currency symbol
To define a custom currency symbol:
Show Options
To open the Show Options dialog box:
Working with Expense data on your computer
Displaying the euro on your computer
Printing the euro
Expense menus
Record menu
Options menu
Using Memo Pad
To open Memo Pad:
Creating memos
To create a new memo:
Reviewing memos
To review a memo:
Memo Pad menus
Record menus
Options menus
Using Note Pad
To open Note Pad:
Creating a note
To create a new note:
Reviewing notes
To review a note:
Clearing a note
To clear a note:
Setting an alarm for a note
To set an alarm for a note:
Note Pad menus
Record menus
Options menus
Using Security
To open Security:
Assigning a password
To assign a password:
Changing or deleting a password
To change or delete your password:
Locking your handheld
Locking your handheld automatically
To set your handheld to lock when you turn it off:
To set your handheld to lock at a preset time:
To set your handheld to lock after a period of inactivity:
Locking your handheld manually
To lock and turn off your handheld:
Recovering from a forgotten password
To delete a forgotten password:
Making records private
Hiding or masking private records
To hide all private records:
To mask all private records:
To display all private records:
To unmask individual records:
To make a record private:
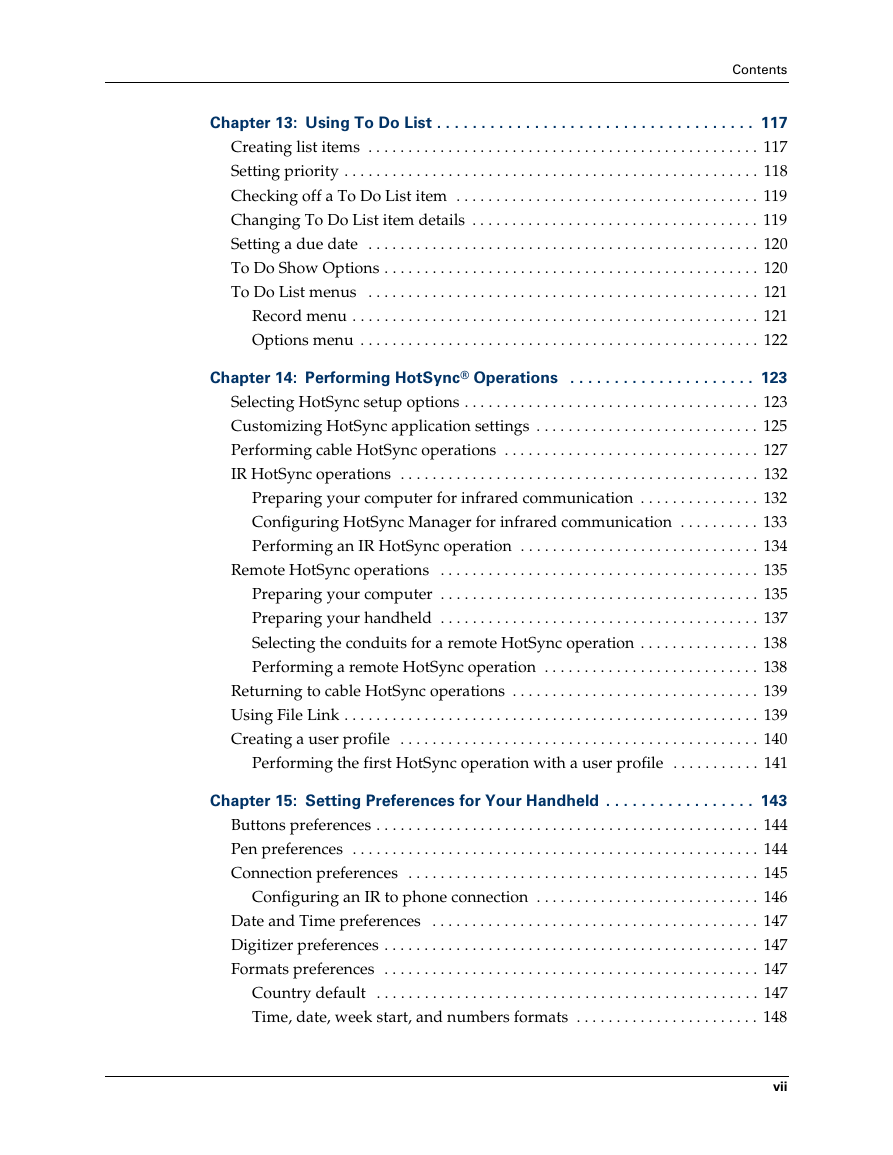
Using To Do List
To open To Do List:
Creating list items
To create a To Do List item:
Setting priority
To set the priority of a To Do List item:
Checking off a To Do List item
To check off a To Do List item:
Changing To Do List item details
To display the To Do Item Details dialog box:
Setting a due date
To set a due date for a To Do List item:
To Do Show Options
To change the Show Options settings:
To Do List menus
Record menu
Options menu
Performing HotSync® Operations
Selecting HotSync setup options
To set the HotSync options on a Windows computer:
To set the HotSync options on a Mac:
Customizing HotSync application settings
To customize HotSync application settings on a Windows�computer:
To customize HotSync application settings on a Mac:
Performing cable HotSync operations
Performing a HotSync operation for the first time: Windows
To perform a local HotSync operation on a Windows computer:
Performing a HotSync operation for the first time: Mac
To perform a local HotSync operation on a Mac:
IR HotSync operations
Preparing your computer for infrared communication
Configuring HotSync Manager for�infrared�communication
To configure HotSync Manager for infrared communication on�a�Windows�computer:
To configure HotSync Manager for infrared communication on�a�Mac:
Performing an IR HotSync operation
To perform an IR HotSync operation:
Remote HotSync operations
Preparing your computer
To prepare your Windows computer for a remote HotSync�operation:
To prepare a Mac for a remote HotSync operation:
Preparing your handheld
To prepare your handheld for a remote HotSync operation:
Selecting the conduits for a remote HotSync operation
To change the Conduit Setup for a remote HotSync operation:
Performing a remote HotSync operation
To perform a remote HotSync operation:
Returning to cable HotSync operations
To return to cable HotSync operations on a Windows�computer:
To return to cable HotSync operations on a Mac:
Using File Link
Creating a user profile
To create a user profile on a Windows computer:
To create a user profile on a Mac:
Performing the first HotSync operation with a�user�profile
To use a profile for the first-time HotSync operation on�a�Windows�computer:
To use a profile for the first-time HotSync operation on�a�Mac:
Setting Preferences for Your�Handheld
To open the Preferences screens:
Buttons preferences
To change the Buttons preferences:
Pen preferences
To change the Pen preferences:
Connection preferences
Configuring an IR to phone connection
To edit the IR to Phone connection:
Date and Time preferences
Digitizer preferences
Formats preferences
Country default
To set the country default:
Time, date, week start, and numbers formats
To select the time, date, week start, and numbers format:
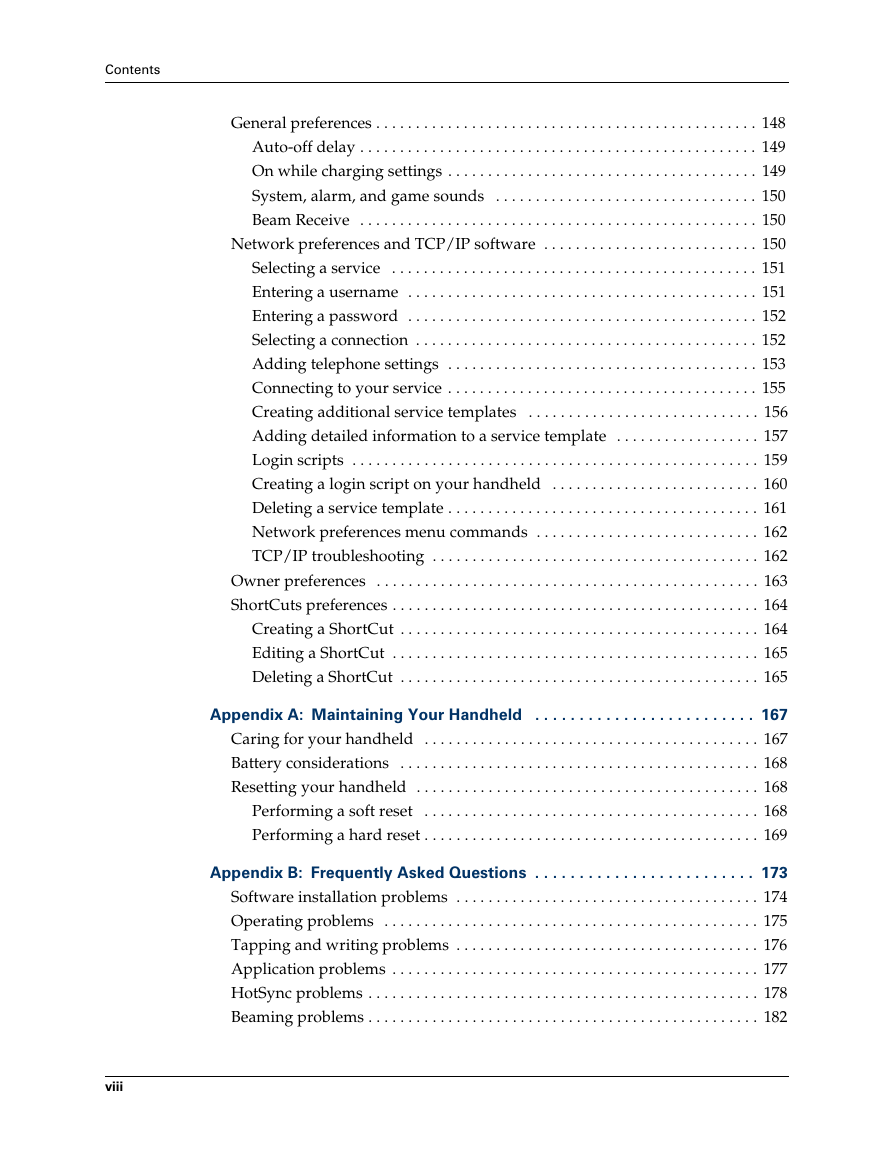
General preferences
Auto-off delay
To set the Auto-off delay:
On while charging settings
To change the on while charging settings:
System, alarm, and game sounds
To set the system and alarm sounds:
Beam Receive
To change the Beam Receive setting:
Network preferences and TCP/IP software
Selecting a service
To select a service:
Entering a username
To enter a username:
Entering a password
To enter a password:
Selecting a connection
To select a connection:
Adding telephone settings
To enter your server phone number:
Entering a prefix
To enter a prefix:
Disabling call waiting
To disable call waiting:
Using a calling card
To use a calling card:
Connecting to your service
To establish a connection:
To close a connection:
Creating additional service templates
To add a new service template:
To duplicate an existing service template:
Adding detailed information to a service�template
To select a connection type:
Idle timeout
To set the Idle timeout:
Defining primary and secondary DNS
To enter a primary and secondary DNS:
IP address
To identify dynamic IP addressing:
To enter a permanent IP address:
Login scripts
Creating a login script on your handheld
To create a login script:
Deleting a service template
To delete a service template:
Network preferences menu commands
Service menu
Options menu
TCP/IP troubleshooting
Displaying expanded Service Connection Progress messages
Viewing the Network Log
To view the Network Log:
Adding a DNS number
Owner preferences
To enter the Owner preferences:
To unlock the Owner Preferences screen:
ShortCuts preferences
Creating a ShortCut
To create a ShortCut:
Editing a ShortCut
To edit a ShortCut:
Deleting a ShortCut
To delete a ShortCut:
Maintaining Your Handheld
Caring for your handheld
Battery considerations
Resetting your handheld
Performing a soft reset
To perform a soft reset:
Performing a hard reset
To perform a hard reset:
To restore your data from a Windows computer after�a�hard�reset:
To restore your data from a Mac after a hard reset:
Frequently Asked Questions
Software installation problems
Operating problems
Tapping and writing problems
Application problems
HotSync problems
Beaming problems
Password problems
Technical support
To find version and memory information:
Non-ASCII Characters for�Login�Scripts
Use of ^char
Carriage return and line feed
Literal characters
Examples:
Product Regulatory and Safety Information
Varning
Advarsel!
Varoitus
Advarsel
Waarschuwing!
Uwaga
Index



 2023年江西萍乡中考道德与法治真题及答案.doc
 2012年重庆南川中考生物真题及答案.doc
 2013年江西师范大学地理学综合及文艺理论基础考研真题.doc
 2020年四川甘孜小升初语文真题及答案I卷.doc
 2020年注册岩土工程师专业基础考试真题及答案.doc
 2023-2024学年福建省厦门市九年级上学期数学月考试题及答案.doc
 2021-2022学年辽宁省沈阳市大东区九年级上学期语文期末试题及答案.doc
 2022-2023学年北京东城区初三第一学期物理期末试卷及答案.doc
 2018上半年江西教师资格初中地理学科知识与教学能力真题及答案.doc
 2012年河北国家公务员申论考试真题及答案-省级.doc
 2020-2021学年江苏省扬州市江都区邵樊片九年级上学期数学第一次质量检测试题及答案.doc
 2022下半年黑龙江教师资格证中学综合素质真题及答案.doc