logo资料库

惠普一体机-PSC 500系列说明书.pdf

第1页 / 共40页
第2页 / 共40页
第3页 / 共40页
第4页 / 共40页
第5页 / 共40页
第6页 / 共40页
第7页 / 共40页
第8页 / 共40页
资料共40页,剩余部分请下载后查看
Basic Operations
HP PSC 500
BasicOperationsGuide
HP PSC 500
©Copyright Hewlett-Packard Company 1999
Note: Regulatory information can be found in Chapter 6 of the HP PSC 500 CustomerCareGuide.
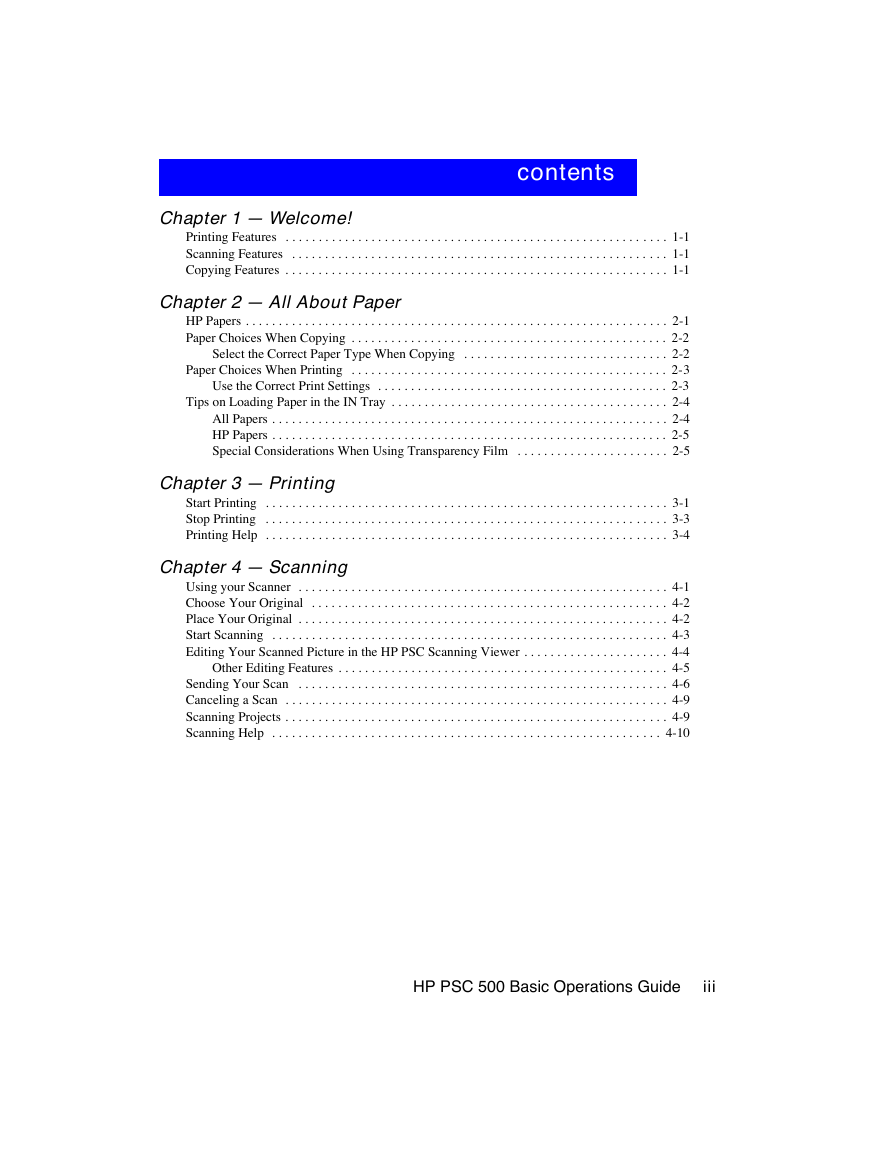
Chapter 1 — Welcome!
Chapter 2 — All About Paper
Chapter 3 — Printing
Chapter 4 — Scanning
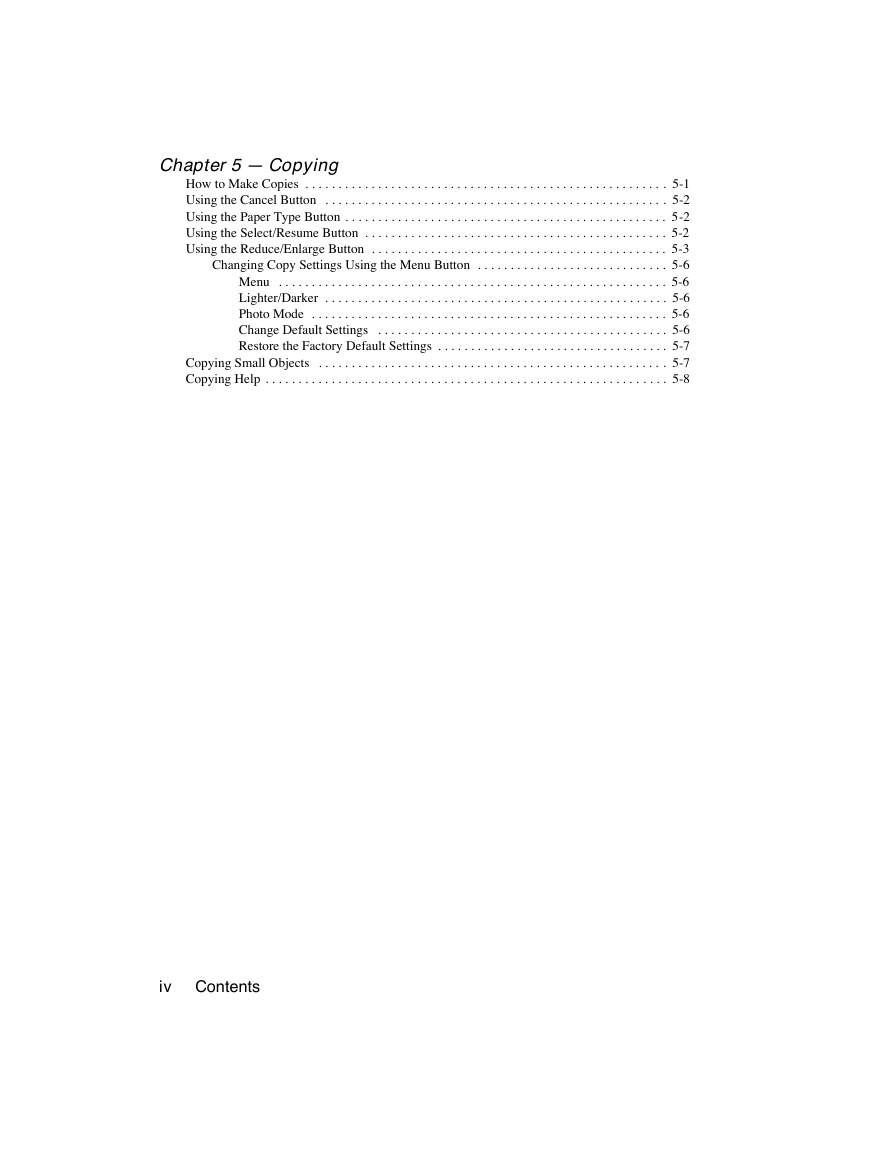
Chapter 5 — Copying
Welcome!
1
Printing Features
Scanning Features
Copying Features
All About Paper
2
HPPapers
Paper Choices When Copying
Select the Correct Paper Type When Copying
To Copy on this Paper
Select this Paper Type
Paper Choices When Printing
Use the Correct Print Settings
1 From the File menu of your program, choose Print, and then click Properties.
2 Click the Select Paper Type button.
3 Choose the appropriate paper type category.
4 Choose the appropriate paper type option, if available.
Tips on Loading Paper in the IN Tray
All Papers
HP Papers
Special Considerations When Using Transparency Film
Printing
3
Start Printing
1 If it is not already on, turn on the HPPSC 500 by pressing the white button located on the lef...
2 Load paper into the bottom (IN) tray.
3 Change the print settings as necessary:
a In your program’s File menu, select Print, Print Setup, or Page Setup.
b Make sure the printer name is set to HPPSC 500, and then select the print range and the number...
c To change any other print settings, click Properties, Printer Setup, or Printer in your program...
d In the Setup tab, change the Print Quality, Paper Size, and Paper Type settings as needed, and ...
e When you are sure that the settings in the Print dialog box are correct, go to your program’s F...
Stop Printing
1 On the Windows taskbar, click Start, point to Settings, then select Printers.
2 Double-click the HPPSC 500 icon.
3 From the list, select the document you want to cancel.
4 From the Document menu, select Cancel Printing (Windows 95/98) or Cancel (Windows NT 4.0).
Printing Help
Scanning
4
Using your Scanner
Choose Your Original
Place Your Original
Start Scanning
Editing Your Scanned Picture in the HP PSC Scanning Viewer
Other Editing Features
Sending Your Scan
1 Click the Creative Photo Printing button.
2 From the What to Print menu, select a project.
3 Place your paper in the IN tray.
4 Click Print.
1 Click the Picture to Program button.
2 Click OK to close the window.
3 Open another program or document.
4 Place your cursor in the location where you want your scanned picture.
5 Paste your scanned picture. Use the Ctrl-V shortcut or choose Paste from your program’s menu.
6 Close the HP PSC Scanning viewer or click New Scan to begin another scan.
1 Click the Text to Another Program button.
2 Click OK to close the window.
3 Open another program or document.
4 Place your cursor in the location where you want your text.
5 Paste your text. Use the Ctrl-V shortcut or choose Paste from your program’s menu.
6 Close the HP PSC Scanning viewer or click New Scan to begin another scan.
Canceling a Scan
Scanning Projects
Scanning Help
Copying
5
How to Make Copies
1 Turn on the HPPSC 500 by pressing the white button located on the left side of the unit’s fron...
2 Place your original face down on the glass with the top edge along the green border. If the ori...
3 To change the number of copies, press the minus(–) or plus(+) button until the correct number a...
4 If you want to change the size of the copy, refer to the section, “Using the Reduce/Enlarge But...
5 Press the Copy button to make copies.
Using the Cancel Button
Using the Paper Type Button
1 Press the Paper Type button.
2 Press the minus(–) or plus(+) button to scroll through the list of paper types.
3 After the paper type you are using appears on the frontpanel display, press Select/Resume.
Using the Select/Resume Button
Using the Reduce/Enlarge Button
1 Press Reduce/Enlarge until the setting you want appears on the display.
2 Press Select/Resume to select the new Reduce/Enlarge setting.
1 Press Reduce/Enlarge until Clone appears, and then press Select/Resume.
2 Press the Copy button.
1 Place the short side of the photo against the green strip next to the white arrow.
2 Press the Reduce/Enlarge button until Clone appears, then press Select/Resume.
3 Press minus (-) until the percentage next to Clone reads 55%.
4 Press the Copy button.
CopySmart Digital Copying Features
Changing Copy Settings Using the Menu Button
Menu
Lighter/Darker
1 Press Menu until Lighter/Darker appears, and then press the Select/ Resume button.
2 Press the minus(–) or plus(+) button to make the copy lighter or darker.
3 Press Select/Resume to confirm your selection.
Photo Mode
1 Press Menu until Photo Mode (– +) m appears.
2 Press the plus (+) button to select Photo Mode.
3 Press Select/Resume to confirm your selection.
Change Default Settings
1 Set all options the way you want them.
2 Press Menu until Set Defaults appears.
3 Press Select/Resume to confirm your selection.
Restore the Factory Default Settings
1 Press the Menu button until Factory Defaults appears.
2 Press Select/Resume to confirm your selection.
Copying Small Objects
Copying Help
Numerics
A
B
C
D
E
F
G
H
I
L
M
N
O
P
R
S
T
W
Z
Visit us on the World Wide Web
http://www.hp.com/go/all-in- one
• Updated Drivers
• User Forums
• Product Information
• Frequently Asked Questions
• Productivity Tools
*C7281-90101*
*C7281-90101*
C7281-90101
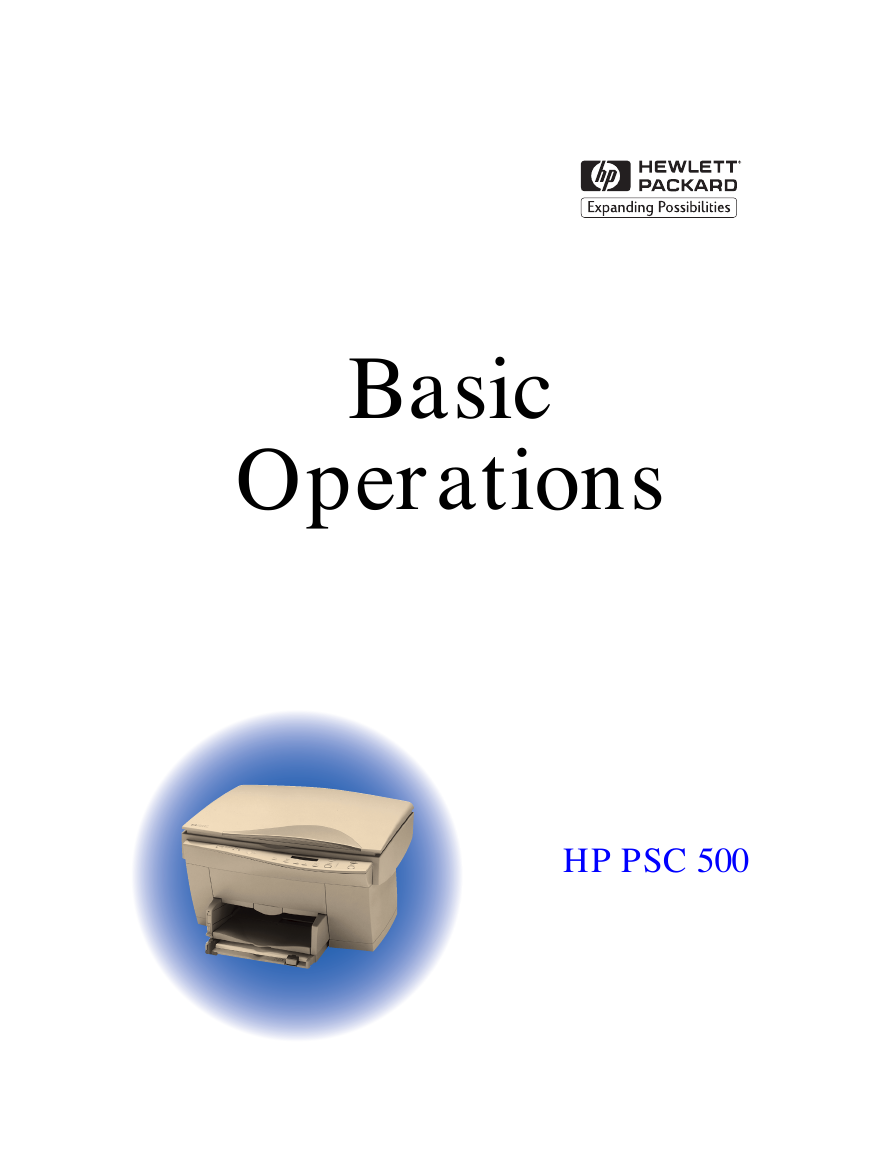
Basic Operations HP PSC 500
Basic Operations Guide HP PSC 500
©Copyright Hewlett-Packard Company 1999 All rights are reserved. No part of the document may be photocopied, reproduced, or translated to another language without the prior written consent of Hewlett-Packard Company. Publication number: C7281-90101 First edition: July 1999 Printed in U.S.A., Germany, or Singapore. Acknowledgments MS-DOS®, Windows®, and Internet Explorer are registered trademarks of Microsoft Corporation. Intel® and Pentium® are registered trademarks of Intel Corporation. Readiris™is a trademark of I.R.I.S. corporation. Notice The information contained in this document is subject to change without notice and should not be construed as a commitment by the Hewlett-Packard Company. Hewlett-Packard assumes no responsibility for any errors that may appear in this document, nor does it make expressed or implied warranty of any kind with regard to this material, including, but not limited to, the implied warranties of merchantability and fitness for a particular purpose. The Hewlett-Packard Company shall not be liable for incidental or consequential damages in connection with, or arising out of the furnishing, performance, or use of this document and the program material which it describes. Note: Regulatory information can be found in Chapter 6 of the HP PSC 500 Customer Care Guide. It is not lawful in many places to make copies of the following items. When in doubt, check with a legal representative first. u Governmental paper or documents: - Passports - Immigration papers - Selective service papers - Identification badges, cards, or insignias u Governmental stamps: - Postage stamps - Food stamps u Checks or drafts drawn on Governmental agencies u Paper currency, traveler’s checks, or money orders u Certificates of deposit u Copyrighted works
contents Chapter 1 — Welcome! Printing Features . . . . . . . . . . . . . . . . . . . . . . . . . . . . . . . . . . . . . . . . . . . . . . . . . . . . . . . . . . 1-1 Scanning Features . . . . . . . . . . . . . . . . . . . . . . . . . . . . . . . . . . . . . . . . . . . . . . . . . . . . . . . . . 1-1 Copying Features . . . . . . . . . . . . . . . . . . . . . . . . . . . . . . . . . . . . . . . . . . . . . . . . . . . . . . . . . . 1-1 Chapter 2 — All About Paper HP Papers . . . . . . . . . . . . . . . . . . . . . . . . . . . . . . . . . . . . . . . . . . . . . . . . . . . . . . . . . . . . . . . . 2-1 Paper Choices When Copying . . . . . . . . . . . . . . . . . . . . . . . . . . . . . . . . . . . . . . . . . . . . . . . . 2-2 Select the Correct Paper Type When Copying . . . . . . . . . . . . . . . . . . . . . . . . . . . . . . . 2-2 Paper Choices When Printing . . . . . . . . . . . . . . . . . . . . . . . . . . . . . . . . . . . . . . . . . . . . . . . . 2-3 Use the Correct Print Settings . . . . . . . . . . . . . . . . . . . . . . . . . . . . . . . . . . . . . . . . . . . . 2-3 Tips on Loading Paper in the IN Tray . . . . . . . . . . . . . . . . . . . . . . . . . . . . . . . . . . . . . . . . . . 2-4 All Papers . . . . . . . . . . . . . . . . . . . . . . . . . . . . . . . . . . . . . . . . . . . . . . . . . . . . . . . . . . . . 2-4 HP Papers . . . . . . . . . . . . . . . . . . . . . . . . . . . . . . . . . . . . . . . . . . . . . . . . . . . . . . . . . . . . 2-5 Special Considerations When Using Transparency Film . . . . . . . . . . . . . . . . . . . . . . . 2-5 Chapter 3 — Printing Start Printing . . . . . . . . . . . . . . . . . . . . . . . . . . . . . . . . . . . . . . . . . . . . . . . . . . . . . . . . . . . . . 3-1 Stop Printing . . . . . . . . . . . . . . . . . . . . . . . . . . . . . . . . . . . . . . . . . . . . . . . . . . . . . . . . . . . . . 3-3 Printing Help . . . . . . . . . . . . . . . . . . . . . . . . . . . . . . . . . . . . . . . . . . . . . . . . . . . . . . . . . . . . . 3-4 Chapter 4 — Scanning Using your Scanner . . . . . . . . . . . . . . . . . . . . . . . . . . . . . . . . . . . . . . . . . . . . . . . . . . . . . . . . 4-1 Choose Your Original . . . . . . . . . . . . . . . . . . . . . . . . . . . . . . . . . . . . . . . . . . . . . . . . . . . . . . 4-2 Place Your Original . . . . . . . . . . . . . . . . . . . . . . . . . . . . . . . . . . . . . . . . . . . . . . . . . . . . . . . . 4-2 Start Scanning . . . . . . . . . . . . . . . . . . . . . . . . . . . . . . . . . . . . . . . . . . . . . . . . . . . . . . . . . . . . 4-3 Editing Your Scanned Picture in the HP PSC Scanning Viewer . . . . . . . . . . . . . . . . . . . . . . 4-4 Other Editing Features . . . . . . . . . . . . . . . . . . . . . . . . . . . . . . . . . . . . . . . . . . . . . . . . . . 4-5 Sending Your Scan . . . . . . . . . . . . . . . . . . . . . . . . . . . . . . . . . . . . . . . . . . . . . . . . . . . . . . . . 4-6 Canceling a Scan . . . . . . . . . . . . . . . . . . . . . . . . . . . . . . . . . . . . . . . . . . . . . . . . . . . . . . . . . . 4-9 Scanning Projects . . . . . . . . . . . . . . . . . . . . . . . . . . . . . . . . . . . . . . . . . . . . . . . . . . . . . . . . . . 4-9 Scanning Help . . . . . . . . . . . . . . . . . . . . . . . . . . . . . . . . . . . . . . . . . . . . . . . . . . . . . . . . . . . 4-10 HP PSC 500 Basic Operations Guide iii
Chapter 5 — Copying How to Make Copies . . . . . . . . . . . . . . . . . . . . . . . . . . . . . . . . . . . . . . . . . . . . . . . . . . . . . . . 5-1 Using the Cancel Button . . . . . . . . . . . . . . . . . . . . . . . . . . . . . . . . . . . . . . . . . . . . . . . . . . . . 5-2 Using the Paper Type Button . . . . . . . . . . . . . . . . . . . . . . . . . . . . . . . . . . . . . . . . . . . . . . . . . 5-2 Using the Select/Resume Button . . . . . . . . . . . . . . . . . . . . . . . . . . . . . . . . . . . . . . . . . . . . . . 5-2 Using the Reduce/Enlarge Button . . . . . . . . . . . . . . . . . . . . . . . . . . . . . . . . . . . . . . . . . . . . . 5-3 Changing Copy Settings Using the Menu Button . . . . . . . . . . . . . . . . . . . . . . . . . . . . . 5-6 Menu . . . . . . . . . . . . . . . . . . . . . . . . . . . . . . . . . . . . . . . . . . . . . . . . . . . . . . . . . . . 5-6 Lighter/Darker . . . . . . . . . . . . . . . . . . . . . . . . . . . . . . . . . . . . . . . . . . . . . . . . . . . . 5-6 Photo Mode . . . . . . . . . . . . . . . . . . . . . . . . . . . . . . . . . . . . . . . . . . . . . . . . . . . . . . 5-6 Change Default Settings . . . . . . . . . . . . . . . . . . . . . . . . . . . . . . . . . . . . . . . . . . . . 5-6 Restore the Factory Default Settings . . . . . . . . . . . . . . . . . . . . . . . . . . . . . . . . . . . 5-7 Copying Small Objects . . . . . . . . . . . . . . . . . . . . . . . . . . . . . . . . . . . . . . . . . . . . . . . . . . . . . 5-7 Copying Help . . . . . . . . . . . . . . . . . . . . . . . . . . . . . . . . . . . . . . . . . . . . . . . . . . . . . . . . . . . . . 5-8 iv Contents
Welcome! 1 Congratulations! You have purchased the one system that makes creative high quality projects convenient and easy for the whole family — the HP PSC 500. With your HP PSC 500, you can print, scan, or copy documents in full color. Printing Features You can print in color on a variety of paper types and sizes, including letter and A4-size paper, envelopes, labels, cards, banner paper — and even custom-sized letterhead or stationery. Scanning Features You can scan photos, graphics, and small objects. You can scan documents to avoid retyping. With HP PSC 500’s integrated capabilities, you can use your scanned pictures in creative photo projects, such as wallet-sized prints, t-shirt transfers, kids’ restickable stickers, and banners without additional software. Copying Features You can produce high-quality color copies using a variety of paper types, including iron-on transfers. You can enlarge or reduce the size of the copies you make from 25% to 400% of the image’s original size. You can make the image lighter or darker, and specify the quality of the copies you make. You can also use special digital copying features to help you create photo enlargements, wallet-sized copies, two sheets to a page — and even posters. HP PSC 500 Basic Operations Guide 1-1
1-2 Welcome!
分享到:
收藏