logo资料库

柯尼卡美能达打印机-PagePro 18N说明书.pdf

第1页 / 共206页
第2页 / 共206页
第3页 / 共206页
第4页 / 共206页
第5页 / 共206页
第6页 / 共206页
第7页 / 共206页
第8页 / 共206页
资料共206页,剩余部分请下载后查看
What is an ENERGY STAR@‚ Printer?
Safety Information
CE Marking (Declaration of Conformity)
Welcome
Trademark Acknowledgments
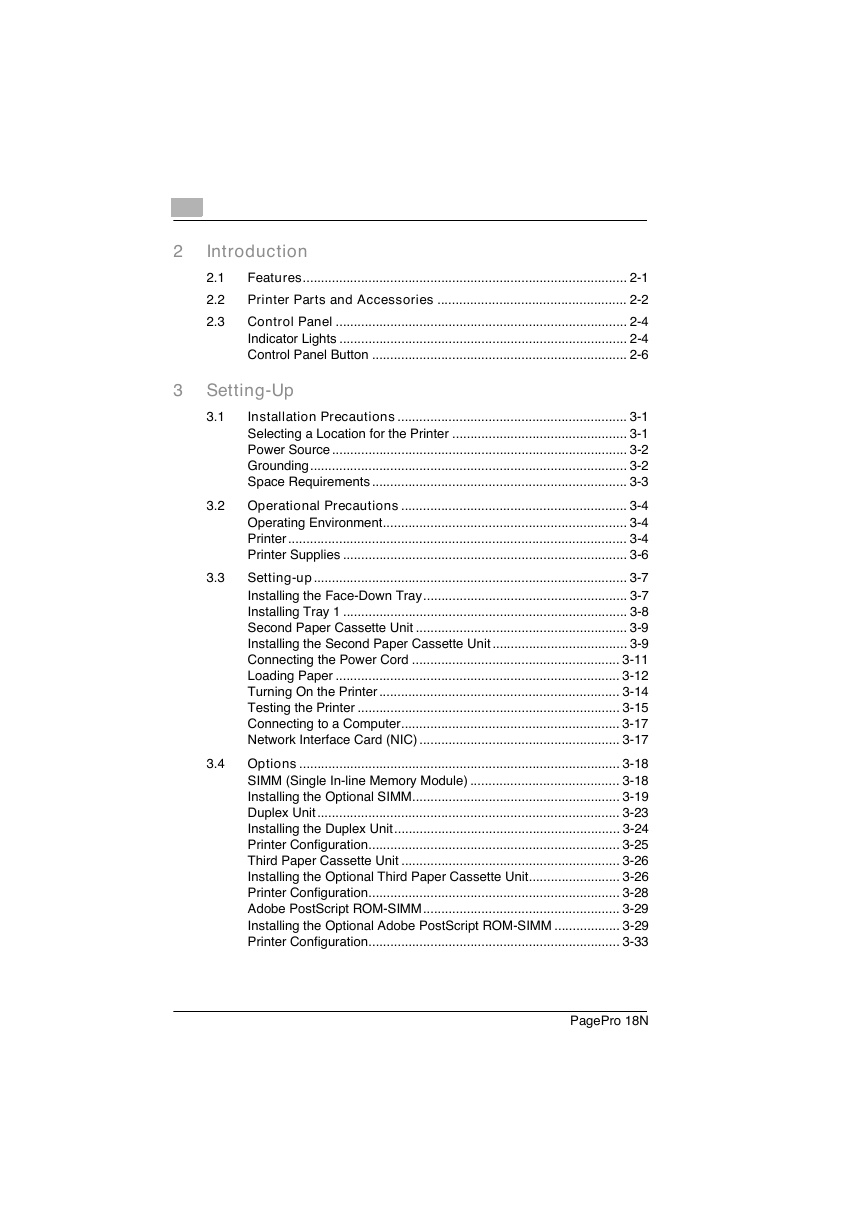
1 Quick Guide PagePro 18N
1.1 STEP 1: Unpacking the Printer
1.2 Reference 1: Printer Parts
1.3 Reference 2: Control Panel
1.4 STEP 2: Attaching the Face-Down Tray and Tray 1
1.5 STEP 3: Setting-up Tray 2
1.6 STEP 4: Loading Paper
1.7 STEP 5: Connecting the Power Cord
1.8 STEP 6: Turning the Power On/Off
Turning the power ON
Turning the power OFF
1.9 STEP 7: Printing a Configuration Page
Sample
1.10 STEP 8: Connecting the Printer to the Computer (Local Connection)
1.11 STEP 9: Installing the Printer Driver
Windows 95/98/NT4.0 – Installing from the CD-ROM
Windows 3.1 – Installing from the CD-ROM
MS-DOS – Installing DOS Printing Utilities
1.12 Reference 3: Troubleshooting
Clearing a Paper Misfeed – Outside the Printer
Clearing a Paper Misfeed – Inside the Printer
Solving Print Quality Problems
No output
2 Introduction
2.1 Features
2.2 Printer Parts and Accessories
2.3 Control Panel
Indicator Lights
Control Panel Button
3 Setting-Up
3.1 Installation Precautions
Selecting a Location for the Printer
Power Source
Grounding
Space Requirements
3.2 Operational Precautions
Operating Environment
Printer
Printer Supplies
3.3 Setting-up
Installing the Face-Down Tray
Installing Tray 1
Second Paper Cassette Unit
Installing the Second Paper Cassette Unit
Connecting the Power Cord
Loading Paper
Turning On the Printer
Testing the Printer
Connecting to a Computer
Network Interface Card (NIC)
3.4 Options
SIMM (Single In-line Memory Module)
Installing the Optional SIMM
Duplex Unit
Installing the Duplex Unit
Printer Configuration
Third Paper Cassette Unit
Installing the Optional Third Paper Cassette Unit
Printer Configuration
Adobe PostScript ROM-SIMM
Installing the Optional Adobe PostScript ROM-SIMM
Printer Configuration
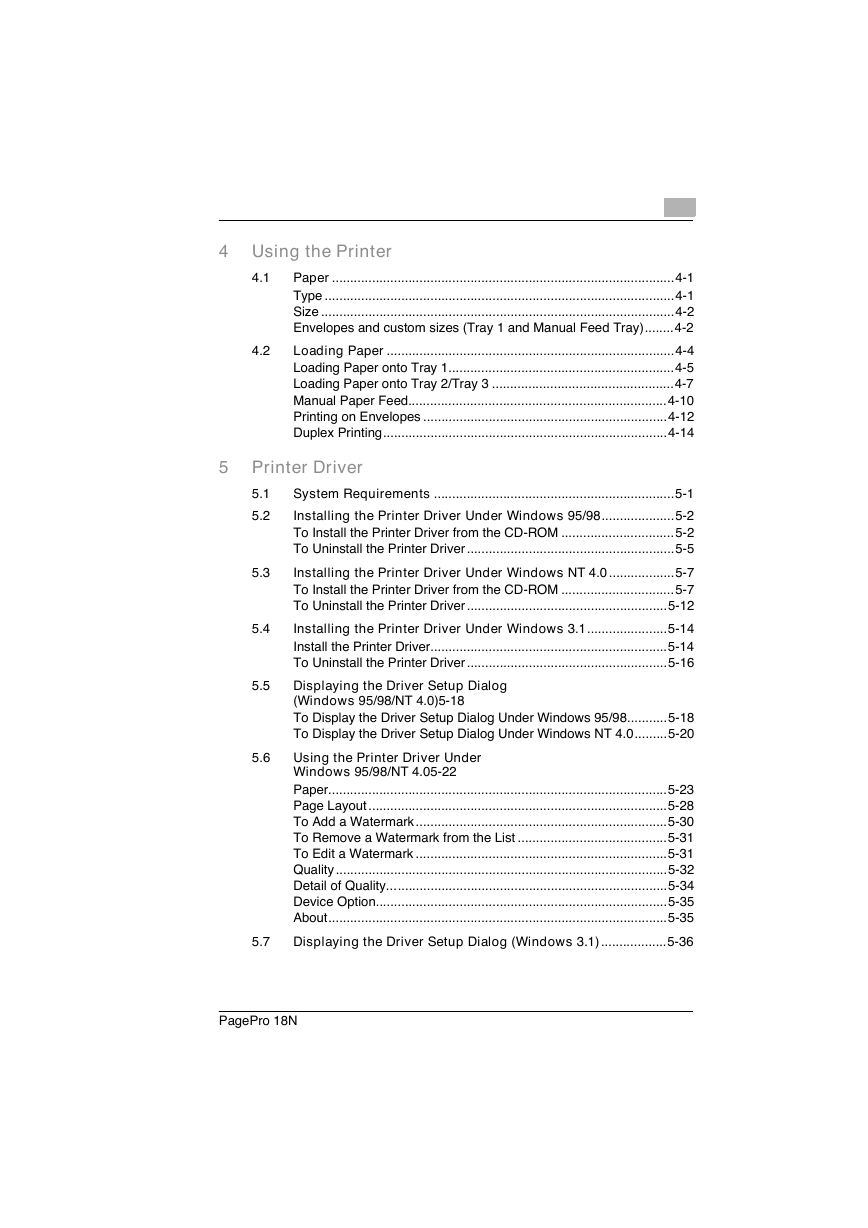
4 Using the Printer
4.1 Paper
Type
Size
Envelopes and custom sizes (Tray 1 and Manual Feed Tray)
4.2 Loading Paper
Loading Paper onto Tray 1
Loading Paper onto Tray 2/Tray 3
Manual Paper Feed
Printing on Envelopes
Duplex Printing
5 Printer Driver
5.1 System Requirements
5.2 Installing the Printer Driver Under Windows 95/98
To Install the Printer Driver from the CD-ROM
To Uninstall the Printer Driver
5.3 Installing the Printer Driver Under Windows NT 4.0
To Install the Printer Driver from the CD-ROM
To Uninstall the Printer Driver
5.4 Installing the Printer Driver Under Windows 3.1
Install the Printer Driver
To Uninstall the Printer Driver
5.5 Displaying the Driver Setup Dialog (Windows 95/98/NT 4.0)
To Display the Driver Setup Dialog Under Windows 95/98
To Display the Driver Setup Dialog Under Windows NT 4.0
5.6 Using the Printer Driver Under Windows 95/98/NT 4.0
Paper
Page Layout
To Add a Watermark
To Remove a Watermark from the List
To Edit a Watermark
Quality
Detail of Quality...
Device Option
About
5.7 Displaying the Driver Setup Dialog (Windows 3.1)
5.8 Using the Printer Driver Under Windows 3.1
Settings
Options...
5.9 DOS Printing Utilities
Installing the Printer Driver Under DOS
Loading and Unloading the Status Display
To Load the Status Display From the DOS Prompt
To Remove the Status Display From Memory
5.10 Accessing the Printer Control Panel
To Access the Printer Control Panel
To Exit the Printer Control Panel
5.11 Using the Printer Control Panel
Getting Around in the Printer Control Panel
To Print a Test Page or Demo Page
To Register Installed Options
Printer Control Panel Screens
Paper Screen
Font Selection Screen
Output Quality Screen
Counter Screen
Configuration Screen
Printer Setting Screen
5.12 Using the Status Display
To Display the Status Display
Status Display Screen
6 Printer Status Display and Control Panel
6.1 Using the Printer Status Display
Opening the Printer Status Display
Using the Printer Status Display
Switching Between the Expanded and Reduced Views
On-line Help
6.2 Using the Control Panel
Paper
Printer Setting
Test Print
Counter
Configuration
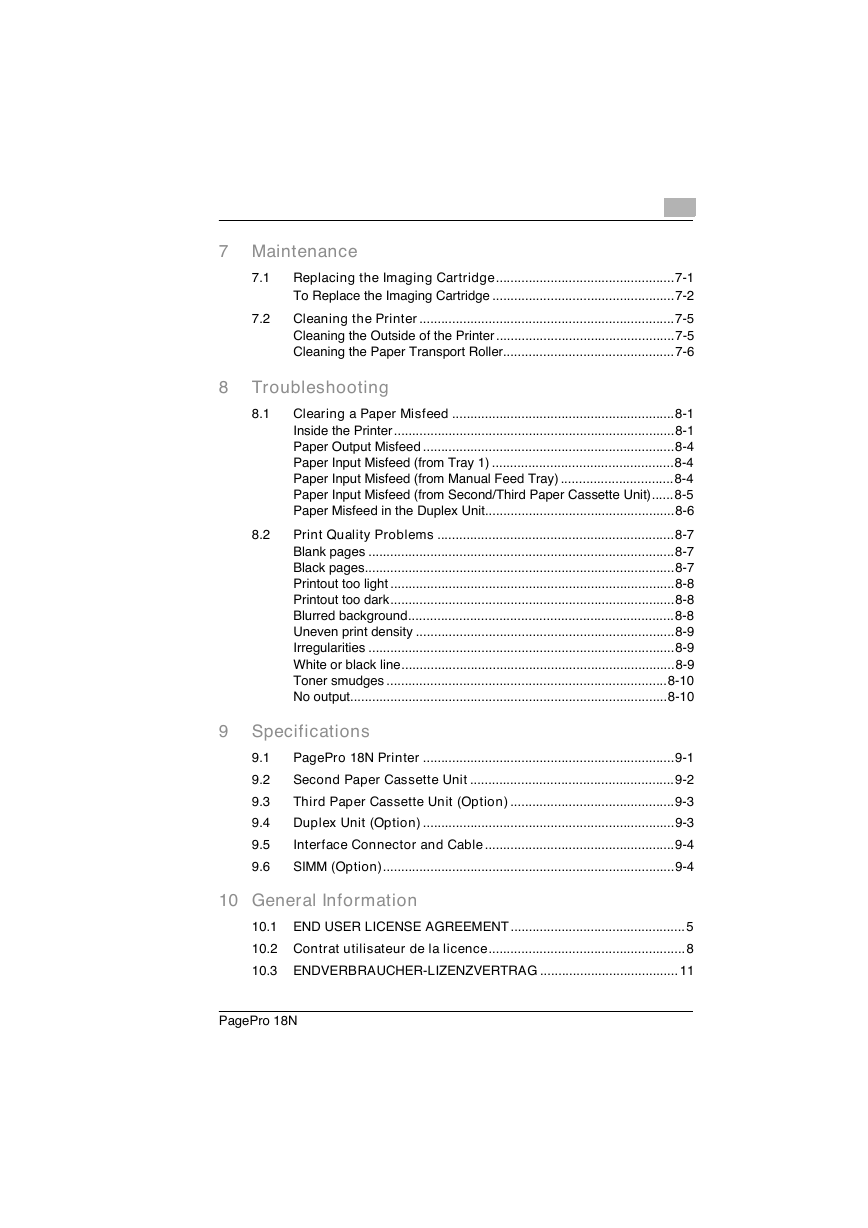
7 Maintenance
7.1 Replacing the Imaging Cartridge
To Replace the Imaging Cartridge
7.2 Cleaning the Printer
Cleaning the Outside of the Printer
Cleaning the Paper Transport Roller
8 Troubleshooting
8.1 Clearing a Paper Misfeed
Inside the Printer
Paper Output Misfeed
Paper Input Misfeed (from Tray 1)
Paper Input Misfeed (from Manual Feed Tray)
Paper Input Misfeed (from Second/Third Paper Cassette Unit)
Paper Misfeed in the Duplex Unit
8.2 Print Quality Problems
Blank pages
Black pages
Printout too light
Printout too dark
Blurred background
Uneven print density
Irregularities
White or black line
Toner smudges
No output
9 Specifications
9.1 PagePro 18N Printer
9.2 Second Paper Cassette Unit
9.3 Third Paper Cassette Unit (Option)
9.4 Duplex Unit (Option)
9.5 Interface Connector and Cable
9.6 SIMM (Option)
10 General Information
10.1 END USER LICENSE AGREEMENT
10.2 Contrat utilisateur de la licence
10.3 ENDVERBRAUCHER-LIZENZVERTRAG
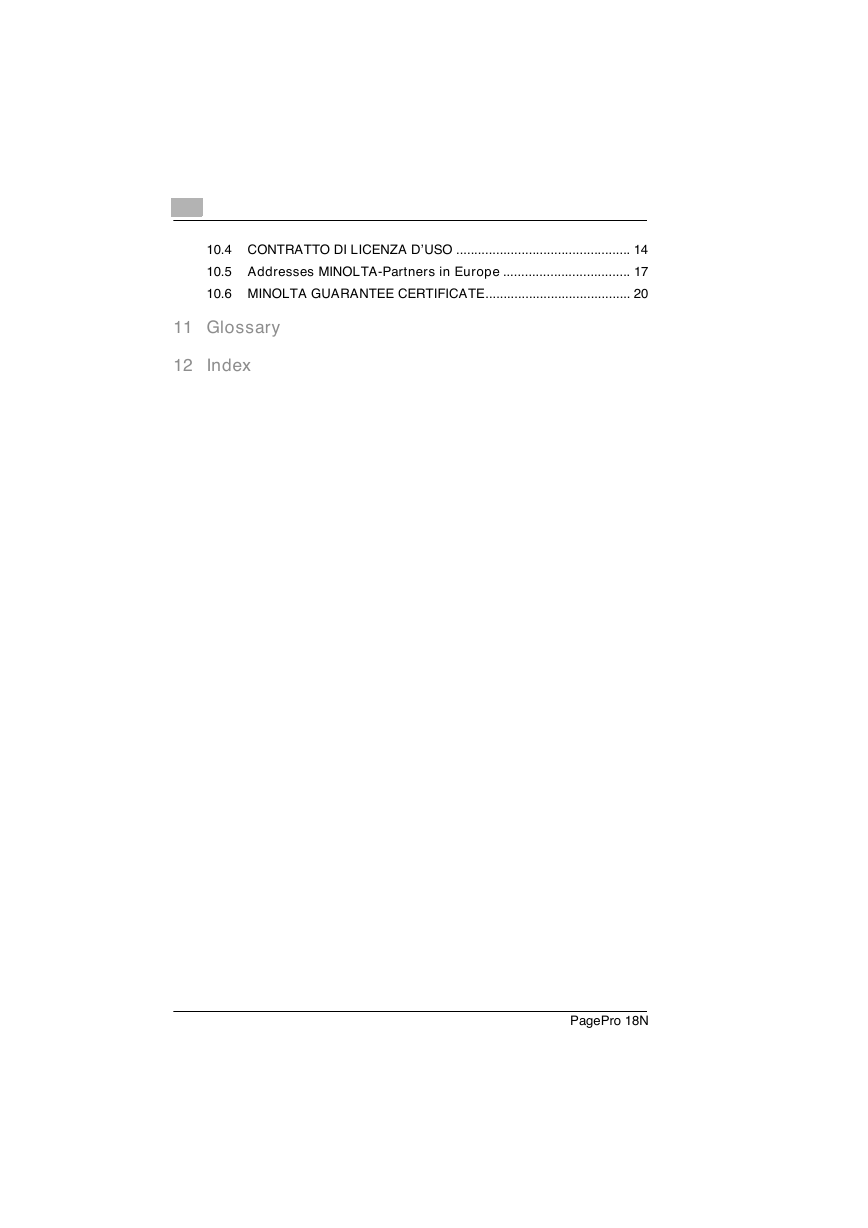
10.4 CONTRATTO DI LICENZA D’USO
10.5 Addresses MINOLTA-Partners in Europe
10.6 MINOLTA GUARANTEE CERTIFICATE
11 Glossary
12 Index
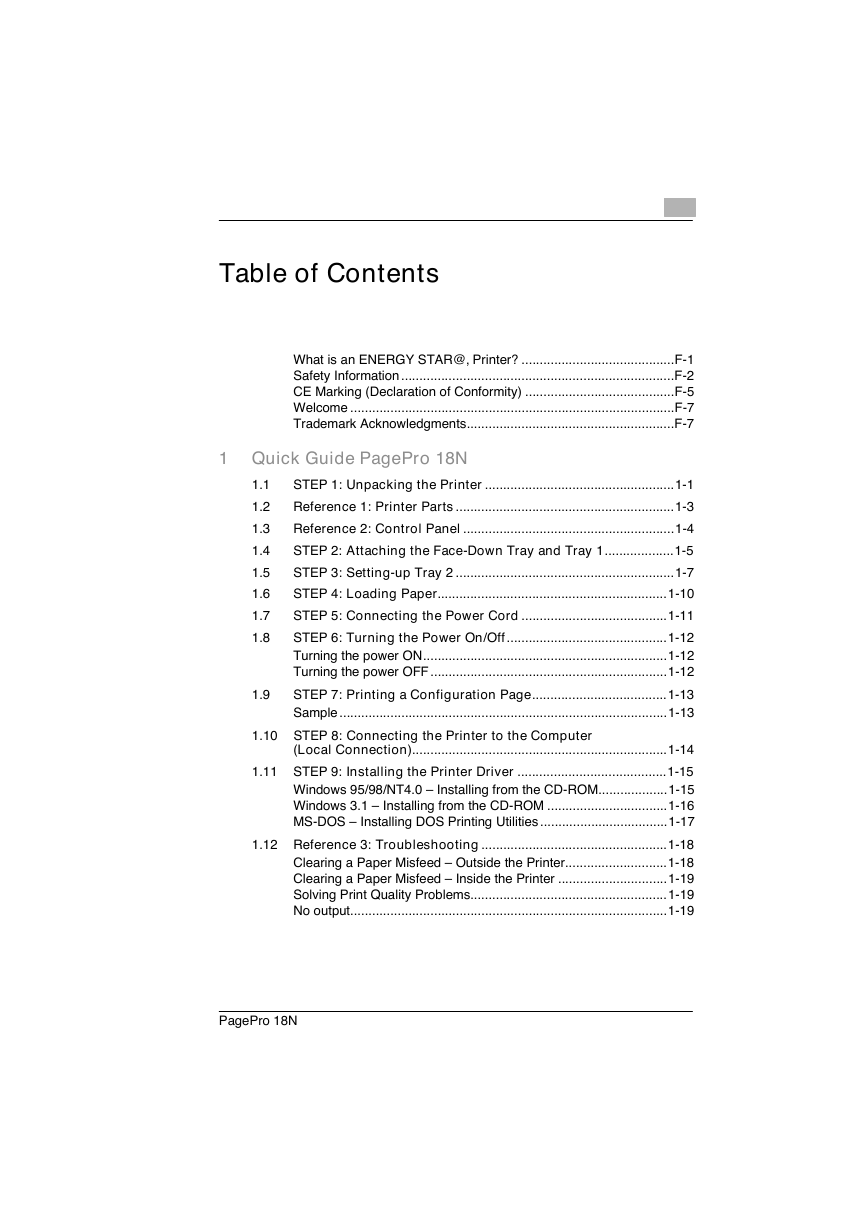
Table of Contents What is an ENERGY STAR@‚ Printer? ..........................................F-1 Safety Information ...........................................................................F-2 CE Marking (Declaration of Conformity) .........................................F-5 Welcome .........................................................................................F-7 Trademark Acknowledgments.........................................................F-7 1 Quick Guide PagePro 18N 1.1 1.2 1.3 1.4 1.5 1.6 1.7 1.8 1.9 STEP 1: Unpacking the Printer ....................................................1-1 Reference 1: Printer Parts ............................................................1-3 Reference 2: Control Panel ..........................................................1-4 STEP 2: Attaching the Face-Down Tray and Tray 1...................1-5 STEP 3: Setting-up Tray 2 ............................................................1-7 STEP 4: Loading Paper...............................................................1-10 STEP 5: Connecting the Power Cord ........................................1-11 STEP 6: Turning the Power On/Off............................................1-12 Turning the power ON...................................................................1-12 Turning the power OFF .................................................................1-12 STEP 7: Printing a Configuration Page.....................................1-13 Sample ..........................................................................................1-13 1.10 STEP 8: Connecting the Printer to the Computer (Local Connection)......................................................................1-14 1.11 STEP 9: Installing the Printer Driver .........................................1-15 Windows 95/98/NT4.0 – Installing from the CD-ROM...................1-15 Windows 3.1 – Installing from the CD-ROM .................................1-16 MS-DOS – Installing DOS Printing Utilities ...................................1-17 1.12 Reference 3: Troubleshooting ...................................................1-18 Clearing a Paper Misfeed – Outside the Printer............................1-18 Clearing a Paper Misfeed – Inside the Printer ..............................1-19 Solving Print Quality Problems......................................................1-19 No output.......................................................................................1-19 PagePro 18N -1
Introduction 2.1 2.2 2.3 Features......................................................................................... 2-1 Printer Parts and Accessories .................................................... 2-2 Control Panel ................................................................................ 2-4 Indicator Lights ............................................................................... 2-4 Control Panel Button ...................................................................... 2-6 2 3 Setting-Up 3.1 3.2 3.3 3.4 Installation Precautions ............................................................... 3-1 Selecting a Location for the Printer ................................................ 3-1 Power Source ................................................................................. 3-2 Grounding....................................................................................... 3-2 Space Requirements ...................................................................... 3-3 Operational Precautions .............................................................. 3-4 Operating Environment................................................................... 3-4 Printer ............................................................................................. 3-4 Printer Supplies .............................................................................. 3-6 Setting-up...................................................................................... 3-7 Installing the Face-Down Tray........................................................ 3-7 Installing Tray 1 .............................................................................. 3-8 Second Paper Cassette Unit .......................................................... 3-9 Installing the Second Paper Cassette Unit ..................................... 3-9 Connecting the Power Cord ......................................................... 3-11 Loading Paper .............................................................................. 3-12 Turning On the Printer .................................................................. 3-14 Testing the Printer ........................................................................ 3-15 Connecting to a Computer............................................................ 3-17 Network Interface Card (NIC) ....................................................... 3-17 Options ........................................................................................ 3-18 SIMM (Single In-line Memory Module) ......................................... 3-18 Installing the Optional SIMM......................................................... 3-19 Duplex Unit ................................................................................... 3-23 Installing the Duplex Unit.............................................................. 3-24 Printer Configuration..................................................................... 3-25 Third Paper Cassette Unit ............................................................ 3-26 Installing the Optional Third Paper Cassette Unit......................... 3-26 Printer Configuration..................................................................... 3-28 Adobe PostScript ROM-SIMM...................................................... 3-29 Installing the Optional Adobe PostScript ROM-SIMM .................. 3-29 Printer Configuration..................................................................... 3-33 -2 PagePro 18N
4 Using the Printer 4.1 4.2 Paper ..............................................................................................4-1 Type ................................................................................................4-1 Size .................................................................................................4-2 Envelopes and custom sizes (Tray 1 and Manual Feed Tray)........4-2 Loading Paper ...............................................................................4-4 Loading Paper onto Tray 1..............................................................4-5 Loading Paper onto Tray 2/Tray 3 ..................................................4-7 Manual Paper Feed.......................................................................4-10 Printing on Envelopes ...................................................................4-12 Duplex Printing..............................................................................4-14 5 Printer Driver 5.1 5.2 System Requirements ..................................................................5-1 Installing the Printer Driver Under Windows 95/98....................5-2 To Install the Printer Driver from the CD-ROM ...............................5-2 To Uninstall the Printer Driver .........................................................5-5 Installing the Printer Driver Under Windows NT 4.0 ..................5-7 To Install the Printer Driver from the CD-ROM ...............................5-7 To Uninstall the Printer Driver .......................................................5-12 Installing the Printer Driver Under Windows 3.1......................5-14 Install the Printer Driver.................................................................5-14 To Uninstall the Printer Driver .......................................................5-16 Displaying the Driver Setup Dialog (Windows 95/98/NT 4.0)5-18 To Display the Driver Setup Dialog Under Windows 95/98...........5-18 To Display the Driver Setup Dialog Under Windows NT 4.0.........5-20 Using the Printer Driver Under Windows 95/98/NT 4.05-22 Paper.............................................................................................5-23 Page Layout ..................................................................................5-28 To Add a Watermark .....................................................................5-30 To Remove a Watermark from the List .........................................5-31 To Edit a Watermark .....................................................................5-31 Quality ...........................................................................................5-32 Detail of Quality.............................................................................5-34 Device Option................................................................................5-35 About.............................................................................................5-35 Displaying the Driver Setup Dialog (Windows 3.1) ..................5-36 5.3 5.4 5.5 5.6 5.7 PagePro 18N -3
5.9 5.8 Using the Printer Driver Under Windows 3.1 ........................... 5-37 Settings......................................................................................... 5-38 Options... ...................................................................................... 5-40 DOS Printing Utilities ................................................................. 5-42 Installing the Printer Driver Under DOS........................................ 5-42 Loading and Unloading the Status Display................................... 5-42 To Load the Status Display From the DOS Prompt...................... 5-43 To Remove the Status Display From Memory.............................. 5-43 5.10 Accessing the Printer Control Panel ........................................ 5-44 To Access the Printer Control Panel ............................................ 5-44 To Exit the Printer Control Panel .................................................. 5-44 5.11 Using the Printer Control Panel ................................................ 5-45 Getting Around in the Printer Control Panel ................................. 5-45 To Print a Test Page or Demo Page ............................................ 5-45 To Register Installed Options ....................................................... 5-45 Printer Control Panel Screens ...................................................... 5-46 Paper Screen................................................................................ 5-46 Font Selection Screen .................................................................. 5-48 Output Quality Screen .................................................................. 5-49 Counter Screen ............................................................................ 5-50 Configuration Screen.................................................................... 5-51 Printer Setting Screen .................................................................. 5-52 5.12 Using the Status Display ........................................................... 5-53 To Display the Status Display....................................................... 5-53 Status Display Screen .................................................................. 5-54 Printer Status Display and Control Panel 6.1 Using the Printer Status Display................................................. 6-1 Opening the Printer Status Display ................................................ 6-1 Using the Printer Status Display..................................................... 6-2 Switching Between the Expanded and Reduced Views ................. 6-2 On-line Help.................................................................................... 6-2 Using the Control Panel............................................................... 6-3 Paper .............................................................................................. 6-4 Printer Setting................................................................................. 6-6 Test Print ........................................................................................ 6-7 Counter........................................................................................... 6-8 Configuration .................................................................................. 6-9 6.2 PagePro 18N 6 -4
7 Maintenance 7.1 7.2 Replacing the Imaging Cartridge.................................................7-1 To Replace the Imaging Cartridge ..................................................7-2 Cleaning the Printer......................................................................7-5 Cleaning the Outside of the Printer .................................................7-5 Cleaning the Paper Transport Roller...............................................7-6 8 9 Troubleshooting 8.1 8.2 Clearing a Paper Misfeed .............................................................8-1 Inside the Printer.............................................................................8-1 Paper Output Misfeed .....................................................................8-4 Paper Input Misfeed (from Tray 1) ..................................................8-4 Paper Input Misfeed (from Manual Feed Tray) ...............................8-4 Paper Input Misfeed (from Second/Third Paper Cassette Unit)......8-5 Paper Misfeed in the Duplex Unit....................................................8-6 Print Quality Problems .................................................................8-7 Blank pages ....................................................................................8-7 Black pages.....................................................................................8-7 Printout too light ..............................................................................8-8 Printout too dark..............................................................................8-8 Blurred background.........................................................................8-8 Uneven print density .......................................................................8-9 Irregularities ....................................................................................8-9 White or black line...........................................................................8-9 Toner smudges .............................................................................8-10 No output.......................................................................................8-10 Specifications 9.1 9.2 9.3 9.4 9.5 9.6 PagePro 18N Printer .....................................................................9-1 Second Paper Cassette Unit ........................................................9-2 Third Paper Cassette Unit (Option) .............................................9-3 Duplex Unit (Option) .....................................................................9-3 Interface Connector and Cable ....................................................9-4 SIMM (Option)................................................................................9-4 10 General Information 10.1 END USER LICENSE AGREEMENT ................................................5 10.2 Contrat utilisateur de la licence......................................................8 10.3 ENDVERBRAUCHER-LIZENZVERTRAG ...................................... 11 PagePro 18N -5
10.4 CONTRATTO DI LICENZA D’USO ................................................ 14 10.5 Addresses MINOLTA-Partners in Europe ................................... 17 10.6 MINOLTA GUARANTEE CERTIFICATE........................................ 20 11 Glossary 12 Index -6 PagePro 18N
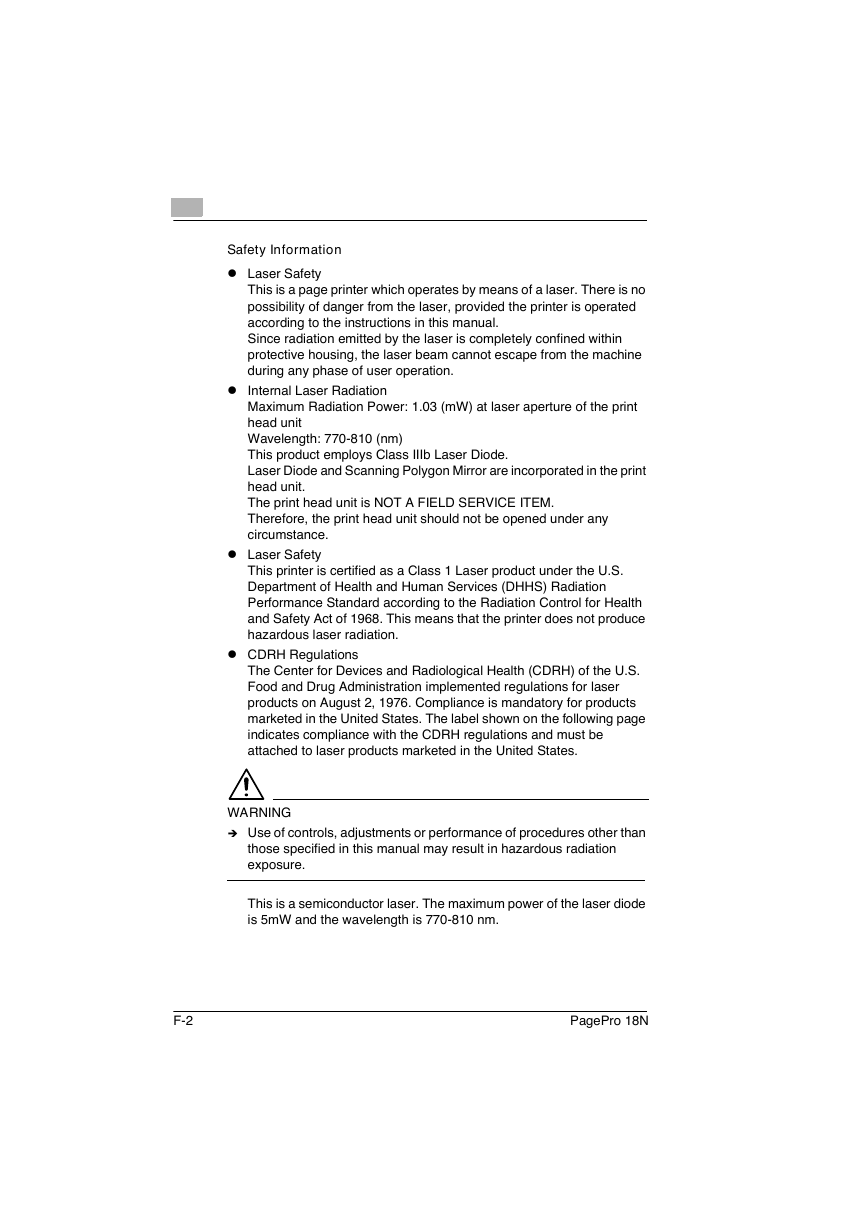
As an ENERGY STAR‚ Partner, we have determined that this machine meets the ENERGY STAR‚ Guidelines for energy efficiency. What is an ENERGY STAR@‚ Printer? ENERGY STAR‚ printers have a feature that allows them to automatically “go to sleep” after a period of inactivity. This auto-feature can reduce a machine’s annual electricity cost by 60 percent. PagePro 18N F-1
Safety Information  Laser Safety This is a page printer which operates by means of a laser. There is no possibility of danger from the laser, provided the printer is operated according to the instructions in this manual. Since radiation emitted by the laser is completely confined within protective housing, the laser beam cannot escape from the machine during any phase of user operation.  Internal Laser Radiation Maximum Radiation Power: 1.03 (mW) at laser aperture of the print head unit Wavelength: 770-810 (nm) This product employs Class IIIb Laser Diode. Laser Diode and Scanning Polygon Mirror are incorporated in the print head unit. The print head unit is NOT A FIELD SERVICE ITEM. Therefore, the print head unit should not be opened under any circumstance.  Laser Safety This printer is certified as a Class 1 Laser product under the U.S. Department of Health and Human Services (DHHS) Radiation Performance Standard according to the Radiation Control for Health and Safety Act of 1968. This means that the printer does not produce hazardous laser radiation.  CDRH Regulations The Center for Devices and Radiological Health (CDRH) of the U.S. Food and Drug Administration implemented regulations for laser products on August 2, 1976. Compliance is mandatory for products marketed in the United States. The label shown on the following page indicates compliance with the CDRH regulations and must be attached to laser products marketed in the United States. WARNING  Use of controls, adjustments or performance of procedures other than those specified in this manual may result in hazardous radiation exposure. This is a semiconductor laser. The maximum power of the laser diode is 5mW and the wavelength is 770-810 nm. F-2 PagePro 18N
分享到:
收藏