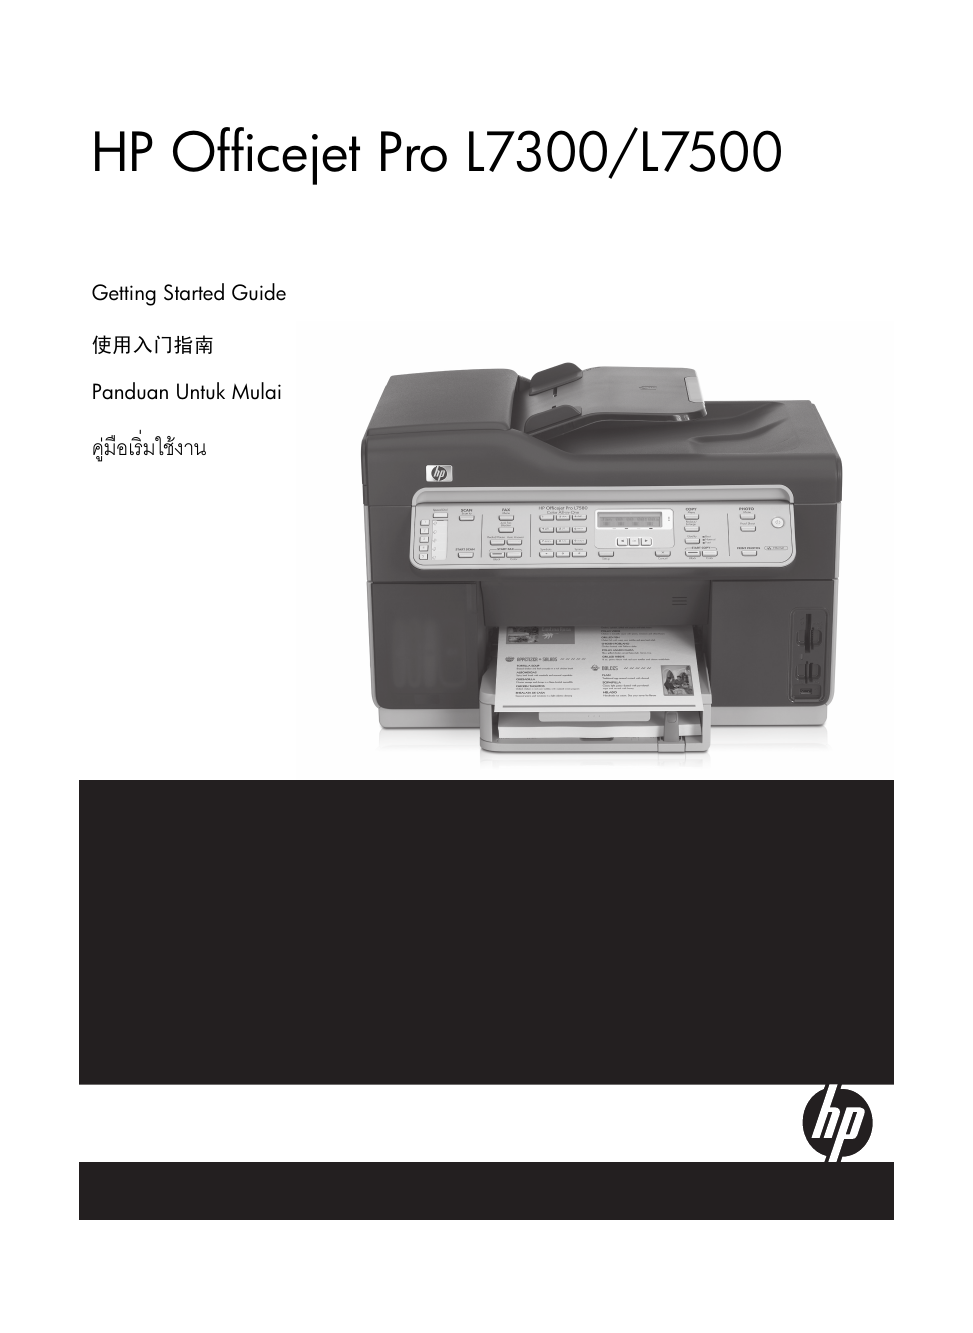
HP Officejet Pro L7300/L7500
Getting Started Guide
使用入门指南
Panduan Untuk Mulai
มือเริ
คู
่มใชงาน
�
Copyright Information
© 2007 Copyright Hewlett-Packard Development Company, L.P.
Edition 1, 2/2007
Reproduction, adaptation or translation without prior written permission is
prohibited, except as allowed under the copyright laws.
The information contained herein is subject to change without notice.
The only warranties for HP products and services are set forth in the express
warranty statements accompanying such products and services. Nothing
herein should be construed as constituting an additional warranty. HP shall
not be liable for technical or editorial errors or omissions contained herein.
Trademark credits
Microsoft® and Windows® are U.S. registered trademarks of Microsoft
Corporation.
�
Safety Information
安全信息
Always follow basic safety precautions when using this product to reduce
risk of injury from fire or electric shock.
1. Read and understand all instructions in the documentation that comes
with the device.
2. Use only a grounded electrical outlet when connecting this product to a
power source. If you do not know whether the outlet is grounded, check
with a qualified electrician.
3. When connecting the device to the electrical outlet, use only the power
4.
cord provided with the device.
If your device supports fax, use the phone cable included with the
device.
5. Observe all warnings and instructions marked on the device.
6. Unplug this device from wall outlets before cleaning.
7. Do not install or use this device near water, or when you are wet.
8.
9.
Install the product securely on a stable surface.
Install the device in a protected location where no one can step on or
trip over the line cord, and the line cord cannot be damaged.
10. If the device does not operate normally, see “Maintaining and
troubleshooting” in the onscreen user guide on the Starter CD.
11. There are no user-serviceable parts inside. Refer servicing to qualified
service personnel.
在使用本产品时,一定要遵守基本的安全注意事项以降低火灾或触电的可
能性。
1. 请阅读并理解设备随附文档中的所有说明。
2. 将本产品与电源连接时,只能使用接地的电源插座。如果不知道插座
是否接地,请向合格的电工咨询。
3. 将设备连接至电源插座时,请只使用设备附带的电源线。
4. 如果您的设备支持传真,请使用设备随附的电话线。
5. 留意设备上标出的所有警告和说明。
6. 在进行清洁前,先从墙壁插座上拔掉设备的电源插头。
7. 切勿在近水处或身体潮湿的情况下安装或使用本设备。
8. 将产品安放在平稳的桌面上。
9. 请将本设备安装在受到妥善保护的场所,以免有人踩到线路或被线路
绊倒,或者电源线不致受到损坏。
10. 如果设备运行不正常,请参阅 Starter CD 上联机用户指南中的 “维修
与故障排除”。
11. 本设备内部没有用户可维修的部件。请将维修任务交给合格的维修人
员。
Informasi Keselamatan
ขอมูลดานความปลอดภัย
Perhatikan selalu tindakan pencegahan dasar saat menggunakan produk ini
untuk mengurangi risiko cedera karena terbakar atau sengatan listrik.
1. Bacalah dan pahami semua petunjuk dalam dokumentasi yang
menyertai perangkat.
2. Gunakan hanya stopkontak listrik yang ditanahkan bila
menghubungkan produk ini ke sumber daya. Jika Anda tidak tahu
apakah stopkontak ditanahkan atau tidak, tanyakan pada teknisi yang
memenuhi syarat.
3. Bila menghubungkan perangkat ke stopkontak listrik, gunakan hanya
kabel listrik yang disertakan dengan perangkat.
Jika perangkat Anda mendukung faks, gunakan kabel telepon yang
disertakan dalam kemasan perangkat.
Perhatikan semua tanda peringatan dan petunjuk yang tercantum pada
perangkat.
6. Cabut kabel listrik perangkat ini dari stopkontak sebelum
membersihkan.
Jangan pasang atau gunakan produk ini di dekat air atau saat Anda
basah.
Pasang produk pada permukaan yang stabil.
Pasang perangkat di tempat yang aman agar kabel listrik tidak mudah
terinjak dan cepat rusak atau menyebabkan orang lain tersandung.
10. Jika perangkat tidak bekerja secara normal, lihat “Merawat dan
memecahkan masalah” dalam panduan pengguna pada layar atau
Starter CD.
11. Tidak ada komponen yang dapat diperbaiki pengguna di dalamnya.
Serahkan perbaikan kepada tenaga servis yang memenuhi syarat.
4.
5.
7.
8.
9.
โปรดปฏิบัติตามขอควรระวังอยางเครงครัด เพื
ไหมหรือไฟฟาช็อต
่อหลีกเลี
่ยงอันตรายจากไฟ
้งหมดในเอกสารประกอบที
่มา
1.
2.
3.
โปรดอานและทําความเขาใจคําแนะนําทั
พรอมกับอุปกรณ
เมื
่อเชื
ที
่ตอสายดินเทานั
โปรดปรึกษาชางไฟฟาที
เมื
่อเชื
อุปกรณเทานั
่มีความชํานาญ
้น
่อมตออุปกรณเขากับแหลงจายไฟ ใหเสียบสายไฟเขากับเตาเสียบ
่ใชมีการตอสายดินหรือไม
้น หากไมแนใจวาเตาเสียบที
่อมตออุปกรณเขากับเตาเสียบ ใหใชแตสายไฟที
่ใหมาพรอมกับ
4. หากอุปกรณของทานสนับสนุนการทํางานโทรสาร ใหใชสายโทรศัพทที
่
ใหมาพรอมกับอุปกรณ
5. ปฏิบัติตามคําเตือนและคําแนะนําทั
6. กอนทําความสะอาด ตองถอดปลั
่ระบุไวบนอุปกรณ
้งหมดที
๊กสายไฟของอุปกรณออกจากเตา
้ง
เสียบทุกครั
้ใกลน้
้งหรือใชอุปกรณนี
7. หามติดตั
่นคงบนพื
่องอยางมั
้งเครื
8. ติดตั
้นที
่เหมาะสม เพื
้งอุปกรณในที
9. ติดตั
่ที
ความเสียหาย
ําหรือขณะตัวเปยก
่เรียบเสมอกัน
่อใหสายไฟไมระเกะระกะ และไมเกิด
10. หากอุปกรณทํางานผิดปกติ โปรดดูที
่ "การบํารุงรักษาและการแกไข ปญหา"
ในคู
11. ไมมีชิ
มือผู
้นสวนใดภายในเครื
ใชงานบนหนาจอ ซึ
่งอยู
ในแผนซีดีเริ
่องที
ใชสามารถซอมแซมเองได โปรดติดตอ
่ผู
่มีความชํานาญ
ใหบริการที
่มตนการใชงาน
ขอรับบริการจากผู
�
�
Contents
1 Set up the device
Before you begin . . . . . . . . . . . . . . . . . . . . . . 2
Set up the device . . . . . . . . . . . . . . . . . . . . . . 2
Complete the installation . . . . . . . . . . . . . . . . . 4
Finding more information. . . . . . . . . . . . . . . . . 4
2 Identify the device parts
Front view . . . . . . . . . . . . . . . . . . . . . . . . . . . 5
Back view . . . . . . . . . . . . . . . . . . . . . . . . . . . 6
Control panel. . . . . . . . . . . . . . . . . . . . . . . . . 7
3 Set up the fax (optional)
Parallel- vs. serial-type phone systems . . . . . . . . 9
Dedicated phone line . . . . . . . . . . . . . . . . . . 10
Shared phone line . . . . . . . . . . . . . . . . . . . . 10
Managing and configuring fax settings . . . . . . 15
Set up speed-dial entries . . . . . . . . . . . . . . . . 15
Test fax setup . . . . . . . . . . . . . . . . . . . . . . . . 15
4 Troubleshooting
Solving installation problems . . . . . . . . . . . . . 16
Solving network problems (some models only) . 17
Solving fax problems (some models only). . . . . 18
Troubleshooting and configuration tools . . . . . 20
Hewlett-Packard limited warranty
statement
h
s
i
l
g
n
E
1
�
1 Set up the device
This section summarizes the setup process for the device.
1. Remove the tape and packing materials.
Before you begin
Prepare the location
Make sure the location where you will place the device
meets the following requirements.
• The surface must be sturdy and level.
Make sure that you leave enough room so that you
can gain access to the back of the device and open
the flatbed scanner lid.
Do not place the device in direct sunlight or near
chemicals. Make sure that the environment does not
experience abrupt changes in temperature or
humidity.
Temperature
15° to 35° C (59° to 95° F)
NOTE: Be sure to remove the cardboard
packing material from the printhead area.
2.
3.
4.
Install the control-panel faceplate.
Install the document feeder tray.
Install the ink cartridges.
NOTE: All four ink cartridges must be correctly
installed for the device to work. Ink from the
cartridges is used in the printing process in a
number of different ways, including in the
initialization process, which prepares the device
and cartridges for printing, and in printhead
servicing, which keeps print nozzles clear and
ink flowing smoothly. In addition, some residual
ink is left in the cartridge after it is used. For
more information see www.hp.com/go/
inkusage.
Relative humidity
10% to 80%
5.
Install the printheads.
Set up the device
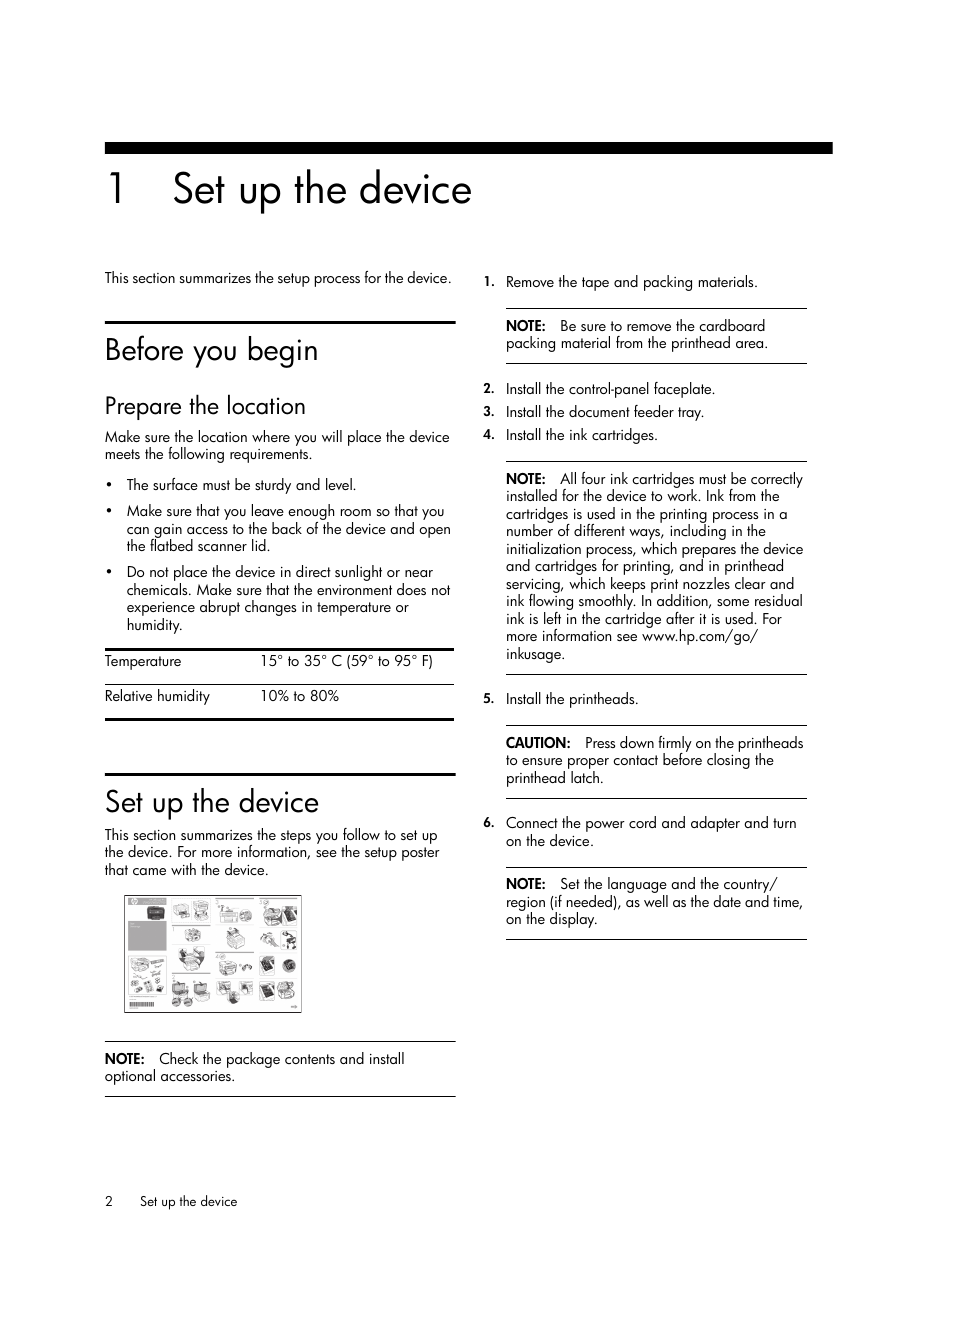
This section summarizes the steps you follow to set up
the device. For more information, see the setup poster
that came with the device.
CAUTION: Press down firmly on the printheads
to ensure proper contact before closing the
printhead latch.
6. Connect the power cord and adapter and turn
on the device.
NOTE: Set the language and the country/
region (if needed), as well as the date and time,
on the display.
NOTE: Check the package contents and install
optional accessories.
2
Set up the device
�
7. When prompted, load paper, and then press
the OK button.
a. Lift the output tray.
b.
Insert up to 250 sheets of paper into Tray 1,
print-side down, along the right hand side of
the tray. Make sure the stack of paper aligns
with the right and back edges of the tray
and does not exceed the line marking in the
tray.
8.
c. Slide the media guides in the tray to the size
that you are loading.
d. Lower the output tray and pull out the
extension.
To ensure the best possible print quality,
the device initializes and aligns the printheads.
This process takes approximately 12 minutes.
Install software and connect the device.
You can connect the device using one of the
following types of connections:
USB
Ethernet network (some models only).
Fax (some models only).
For more information about device software and
connectivity, see the onscreen user guide on the
Starter CD.
USB
a.
Insert the Starter CD, click Install (Windows)
or Install Software (Mac OS), and then
follow the onscreen instructions to complete
the software installation.
If the CD menu does not start
NOTE:
automatically, double-click the setup icon on the
Starter CD.
b. Connect the USB cable to the computer,
when prompted.
Ethernet network
a. Remove the protective cover from the
device’s network connector.
b. Connect the network cable to the connector
and to an available port on the network hub,
switch, or router. If the connector’s Link light
does not turn on, try a different port.
CAUTION: Do not plug the network cable into
a port labeled WAN, Uplink, or Internet in the
hub, switch, or router.
c.
Insert the Starter CD, click Install (Windows)
or Install Software (Mac OS), and then
follow the onscreen instructions to complete
the software installation.
If the installation program displays more
than one instance of the device, print a
Network configuration page to select the
right device.
If the CD menu does not start
NOTE:
automatically, double-click the setup icon on the
Starter CD.
h
s
i
l
g
n
E
d. Print the Network configuration page.
This page contains information needed for
setup. On the control panel, press the Setup
button, and then complete one of the
following:
If your device has a two-line display, select
Network Setup, select Print Network Settings,
and then press OK.
If your device has a color display, select
Network, select View Network Settings,
select Print Network Configuration Page, and
then press OK.
Fax
If you install software using the installation
program on the Starter CD, you can configure
fax settings after the device software is installed
using the Fax Setup Wizard (Windows) or
HP Device Manager (Mac OS). For more
information about setting up the fax, see “Set up
the fax (optional)” on page 9.
Set up the device
3
�
Verify that the device software is
installed correctly
To verify that the device software has been installed
correctly, start the software and complete basic tasks
(such as printing a document or sending a scan to your
computer).
To open the HP Photosmart software
(Windows)
1. On the Windows desktop, double-click the
HP Photosmart software icon.
2.
If you have more than one HP device installed,
select the appropriate tab for your device.
To open the HP Photosmart Studio software
(Mac OS)
1. Click the HP Photosmart Studio icon in the Dock.
2. Click Device, and then choose a device.
For more information about using the device software,
see the online help for the software.
Register the device
If you have not already done so, go to
www.register.hp.com and register the device.
Finding more information
For information about using the device and
troubleshooting, see the following resources:
Onscreen user guide and readme file on the
Starter CD or at www.hp.com/support
HP Instant Support and embedded Web server
(see the onscreen user guide)
Product support site at www.hp.com/support
Complete the installation
Verify that the device is set
up correctly
1. Print a document from an application that you use
frequently.
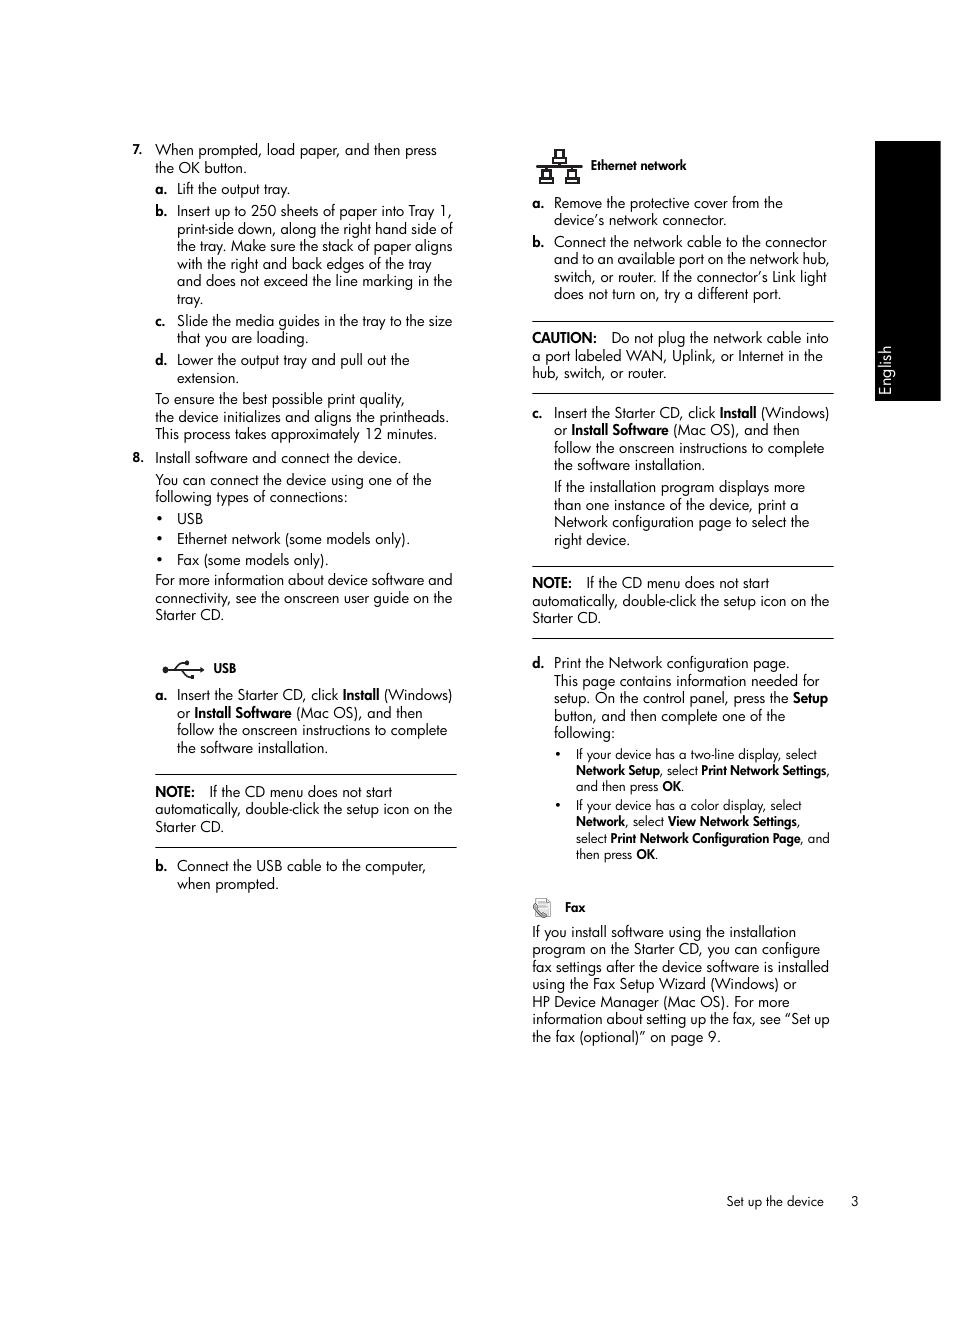
2. Place the document in the document feeder tray with
the print-side facing up and the first page on top.
3. Adjust the width adjusters to the size of the
document.
4. Press START COPY Black or START COPY Color.
The device makes a copy of the document. If you
encounter problems, see “Solving installation
problems” on page 16.
5. Remove the document from the ADF output tray.
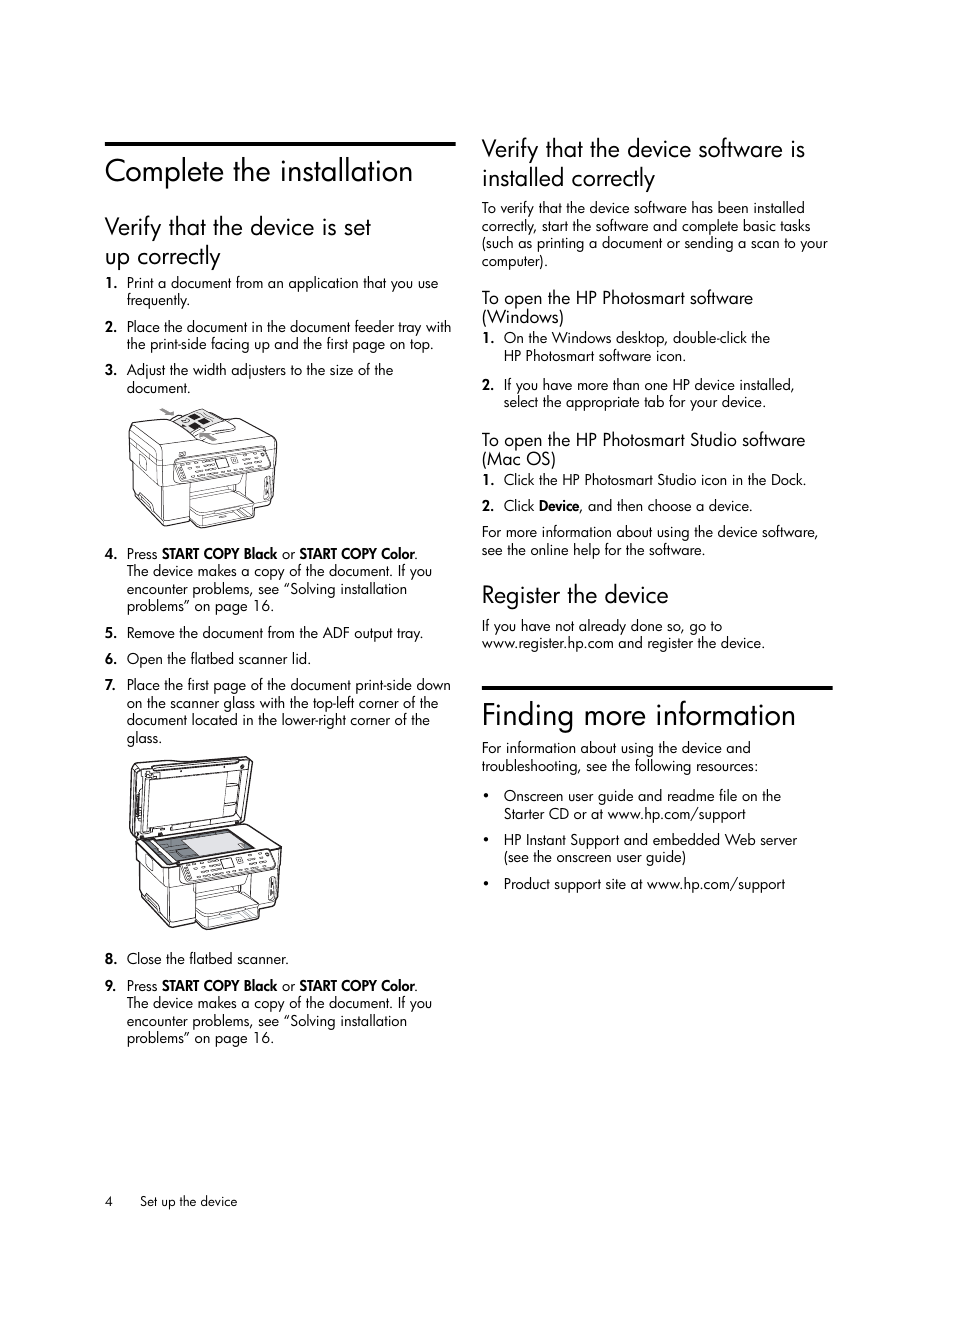
6. Open the flatbed scanner lid.
7. Place the first page of the document print-side down
on the scanner glass with the top-left corner of the
document located in the lower-right corner of the
glass.
8. Close the flatbed scanner.
9. Press START COPY Black or START COPY Color.
The device makes a copy of the document. If you
encounter problems, see “Solving installation
problems” on page 16.
4
Set up the device
�




 2023年江西萍乡中考道德与法治真题及答案.doc
 2012年重庆南川中考生物真题及答案.doc
 2013年江西师范大学地理学综合及文艺理论基础考研真题.doc
 2020年四川甘孜小升初语文真题及答案I卷.doc
 2020年注册岩土工程师专业基础考试真题及答案.doc
 2023-2024学年福建省厦门市九年级上学期数学月考试题及答案.doc
 2021-2022学年辽宁省沈阳市大东区九年级上学期语文期末试题及答案.doc
 2022-2023学年北京东城区初三第一学期物理期末试卷及答案.doc
 2018上半年江西教师资格初中地理学科知识与教学能力真题及答案.doc
 2012年河北国家公务员申论考试真题及答案-省级.doc
 2020-2021学年江苏省扬州市江都区邵樊片九年级上学期数学第一次质量检测试题及答案.doc
 2022下半年黑龙江教师资格证中学综合素质真题及答案.doc