key10 manual cover 1 2/2/04 15:54 Page 1
user manual
manuel d’utilisation | benutzerhandbuch
gebruikershandleiding | manuale per l'utente
användar-handbok
wearable digital camera
| manual del usuario
| manual do usuário
�
key10 manual cover 1 2/2/04 15:54 Page 2
System requirements:
Système requise:
Systemanforderungen:
Requisitos sistema:
Systeemvereisten:
Requisiti del sistema:
Requisitos do sistema:
System krav:
· Windows 98SE / 2000 / ME / XP
· Mac OS9 and 10
�
key10_eng .qxd 28/1/04 15:17 Page 1
CONTENTS
ENGLISH
FRANÇAIS
DEUTSCH
ESPAÑOL
NEDERLANDS
ITALIANO
PORTUGUÊS
SVENSKA
1
13
25
35
45
55
65
75
1
We hope you enjoy your wearable digital camera
Please visit:
www.philips.com/support
and enter your product name to view:
· FAQ, Frequently Asked Questions
· Latest user manuals
· Latest PC software downloads
The model and production numbers can be found next to the USB port
(please remove the USB cover to see)
�
key10_eng .qxd 28/1/04 15:17 Page 2
2
�
key10_eng .qxd 28/1/04 15:17 Page 3
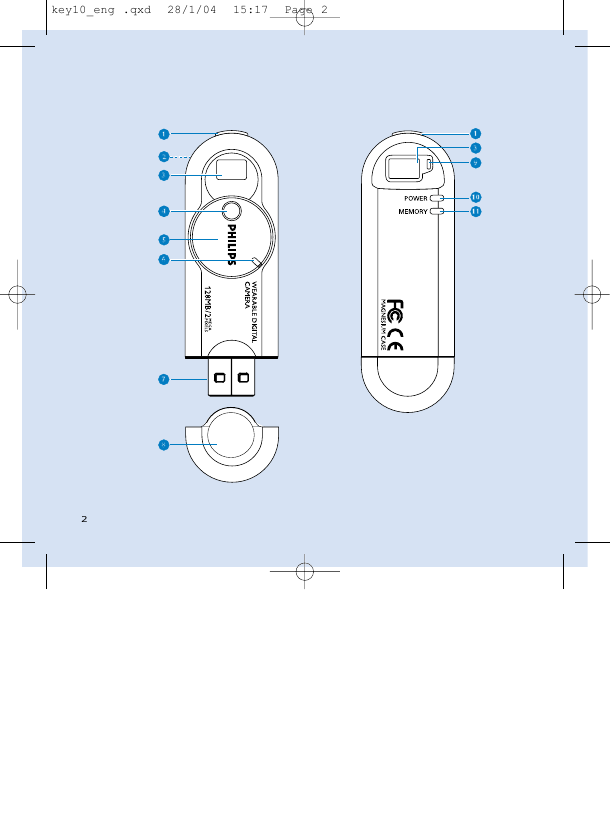
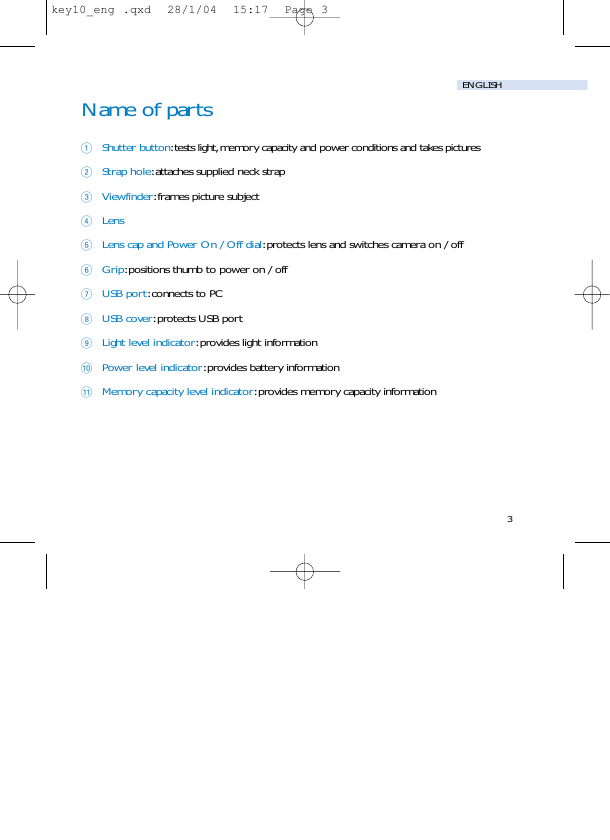
Name of parts
1 Shutter button: tests light, memory capacity and power conditions and takes pictures
ENGLISH
2 Strap hole: attaches supplied neck strap
3 Viewfinder: frames picture subject
4 Lens
5 Lens cap and Power On / Off dial: protects lens and switches camera on / off
6 Grip: positions thumb to power on / off
7 USB port: connects to PC
8 USB cover: protects USB port
9 Light level indicator: provides light information
0 Power level indicator: provides battery information
! Memory capacity level indicator: provides memory capacity information
3
�
key10_eng .qxd 28/1/04 15:17 Page 4
Preparation
Attaching the neck strap
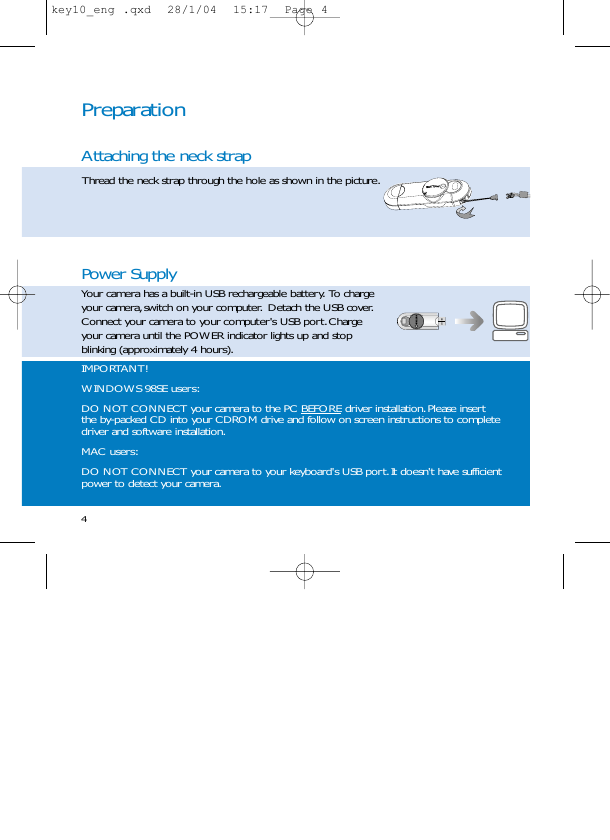
Thread the neck strap through the hole as shown in the picture.
Power Supply
Your camera has a built-in USB rechargeable battery. To charge
your camera, switch on your computer. Detach the USB cover.
Connect your camera to your computer's USB port. Charge
your camera until the POWER indicator lights up and stop
blinking (approximately 4 hours).
IMPORTANT!
WINDOWS 98SE users:
DO NOT CONNECT your camera to the PC BEFORE driver installation. Please insert
the by-packed CD into your CDROM drive and follow on screen instructions to complete
driver and software installation.
MAC users:
DO NOT CONNECT your camera to your keyboard's USB port. It doesn't have sufficient
power to detect your camera.
4
�
key10_eng .qxd 28/1/04 15:17 Page 5
Taking pictures
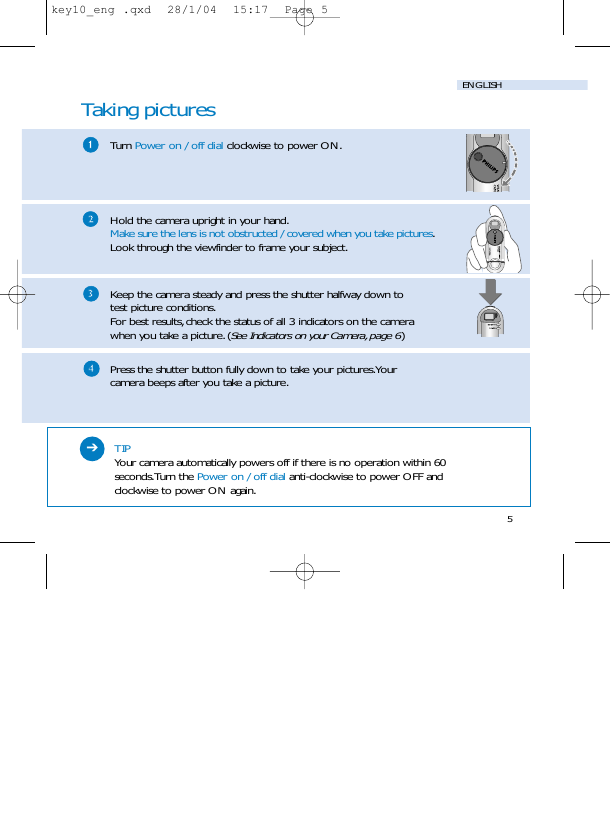
Turn Power on / off dial clockwise to power ON.
ENGLISH
Hold the camera upright in your hand.
Make sure the lens is not obstructed / covered when you take pictures.
Look through the viewfinder to frame your subject.
Keep the camera steady and press the shutter halfway down to
test picture conditions.
For best results, check the status of all 3 indicators on the camera
when you take a picture. (See Indicators on your Camera, page 6)
Press the shutter button fully down to take your pictures.Your
camera beeps after you take a picture.
TIP
Your camera automatically powers off if there is no operation within 60
seconds.Turn the Power on / off dial anti-clockwise to power OFF and
clockwise to power ON again.
5
➔
�
key10_eng .qxd 28/1/04 15:17 Page 6
Indicators on your camera
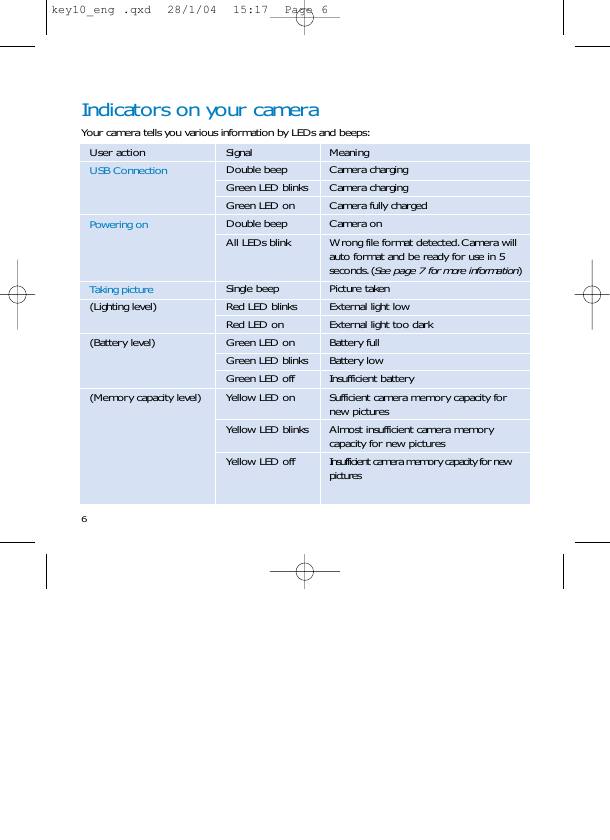
Your camera tells you various information by LEDs and beeps:
User action
USB Connection
Powering on
Taking picture
(Lighting level)
(Battery level)
(Memory capacity level)
6
Signal
Double beep
Green LED blinks
Green LED on
Double beep
All LEDs blink
Single beep
Red LED blinks
Red LED on
Green LED on
Green LED blinks
Green LED off
Yellow LED on
Yellow LED blinks
Yellow LED off
Meaning
Camera charging
Camera charging
Camera fully charged
Camera on
Wrong file format detected. Camera will
auto format and be ready for use in 5
seconds. (See page 7 for more information)
Picture taken
External light low
External light too dark
Battery full
Battery low
Insufficient battery
Sufficient camera memory capacity for
new pictures
Almost insufficient camera memory
capacity for new pictures
Insufficient camera memory capacity for new
pictures
�



 2023年江西萍乡中考道德与法治真题及答案.doc
 2012年重庆南川中考生物真题及答案.doc
 2013年江西师范大学地理学综合及文艺理论基础考研真题.doc
 2020年四川甘孜小升初语文真题及答案I卷.doc
 2020年注册岩土工程师专业基础考试真题及答案.doc
 2023-2024学年福建省厦门市九年级上学期数学月考试题及答案.doc
 2021-2022学年辽宁省沈阳市大东区九年级上学期语文期末试题及答案.doc
 2022-2023学年北京东城区初三第一学期物理期末试卷及答案.doc
 2018上半年江西教师资格初中地理学科知识与教学能力真题及答案.doc
 2012年河北国家公务员申论考试真题及答案-省级.doc
 2020-2021学年江苏省扬州市江都区邵樊片九年级上学期数学第一次质量检测试题及答案.doc
 2022下半年黑龙江教师资格证中学综合素质真题及答案.doc