Welcome
Dear user, thanks for purchasing this product.
Much investment in time and effort has gone into its development,
and it is our hope that it will give you many years of trouble-free service.
Safety Notice
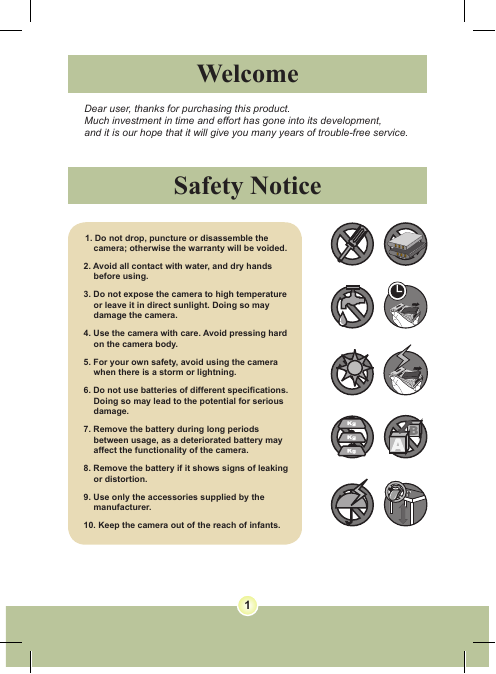
1. Do not drop, puncture or disassemble the
camera; otherwise the warranty will be voided.
2. Avoid all contact with water, and dry hands
before using.
3. Do not expose the camera to high temperature
or leave it in direct sunlight. Doing so may
damage the camera.
4. Use the camera with care. Avoid pressing hard
on the camera body.
5. For your own safety, avoid using the camera
when there is a storm or lightning.
6. Do not use batteries of different specifications.
Doing so may lead to the potential for serious
damage.
7. Remove the battery during long periods
between usage, as a deteriorated battery may
affect the functionality of the camera.
8. Remove the battery if it shows signs of leaking
or distortion.
9. Use only the accessories supplied by the
manufacturer.
10. Keep the camera out of the reach of infants.
1
�
Table of Contents
Welcome .......................................................................... 1
Safety Notice ................................................................... 1
Table of Contents ........................................................... 2
Getting Started ................................................................ 4
Knowing your camera parts .................................................................. 4
Installing the battery ............................................................................. 5
Using the charger ................................................................................. 6
Inserting a memory card (optional) ....................................................... 7
Attaching the carrying strap .................................................................. 8
Basic Operations ............................................................ 9
Turning on your camera ........................................................................ 9
Turning off your camera ........................................................................ 9
Using the LCD monitor ......................................................................... 10
Reading LCD indicators ........................................................................ 11
Setting time and language .................................................................... 12
Recording a video clip .......................................................................... 13
Taking a still picture .............................................................................. 15
Recording a voice clip .......................................................................... 16
Recording TV program or DVD ............................................................. 17
Playing back your recordings ............................................................... 18
Playing MP3 music ............................................................................... 19
Connecting the camera to a TV ............................................................ 21
Advanced Operations .................................................... 22
Menu operation ..................................................................................... 22
Menu illustration ................................................................................... 22
Menu items in Camera mode ............................................................... 23
Menu items in Playback mode .............................................................. 27
Menu items in MP3 mode ..................................................................... 28
2
�
Table of Contents
Menu items in Voice mode ................................................................... 28
Menu items in Setting mode ................................................................. 29
Copying Files to Your PC ............................................... 32
Installing the driver to your PC ............................................................. 32
Connecting the camera to your PC ...................................................... 34
Copying files to the PC ......................................................................... 35
Viewing/Playing files on your PC .......................................................... 37
File location .......................................................................................... 38
Using PC Camera ........................................................... 39
Installing the software ........................................................................... 39
Starting the application ......................................................................... 39
Using the PC Camera ........................................................................... 42
Appendix:A ..................................................................... 45
Troubleshooting .................................................................................... 45
Flicker Settings ..................................................................................... 48
System Message .................................................................................. 48
Storage Capacity .................................................................................. 49
Battery Life Indicator ............................................................................. 50
Battery Life ........................................................................................... 50
Appendix:B ..................................................................... 51
Instruction for ArcSoft MediaConverter™ ............................................. 51
Appendix:C ..................................................................... 59
Specifications ....................................................................................... 59
Appendix:D ..................................................................... 60
System Requirements .......................................................................... 60
3
�
Getting Started
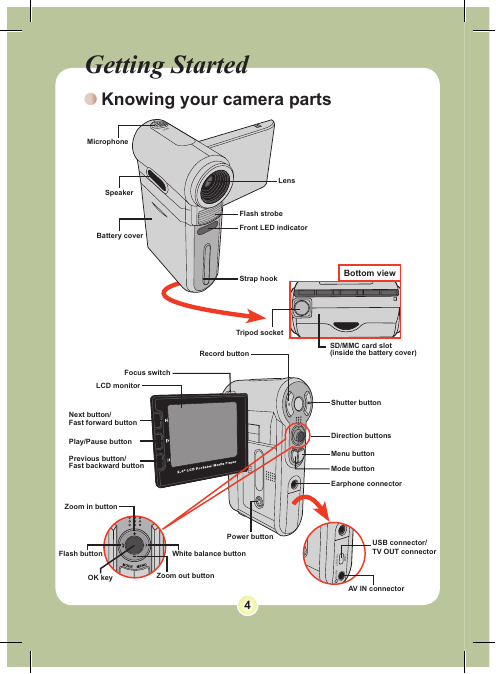
Knowing your camera parts
Microphone
Speaker
Battery cover
Focus switch
LCD monitor
Next button/
Fast forward button
Play/Pause button
Previous button/
Fast backward button
Zoom in button
Lens
Flash strobe
Front LED indicator
Strap hook
Bottom view
Tripod socket
Record button
SD/MMC card slot
(inside the battery cover)
Shutter button
Direction buttons
Menu button
Mode button
Earphone connector
Power button
Flash button
White balance button
OK key
Zoom out button
4
USB connector/
TV OUT connector
AV IN connector
�
Installing the battery
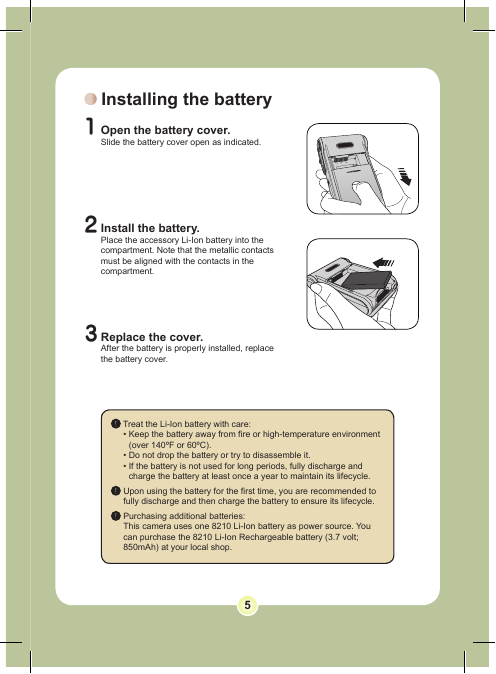
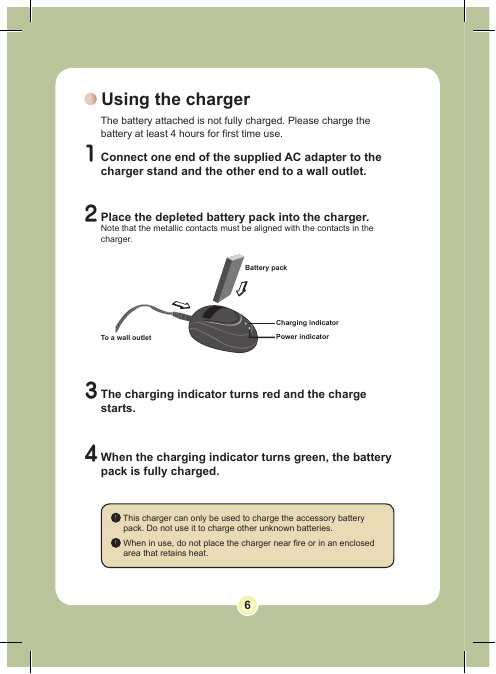
1 Open the battery cover.
Slide the battery cover open as indicated.
2 Install the battery.
Place the accessory Li-Ion battery into the
compartment. Note that the metallic contacts
must be aligned with the contacts in the
compartment.
3 Replace the cover.
After the battery is properly installed, replace
the battery cover.
Treat the Li-Ion battery with care:
• Keep the battery away from fire or high-temperature environment
(over 140ºF or 60ºC).
• Do not drop the battery or try to disassemble it.
• If the battery is not used for long periods, fully discharge and
charge the battery at least once a year to maintain its lifecycle.
Upon using the battery for the first time, you are recommended to
fully discharge and then charge the battery to ensure its lifecycle.
Purchasing additional batteries:
This camera uses one 8210 Li-Ion battery as power source. You
can purchase the 8210 Li-Ion Rechargeable battery (3.7 volt;
850mAh) at your local shop.
5
�
Using the charger
The battery attached is not fully charged. Please charge the
battery at least 4 hours for first time use.
1 Connect one end of the supplied AC adapter to the
charger stand and the other end to a wall outlet.
2 Place the depleted battery pack into the charger.
Note that the metallic contacts must be aligned with the contacts in the
charger.
Battery pack
Charging indicator
Power indicator
To a wall outlet
3 The charging indicator turns red and the charge
starts.
4 When the charging indicator turns green, the battery
pack is fully charged.
This charger can only be used to charge the accessory battery
pack. Do not use it to charge other unknown batteries.
When in use, do not place the charger near fire or in an enclosed
area that retains heat.
6
�
Inserting a memory card (optional)
In addition to the built-in flash
memory, your camera can store data
on a Secure Digital (SD) card or a
MultiMedia card (MMC).
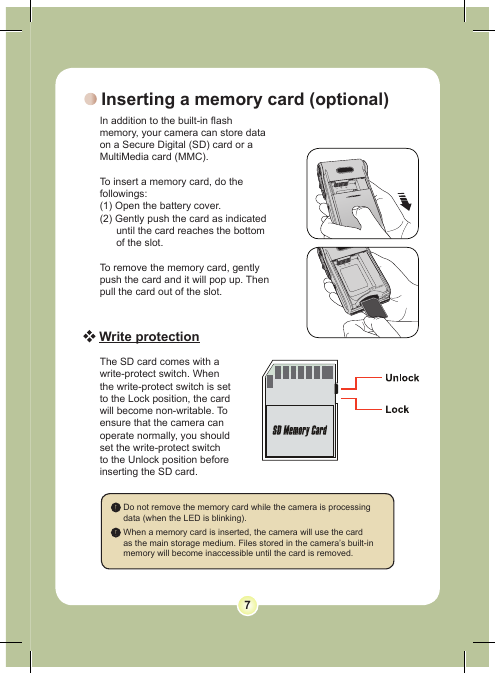
To insert a memory card, do the
followings:
(1) Open the battery cover.
(2) Gently push the card as indicated
until the card reaches the bottom
of the slot.
To remove the memory card, gently
push the card and it will pop up. Then
pull the card out of the slot.
Write protection
The SD card comes with a
write-protect switch. When
the write-protect switch is set
to the Lock position, the card
will become non-writable. To
ensure that the camera can
operate normally, you should
set the write-protect switch
to the Unlock position before
inserting the SD card.
Do not remove the memory card while the camera is processing
data (when the LED is blinking).
When a memory card is inserted, the camera will use the card
as the main storage medium. Files stored in the camera’s built-in
memory will become inaccessible until the card is removed.
7
�
Attaching the carrying strap
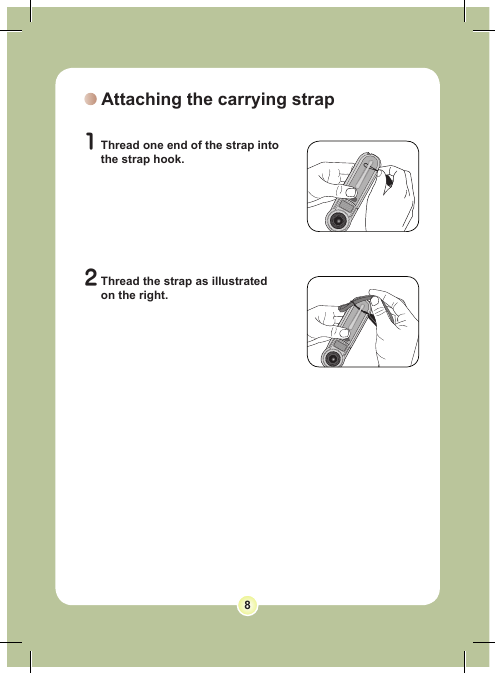
1 Thread one end of the strap into
the strap hook.
2 Thread the strap as illustrated
on the right.
8
�


 2023年江西萍乡中考道德与法治真题及答案.doc
 2012年重庆南川中考生物真题及答案.doc
 2013年江西师范大学地理学综合及文艺理论基础考研真题.doc
 2020年四川甘孜小升初语文真题及答案I卷.doc
 2020年注册岩土工程师专业基础考试真题及答案.doc
 2023-2024学年福建省厦门市九年级上学期数学月考试题及答案.doc
 2021-2022学年辽宁省沈阳市大东区九年级上学期语文期末试题及答案.doc
 2022-2023学年北京东城区初三第一学期物理期末试卷及答案.doc
 2018上半年江西教师资格初中地理学科知识与教学能力真题及答案.doc
 2012年河北国家公务员申论考试真题及答案-省级.doc
 2020-2021学年江苏省扬州市江都区邵樊片九年级上学期数学第一次质量检测试题及答案.doc
 2022下半年黑龙江教师资格证中学综合素质真题及答案.doc