1.GDAL 介绍
GDAL 是一个转换各种栅格数据格式的库。包括读取、写入、转换、处理各种栅
格数据格式(有些
特定的格式对一些操作如写入等不支持)。它使用了一个单一的抽象数据模型就
支持了大多数的
栅格数据(GIS 对栅格,矢量,3D 数据模型的抽象能力实在令人叹服)。当然除
了栅格操作,这
个库还同时包括了操作矢量数据的另一个有名的库 ogr(转换矢量 GIS 数据),
这样这个库就同时
具备了操作栅格和矢量数据的能力,
目前 ogr 能够支持的数据格式包括:
Arc/Info Binary Coverage、DWG、ESRI Personal GeoDatabase、ArcSDE、ESRI
Shapefile、GML、GRASS、Mapinfo File、Microstation DGN、ODBC、Oracle Spatial
和
PostgreSQL 等。应该说,这就基本包括了我们平常用到的所有矢量型 GIS 文件
格式了。
Gdal 支持的栅格数据格式参阅 http://www.gdal.org/formats_list.html
2.GDAL 安装
(1)下载 gdal 的安装文件,http://download.osgeo.org/gdal/gdal142.zip,
解压到某目录下
,如 C:\gdalsrc 下。
这里我们假定 VC6 的安装在默认目录 C:\Program Files\Microsoft Visual
Studio8 下。
(2)启动 cmd,即打开控制台窗口。进入 VC6 的安装目录下,如 cd C:\Program
Files\Microsoft
Visual Studio8\VC\bin\,在此目录下有个文件 VCVARS32.BAT,执行一下这个
文件,然后重新回
到 C:\gdalsrc 下。运行命令 nmake /f makefile.vc。编译完成后,用记事本打
开文件
C:\gdalsrc\nmake.opt,根据自己的情况修改 GDAL_HOME = 这一行,这个指的
是最终 GDAL 的安装
目录,比如说我们安装在 C:\GDAL,那么这一行就是 GDAL_HOME = "C:\GDAL",
在 C:\gdalsrc 下执
�
行 nmake /f makefile.vc install,然后是 nmake /f makefile.vc devinstall,
然后我们需要
的东西就安装到了 C:\GDAL 下。
3.GDAL 使用
初次使用 visual studio 对工具不熟悉,有些步骤可以配置的
(1)在 VS2005 中新建 win32 控制台程序 testGDALconsole,(向导中附加选项
不能选为空项目)将 C:\GDAL\bin\gdal14.dll 拷贝到 testGDALconsole 目录下
的 debug 目录中。(否则运行时会提示找不到 gdal14.dll)
(2)在工程的 Library files 中和 Include files 中分别添加 GDAL 的 LIB 文件
目录和头文件目录,
这步我不会,就直接将 gdal_priv.h 拷贝到 testGDALconsole.cpp 所在目录下
(3)添加一个文件 gdal_i.lib。使用 #pragma comment
(lib,"..\\lib\\gdal_i.lib")(这步没做)
(4)程序文件
样本程序如下:
#include "stdafx.h"
#include "gdal_priv.h"
#include
using namespace std;
int main(int argc, char* argv[])
{
if(argc!=2)
{
}
return 0;
�
GDALDataset *poDataset;
GDALAllRegister();
poDataset = (GDALDataset *) GDALOpen( argv[1], GA_ReadOnly );
if( poDataset != NULL )
{
l;
YSize()<
GetRasterXSize()<GetRaster
cout<<"RasterCount:"<GetRaster
return 0;
}
假定生成的程序名为 test.exe,假定有一个文件名为 1.jpg 的文件在 C:\下,在
命令行下 test.exe
c:\1.jpg,程序将打印出此图片的横纵坐标和 raster count,如:
C:\>test 1.JPG
RasterXSize:800
RasterYSize:600
RasterCount:3
练习总结:
1)使用 #pragma comment (lib,"..\\lib\\gdal_i.lib")来引入外部的库文件
或者在 Visual studio 里面设置
project-> properties-> Linker-> Input 里面的 Additional Dependencies
里面加 lib
�-> properties-> General-> Additional Libary
Directories 加 Lib 目录
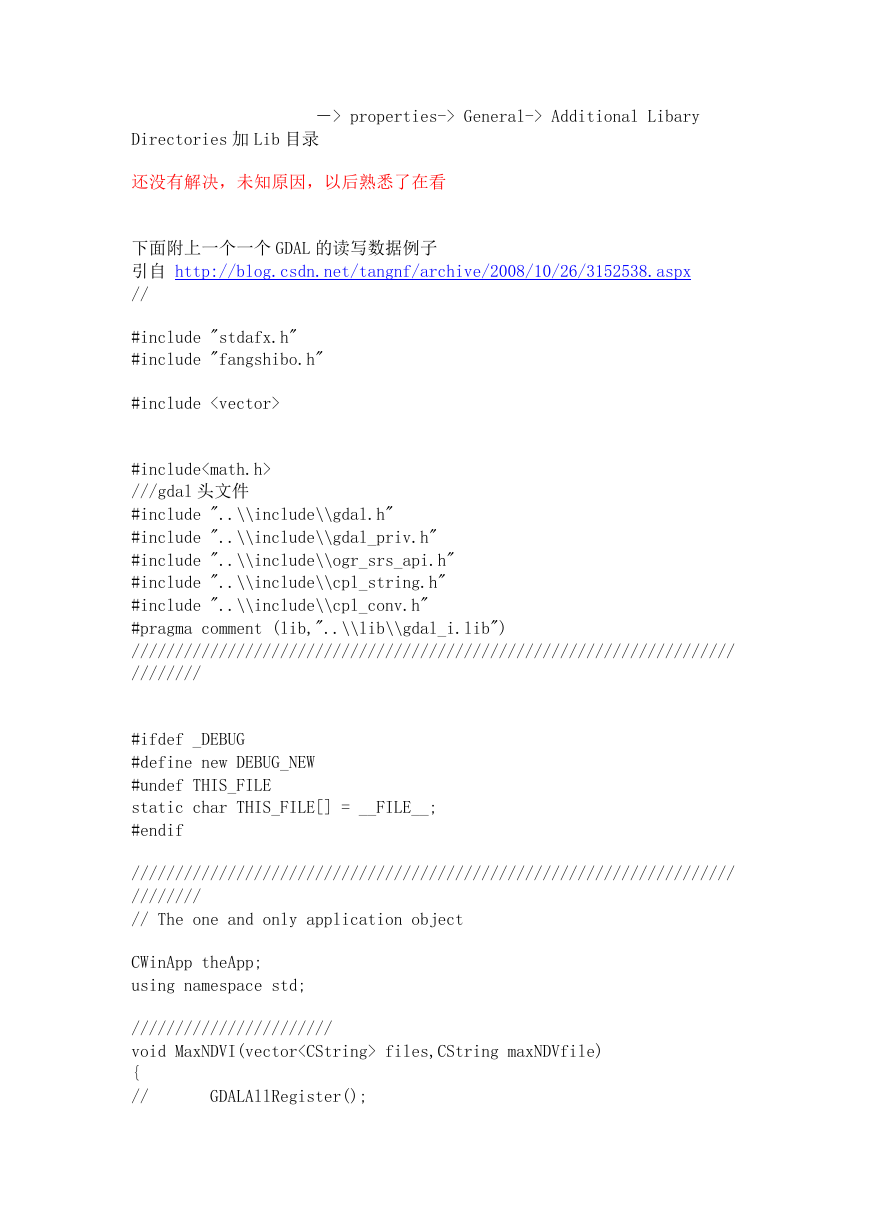
还没有解决,未知原因,以后熟悉了在看
下面附上一个一个 GDAL 的读写数据例子
引自 http://blog.csdn.net/tangnf/archive/2008/10/26/3152538.aspx
//
#include "stdafx.h"
#include "fangshibo.h"
#include
#include
///gdal 头文件
#include "..\\include\\gdal.h"
#include "..\\include\\gdal_priv.h"
#include "..\\include\\ogr_srs_api.h"
#include "..\\include\\cpl_string.h"
#include "..\\include\\cpl_conv.h"
#pragma comment (lib,"..\\lib\\gdal_i.lib")
/////////////////////////////////////////////////////////////////////
////////
#ifdef _DEBUG
#define new DEBUG_NEW
#undef THIS_FILE
static char THIS_FILE[] = __FILE__;
#endif
/////////////////////////////////////////////////////////////////////
////////
// The one and only application object
CWinApp theApp;
using namespace std;
///////////////////////
void MaxNDVI(vector files,CString maxNDVfile)
{
//
GDALAllRegister();
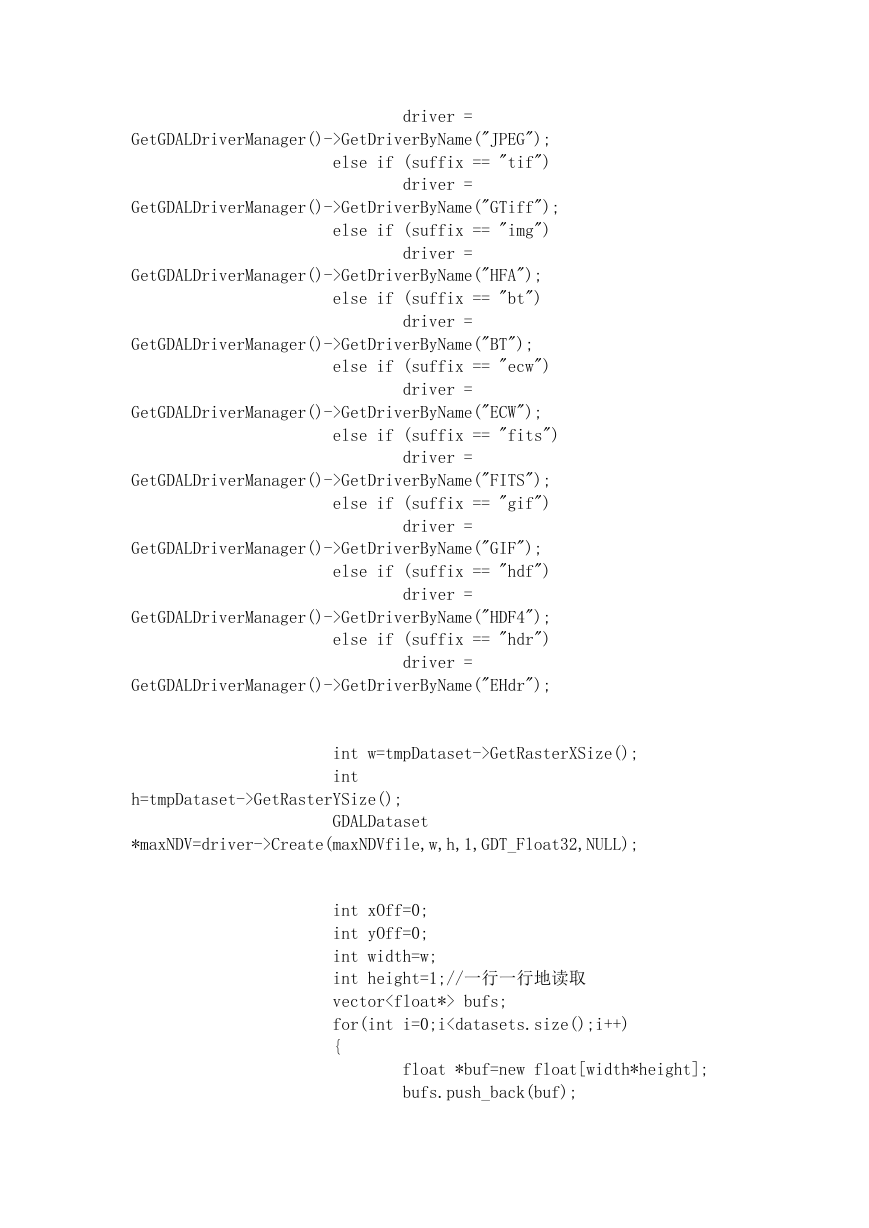
�
GetGDALDriverManager()->GetDriverByName("JPEG");
else if (suffix == "tif")
driver =
driver =
GetGDALDriverManager()->GetDriverByName("GTiff");
else if (suffix == "img")
driver =
GetGDALDriverManager()->GetDriverByName("HFA");
else if (suffix == "bt")
GetGDALDriverManager()->GetDriverByName("BT");
driver =
else if (suffix == "ecw")
driver =
GetGDALDriverManager()->GetDriverByName("ECW");
else if (suffix == "fits")
driver =
GetGDALDriverManager()->GetDriverByName("FITS");
else if (suffix == "gif")
GetGDALDriverManager()->GetDriverByName("GIF");
driver =
else if (suffix == "hdf")
driver =
GetGDALDriverManager()->GetDriverByName("HDF4");
else if (suffix == "hdr")
GetGDALDriverManager()->GetDriverByName("EHdr");
driver =
int w=tmpDataset->GetRasterXSize();
int
h=tmpDataset->GetRasterYSize();
GDALDataset
*maxNDV=driver->Create(maxNDVfile,w,h,1,GDT_Float32,NULL);
int xOff=0;
int yOff=0;
int width=w;
int height=1;//一行一行地读取
vector
bufs;
for(int i=0;ibuf=NULL;
}
float *newbuf=new float[width*height];
GDALRasterBand *
newpoband=maxNDV->GetRasterBand(1);
for(int j=0;jGetRasterBand(1);
for(int i=0;iRasterIO
(GF_Read,xOff,yOff,width,height,buf,width,height,GDT_Float32,0,0);
buf=NULL;
tmpDt=NULL;//在后面再释放,因为
很多个指针指向同一一段内存,不能随
便释放内存哦
}
//////////
//在这可以开始运算咯
for(int k=0;knewbuf[k])//
{
newbuf[k]=buf[
�
}
}
}
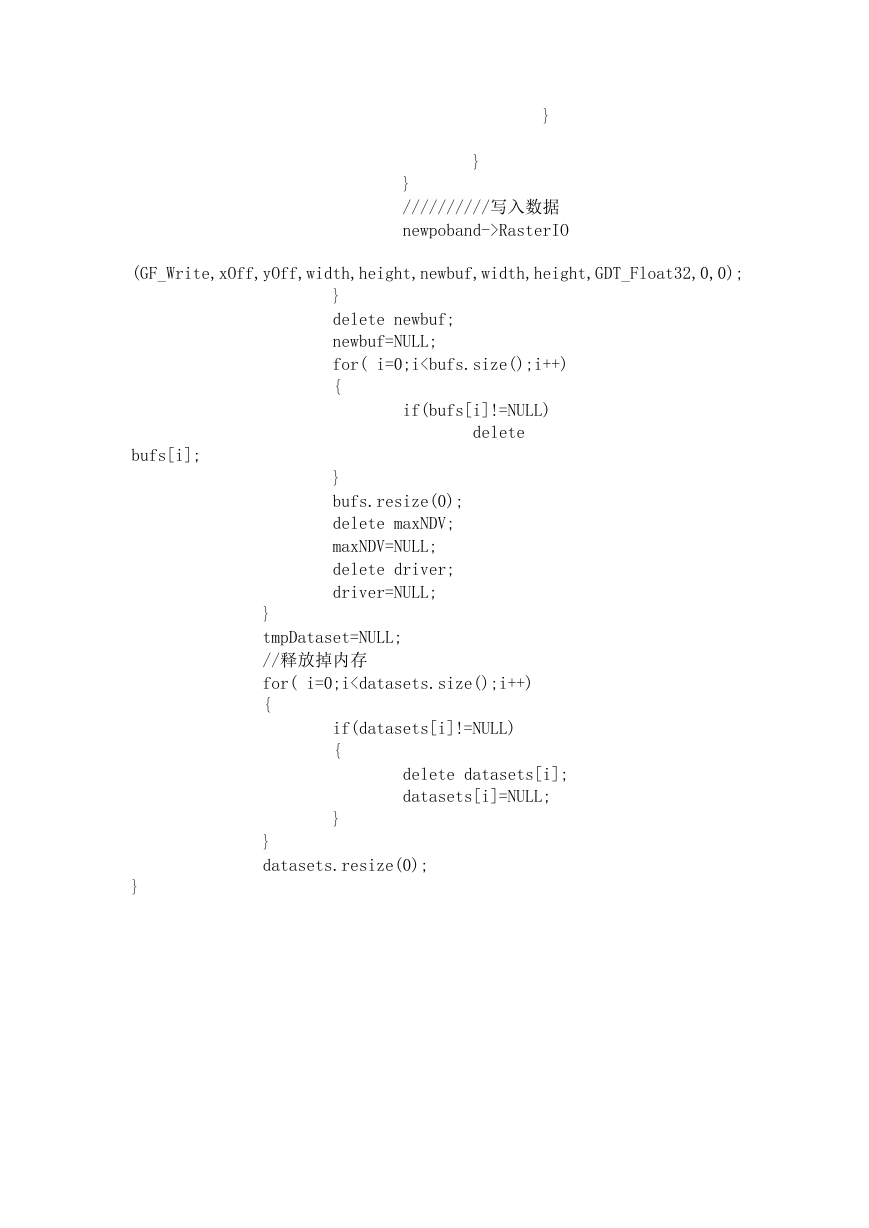
//////////写入数据
newpoband->RasterIO
(GF_Write,xOff,yOff,width,height,newbuf,width,height,GDT_Float32,0,0);
}
delete newbuf;
newbuf=NULL;
for( i=0;i


 2023年江西萍乡中考道德与法治真题及答案.doc
 2012年重庆南川中考生物真题及答案.doc
 2013年江西师范大学地理学综合及文艺理论基础考研真题.doc
 2020年四川甘孜小升初语文真题及答案I卷.doc
 2020年注册岩土工程师专业基础考试真题及答案.doc
 2023-2024学年福建省厦门市九年级上学期数学月考试题及答案.doc
 2021-2022学年辽宁省沈阳市大东区九年级上学期语文期末试题及答案.doc
 2022-2023学年北京东城区初三第一学期物理期末试卷及答案.doc
 2018上半年江西教师资格初中地理学科知识与教学能力真题及答案.doc
 2012年河北国家公务员申论考试真题及答案-省级.doc
 2020-2021学年江苏省扬州市江都区邵樊片九年级上学期数学第一次质量检测试题及答案.doc
 2022下半年黑龙江教师资格证中学综合素质真题及答案.doc