TABLE OF CONTENTS
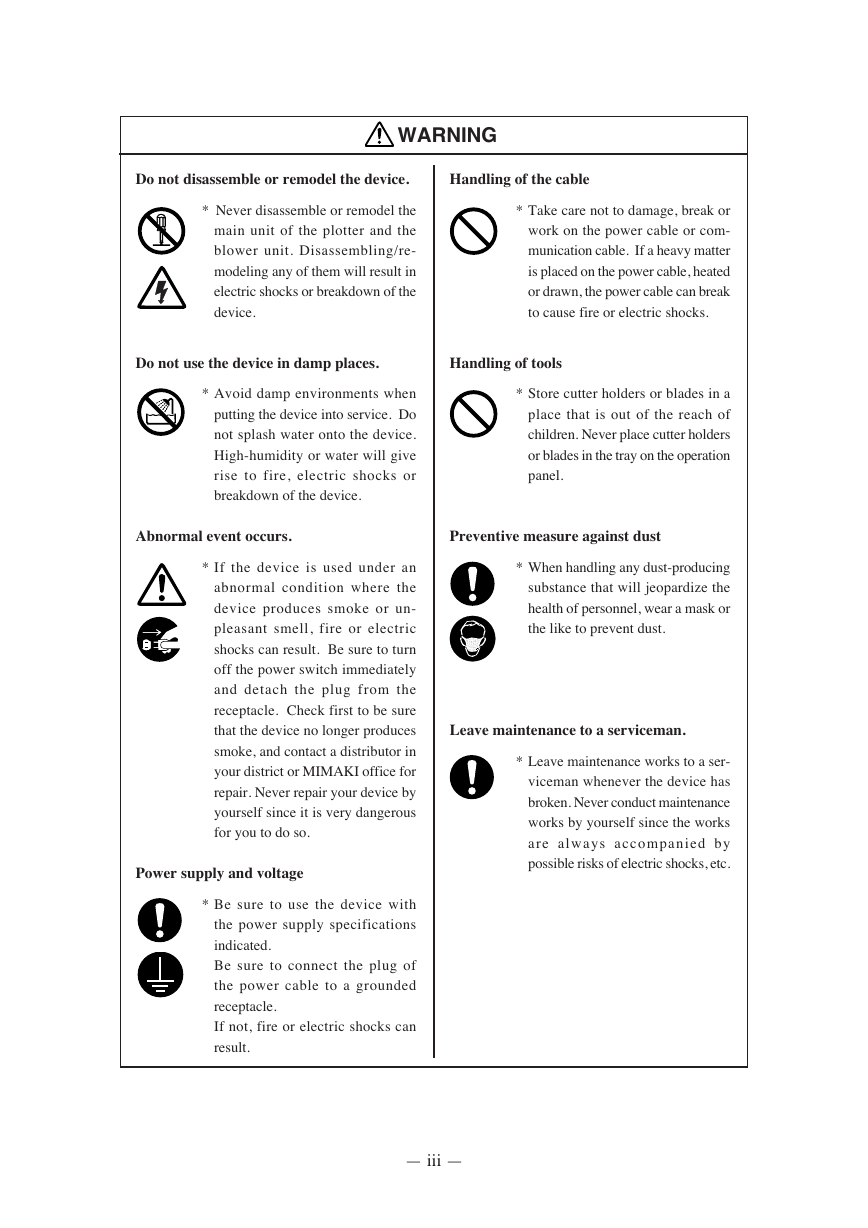
WARNING
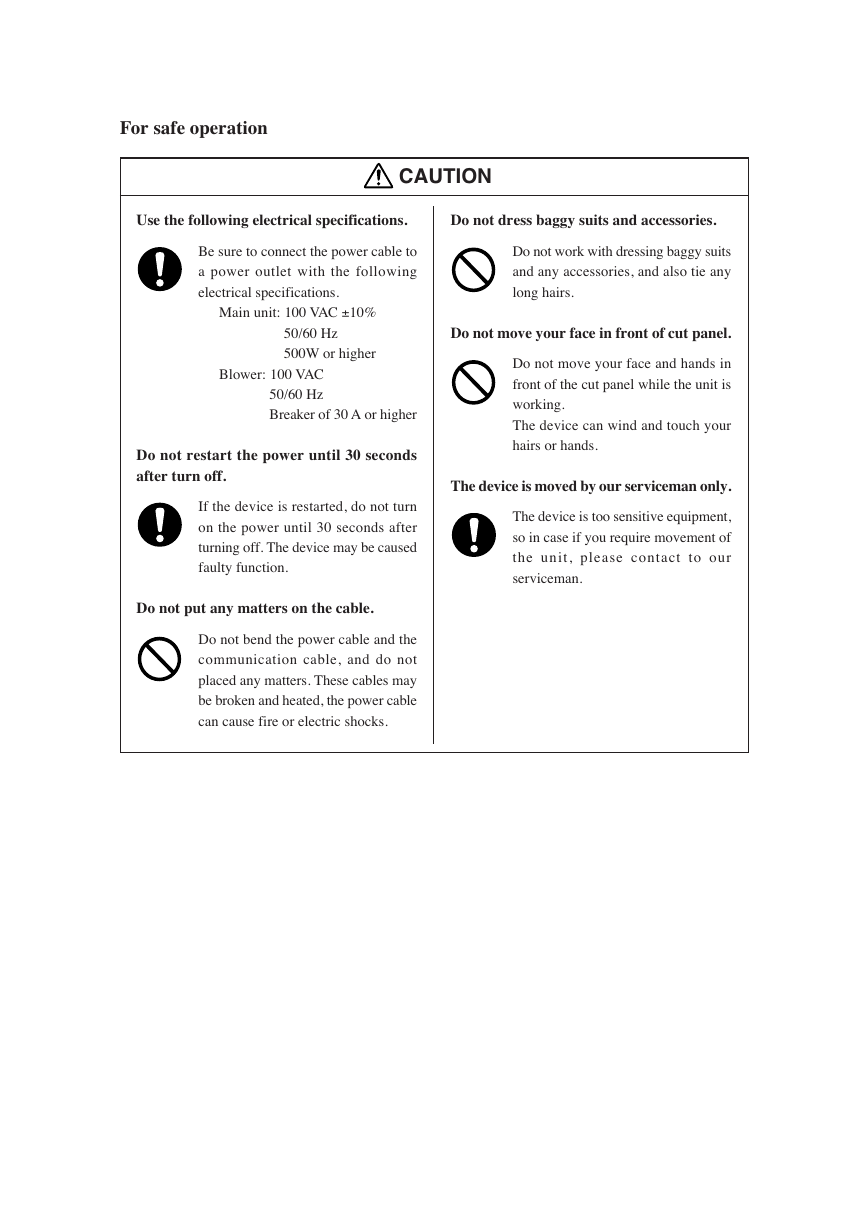
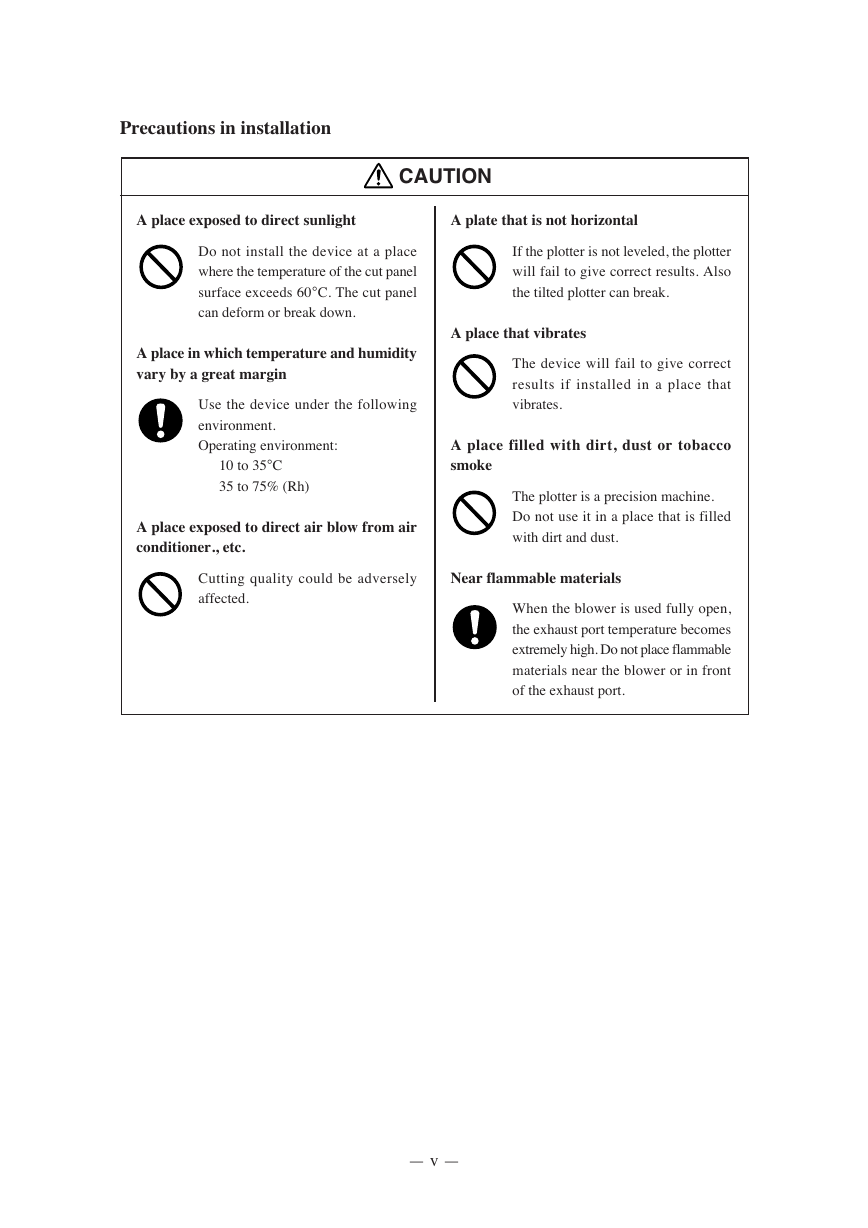
CAUTION
CHAPTER 1 SET-UP
INSTALLATION SITE
Blower installation area
Effective cutting area
CHECKING THE ACCESSORIES
CONFIGURATION AND FUNCTION
Main unit
Right-hand side face of the electrical box
Blower unit
Head
Operation panel
CONNECTING THE CABLES
Connecting the signal wire cable for the blower
Connecting the interface cable
Connecting the power cable
Turning the power on/off
Turning the power on
Turning the power off
Emergency stop
How to stop the device in an emergency
How to reset the emergency stop
LOCAL/REMOTE MODES
LOCAL mode and the indication on the LCD
REMOTE mode and the indications on the LCD
Matching the functions of the device
CHAPTER 2 BASIC OPERATION
Basic operation on the LOCAL menu
LOCAL menu
MODE SET menu
Basic operation on the LOCAL menu
Basic operation flow chart
Moving the head
Moving the head by "VIEW" function
Moving the head by the jog keys
Fixing a work
Fixing a work that is comparatively light in weight
Fixing heavy-weight packing etc.
Adjusting the blade AND THE PEN
Cutter holders 4N and 10N (for unit C)
Cutter holder 2N (for unit B)
Reciprocal cutter holder (for unit B)
Crease plate (for unit C of RC head)
Swievel cutter (optional)
ATTACHING THE TOOLS
Attaching the pen and the swievel blade
Attaching the tangential cutter
Attaching the reciprocal cutter (cutter holder)
Installing the crease roller
ADJUSTING THE HEIGHT OF THE HEAD
ATTACHING THE WORK HOLDER
SELECTING A TOOL [TOOL SELECT]
SETTING CUTTING CONDITIONS [CONDITION]
Setting items
Set values
Plotting conditions for pens
Cutting conditions for the tangential cutter
Marking conditions for the crease roller
Cutting conditions for the swievel blade
Setting cutting conditions
CHECKING CUTTING CONDITIONS [TEST CUT]
Checking the status of tools
Pen
Tangential cutter
Crease roller
Swievel blade
Checking the status of tools
SETTING THE CUTTING AREA [CUT AREA]
SETTING THE ORIGIN (ORIGIN FOR PLOTTING)
INTERRUPTION OF PROCESSING
How to interrupt/resume the process
Functions that can be specified after the interruption
Interruption of processing [DATA CLEAR]
CHAPTER 3 WHEN ABNORMAL CONDITIONS ARE ENCOUNTERED
If any of the below-stated phenomena takes place
Flowchart of checking and adjusting procedures
General explanation of the adjustment of tools
Adjustment of the cutter
Adjustment of the eccentricity
Adjustment of the q angle
Adjustment of the offset
Adjustment of the roller
How to adjust the tools
If there is a sign of failure
The device not at all actuates even when the power to the device is turned on.
The device fails to actuate even when data is transmitted from CAD.
Error arises when transmitting data.
There is no reciprocal vibration.
The tool drags on the sheet of paper.
Dotted lines or blurred lines are plotted.
Errors that can be corrected by users
Errors that cannot be corrected by users
CHAPTER 4 APPLICATION FUNCTIONS
Assignment of pen numbers [MODE SET] > [PEN ASIGN]
Re-cut of the same data [COPY]
Setting the number cut function
Setting the ONE-stroke cutting
Setting the cutter stroke [MODE SET] > [Z STROKE]
Setting the unit to be used for indication
Setting the DUMMY CUT operation
INTERFACE of communication conditions [INTEFACE]
Alignment of mechanical axes
CHAPTER 5 SELF-TEST
Confirmation of cutting quality
Cutting quality * / Sample *** / Circle cutting R = ***
Dump test [SELF TEST]
Executing the data dump
Execution of the parameter dump
APPENDIX
REPLACING TH BLADE TIPS
LOCAL MENU STRUCTURE
OUTPUT SAMPLES
SPECIFICATIONS
MAINTENANCE
OPTIONAL ACCESSORIES


 2023年江西萍乡中考道德与法治真题及答案.doc
 2012年重庆南川中考生物真题及答案.doc
 2013年江西师范大学地理学综合及文艺理论基础考研真题.doc
 2020年四川甘孜小升初语文真题及答案I卷.doc
 2020年注册岩土工程师专业基础考试真题及答案.doc
 2023-2024学年福建省厦门市九年级上学期数学月考试题及答案.doc
 2021-2022学年辽宁省沈阳市大东区九年级上学期语文期末试题及答案.doc
 2022-2023学年北京东城区初三第一学期物理期末试卷及答案.doc
 2018上半年江西教师资格初中地理学科知识与教学能力真题及答案.doc
 2012年河北国家公务员申论考试真题及答案-省级.doc
 2020-2021学年江苏省扬州市江都区邵樊片九年级上学期数学第一次质量检测试题及答案.doc
 2022下半年黑龙江教师资格证中学综合素质真题及答案.doc