logo资料库

Printronix打印机-L7032说明书.pdf

第1页 / 共182页
第2页 / 共182页
第3页 / 共182页
第4页 / 共182页
第5页 / 共182页
第6页 / 共182页
第7页 / 共182页
第8页 / 共182页
资料共182页,剩余部分请下载后查看
L7032 Laser Printer
Important Safety Information
Regulatory Information
Chapter 1 Product Description
1.1 Contents
1.2 Overview
1.3 User’s Manual Conventions
1.4 Location of Printer Components
1.4.1 Front of Printer
1.4.2 Operator Panel
1.4.3 Components on Paper Input Side of Printer
1.4.4 Components on Paper Exit Side of Printer
1.4.5 Components on Back of Printer
1.4.6 Components Inside Printer’s Door
1.4.7 Components inside Printer
1.5 Consumables
1.5.1 Replacing Consumables
1.5.2 Disposing of Spent Consumables
1.6 Environment
1.7 Printer Cleaning and Maintenance
Chapter 2 Printer Operation
2.1 Operator Panel
2.1.1 Buttons
2.1.2 Status Lights
2.1.3 Status Display
2.2 Printer Operation Menus
2.3 Selecting Printer - Host I/O Interface
2.3.1 Selecting the Ethernet Interface Using DHCP* Auto-Conf
2.3.2 Selecting the Ethernet Interface Manually
2.3.3 Selecting the Parallel Interface
2.4 Using the Cutter
2.4.1 On-Demand (“Manual”) Cutter Operation
2.4.2 Auto Cut Mode
2.4.3 Retraction Mode
2.4.4 Adjusting the Cutter
Chapter 3 Paper Loading
3.1 Contents
3.2 Recommended Media
3.3 Storing Paper
3.4 Loading Paper
Chapter 4 Replacing Consumables
4.1 Contents
4.2 Overview
4.2.1 Toner Kit
4.2.2 OPC Module Kit
4.2.3 Transfer Charger Kit
4.2.4 Developer Replacement
4.2.5 Fuser Kit
4.3 Replacement Intervals
4.3.1 Recommended Replacement Intervals
4.3.2 Assumptions about the Recommended Replacement Interval
4.4 Ordering Consumables
4.5 Storing Consumables
4.6 Using the Maintenance & Service Log
4.7 Adding Toner
4.7.1 Open the Toner Kit Box
4.7.2 Remove the Spent Toner Cartridge
4.7.3 Install the New Toner Cartridge
4.7.4 Replace the Waste Toner Bottle
4.7.5 Replace the Fuser Cleaning Roller
4.8 Replacing the OPC Module
4.8.1 Open the OPC Module Kit Box
4.8.2 Clean the Printer and Replace the Spent OPC Module
4.8.3 Initialize the OPC Module’s counter
4.9 Replacing the Transfer Charger Unit
4.10 Replacing the Developer Unit
4.10.1 Open the Box
4.10.2 Fill the New Developer Unit with Developer Mix
4.10.3 Clean the Printer and Replace the Spent Developer Uni
4.10.4 Replace the Ozone Filter
4.10.5 Initialize the Developer Unit
4.10.6 Install a New Toner Cartridge
4.11 Replacing the Fuser Unit and Exit Rollers
4.11.1 Open the Fuser Kit Box
4.11.2 Remove the Spent Fuser Unit and Exit Rollers
4.11.3 Install the New Fuser Unit and Exit Rollers
Chapter 5 Printer Cleaning
5.1 Contents
5.2 Overview
5.3 Giving the Printer a Tune-Up
5.4 Cleaning Supplies
5.4.1 Wire Cleaning Brush
5.4.2 Cleaning Kit
5.5 Weekly Cleaning Procedure
5.5.1 Clean the Main Charger Unit
5.5.2 Clean the Transfer Charger Unit
5.6 Monthly Cleaning Procedure
5.6.1 Prepare to Remove the Consumables
5.6.2 Remove the OPC Module
5.6.3 Remove the Developer Unit
5.6.4 Remove the Transfer Charger Unit
5.6.5 Remove the Fuser Unit
5.6.6 Remove the Waste Toner Bottle
5.6.7 Clean Inside the Printer
5.6.8 Install the Waste Toner Bottle
5.6.9 Install the Fuser Unit
5.6.10 Install the Transfer Charger Unit
5.6.11 Install the Developer Unit
5.6.12 Install the OPC Module
5.6.13 Finish the Procedure
Chapter 6 Troubleshooting
6.1 Overview
6.2 Print Quality Problems
6.2.1 Samples of Print Quality Problems
6.2.2 No Image – No Toner on Paper (White Page)
6.2.3 No Image – Toner Covers Paper (Black Page)
6.2.4 Image Is Too Light
6.2.5 Gray Image in White Areas
6.2.6 Black Edge on One Side of Paper
6.2.7 White Vertical Line
6.2.8 Black Vertical Line
6.2.9 Black Horizontal Line
6.2.10 White Spots
6.2.11 Black Spots
6.2.12 Grainy Image
6.2.13 Toner Does Not Stick to All Parts of Image
6.2.14 Bottom Edges of Image Are Rough
6.2.15 Paper Is Creased
6.2.16 Distorted Image
6.2.17 Part of Image Does Not Print
6.2.18 Offset Image (“Ghost” of Image)
6.2.19 Blurred Image
6.2.20 Spattered Toner Near Top Edge of Paper
6.2.21 Spattered Toner Near Bottom Edge of Paper
6.2.22 Out-of-Position Image
6.3 Clearing a Paper Jam
6.3.1 First Occurrence of Paper Jam
6.3.2 Reoccurrence of Paper Jam
6.3.2.1 Lead Edge of Paper Is in Fuser Drawer
6.3.2.2 Lead Edge of Paper Is in Area around Transfer Charge
6.4 Status and Error Messages
6.4.1 Status Messages
6.4.2 Output Device Full Messages
6.4.3 Warning Messages (Informational – does not stop printi
6.4.4 Printer Error Messages (Printing has stopped – require
Chapter 7 Service
7.1 Ordering Consumables and Supplies
7.2 Requesting Printer Service
Appendix A L7032 Specifications
Appendix B PGL Setup Commands
Appendix C VGL Setup Commands
Appendix D Downloading Software
Appendix E Downloading Printable Files (PGL/VGL Only)
Adding the Download Header
TrueType Fonts
Index
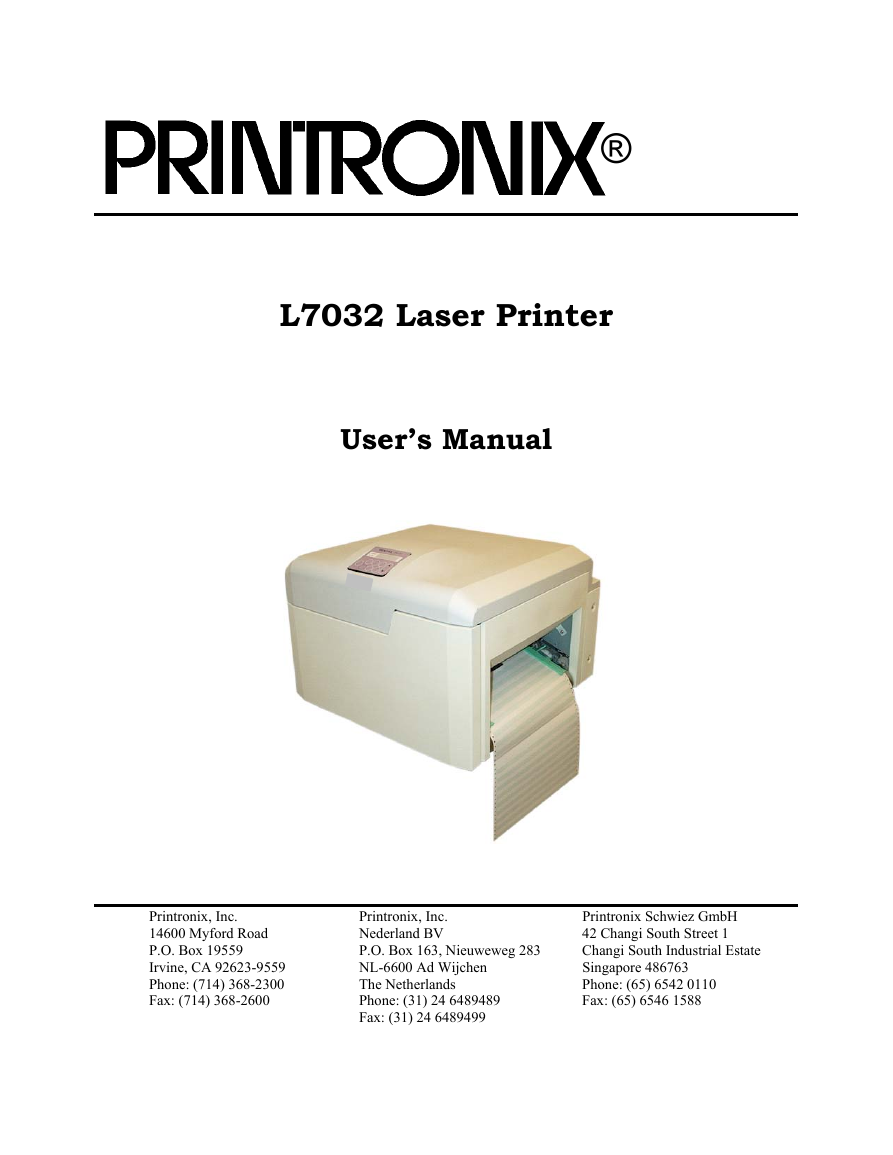
® L7032 Laser Printer User’s Manual Printronix, Inc. 1 4600 Myford Road P.O. Box 19559 Irvine, CA 92623-9559 Phone: (714) 368-2300 Fax: (714) 368-2600 Printronix, Inc. Nederland BV P.O. Box 163, Nieuweweg 283 NL-6600 Ad Wijchen The Netherlands Phone: (31) 24 6489489 Fax: (31) 24 6489499 Printronix Schwiez GmbH 42 Changi South Street 1 Changi South Industrial Estate Singapore 486763 Phone: (65) 6542 0110 Fax: (65) 6546 1588
Printronix® is a registered trademark of Printronix, Inc. PCL® is a registered trademark of Hewlett-Packard Company. All other trademarks are the property of their respective owners. © 2006, 2007 Printronix, Inc. All Rights Reserved Specifications subject to change without notice ii
Table of Contents L7032 Laser Printer..................................................................................... i Important Safety Information..................................................................... 1 Regulatory Information .............................................................................. 3 Chapter 1 Product Description ................................................................... 5 1.1 Contents ......................................................................................................... 5 1.2 Overview ......................................................................................................... 5 1.3 User’s Manual Conventions............................................................................. 5 1.4 Location of Printer Components ...................................................................... 6 1.5 Consumables ................................................................................................ 13 1.6 Environment ................................................................................................. 14 1.7 Printer Cleaning and Maintenance ................................................................ 14 Chapter 2 Printer Operation ..................................................................... 15 2.1 Operator Panel .............................................................................................. 15 2.2 Printer Operation Menus............................................................................... 16 2.3 Selecting Printer - Host I/O Interface ............................................................ 37 2.4 Using the Cutter............................................................................................ 40 Chapter 3 Paper Loading........................................................................... 45 3.1 Contents ....................................................................................................... 45 3.2 Recommended Media .................................................................................... 45 3.3 Storing Paper ................................................................................................ 45 3.4 Loading Paper ............................................................................................... 46 Chapter 4 Replacing Consumables ............................................................ 49 4.1 Contents ....................................................................................................... 49 4.2 Overview ....................................................................................................... 49 4.3 Replacement Intervals ................................................................................... 50 4.4 Ordering Consumables.................................................................................. 52 4.5 Storing Consumables .................................................................................... 52 4.6 Using the Maintenance & Service Log............................................................ 52 4.7 Adding Toner................................................................................................. 55 4.8 Replacing the OPC Module ............................................................................ 64 4.9 Replacing the Transfer Charger Unit ............................................................. 65 4.10 Replacing the Developer Unit....................................................................... 66 4.11 Replacing the Fuser Unit and Exit Rollers ................................................... 70 iii
Chapter 5 Printer Cleaning ....................................................................... 77 5.1 Contents ....................................................................................................... 77 5.2 Overview ....................................................................................................... 77 5.3 Giving the Printer a Tune-Up......................................................................... 77 5.4 Cleaning Supplies ......................................................................................... 78 5.5 Weekly Cleaning Procedure ........................................................................... 78 5.6 Monthly Cleaning Procedure ......................................................................... 84 Chapter 6 Troubleshooting ..................................................................... 103 6.1 Overview ..................................................................................................... 103 6.2 Print Quality Problems ................................................................................ 103 6.3 Clearing a Paper Jam .................................................................................. 128 6.4 Status and Error Messages ......................................................................... 130 Chapter 7 Service................................................................................... 135 7.1 Ordering Consumables and Supplies........................................................... 135 7.2 Requesting Printer Service........................................................................... 135 Appendix A L7032 Specifications............................................................ 137 Appendix B PGL Setup Commands.......................................................... 141 Appendix C VGL Setup Commands.......................................................... 151 Appendix D Downloading Software.......................................................... 163 Appendix E Downloading Printable Files (PGL/VGL Only)........................ 167 Index...................................................................................................... 171 iv
Important Safety Information Follow all instructions, cautions, and warnings given in this user’s manual. Follow all instructions, cautions, and warnings marked on the printer. Before you plug the printer into a power outlet, make sure that the voltage at the power outlet matches the printer’s voltage requirement. A label on the back of the printer identifies the printer’s voltage. Always use the power cord supplied with the printer. A substitute power cord may overheat and cause a fire. Do not damage or modify the power cord. Do not place anything on the power cord. Do not coil the power cord around anything. Do not step on or kick the power cord. Any of these actions may cause an electric shock or a fire. If you smell smoke, feel excessive heat when you touch the printer, or hear strange sounds, immediately turn the printer off and disconnect the power cord from the power outlet. Any of these conditions may cause an electric shock or a fire. Do not store any combustible materials near the printer. Unplug the printer’s power cord before you perform the monthly cleaning procedure, clean inside the printer, or replace any operating components. If your hand or a wet cleaning cloth comes in contact with a high voltage component while the printer is running, you may receive a dangerous electrical shock. Unplugging the printer is not required when you change a consumable such as the toner cartridge, the OPC module, or the developer unit. Only trained technicians should open any printer covers or components that are fastened with screws. Laser printers contain components with high voltages, high temperatures, and laser light sources. Direct contact with these components may result in electric shock, fire, or loss of eyesight. Always turn the printer off before you install or remove the interface cable. Always place the printer on a stable surface that supports its weight. The printer may tip over if you place it on an unstable surface. Always operate the printer in a room with adequate ventilation. The air in the room should change a minimum of five times per hour. Do not operate the printer in a humid or dusty environment. The printer may be damaged, or its performance may be degraded. Extreme humidity or dust may result in electric shock or fire. Do not cover the printer’s ventilation slots. If heat builds up inside the printer, the printer can be damaged. Do not push objects of any kind through the ventilation slots and other openings in the printer’s cabinet. These objects may cause an electric shock or a fire. 1
Do not spill liquids of any kind on the printer. Do not place containers filled with liquid, such as a cup or a vase of flowers, on top of the printer. Any liquid that enters the printer may cause an electric shock or a fire. Do not put any accessories or consumables on top of the printer. Never attempt to lift the printer by yourself. At least two people are required to lift the printer. To avoid injury, do not stick your hand into the printer’s moving parts. While the printer is operating, the fusing area is hot. When you turn off the printer, the fusing area remains hot. Do not clear a paper jam in the fusing area, change the fuser cleaning roller, or touch any parts in the fuser drawer until you have given the fusing area enough time to cool down. Do not touch the paper while printing. Touching the paper may cause a paper jam, and the paper exiting the printer may be hot. Do not open the front access door while the printer is printing. If you do, the paper will jam. To clear the paper jam, you may have to realign the paper and resend the print job to the printer. Always follow the instructions in this user’s manual to clear a paper jam. If paper remains in the paper path after you have attempted to clear a jam, the printer may jam again or print quality may be degraded. The developer unit is heavy. Always hold the developer unit with both hands. Do not try to remove it from the printer with one hand. Handle toner cartridges with care. Avoid breathing toner. Try not to get toner in your mouth or eyes. Although toner is non-toxic, it may irritate your eyes and lungs, and it may get on your clothes. If you get toner on your hands, wash them with cold water. Hot water makes the toner more difficult to remove. Store toner in a cool, dry place. Do not put used toner, toner cartridges, or waste toner bottles in the fire. Dispose of these consumables in the trash. If you are going to ship the printer, repackage it using the original packing materials and adhesive fasteners to avoid damage to the internal components. If the developer contains mix or toner, be sure to also remove the developer unit from the printer prior to shipping. If you must also ship a “charged” developer, be sure to double-bag the developer with plastic bags and ship it in its own box, separate from the printer. 2
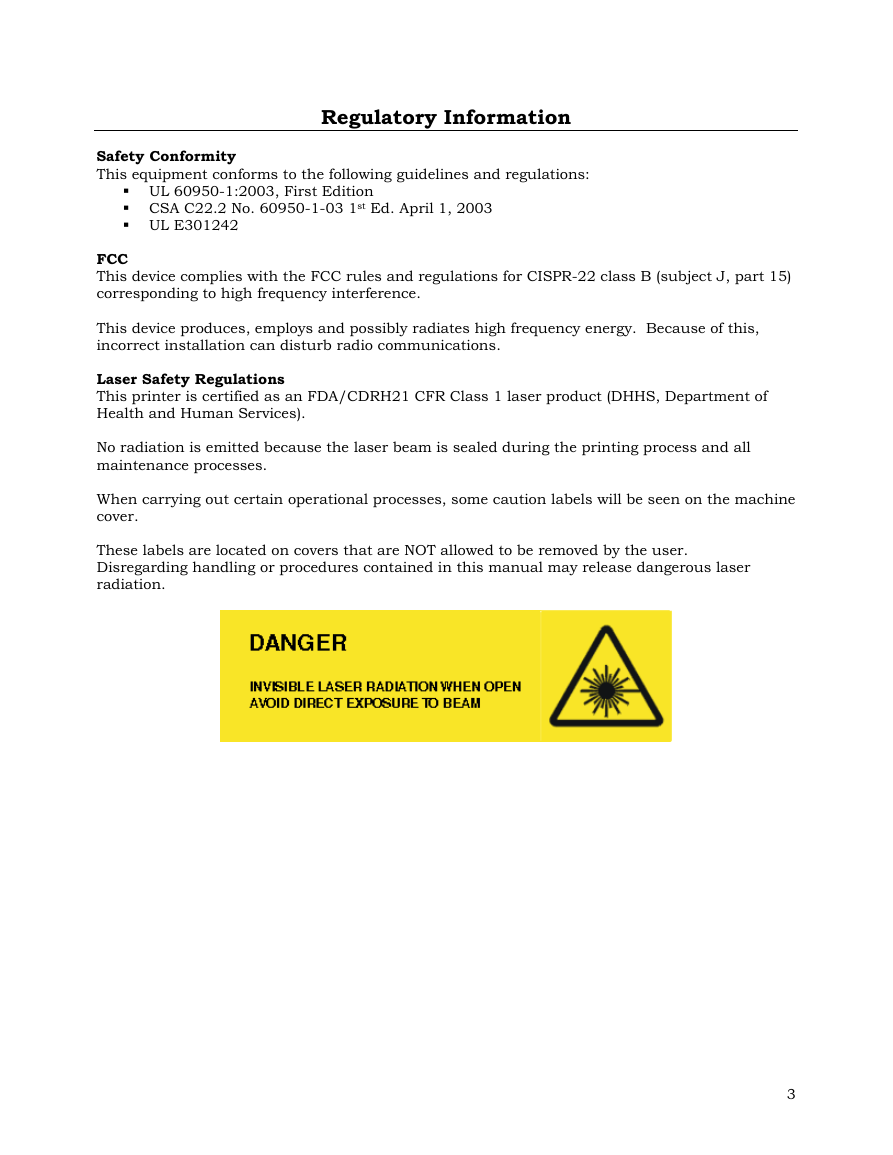
Regulatory Information Safety Conformity This equipment conforms to the following guidelines and regulations: UL 60950-1:2003, First Edition CSA C22.2 No. 60950-1-03 1st Ed. April 1, 2003 UL E301242 FCC This device complies with the FCC rules and regulations for CISPR-22 class B (subject J, part 15) corresponding to high frequency interference. This device produces, employs and possibly radiates high frequency energy. Because of this, incorrect installation can disturb radio communications. Laser Safety Regulations This printer is certified as an FDA/CDRH21 CFR Class 1 laser product (DHHS, Department of Health and Human Services). No radiation is emitted because the laser beam is sealed during the printing process and all maintenance processes. When carrying out certain operational processes, some caution labels will be seen on the machine cover. These labels are located on covers that are NOT allowed to be removed by the user. Disregarding handling or procedures contained in this manual may release dangerous laser radiation. 3
4
分享到:
收藏