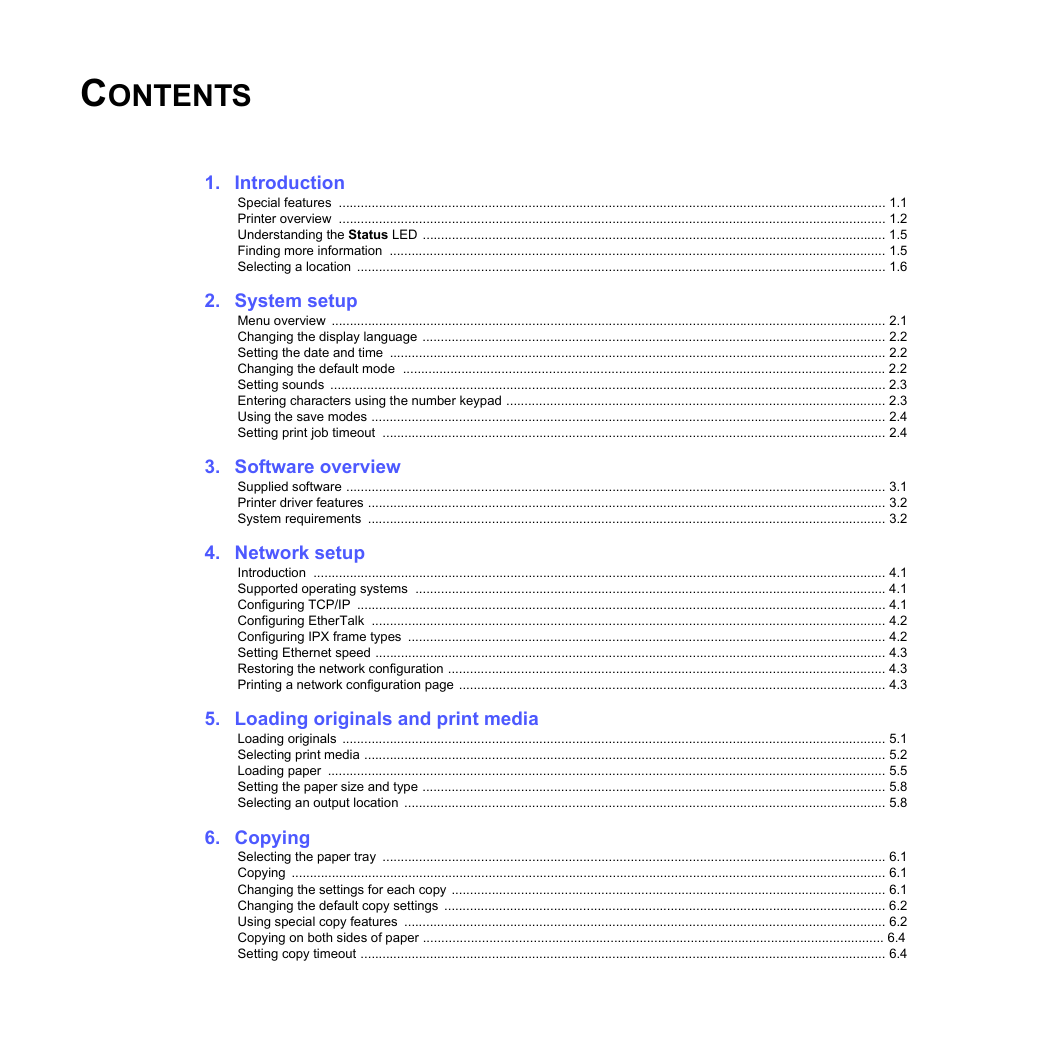
Contents
Introduction
Special features
Printer overview
Front view
Rear view
Control panel overview
Understanding the Status LED
Finding more information
Selecting a location
System setup
Menu overview
Changing the display language
Setting the date and time
Changing the clock mode
Changing the default mode (SCX-5530FN only)
Setting sounds (SCX-5530FN only)
Speaker, ringer, key sound, and alarm sound
Speaker volume
Entering characters using the number keypad
Entering alphanumeric characters
Keypad letters and numbers
Correcting numbers or names
Inserting a pause
Using the save modes
Toner Save mode
Power Save mode
Scan Power Save mode
Setting print job timeout
Software overview
Supplied software
Printer driver features
System requirements
Network setup
Introduction
Via network administration programs
Via the control panel
Supported operating systems
Configuring TCP/IP
Static addressing
Dynamic addressing (BOOTP/DHCP)
Configuring EtherTalk
Configuring IPX frame types
Setting Ethernet speed
Restoring the network configuration
Printing a network configuration page
Loading originals and print media
Loading originals
On the scanner glass
In the ADF
Selecting print media
Supported print media types and sizes
Media sizes supported in each mode
Guidelines for selecting and storing print media
Loading paper
In the tray 1
In the multi-purpose tray
Setting the paper size and type
Selecting an output location
Printing to the output tray
Printing to the rear cover
Copying
Selecting the paper tray
Copying
Changing the settings for each copy
Darkness
Original Type
Reduced or enlarged copy
Changing the default copy settings
Using special copy features
Collation
2-up or 4-up copying
ID card copying
Poster copying
Clone copying
Erasing background images
Copying on both sides of paper (SCX-5530FN only)
Setting copy timeout
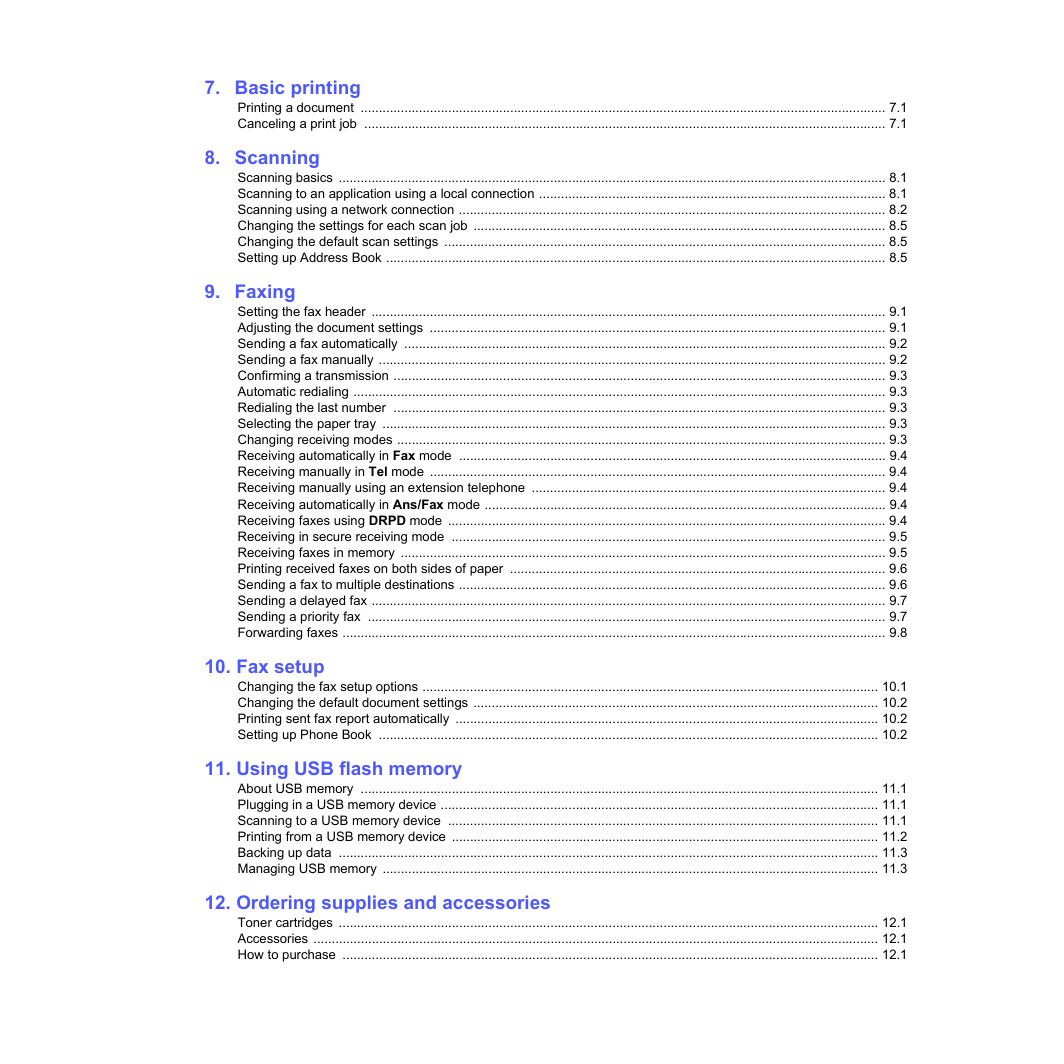
Basic printing
Printing a document
Canceling a print job
Scanning
Scanning basics
Scanning to an application using a local connection
Scanning using a network connection
Preparing for network scanning
Scanning to a network client
Scanning to Email
Scanning to an FTP server
Scanning to an SMB server
Changing the settings for each scan job
Changing the default scan settings
Setting up Address Book
Registering speed email numbers
Configuring group email numbers
Using Address Book entries
Searching Address Book for an entry
Printing Address Book
Faxing
Setting the fax header
Adjusting the document settings
Resolution
Darkness
Sending a fax automatically
Sending a fax manually
Confirming a transmission
Automatic redialing
Redialing the last number
Selecting the paper tray
Changing receiving modes
Receiving automatically in Fax mode
Receiving manually in Tel mode
Receiving manually using an extension telephone
Receiving automatically in Ans/Fax mode
Receiving faxes using DRPD mode
Receiving in secure receiving mode
Activating secure receiving mode
Printing received faxes
Deactivating secure receiving mode
Receiving faxes in memory
Printing received faxes on both sides of paper
Sending a fax to multiple destinations
Sending a delayed fax
Adding pages to a delayed fax
Canceling a delayed fax
Sending a priority fax
Forwarding faxes
Forwarding sent faxes to another fax machine
Forwarding sent faxes to email address
Forwarding received faxes to another fax machine
Forwarding received faxes to email address
Fax setup
Changing the fax setup options
Sending options
Receiving options
Changing the default document settings
Printing sent fax report automatically
Setting up Phone Book
Speed buttons
Speed dial numbers
Group dial numbers
Searching Phone Book for an entry
Deleting a Phone Book entry
Printing Phone Book
Using USB flash memory
About USB memory
Plugging in a USB memory device
Scanning to a USB memory device
Scanning
Customizing Scan to USB
Printing from a USB memory device
Printing on both sides of paper
Backing up data
Backing up data
Restoring data
Managing USB memory
Deleting an image file
Formatting a USB memory device
Viewing the USB memory status
Ordering supplies and accessories
Toner cartridges
Accessories
How to purchase
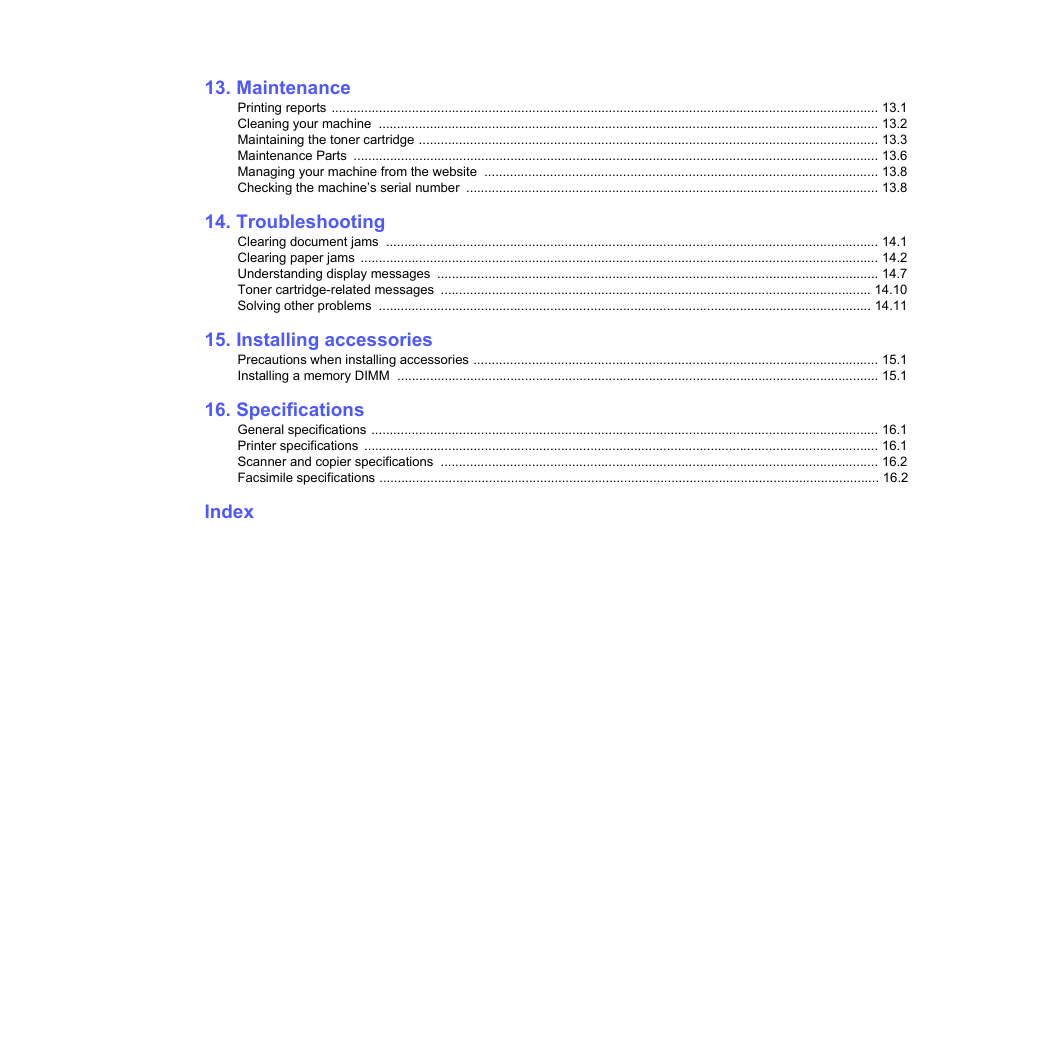
Maintenance
Printing reports
Printing a report
Other available reports (SCX-5530FN only)
Clearing memory
Cleaning your machine
Cleaning the outside
Cleaning the inside
Cleaning the scan unit
Maintaining the toner cartridge
Redistributing toner
Replacing the toner cartridge
Cleaning the drum
Sending new toner notification (SCX-5530FN only)
Printing continuously when the Toner Empty message appears
Clearing the Toner Empty Replace Toner message
Maintenance Parts
Checking replaceables
Replacing the ADF rubber pad
Managing your machine from the website
Checking the machine’s serial number
Troubleshooting
Clearing document jams
Roller misfeed
Clearing paper jams
In the tray 1
In the optional tray 2
In the multi-purpose tray
In the fuser area or around the toner cartridge
In the paper exit area
In the duplex unit area (SCX-5530FN only)
Tips for avoiding paper jams
Understanding display messages
Toner cartridge-related messages
Solving other problems
Paper feeding problems
Printing problems
Printing quality problems
Copying problems
Scanning problems
Network Scan problems
Fax problems (SCX-5530FN only)
Common Windows problems
Common PostScript problems (SCX-5530FN only)
Common Linux problems
Common Macintosh problems (SCX-5530FN only)
Installing accessories
Precautions when installing accessories
Installing a memory DIMM
Activating the added memory in the PS printer properties (SCX-5530FN only)
Specifications
General specifications
Printer specifications
Scanner and copier specifications
Facsimile specifications (SCX-5530FN only)
Index
Software section
Software section Contents
Installing Printer Software in Windows
Installing Printer Software
Installing Software for Local Printing
Installing Software for Network Printing
Reinstalling Printer Software
Removing Printer Software
Basic Printing
Printing a Document
Printing to a file (PRN)
Printer Settings
Layout Tab
Paper Tab
Graphics Tab
Extras Tab
About Tab
Printer Tab
Using a Favorite Setting
Using Help
Advanced Printing
Printing Multiple Pages on One Sheet of Paper (N-Up Printing)
Printing Posters
Printing Booklets
Printing on Both Sides of Paper
Printing a Reduced or Enlarged Document
Fitting Your Document to a Selected Paper Size
Using Watermarks
Using an Existing Watermark
Creating a Watermark
Editing a Watermark
Deleting a Watermark
Using Overlays
What is an Overlay?
Creating a New Page Overlay
Using a Page Overlay
Deleting a Page Overlay
Using Windows PostScript Driver
Printer Settings
Advanced
Using Help
Using Direct Print Utility
Overview Direct Print Utility
Printing
From the Direct Print Utility window
Using the shortcut icon
Using the right-click menu
Sharing the Printer Locally
Setting Up a Host Computer
Setting Up a Client Computer
Using Smart Panel
Understanding Smart Panel
Opening the Troubleshooting Guide
Using Printer Settings Utility
Using Onscreen Help File
Changing the Smart Panel Program Settings
Scanning
Scanning Using Samsung SmarThru
Uninstalling Samsung SmarThru
Using Samsung SmarThru
Using Onscreen Help File
Scanning Process with TWAIN- enabled Software
Scanning Using the WIA Driver
Using Your Printer in Linux
Getting Started
Installing the Unified Linux Driver
Installing the Unified Linux Driver
Uninstalling the Unified Linux Driver
Using the Unified Driver Configurator
Opening the Unified Driver Configurator
Printers Configuration
Scanners Configuration (for MFP device only)
Ports Configuration
Configuring Printer Properties
Printing a Document
Printing from Applications
Printing Files
Scanning a Document (for MFP device only)
Using the Image Manager
Using Your Printer with a Macintosh (SCX-5530FN only)
Installing Software for Macintosh
Setting Up the Printer
For a Network-connected Macintosh
For a USB-connected Macintosh
Printing
Printing a Document
Changing Printer Settings
Printing Multiple Pages on One Sheet of Paper
Duplex Printing
Scanning
Software section Index


 2023年江西萍乡中考道德与法治真题及答案.doc
 2012年重庆南川中考生物真题及答案.doc
 2013年江西师范大学地理学综合及文艺理论基础考研真题.doc
 2020年四川甘孜小升初语文真题及答案I卷.doc
 2020年注册岩土工程师专业基础考试真题及答案.doc
 2023-2024学年福建省厦门市九年级上学期数学月考试题及答案.doc
 2021-2022学年辽宁省沈阳市大东区九年级上学期语文期末试题及答案.doc
 2022-2023学年北京东城区初三第一学期物理期末试卷及答案.doc
 2018上半年江西教师资格初中地理学科知识与教学能力真题及答案.doc
 2012年河北国家公务员申论考试真题及答案-省级.doc
 2020-2021学年江苏省扬州市江都区邵樊片九年级上学期数学第一次质量检测试题及答案.doc
 2022下半年黑龙江教师资格证中学综合素质真题及答案.doc