logo资料库

惠普(康柏)笔记本电脑-Compaq Evo Notebook 800c Series说明书.pdf

第1页 / 共127页
第2页 / 共127页
第3页 / 共127页
第4页 / 共127页
第5页 / 共127页
第6页 / 共127页
第7页 / 共127页
第8页 / 共127页
资料共127页,剩余部分请下载后查看
Identifying External Hardware
Display Components
Pointing Device Components
TouchPad Models
Dual Device Models
Top Components
Power Lights
Keyboard and Drive Lights
Power and Volume Controls
Easy Access Buttons and Keyboard Keys
Function and Keypad Keys
Front Panel Components
Rear Panel Components
Connectors
Vent, Port and Jacks
Left Side Components
Right Side Components
Underside Components
Memory and Mini PCI Compartments
Bay Components
Vent and Docking Components
Labels
Additional Standard Components
Documentation and Restore CDs
Cord and Cables
Adapters and Accessories
Pointing Devices and Keyboard
Pointing Devices
Pointing Devices on TouchPad Models Only
Pointing Devices on Dual Device Models Only
Using the Pointing Stick Components
Using the TouchPad Components
Enabling or Disabling Dual Device Components
Setting Pointing Device Preferences
Hotkeys
Identifying Hotkeys
Hotkey Quick Reference
Hotkey Procedures
Hotkey Commands
Turn a MultiPort Device On or Off (Fn+F2)
Initiate Standby (Fn+F3)
Switch Image (Fn+F4)
Decrease Brightness (Fn+F7)
Increase Brightness (Fn+F8)
Play, Pause or Resume an Audio CD (Fn+F9)
Stop an Audio CD (Fn+F10)
Play Previous Track of an Audio CD (Fn+F11)
Play Next Track of an Audio CD (Fn+F12)
Easy Access Buttons
Using the Default Settings
Changing the Default Email Application
Learning More About Windows Media Player
Using Custom Assignments and Schemes
Keypads
Using the Internal Keypad
Turning the Internal Keypad On and Off
Switching Key Functions on the Internal Keypad
Using an External Keypad
Turning Num Lock Mode On or Off as You Work
Turning Num Lock Mode On or Off at Startup
Battery Packs
Running the Notebook on Battery Power
Identifying Battery Packs
Inserting or Removing a Primary Battery Pack
Inserting or Removing a MultiBay Battery Pack
Charging a Battery Pack
Charging a New Battery Pack
Charging an In-Use Battery Pack
Charging a Primary and a MultiBay Battery Pack
Monitoring the Charge in a Battery Pack
Obtaining Accurate Charge Information
Displaying Charge Information on the Screen
Accessing Charge Displays
Interpreting Charge Displays
Displaying Charge Information on a Battery Pack
Managing Low-Battery Conditions
Identifying Low-Battery Conditions
Low-Battery Condition
Critical Low-Battery Condition
Resolving Low-Battery Conditions
When External Power Is Available
When a Charged Battery Pack Is Available
When No Power Source Is Available
When the Notebook Cannot Exit Hibernation
Calibrating a Battery Pack
When to Calibrate
How to Calibrate
Charging the Battery Pack
Discharging the Battery Pack
Recharging the Battery Pack
Battery Conservation Procedures and Settings
Conserving Power as You Work
Selecting Power Conservation Settings
Storing a Battery Pack
Disposing of a Used Battery Pack
Finding More Power Information
Drives
Adding a Drive to the System
Understanding Drive Terms
Terms for Types of Drives
Terms for Drive Media
Caring for Drives
Using the IDE Drive Light
Removing and Inserting a MultiBay Drive
Using a MultiBay Hard Drive Adapter
Inserting a Hard Drive into a MultiBay Hard Drive Adapter
Removing a Hard Drive from a MultiBay Hard Drive Adapter
Removing a Drive from the MultiBay
Inserting a Drive into the MultiBay
Inserting and Removing Drive Media
Inserting a CD or DVD
Removing a CD or DVD (With Power)
Removing a CD or DVD (Without Power)
Inserting a Diskette or Disk
Removing a Diskette or Disk
Using Drive Media
Avoiding Standby and Hibernation
Displaying Media Contents
Setting Autorun Preferences
Canceling Autorun on an Audio CD
Displaying the Contents of a Medium
Caring for Drive Media
Finding More Drive Software Information
Audio and Video
Adjusting Volume
Using the Volume Buttons
Using the Volume Control Icon
Using the Internal Speakers
Using the Internal Microphone
Connecting an Audio Device
Identifying Audio Jacks
Using the Microphone Jack
Using the Audio-Out Jack
Connecting a Video Device
S-Video and Composite-Video Connections
Connecting an S-Video Device
Connecting the Audio
Connecting the Video
Turning a Video Device On and Off
Changing the Color Television Format
Finding CD and DVD Software Information
External Device Connections
Connecting a Standard Device
Connecting a USB Device
Using a USB Device
Enabling USB Legacy Support
Linking to an Infrared Device
Setting Up an Infrared Transmission
Avoiding Standby While Using Infrared
Connecting an Optional Cable Lock
Finding Communication and Security Information
Hardware Upgrades
Obtaining Upgrades
Using PC Cards
Selecting a PC Card
Configuring a PC Card
Inserting a PC Card
Stopping and Removing a PC Card
Increasing Memory
Displaying Memory Information
Removing or Inserting a Memory Board
Replacing the Primary Hard Drive
Finding Mini PCI and MultiPort Information
Specifications
Regulatory Agency Series Numbers
Notebook Dimensions
Operating Environment
Rated Input Power
Modem Specifications
Finding More Environmental Information
Index
265656-002.book Page i Thursday, February 20, 2003 2:32 PM b Hardware Guide compaq notebook series Document Part Number: 265656-002 April 2003 This guide explains how to identify and use notebook hardware features, including connectors for external devices. It also includes power and environmental specifications, which may be helpful when traveling with the notebook.
265656-002.book Page ii Thursday, February 20, 2003 2:32 PM © 2003 Hewlett-Packard Development Company, L.P. Microsoft and Windows are trademarks of Microsoft Corporation in the U.S. and/or other countries. All other product names mentioned herein may be trademarks of their respective companies. HP shall not be liable for technical or editorial errors or omissions contained herein or for incidental or consequential damages in connection with the furnishing, performance, or use of this material. The information in this document is provided “as is” without warranty of any kind, and is subject to change without notice. The warranties for HP products are set forth in the express limited warranty statements accompanying such products. Nothing herein should be construed as constituting an additional warranty. Hardware Guide Second Edition April 2003 First Edition April 2002 Reference Number: N800/2800 Document Part Number: 265656-002
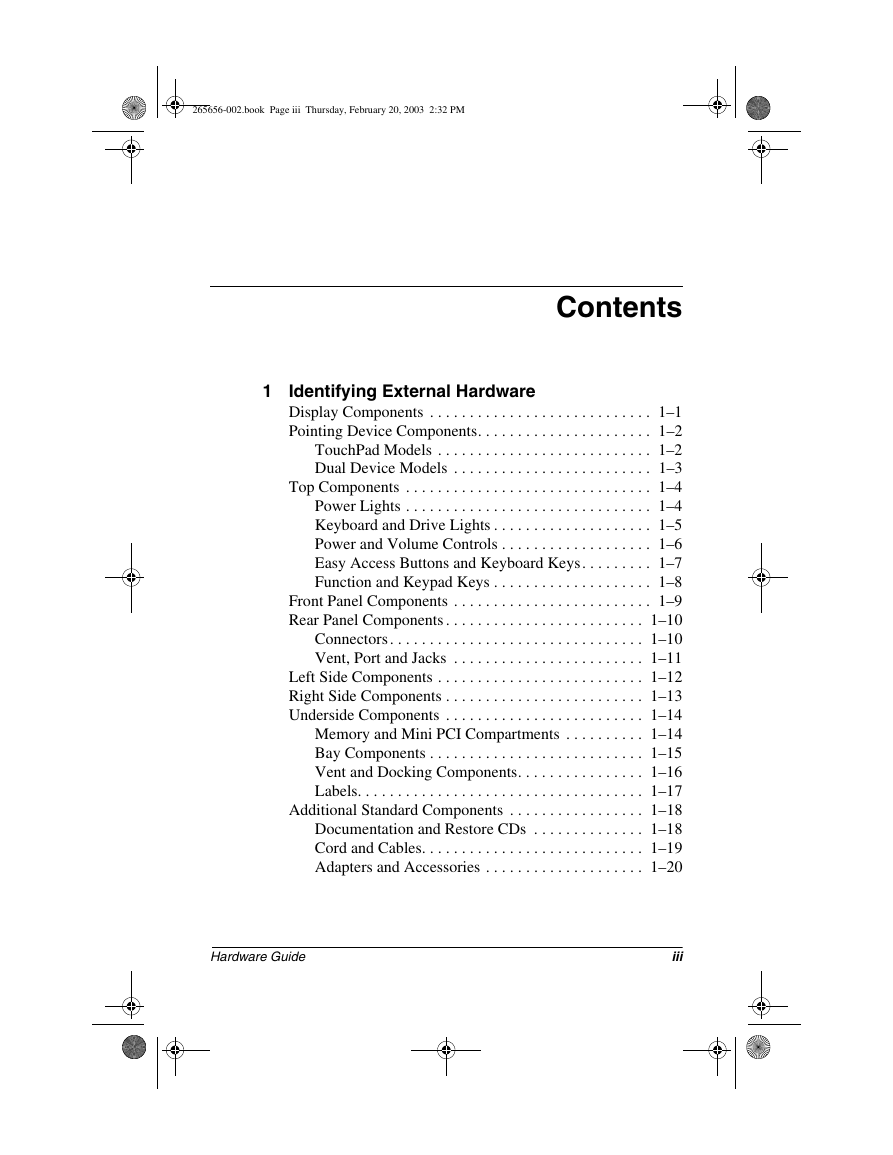
265656-002.book Page iii Thursday, February 20, 2003 2:32 PM Contents 1 Identifying External Hardware Display Components . . . . . . . . . . . . . . . . . . . . . . . . . . . . 1–1 Pointing Device Components. . . . . . . . . . . . . . . . . . . . . . 1–2 TouchPad Models . . . . . . . . . . . . . . . . . . . . . . . . . . . 1–2 Dual Device Models . . . . . . . . . . . . . . . . . . . . . . . . . 1–3 Top Components . . . . . . . . . . . . . . . . . . . . . . . . . . . . . . . 1–4 Power Lights . . . . . . . . . . . . . . . . . . . . . . . . . . . . . . . 1–4 Keyboard and Drive Lights . . . . . . . . . . . . . . . . . . . . 1–5 Power and Volume Controls . . . . . . . . . . . . . . . . . . . 1–6 Easy Access Buttons and Keyboard Keys. . . . . . . . . 1–7 Function and Keypad Keys . . . . . . . . . . . . . . . . . . . . 1–8 Front Panel Components . . . . . . . . . . . . . . . . . . . . . . . . . 1–9 Rear Panel Components . . . . . . . . . . . . . . . . . . . . . . . . . 1–10 Connectors . . . . . . . . . . . . . . . . . . . . . . . . . . . . . . . . 1–10 Vent, Port and Jacks . . . . . . . . . . . . . . . . . . . . . . . . 1–11 Left Side Components . . . . . . . . . . . . . . . . . . . . . . . . . . 1–12 Right Side Components . . . . . . . . . . . . . . . . . . . . . . . . . 1–13 Underside Components . . . . . . . . . . . . . . . . . . . . . . . . . 1–14 Memory and Mini PCI Compartments . . . . . . . . . . 1–14 Bay Components . . . . . . . . . . . . . . . . . . . . . . . . . . . 1–15 Vent and Docking Components. . . . . . . . . . . . . . . . 1–16 Labels. . . . . . . . . . . . . . . . . . . . . . . . . . . . . . . . . . . . 1–17 Additional Standard Components . . . . . . . . . . . . . . . . . 1–18 Documentation and Restore CDs . . . . . . . . . . . . . . 1–18 Cord and Cables. . . . . . . . . . . . . . . . . . . . . . . . . . . . 1–19 Adapters and Accessories . . . . . . . . . . . . . . . . . . . . 1–20 Hardware Guide iii
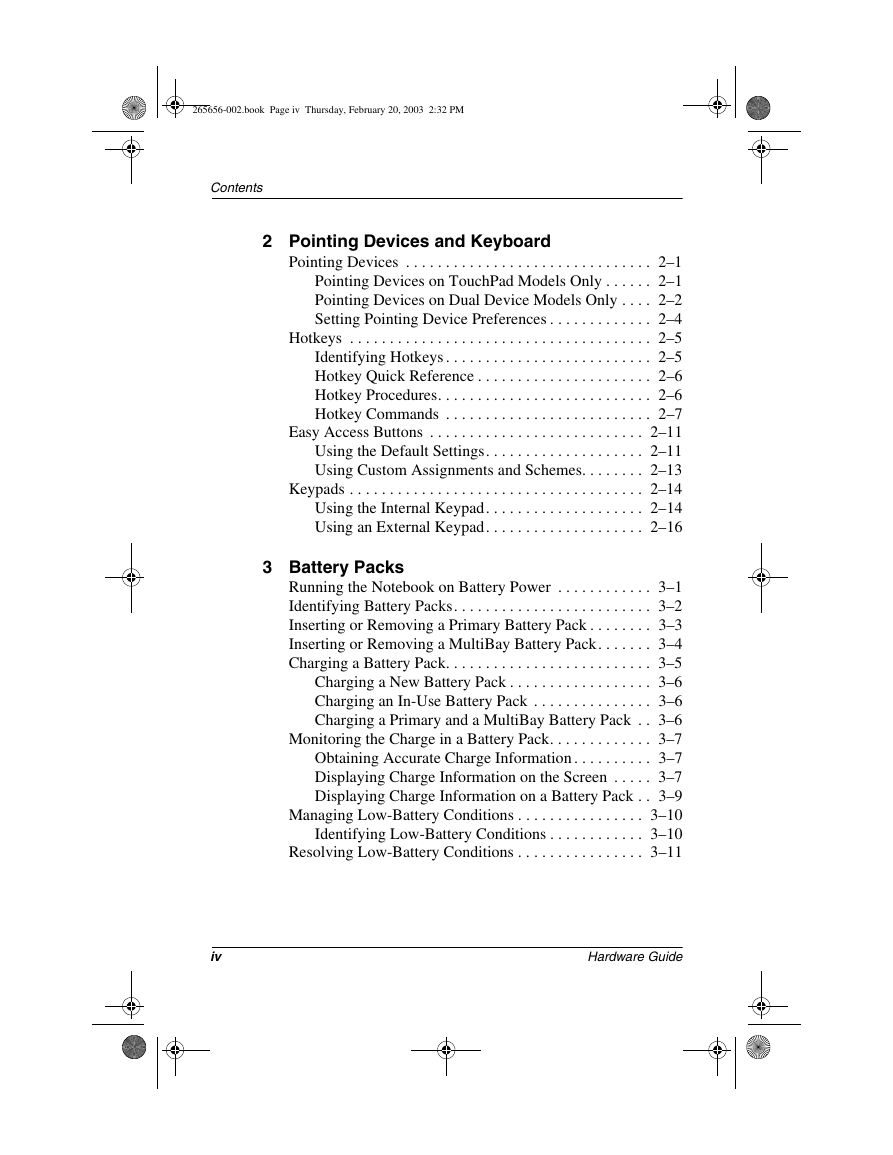
265656-002.book Page iv Thursday, February 20, 2003 2:32 PM Contents 2 Pointing Devices and Keyboard Pointing Devices . . . . . . . . . . . . . . . . . . . . . . . . . . . . . . . 2–1 Pointing Devices on TouchPad Models Only . . . . . . 2–1 Pointing Devices on Dual Device Models Only . . . . 2–2 Setting Pointing Device Preferences . . . . . . . . . . . . . 2–4 Hotkeys . . . . . . . . . . . . . . . . . . . . . . . . . . . . . . . . . . . . . . 2–5 Identifying Hotkeys . . . . . . . . . . . . . . . . . . . . . . . . . . 2–5 Hotkey Quick Reference . . . . . . . . . . . . . . . . . . . . . . 2–6 Hotkey Procedures. . . . . . . . . . . . . . . . . . . . . . . . . . . 2–6 Hotkey Commands . . . . . . . . . . . . . . . . . . . . . . . . . . 2–7 Easy Access Buttons . . . . . . . . . . . . . . . . . . . . . . . . . . . 2–11 Using the Default Settings. . . . . . . . . . . . . . . . . . . . 2–11 Using Custom Assignments and Schemes. . . . . . . . 2–13 Keypads . . . . . . . . . . . . . . . . . . . . . . . . . . . . . . . . . . . . . 2–14 Using the Internal Keypad. . . . . . . . . . . . . . . . . . . . 2–14 Using an External Keypad. . . . . . . . . . . . . . . . . . . . 2–16 3 Battery Packs Running the Notebook on Battery Power . . . . . . . . . . . . 3–1 Identifying Battery Packs. . . . . . . . . . . . . . . . . . . . . . . . . 3–2 Inserting or Removing a Primary Battery Pack . . . . . . . . 3–3 Inserting or Removing a MultiBay Battery Pack. . . . . . . 3–4 Charging a Battery Pack. . . . . . . . . . . . . . . . . . . . . . . . . . 3–5 Charging a New Battery Pack . . . . . . . . . . . . . . . . . . 3–6 Charging an In-Use Battery Pack . . . . . . . . . . . . . . . 3–6 Charging a Primary and a MultiBay Battery Pack . . 3–6 Monitoring the Charge in a Battery Pack. . . . . . . . . . . . . 3–7 Obtaining Accurate Charge Information . . . . . . . . . . 3–7 Displaying Charge Information on the Screen . . . . . 3–7 Displaying Charge Information on a Battery Pack . . 3–9 Managing Low-Battery Conditions . . . . . . . . . . . . . . . . 3–10 Identifying Low-Battery Conditions . . . . . . . . . . . . 3–10 Resolving Low-Battery Conditions . . . . . . . . . . . . . . . . 3–11 iv Hardware Guide
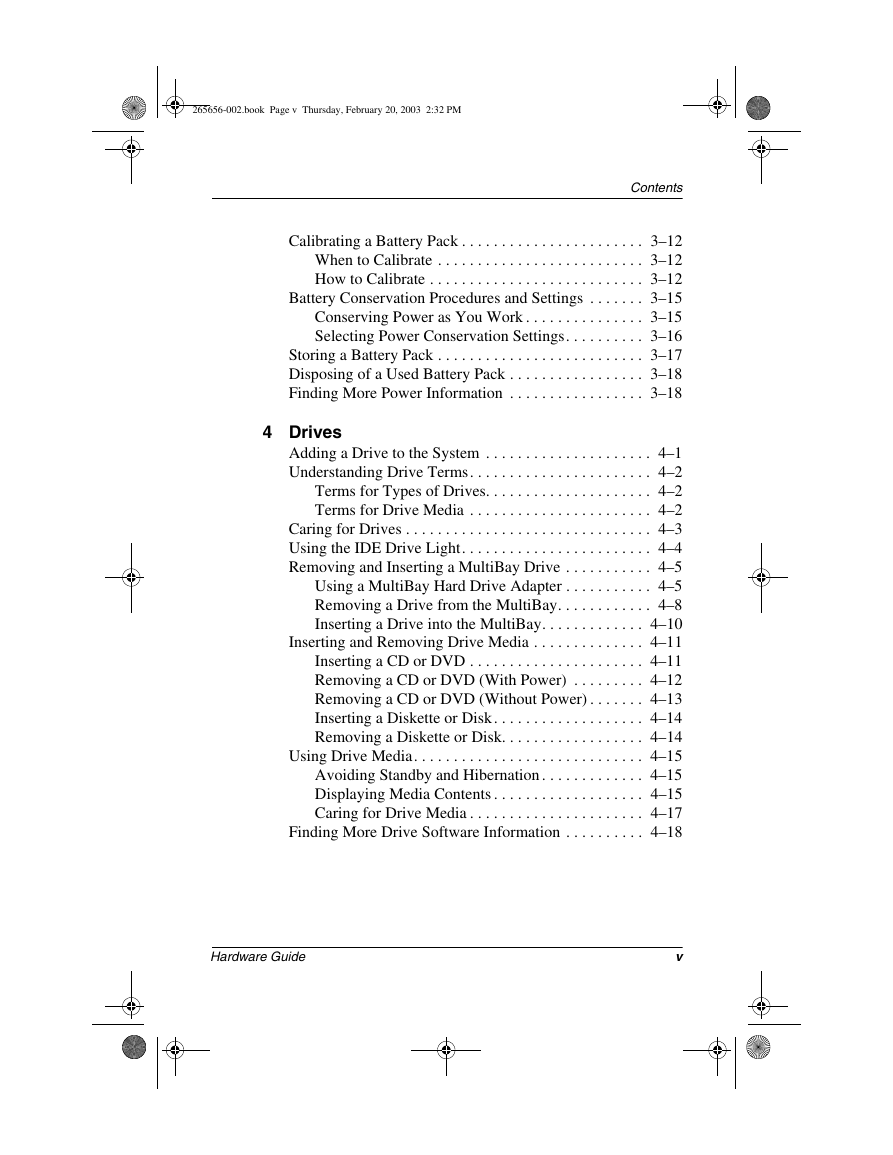
265656-002.book Page v Thursday, February 20, 2003 2:32 PM Contents Calibrating a Battery Pack . . . . . . . . . . . . . . . . . . . . . . . 3–12 When to Calibrate . . . . . . . . . . . . . . . . . . . . . . . . . . 3–12 How to Calibrate . . . . . . . . . . . . . . . . . . . . . . . . . . . 3–12 Battery Conservation Procedures and Settings . . . . . . . 3–15 Conserving Power as You Work . . . . . . . . . . . . . . . 3–15 Selecting Power Conservation Settings. . . . . . . . . . 3–16 Storing a Battery Pack . . . . . . . . . . . . . . . . . . . . . . . . . . 3–17 Disposing of a Used Battery Pack . . . . . . . . . . . . . . . . . 3–18 Finding More Power Information . . . . . . . . . . . . . . . . . 3–18 4 Drives Adding a Drive to the System . . . . . . . . . . . . . . . . . . . . . 4–1 Understanding Drive Terms. . . . . . . . . . . . . . . . . . . . . . . 4–2 Terms for Types of Drives. . . . . . . . . . . . . . . . . . . . . 4–2 Terms for Drive Media . . . . . . . . . . . . . . . . . . . . . . . 4–2 Caring for Drives . . . . . . . . . . . . . . . . . . . . . . . . . . . . . . . 4–3 Using the IDE Drive Light. . . . . . . . . . . . . . . . . . . . . . . . 4–4 Removing and Inserting a MultiBay Drive . . . . . . . . . . . 4–5 Using a MultiBay Hard Drive Adapter . . . . . . . . . . . 4–5 Removing a Drive from the MultiBay. . . . . . . . . . . . 4–8 Inserting a Drive into the MultiBay. . . . . . . . . . . . . 4–10 Inserting and Removing Drive Media . . . . . . . . . . . . . . 4–11 Inserting a CD or DVD . . . . . . . . . . . . . . . . . . . . . . 4–11 Removing a CD or DVD (With Power) . . . . . . . . . 4–12 Removing a CD or DVD (Without Power) . . . . . . . 4–13 Inserting a Diskette or Disk . . . . . . . . . . . . . . . . . . . 4–14 Removing a Diskette or Disk. . . . . . . . . . . . . . . . . . 4–14 Using Drive Media. . . . . . . . . . . . . . . . . . . . . . . . . . . . . 4–15 Avoiding Standby and Hibernation . . . . . . . . . . . . . 4–15 Displaying Media Contents . . . . . . . . . . . . . . . . . . . 4–15 Caring for Drive Media . . . . . . . . . . . . . . . . . . . . . . 4–17 Finding More Drive Software Information . . . . . . . . . . 4–18 Hardware Guide v
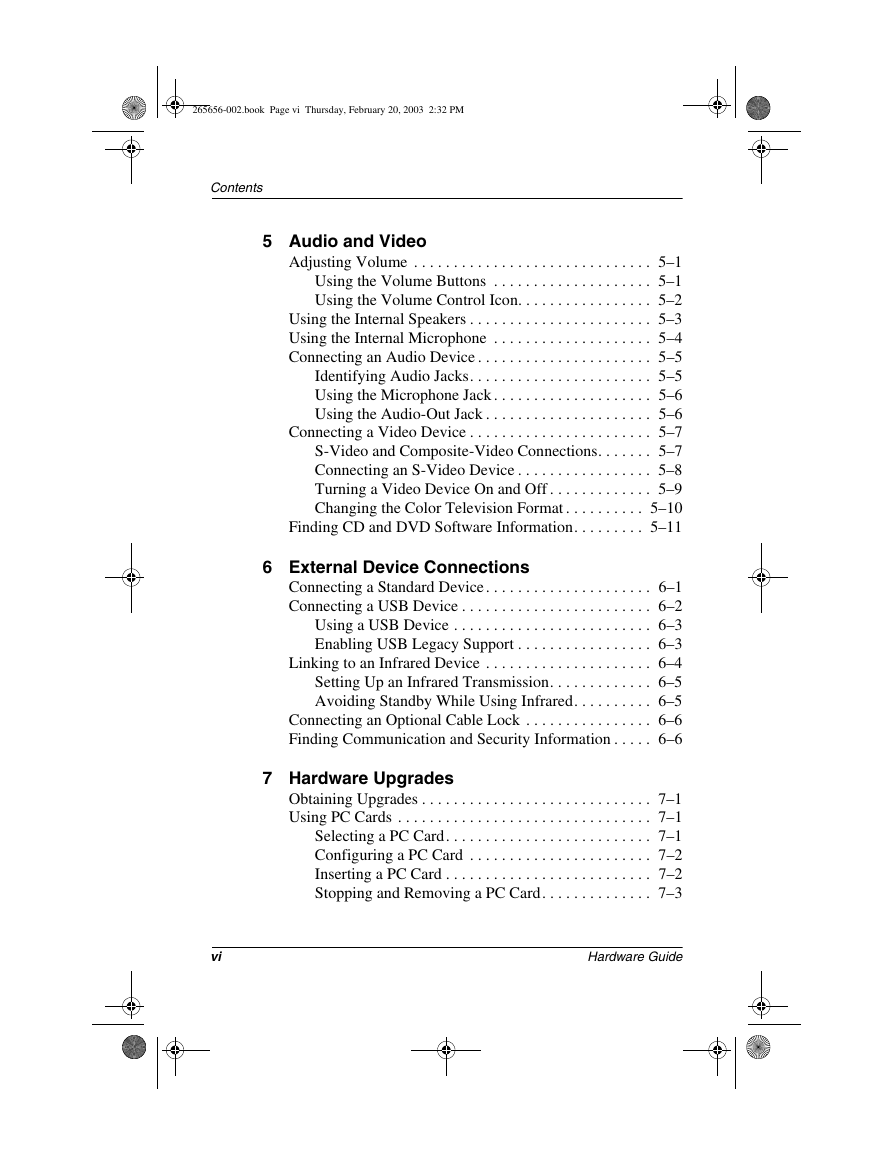
265656-002.book Page vi Thursday, February 20, 2003 2:32 PM Contents 5 Audio and Video Adjusting Volume . . . . . . . . . . . . . . . . . . . . . . . . . . . . . . 5–1 Using the Volume Buttons . . . . . . . . . . . . . . . . . . . . 5–1 Using the Volume Control Icon. . . . . . . . . . . . . . . . . 5–2 Using the Internal Speakers . . . . . . . . . . . . . . . . . . . . . . . 5–3 Using the Internal Microphone . . . . . . . . . . . . . . . . . . . . 5–4 Connecting an Audio Device . . . . . . . . . . . . . . . . . . . . . . 5–5 Identifying Audio Jacks. . . . . . . . . . . . . . . . . . . . . . . 5–5 Using the Microphone Jack . . . . . . . . . . . . . . . . . . . . 5–6 Using the Audio-Out Jack . . . . . . . . . . . . . . . . . . . . . 5–6 Connecting a Video Device . . . . . . . . . . . . . . . . . . . . . . . 5–7 S-Video and Composite-Video Connections. . . . . . . 5–7 Connecting an S-Video Device . . . . . . . . . . . . . . . . . 5–8 Turning a Video Device On and Off . . . . . . . . . . . . . 5–9 Changing the Color Television Format . . . . . . . . . . 5–10 Finding CD and DVD Software Information. . . . . . . . . 5–11 6 External Device Connections Connecting a Standard Device . . . . . . . . . . . . . . . . . . . . . 6–1 Connecting a USB Device . . . . . . . . . . . . . . . . . . . . . . . . 6–2 Using a USB Device . . . . . . . . . . . . . . . . . . . . . . . . . 6–3 Enabling USB Legacy Support . . . . . . . . . . . . . . . . . 6–3 Linking to an Infrared Device . . . . . . . . . . . . . . . . . . . . . 6–4 Setting Up an Infrared Transmission. . . . . . . . . . . . . 6–5 Avoiding Standby While Using Infrared. . . . . . . . . . 6–5 Connecting an Optional Cable Lock . . . . . . . . . . . . . . . . 6–6 Finding Communication and Security Information . . . . . 6–6 7 Hardware Upgrades Obtaining Upgrades . . . . . . . . . . . . . . . . . . . . . . . . . . . . . 7–1 Using PC Cards . . . . . . . . . . . . . . . . . . . . . . . . . . . . . . . . 7–1 Selecting a PC Card. . . . . . . . . . . . . . . . . . . . . . . . . . 7–1 Configuring a PC Card . . . . . . . . . . . . . . . . . . . . . . . 7–2 Inserting a PC Card . . . . . . . . . . . . . . . . . . . . . . . . . . 7–2 Stopping and Removing a PC Card. . . . . . . . . . . . . . 7–3 vi Hardware Guide
265656-002.book Page vii Thursday, February 20, 2003 2:32 PM Contents Increasing Memory . . . . . . . . . . . . . . . . . . . . . . . . . . . . . 7–4 Displaying Memory Information. . . . . . . . . . . . . . . . 7–4 Removing or Inserting a Memory Board. . . . . . . . . . 7–5 Replacing the Primary Hard Drive. . . . . . . . . . . . . . . . . 7–10 Finding Mini PCI and MultiPort Information . . . . . . . . 7–12 8 Specifications Regulatory Agency Series Numbers . . . . . . . . . . . . . . . . 8–1 Notebook Dimensions . . . . . . . . . . . . . . . . . . . . . . . . . . . 8–2 Operating Environment . . . . . . . . . . . . . . . . . . . . . . . . . . 8–2 Rated Input Power . . . . . . . . . . . . . . . . . . . . . . . . . . . . . . 8–3 Modem Specifications . . . . . . . . . . . . . . . . . . . . . . . . . . . 8–3 Finding More Environmental Information. . . . . . . . . . . . 8–4 Index Hardware Guide vii
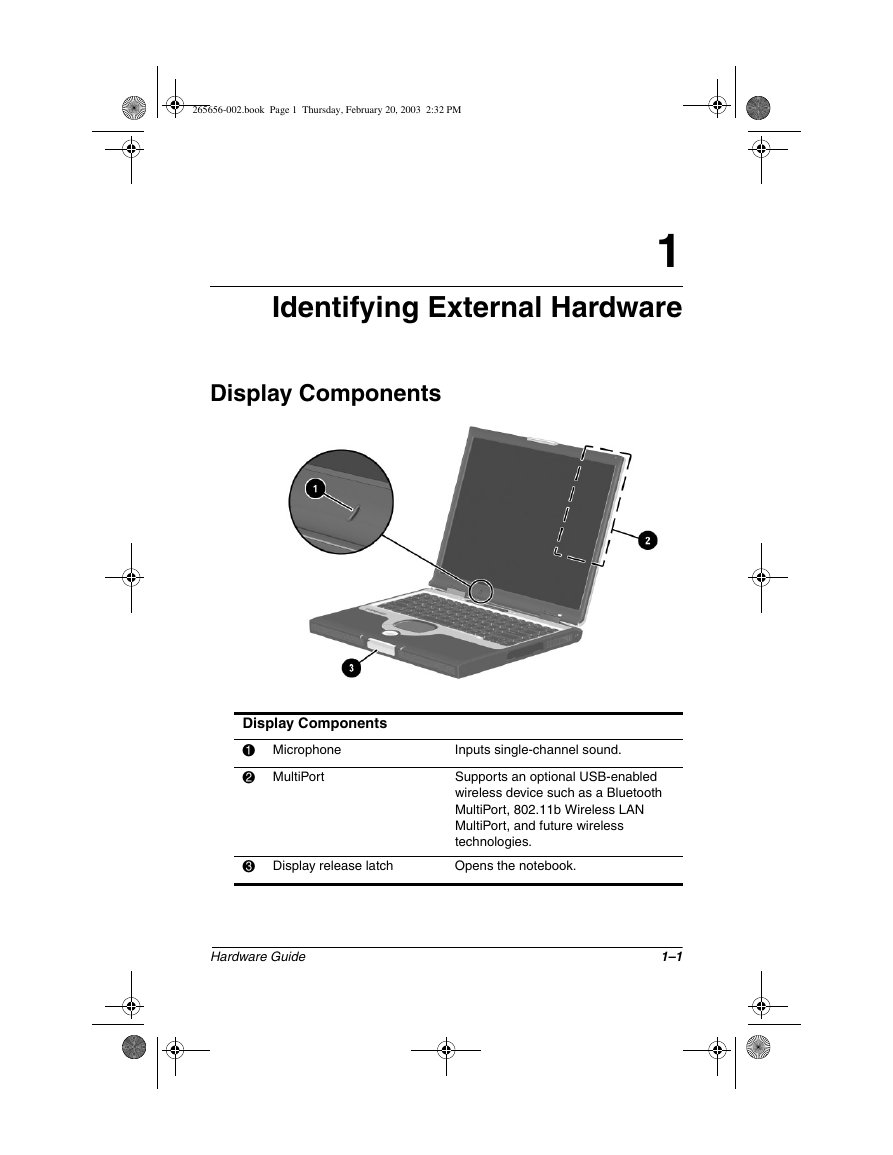
265656-002.book Page 1 Thursday, February 20, 2003 2:32 PM 1 Identifying External Hardware Display Components Display Components 1 Microphone 2 MultiPort Inputs single-channel sound. Supports an optional USB-enabled wireless device such as a Bluetooth MultiPort, 802.11b Wireless LAN MultiPort, and future wireless technologies. 3 Display release latch Opens the notebook. Hardware Guide 1–1
分享到:
收藏