yuboyushui0 我的:收件箱资源博客空间设置|帮助|退出
首页
业界
移动
云计算
研发
论坛
博客
下载
更多
gingerredjade 的专栏
目录视图
摘要视图
订阅
《这些年,我们读过的技术经典图书》主题有奖征文
专访李铁军:从医生到金山首席安全专家的转
变 独一无二的职位:开源社区经理
CSDN 博客第三期云计算最佳博主评选
MFC 学习总结 (90 个技巧)
分类: IT——C++/C/C#2012-11-21 13:39 607 人阅读 评论(1) 收藏 举报
mfcMFCMFC 学习总结 MFC 技巧
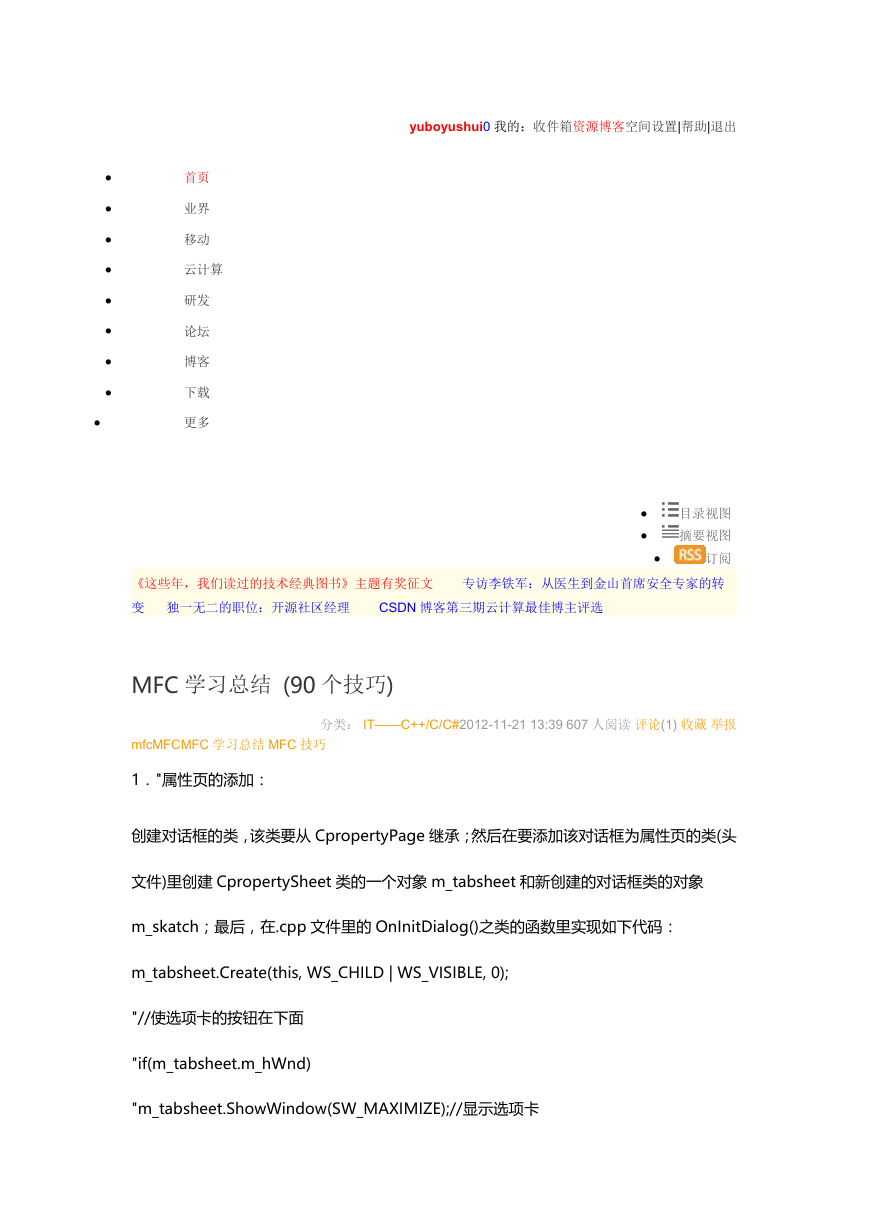
1."属性页的添加:
创建对话框的类,该类要从 CpropertyPage 继承;然后在要添加该对话框为属性页的类(头
文件)里创建 CpropertySheet 类的一个对象 m_tabsheet 和新创建的对话框类的对象
m_skatch;最后,在.cpp 文件里的 OnInitDialog()之类的函数里实现如下代码:
m_tabsheet.Create(this, WS_CHILD | WS_VISIBLE, 0);
"//使选项卡的按钮在下面
"if(m_tabsheet.m_hWnd)
"m_tabsheet.ShowWindow(SW_MAXIMIZE);//显示选项卡
�
//加入标签,标签名由各个子对话框的标题栏决定
"m_tabsheet.AddPage(&m_skatch);
"//用 Create 来创建一个属性页
"m_tabsheet.Create(this, WS_CHILD | WS_VISIBLE, WS_EX_CONTROLPARENT);
"
RECT rect;
"m_tabsheet.GetWindowRect(&rect);
"int width = rect.right - rect.left;
"int height = rect.bottom - rect.top;
"
"//调整属性页的大小和位置
"m_tabsheet.SetWindowPos(NULL, 225, 225, width-82, height,SWP_NOACTIVATE);
属性页的添加完成。如果要添加多个属性页,则只需要增加多个对象,如下:
m_tabsheet.AddPage(&m_skatch1);
m_tabsheet.AddPage(&m_skatch2);
. . . . . .
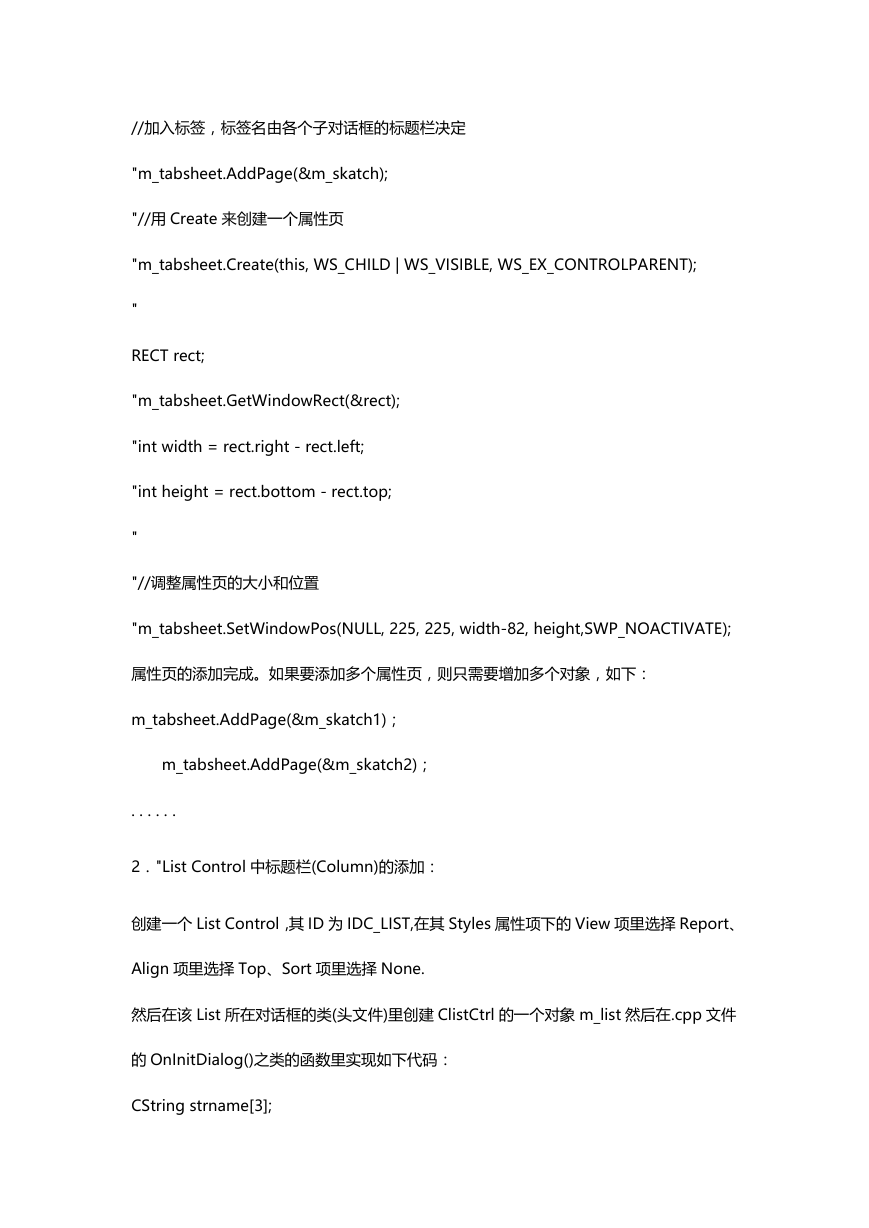
2."List Control 中标题栏(Column)的添加:
创建一个 List Control,其 ID 为 IDC_LIST,在其 Styles 属性项下的 View 项里选择 Report、
Align 项里选择 Top、Sort 项里选择 None.
然后在该 List 所在对话框的类(头文件)里创建 ClistCtrl 的一个对象 m_list 然后在.cpp 文件
的 OnInitDialog()之类的函数里实现如下代码:
CString strname[3];
�
strname[0]="Screen Name";
strname[1]="Form ID";
strname[2]="Category Path";
for(int i=0;i<3;i++)
{
m_List.InsertColumn(i,strname[i],LVCFMT_LEFT,130);
}
在这之前也要将 List Control 的 ID 与 ClistCtrl 的对象 m_list 在
DoDataExchange(CDataExchange* pDX)函数里绑定,如下:
DDX_Control(pDX, IDC_LIST, m_List);
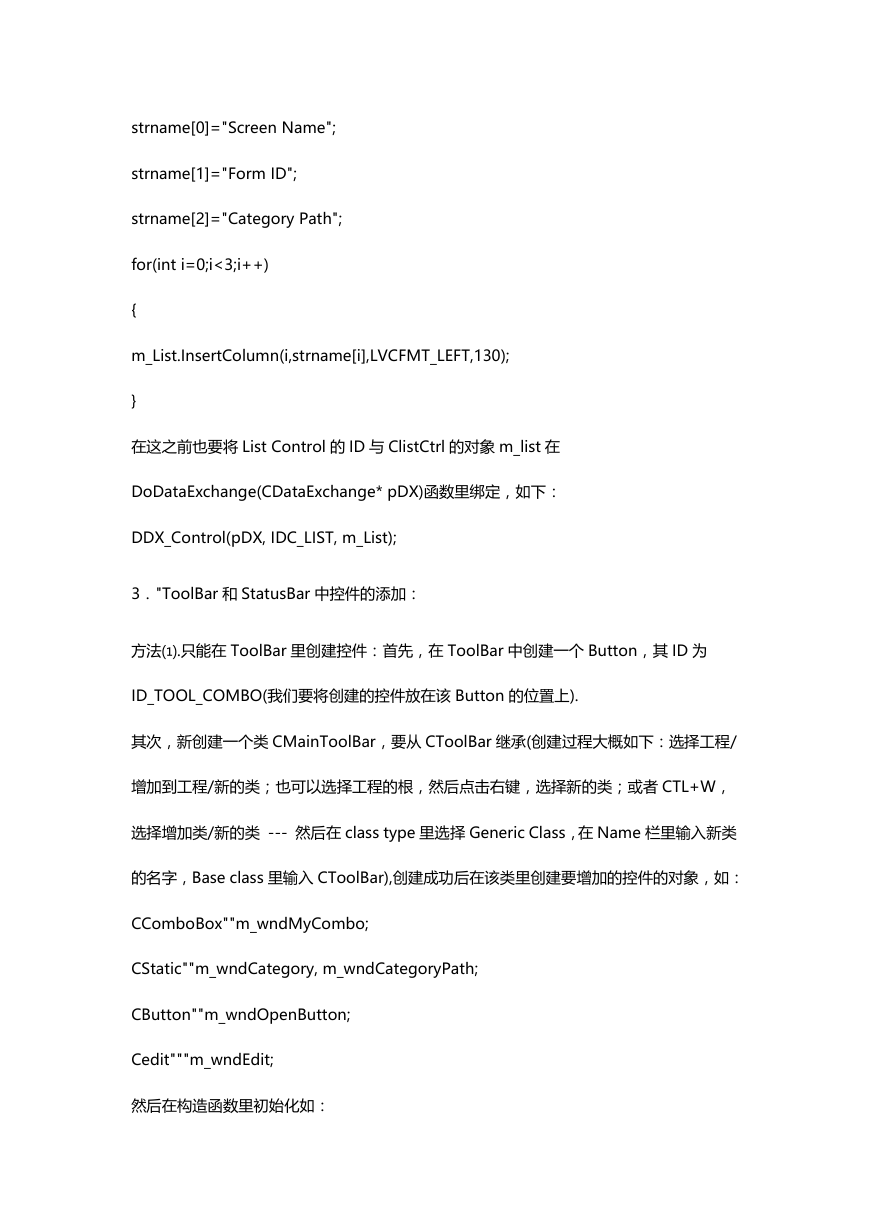
3."ToolBar 和 StatusBar 中控件的添加:
方法⑴.只能在 ToolBar 里创建控件:首先,在 ToolBar 中创建一个 Button,其 ID 为
ID_TOOL_COMBO(我们要将创建的控件放在该 Button 的位置上).
其次,新创建一个类 CMainToolBar,要从 CToolBar 继承(创建过程大概如下:选择工程/
增加到工程/新的类;也可以选择工程的根,然后点击右键,选择新的类;或者 CTL+W,
选择增加类/新的类 --- 然后在 class type 里选择 Generic Class,在 Name 栏里输入新类
的名字,Base class 里输入 CToolBar),创建成功后在该类里创建要增加的控件的对象,如:
CComboBox""m_wndMyCombo;
CStatic""m_wndCategory, m_wndCategoryPath;
CButton""m_wndOpenButton;
Cedit"""m_wndEdit;
然后在构造函数里初始化如:
�
m_wndMyCombo.m_hWnd = NULL;
m_wndCategory.m_hWnd = NULL;
m_wndCategoryPath.m_hWnd = NULL;
m_wndOpenButton.m_hWnd = NULL;
m_wndEdit.m_hWnd = NULL;
接着在 CMainframe 的头文件里创建 CMainToolBar 的一个对象 m_wndToolBar,最后
在.cpp 文件的 OnCreate 函数的最后实现如下:
"int index = 0;
"CRect rect;
// 可定义在头文件当中
"// ComboBox
"{
""//找到指定的工具项
""while(m_wndToolBar.GetItemID(index)!=ID_TOOL_COMBO)
"""index++;
""//设置指定工具项的宽度并获取新的区域 120 是宽度
""m_wndToolBar.SetButtonInfo(index, ID_TOOL_COMBO, TBBS_SEPARATOR, 120);
""m_wndToolBar.GetItemRect(index, &rect);
""
""//设置位置
""rect.top+=1;
""rect.bottom += 200;
""
�
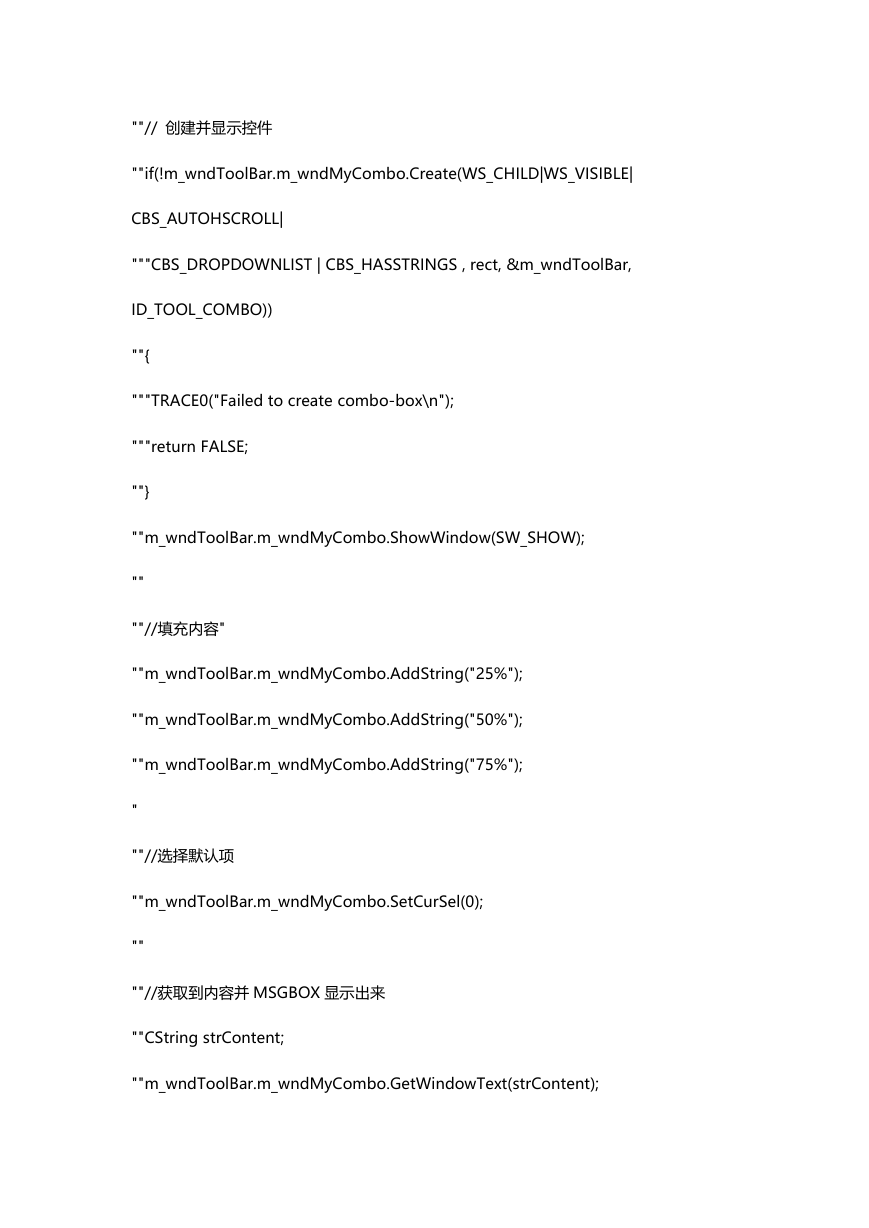
""// 创建并显示控件
""if(!m_wndToolBar.m_wndMyCombo.Create(WS_CHILD|WS_VISIBLE|
CBS_AUTOHSCROLL|
"""CBS_DROPDOWNLIST | CBS_HASSTRINGS , rect, &m_wndToolBar,
ID_TOOL_COMBO))
""{
"""TRACE0("Failed to create combo-box\n");
"""return FALSE;
""}
""m_wndToolBar.m_wndMyCombo.ShowWindow(SW_SHOW);
""
""//填充内容"
""m_wndToolBar.m_wndMyCombo.AddString("25%");
""m_wndToolBar.m_wndMyCombo.AddString("50%");
""m_wndToolBar.m_wndMyCombo.AddString("75%");
"
""//选择默认项
""m_wndToolBar.m_wndMyCombo.SetCurSel(0);
""
""//获取到内容并 MSGBOX 显示出来
""CString strContent;
""m_wndToolBar.m_wndMyCombo.GetWindowText(strContent);
�
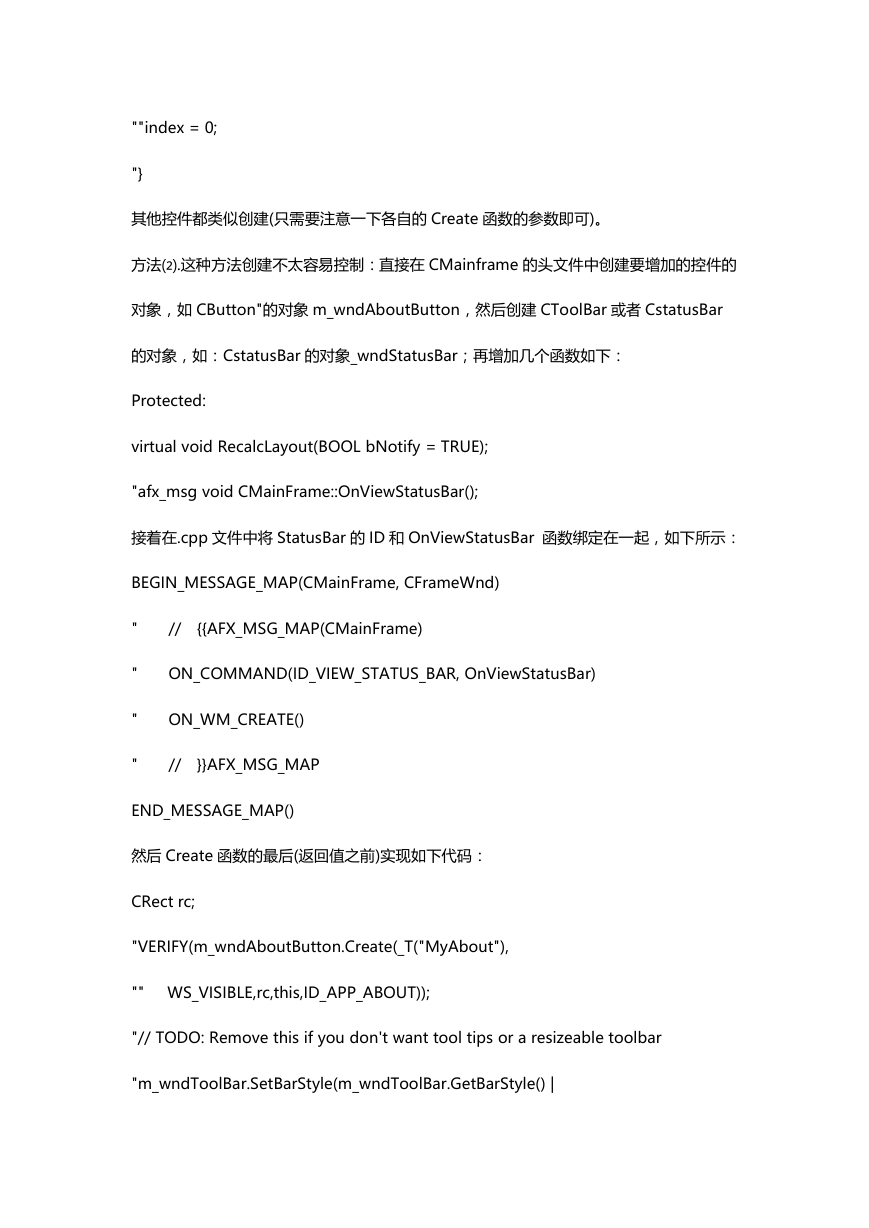
""index = 0;
"}
其他控件都类似创建(只需要注意一下各自的 Create 函数的参数即可)。
方法⑵.这种方法创建不太容易控制:直接在 CMainframe 的头文件中创建要增加的控件的
对象,如 CButton"的对象 m_wndAboutButton,然后创建 CToolBar 或者 CstatusBar
的对象,如:CstatusBar 的对象_wndStatusBar;再增加几个函数如下:
Protected:
virtual void RecalcLayout(BOOL bNotify = TRUE);
"afx_msg void CMainFrame::OnViewStatusBar();
接着在.cpp 文件中将 StatusBar 的 ID 和 OnViewStatusBar 函数绑定在一起,如下所示:
BEGIN_MESSAGE_MAP(CMainFrame, CFrameWnd)
"
"
"
"
//
{{AFX_MSG_MAP(CMainFrame)
ON_COMMAND(ID_VIEW_STATUS_BAR, OnViewStatusBar)
ON_WM_CREATE()
//
}}AFX_MSG_MAP
END_MESSAGE_MAP()
然后 Create 函数的最后(返回值之前)实现如下代码:
CRect rc;
"VERIFY(m_wndAboutButton.Create(_T("MyAbout"),
"" WS_VISIBLE,rc,this,ID_APP_ABOUT));
"// TODO: Remove this if you don't want tool tips or a resizeable toolbar
"m_wndToolBar.SetBarStyle(m_wndToolBar.GetBarStyle() |
�
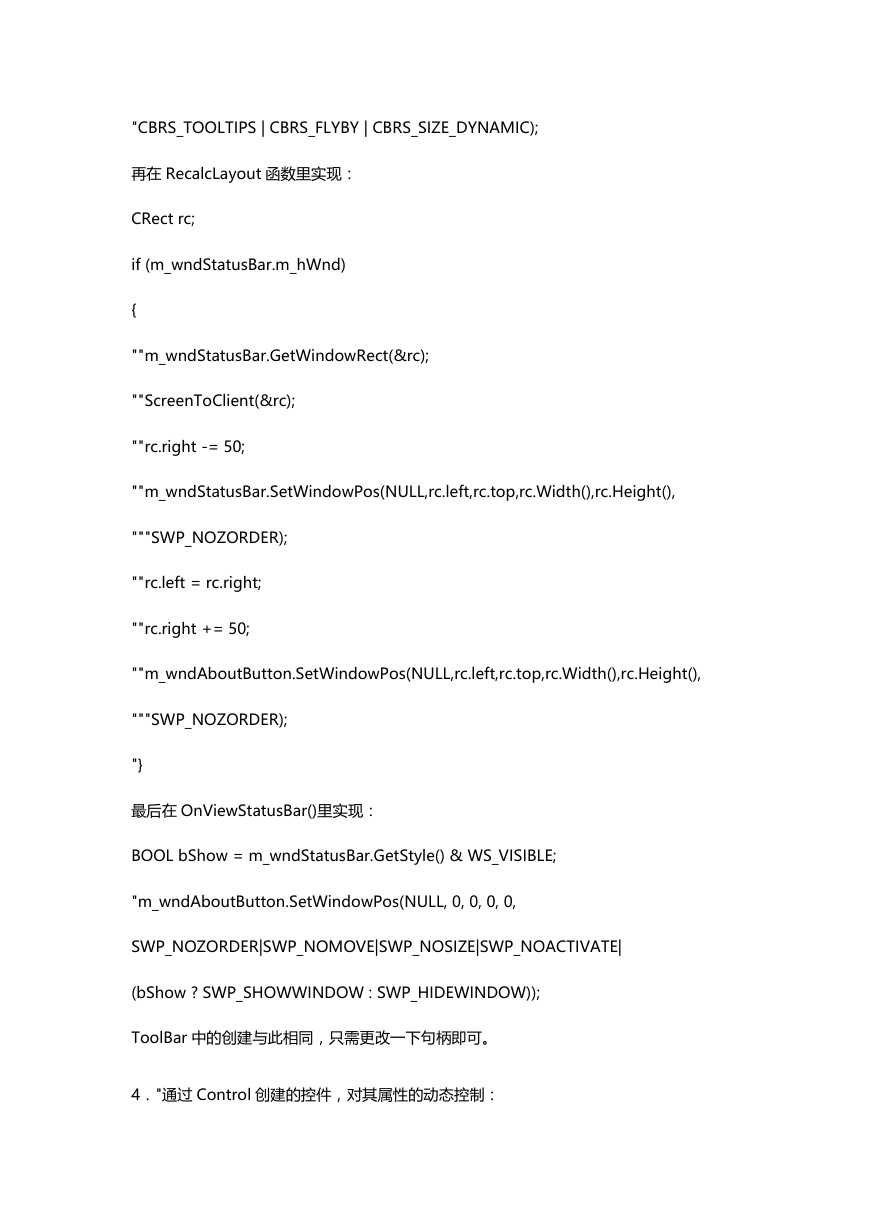
"CBRS_TOOLTIPS | CBRS_FLYBY | CBRS_SIZE_DYNAMIC);
再在 RecalcLayout 函数里实现:
CRect rc;
if (m_wndStatusBar.m_hWnd)
{
""m_wndStatusBar.GetWindowRect(&rc);
""ScreenToClient(&rc);
""rc.right -= 50;
""m_wndStatusBar.SetWindowPos(NULL,rc.left,rc.top,rc.Width(),rc.Height(),
"""SWP_NOZORDER);
""rc.left = rc.right;
""rc.right += 50;
""m_wndAboutButton.SetWindowPos(NULL,rc.left,rc.top,rc.Width(),rc.Height(),
"""SWP_NOZORDER);
"}
最后在 OnViewStatusBar()里实现:
BOOL bShow = m_wndStatusBar.GetStyle() & WS_VISIBLE;
"m_wndAboutButton.SetWindowPos(NULL, 0, 0, 0, 0,
SWP_NOZORDER|SWP_NOMOVE|SWP_NOSIZE|SWP_NOACTIVATE|
(bShow ? SWP_SHOWWINDOW : SWP_HIDEWINDOW));
ToolBar 中的创建与此相同,只需更改一下句柄即可。
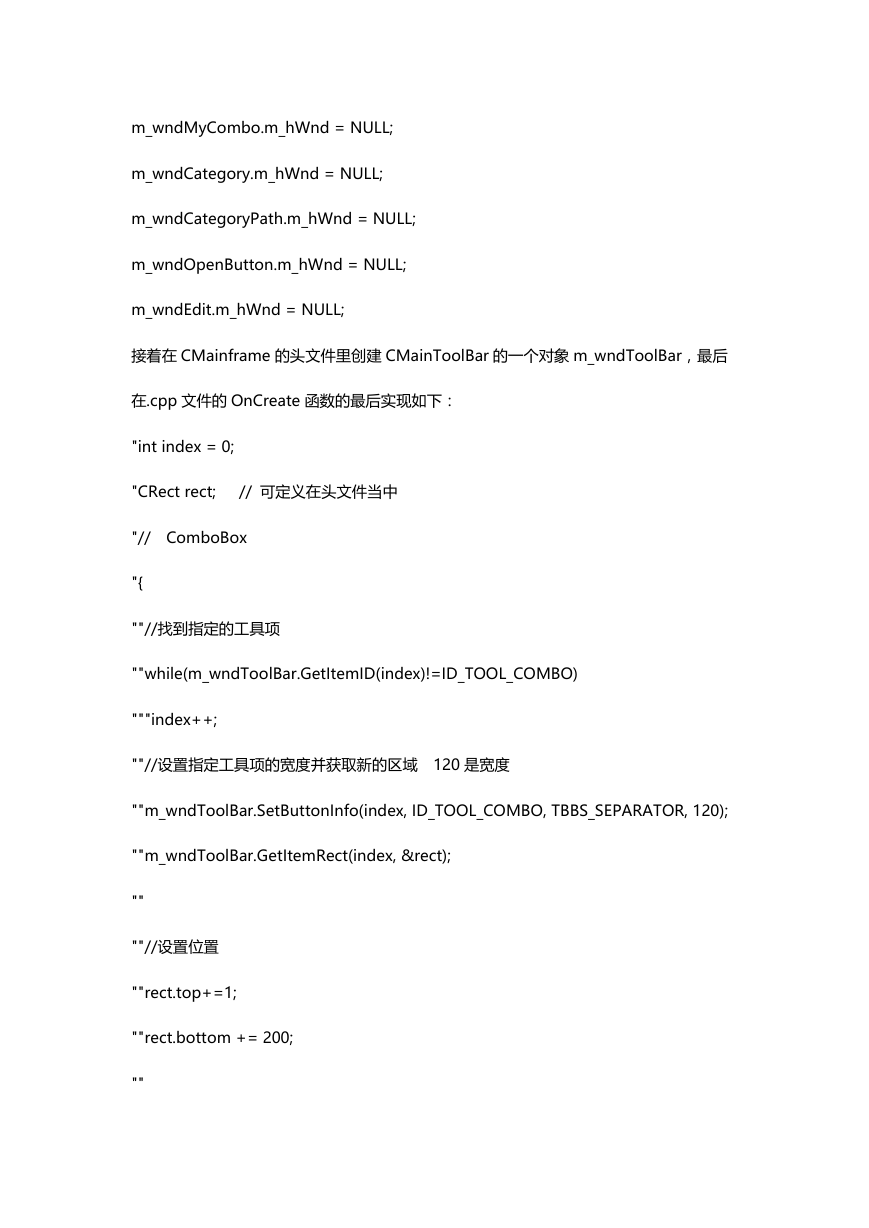
4."通过 Control 创建的控件,对其属性的动态控制:
�
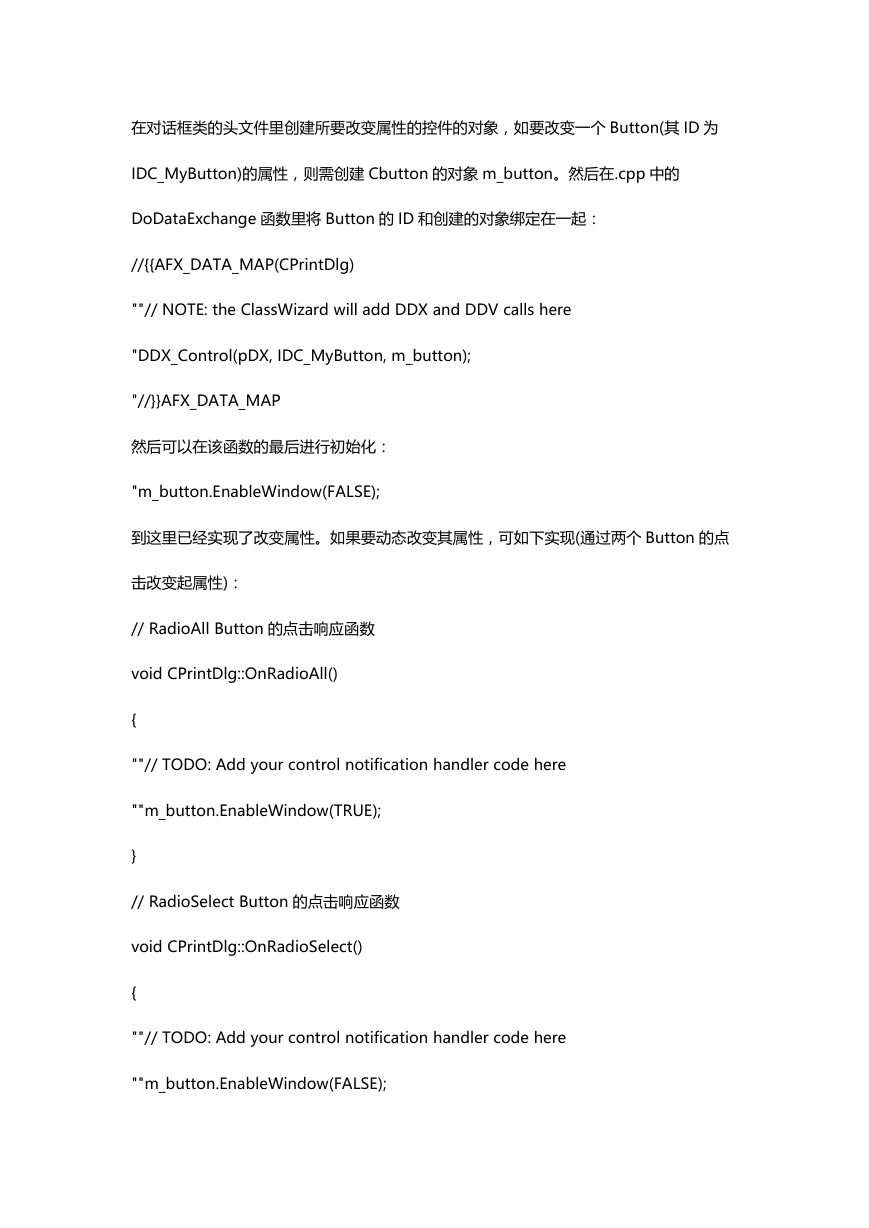
在对话框类的头文件里创建所要改变属性的控件的对象,如要改变一个 Button(其 ID 为
IDC_MyButton)的属性,则需创建 Cbutton 的对象 m_button。然后在.cpp 中的
DoDataExchange 函数里将 Button 的 ID 和创建的对象绑定在一起:
//{{AFX_DATA_MAP(CPrintDlg)
""// NOTE: the ClassWizard will add DDX and DDV calls here
"DDX_Control(pDX, IDC_MyButton, m_button);
"//}}AFX_DATA_MAP
然后可以在该函数的最后进行初始化:
"m_button.EnableWindow(FALSE);
到这里已经实现了改变属性。如果要动态改变其属性,可如下实现(通过两个 Button 的点
击改变起属性):
// RadioAll Button 的点击响应函数
void CPrintDlg::OnRadioAll()
{
""// TODO: Add your control notification handler code here
""m_button.EnableWindow(TRUE);
}
// RadioSelect Button 的点击响应函数
void CPrintDlg::OnRadioSelect()
{
""// TODO: Add your control notification handler code here
""m_button.EnableWindow(FALSE);
�


 2023年江西萍乡中考道德与法治真题及答案.doc
 2012年重庆南川中考生物真题及答案.doc
 2013年江西师范大学地理学综合及文艺理论基础考研真题.doc
 2020年四川甘孜小升初语文真题及答案I卷.doc
 2020年注册岩土工程师专业基础考试真题及答案.doc
 2023-2024学年福建省厦门市九年级上学期数学月考试题及答案.doc
 2021-2022学年辽宁省沈阳市大东区九年级上学期语文期末试题及答案.doc
 2022-2023学年北京东城区初三第一学期物理期末试卷及答案.doc
 2018上半年江西教师资格初中地理学科知识与教学能力真题及答案.doc
 2012年河北国家公务员申论考试真题及答案-省级.doc
 2020-2021学年江苏省扬州市江都区邵樊片九年级上学期数学第一次质量检测试题及答案.doc
 2022下半年黑龙江教师资格证中学综合素质真题及答案.doc