Digital Video Camcorder
Instruction Manual
PUB.DIE-190
E
I
n
t
r
o
d
u
c
t
i
o
n
t
h
e
B
a
s
i
c
s
M
a
s
t
e
r
i
n
g
U
s
i
n
g
t
h
e
F
u
l
l
R
a
n
g
e
o
f
F
e
a
t
u
r
e
s
E
d
i
t
i
n
g
i
U
s
n
g
a
M
e
m
o
r
y
C
a
r
d
A
d
d
i
t
i
o
n
a
l
I
n
f
o
r
m
a
t
i
o
n
PAL
Mini
Digital
Video
Cassette
�
Important Usage Instructions
WARNING:
WARNING:
CAUTION:
E
n
o
i
t
c
u
d
o
r
t
n
I
TO REDUCE THE RISK OF ELECTRIC SHOCK, DO NOT REMOVE COVER (OR
BACK). NO USER SERVICEABLE PARTS INSIDE. REFER SERVICING TO
QUALIFIED SERVICE PERSONNEL.
TO REDUCE THE RISK OF FIRE OR ELECTRIC SHOCK, DO NOT EXPOSE THIS
PRODUCT TO RAIN OR MOISTURE.
TO REDUCE THE RISK OF ELECTRIC SHOCK AND TO REDUCE ANNOYING
INTERFERENCE, USE THE RECOMMENDED ACCESSORIES ONLY.
CAUTION:
DISCONNECT THE MAINS PLUG FROM THE SUPPLY SOCKET WHEN NOT IN USE.
CA-PS700 identification plate is located on the bottom.
• Use of CV-150F/CV-250F DV cable is necessary to comply with the technical requirement of
EMC Directive.
2
�
E
I
n
t
r
o
d
u
c
t
i
o
n
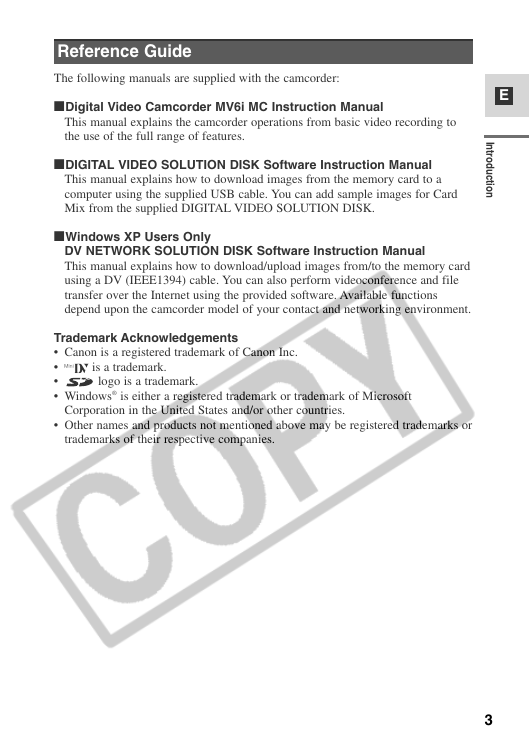
Reference Guide
The following manuals are supplied with the camcorder:
3Digital Video Camcorder MV6i MC Instruction Manual
This manual explains the camcorder operations from basic video recording to
the use of the full range of features.
3DIGITAL VIDEO SOLUTION DISK Software Instruction Manual
This manual explains how to download images from the memory card to a
computer using the supplied USB cable. You can add sample images for Card
Mix from the supplied DIGITAL VIDEO SOLUTION DISK.
3Windows XP Users Only
DV NETWORK SOLUTION DISK Software Instruction Manual
This manual explains how to download/upload images from/to the memory card
using a DV (IEEE1394) cable. You can also perform videoconference and file
transfer over the Internet using the provided software. Available functions
depend upon the camcorder model of your contact and networking environment.
Trademark Acknowledgements
• Canon is a registered trademark of Canon Inc.
• D is a trademark.
•
• Windows® is either a registered trademark or trademark of Microsoft
logo is a trademark.
Corporation in the United States and/or other countries.
• Other names and products not mentioned above may be registered trademarks or
trademarks of their respective companies.
3
�
When Making Manual Adjustments
Adjusting AE Shift ..................................73
Setting the Shutter Speed ........................74
Adjusting Focus Manually ......................76
Setting the White Balance........................77
For Playback
Enlarging the Image during Playback ......79
Displaying Date, Time and
Camcorder Data (Data Code)..............80
Searching the Tape
(Photo Search/Date Search) ................83
Returning to a Pre-Marked Position ........84
Editing
Editing to a VCR......................................85
Dubbing to/from a Tape
with Digital Video Equipment ............86
Recording from a VCR, TV or Analog
Camcorder (Analog Line-in) ..............89
Digitally Outputting Analog Video
and Audio Signals
(Analog-Digital Converter) ................91
Recording Over Existing Scenes
(AV Insert Editing) ..............................93
Audio Dubbing ........................................96
Setting the Audio Mix ..............................99
Connecting to a Computer Using a DV
(IEEE1394) Cable ............................101
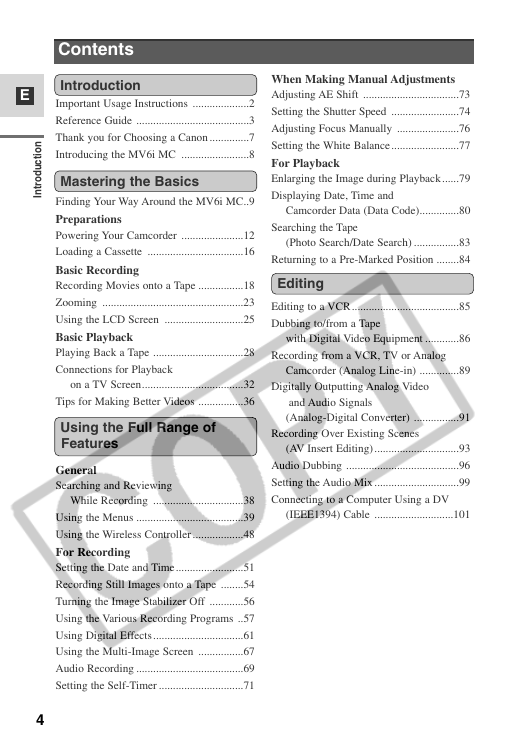
Contents
Introduction
Important Usage Instructions ....................2
Reference Guide ........................................3
Thank you for Choosing a Canon ..............7
Introducing the MV6i MC ........................8
Mastering the Basics
Finding Your Way Around the MV6i MC..9
Preparations
Powering Your Camcorder ......................12
Loading a Cassette ..................................16
Basic Recording
Recording Movies onto a Tape ................18
Zooming ..................................................23
Using the LCD Screen ............................25
Basic Playback
Playing Back a Tape ................................28
Connections for Playback
on a TV Screen....................................32
Tips for Making Better Videos ................36
Using the Full Range of
Features
General
Searching and Reviewing
While Recording ................................38
Using the Menus ......................................39
Using the Wireless Controller ..................48
For Recording
Setting the Date and Time........................51
Recording Still Images onto a Tape ........54
Turning the Image Stabilizer Off ............56
Using the Various Recording Programs ..57
Using Digital Effects................................61
Using the Multi-Image Screen ................67
Audio Recording ......................................69
Setting the Self-Timer ..............................71
E
n
o
i
t
c
u
d
o
r
t
n
I
4
�
Using a Memory Card
Inserting and Removing the
Memory Card ....................................102
Selecting the Image Quality/Size ..........103
Recording Still Images on
a Memory Card ................................107
Recording Motion JPEG Movies
on a Memory Card ............................112
Recording Panoramic Images
(Stitch Assist) ....................................115
Playing Back a Memory Card ................117
Settings of Still Images/Movies ............120
Preventing Accidental Erasure (Protect) 123
Marking a Still Image for Printing
(Print Mark) ......................................124
Erasing Still Images/Movies ..................126
Printing with the Direct Print Function..128
Combining Images and Recording
Them to a Cassette (Card Mix) ........135
Copying Still Images
from Tape to Memory Card ..............138
E
Copying Still Images
from Memory Card to Tape ..............139
Formatting a Memory Card....................140
Connecting to a Computer Using a
USB Cable ........................................141
Other Information and Precautions ........142
I
n
t
r
o
d
u
c
t
i
o
n
Additional Information
Preparing the Camcorder........................145
Notes on Using the Batteries..................146
Maintenance ..........................................149
Troubleshooting......................................153
The MV6i MC System Diagram............157
Optional Accessories ..............................158
Screen Displays ......................................160
Specifications ........................................167
Index ......................................................169
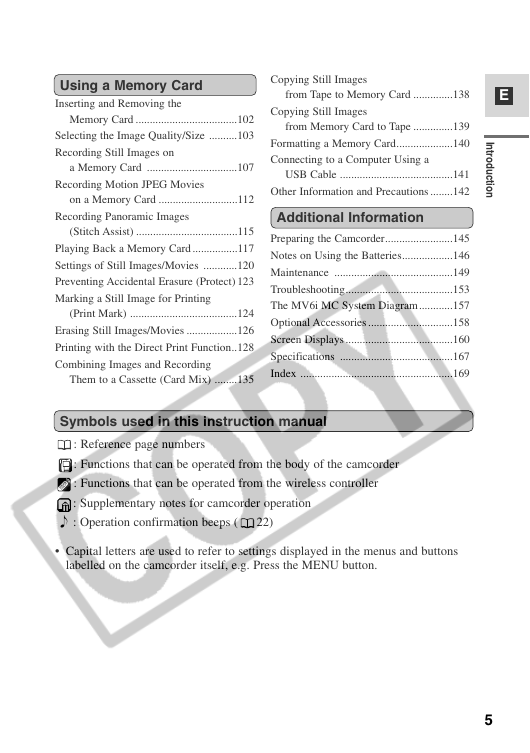
Symbols used in this instruction manual
: Reference page numbers
: Functions that can be operated from the body of the camcorder
: Functions that can be operated from the wireless controller
: Supplementary notes for camcorder operation
` : Operation confirmation beeps (
22)
• Capital letters are used to refer to settings displayed in the menus and buttons
labelled on the camcorder itself, e.g. Press the MENU button.
5
�
E
n
o
i
t
c
u
d
o
r
t
n
I
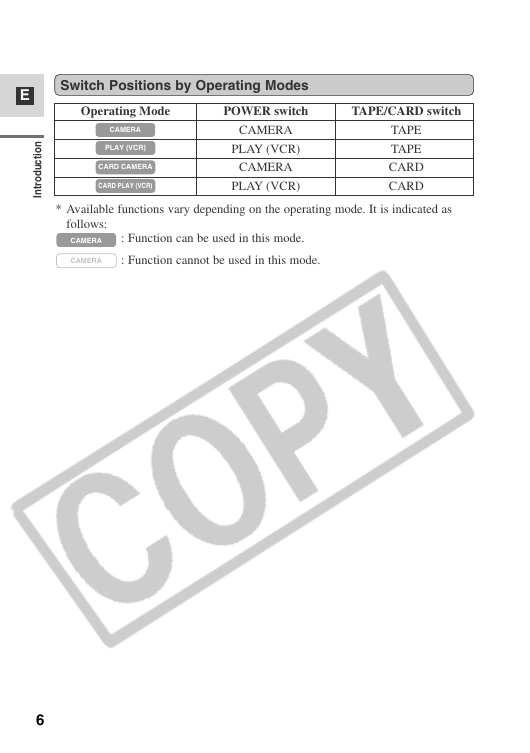
Switch Positions by Operating Modes
Operating Mode
POWER switch
TAPE/CARD switch
CAMERA
PLAY (VCR)
CARD CAMERA
CARD PLAY (VCR)
CAMERA
PLAY (VCR)
CAMERA
PLAY (VCR)
TAPE
TAPE
CARD
CARD
* Available functions vary depending on the operating mode. It is indicated as
follows:
CAMERA
: Function can be used in this mode.
CAMERA
: Function cannot be used in this mode.
6
�
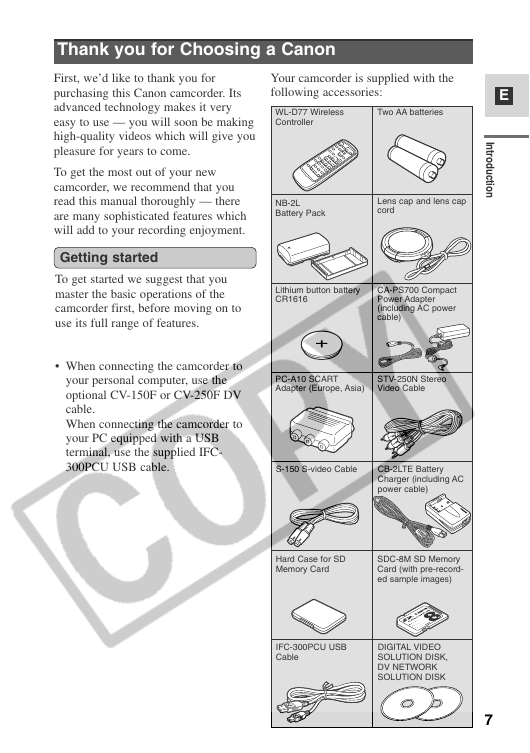
Thank you for Choosing a Canon
First, we’d like to thank you for
purchasing this Canon camcorder. Its
advanced technology makes it very
easy to use — you will soon be making
high-quality videos which will give you
pleasure for years to come.
To get the most out of your new
camcorder, we recommend that you
read this manual thoroughly — there
are many sophisticated features which
will add to your recording enjoyment.
Getting started
To get started we suggest that you
master the basic operations of the
camcorder first, before moving on to
use its full range of features.
• When connecting the camcorder to
your personal computer, use the
optional CV-150F or CV-250F DV
cable.
When connecting the camcorder to
your PC equipped with a USB
terminal, use the supplied IFC-
300PCU USB cable.
E
I
n
t
r
o
d
u
c
t
i
o
n
Your camcorder is supplied with the
following accessories:
WL-D77 Wireless
Controller
Two AA batteries
NB-2L
Battery Pack
Lens cap and lens cap
cord
Lithium button battery
CR1616
CA-PS700 Compact
Power Adapter
(including AC power
cable)
PC-A10 SCART
Adapter (Europe, Asia)
STV-250N Stereo
Video Cable
S-150 S-video Cable
CB-2LTE Battery
Charger (including AC
power cable)
Hard Case for SD
Memory Card
SDC-8M SD Memory
Card (with pre-record-
ed sample images)
IFC-300PCU USB
Cable
DIGITAL VIDEO
SOLUTION DISK,
DV NETWORK
SOLUTION DISK
7
�
Memory Card
You can record images on a SD Memory
Card or MultiMediaCard. Images
recorded in Stitch Assist mode can be
merged into one panoramic scene with
the supplied software.
Direct Print
You can print still images by connecting
to a Canon Printer with Direct Print
Function.
Refer to p. 128 for printers that can be used
with your camcorder.
USB Terminal
Allows transfer of memory card data to a
computer with built-in USB port. You can
organise and edit images on your
computer using the supplied software.
IEEE 1394 DV Terminal
The DV terminal allows high-quality
transfer with virtually no deterioration in
quality of images. You can edit images by
connecting the camcorder to a PC with
IEEE1394 terminal. Windows XP Users
can use the supplied software to perform
videoconference and file transfer over the
Internet*.
* Windows Messenger 4.5 or higher
required.
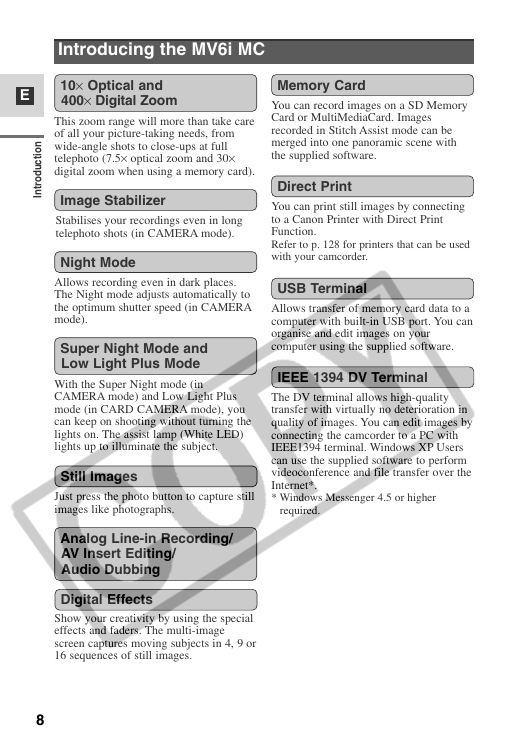
Introducing the MV6i MC
10× Optical and
400× Digital Zoom
This zoom range will more than take care
of all your picture-taking needs, from
wide-angle shots to close-ups at full
telephoto (7.5× optical zoom and 30×
digital zoom when using a memory card).
Image Stabilizer
Stabilises your recordings even in long
telephoto shots (in CAMERA mode).
Night Mode
Allows recording even in dark places.
The Night mode adjusts automatically to
the optimum shutter speed (in CAMERA
mode).
Super Night Mode and
Low Light Plus Mode
With the Super Night mode (in
CAMERA mode) and Low Light Plus
mode (in CARD CAMERA mode), you
can keep on shooting without turning the
lights on. The assist lamp (White LED)
lights up to illuminate the subject.
Still Images
Just press the photo button to capture still
images like photographs.
Analog Line-in Recording/
AV Insert Editing/
Audio Dubbing
Digital Effects
Show your creativity by using the special
effects and faders. The multi-image
screen captures moving subjects in 4, 9 or
16 sequences of still images.
E
n
o
i
t
c
u
d
o
r
t
n
I
8
�




 2023年江西萍乡中考道德与法治真题及答案.doc
 2012年重庆南川中考生物真题及答案.doc
 2013年江西师范大学地理学综合及文艺理论基础考研真题.doc
 2020年四川甘孜小升初语文真题及答案I卷.doc
 2020年注册岩土工程师专业基础考试真题及答案.doc
 2023-2024学年福建省厦门市九年级上学期数学月考试题及答案.doc
 2021-2022学年辽宁省沈阳市大东区九年级上学期语文期末试题及答案.doc
 2022-2023学年北京东城区初三第一学期物理期末试卷及答案.doc
 2018上半年江西教师资格初中地理学科知识与教学能力真题及答案.doc
 2012年河北国家公务员申论考试真题及答案-省级.doc
 2020-2021学年江苏省扬州市江都区邵樊片九年级上学期数学第一次质量检测试题及答案.doc
 2022下半年黑龙江教师资格证中学综合素质真题及答案.doc