linux 下部署 php 应用
一、 安装配置 apache
1.1 检查是否安装 httpd 配置文件
检查该环境中是否已经存在 httpd 服务的配置文件,默认存储路径:/etc/httpd/conf
/httpd.conf(这是 centos 预装的 Apache 的一个 ent 版本,一般我们安装源代码版的 Apache)。
如果已经存在/etc/httpd/conf /httpd.conf,请先卸载或者关闭 centos 系统自带的 web 服务,
执行命令:chkconfig httpd off,再或者把 centos 自带的 httpd 服务的 80 端口改为其他端口,
只要不与我们安装的 Apache 服务的端口冲突就可以啦。
一般 Linux 服务器上都已经有 apache 环境了,如果有可以跳过这一步。如果要查看 linux 是
否已经安装 apache,可以用下面的命令:
[root@localhost htdocs]# httpd -v
Server version: Apache/2.2.15 (Unix)
Server built: Jan 12 2017 17:09:39
[root@localhost htdocs]# apachectl -v
Server version: Apache/2.2.15 (Unix)
Server built: Jan 12 2017 17:09:39
两个命令都行。几乎所有的 linux 版本都自带 apache, 名字一般是 httpd,不叫 apache。
/etc/init.d/httpd 是它的启动脚本。
有时候我们不想用自带的 apache,这样可能需要先删除自带的,再安装自己的。
1.2 删除已安装的 httpd 配置文件
删除的步骤如下:
1 停止服务
[phptest@hadoopCentos1 ~]$ service httpd stop
Stopping httpd: [ OK ]
rm: cannot remove `/var/run/httpd/httpd.pid': Permission denied
[phptest@hadoopCentos1 ~]$ ps -ef|grep httpd
phptest 51751 51625 0 23:37 pts/0 00:00:00 grep httpd
[phptest@hadoopCentos1 ~]$ kill -9 PID 号 (逐个删除)
Killed
2 查看与 httpd 相关软件包。
�
[root@hadoopCentos1 ~]# rpm -qa|grep httpd
httpd-2.2.15-53.el6.centos.x86_64
httpd-tools-2.2.15-53.el6.centos.x86_64
[root@hadoopCentos1 ~]#
3 然后删除 httpd:
[root@hadoopCentos1 ~]# rpm -e httpd
error: Failed dependencies:
httpd >= 2.2.0 is needed by (installed) gnome-user-share-2.28.2-3.el6.x86_64
[root@hadoopCentos1 ~]#
可能出现问题:
error: Failed dependencies:
httpd >= 2.2.0 is needed by (installed) gnome-user-share-0.10-6.el5.i386
3 还有一个依赖的软件包没有删除
[root@hadoopCentos1 ~]# rpm -e gnome-user-share
[root@hadoopCentos1 ~]#
4 再删除 httpd
[root@hadoopCentos1 ~]# rpm -e httpd
[root@hadoopCentos1 ~]#
[root@hadoopCentos1 ~]# find / -name httpd.conf
[root@hadoopCentos1 ~]#
1.3 下载 Apache 安装包
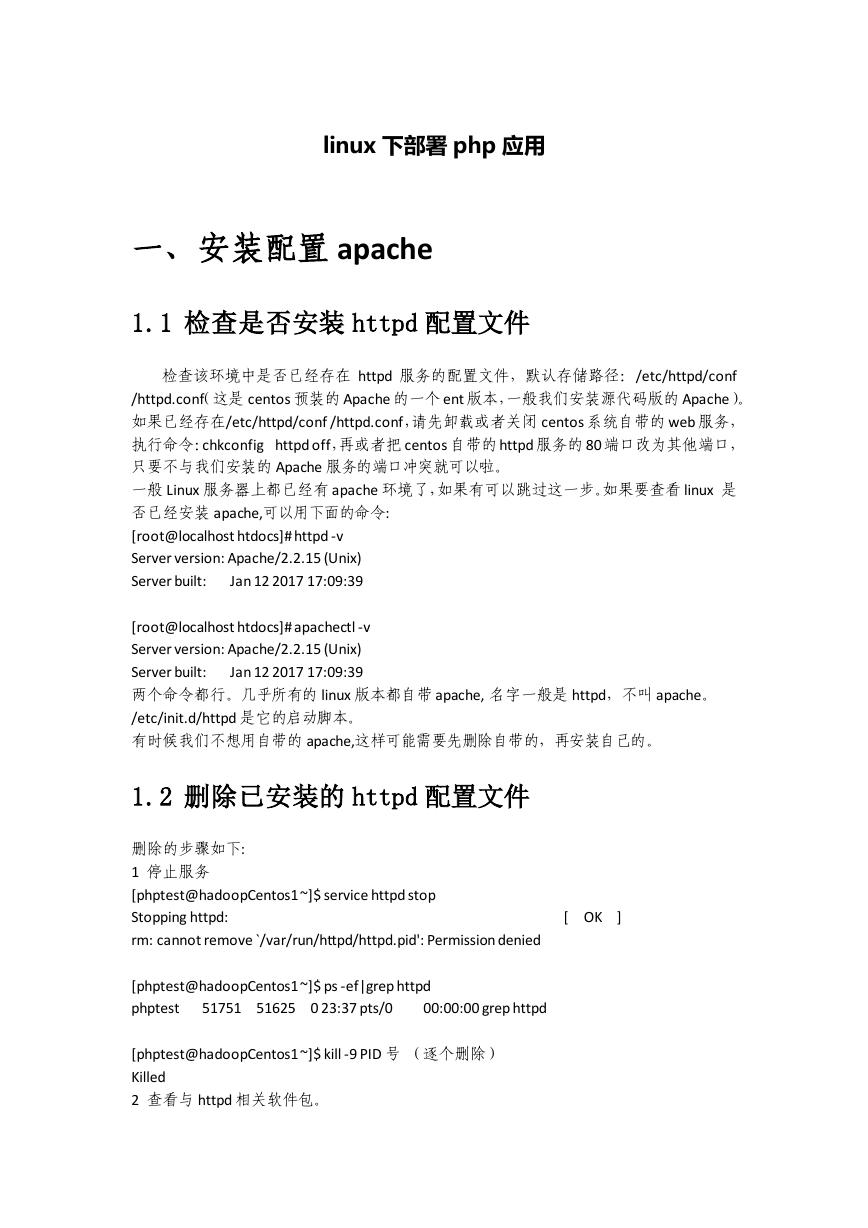
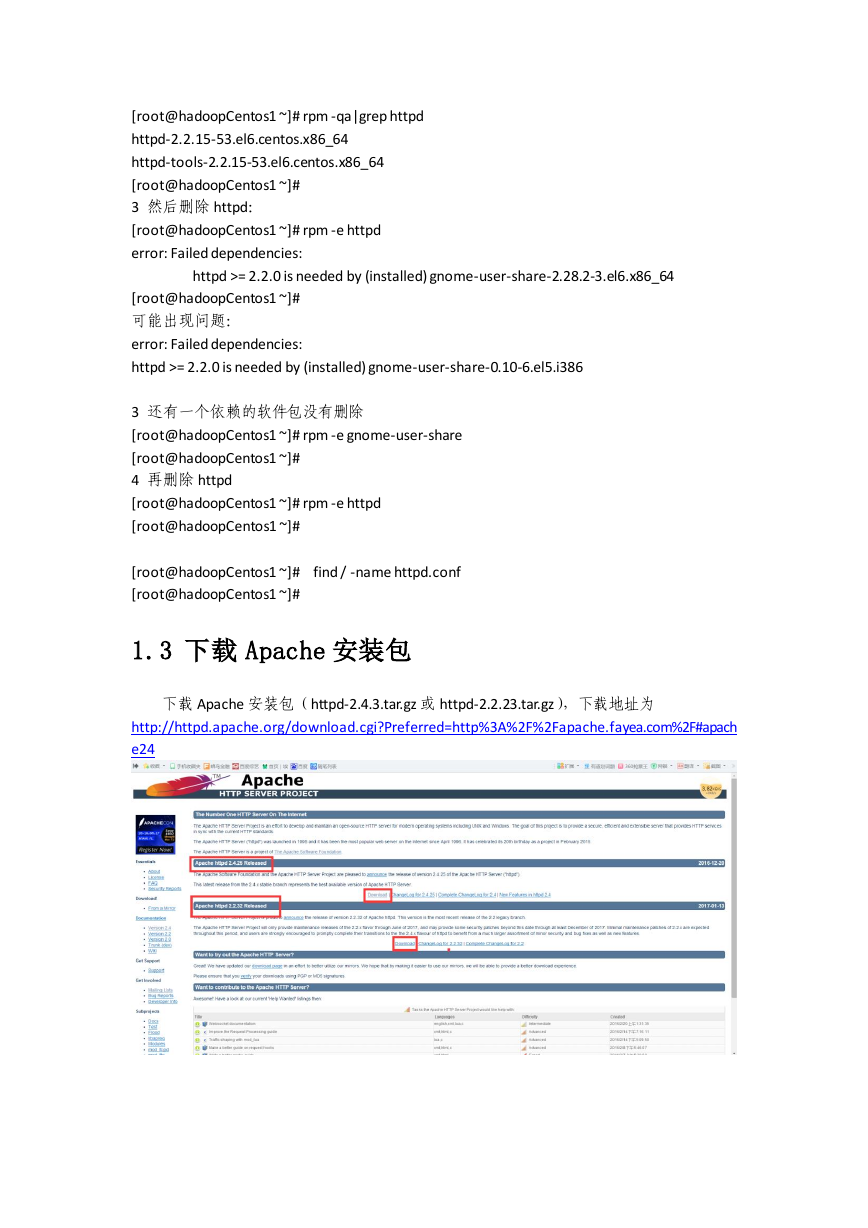
下载 Apache 安装包(httpd-2.4.3.tar.gz 或 httpd-2.2.23.tar.gz),下载地址为
http://httpd.apache.org/download.cgi?Preferred=http%3A%2F%2Fapache.fayea.com%2F#apach
e24
�
1.4 创建安装目录
以下操作是都是在 root 用户下操作
新建目录
[root@hadoopCentos1 ~]# mkdir /usr/local/apache2
[root@hadoopCentos1 ~]#
1.5 解压安装文件
[root@hadoopCentos1 apache2]# tar -zxvf httpd-2.4.25.tar.gz
1.6 编译/安装
1.6.1 httpd-2.2.32 编译安装
[root@hadoopCentos1 apache2]# cd httpd-2.2.32
[root@hadoopCentos1 httpd-2.2.32]# ./configure --prefix=/usr/local/apache2 --enable-
module=shared
[root@hadoopCentos1 httpd-2.2.32]# make
[root@hadoopCentos1 httpd-2.2.32]# make install
�
1.6.2 httpd-2.4.25 编译安装
./configure
--with-
--prefix=/usr/local/apache2/
[root@hadoopCentos1 apache2]# cd httpd-2.4.25
[root@hadoopCentos1 httpd-2.4.25]#
apr=/usr/local/apr --with-apr-util=/usr/local/apr-util/ --with-pcre=/usr/local/pcre/
checking for chosen layout... Apache
checking for working mkdir -p... yes
checking for grep that handles long lines and -e... /bin/grep
checking for egrep... /bin/grep -E
checking build system type... x86_64-unknown-linux-gnu
checking host system type... x86_64-unknown-linux-gnu
checking target system type... x86_64-unknown-linux-gnu
configure:
configure: Configuring Apache Portable Runtime library...
configure:
checking for APR... configure: error: the --with-apr parameter is incorrect. It must specify an install
prefix, a build directory, or an apr-config file.
[root@hadoopCentos1 httpd-2.4.25]#
在编译 Apache(在安装 httpd-2.4.3 时遇到的问题)时分别出现了 apr not found、APR-util
not found、pcre-config for libpcre not found 的问题,下面就 httpd-2.4.3 的这些问题解决来实
际操作一把。
http://apr.apache.org/download.cgi 下载 apr-1.5.2.tar.gz、apr-util-1.5.4.tar.gz
http://sourceforge.net/projects/pcre/files/latest/download 下载 pcre-8.31.zip
1.解决 apr not found 问题
1. [root@hadoopCentos1 apache]# tar -zvxf apr-1.5.2.tar.gz
2. [root@hadoopCentos1 apache]# cd apr-1.5.2
3. [root@hadoopCentos1 apr-1.5.2]# ./configure --prefix=/usr/local/apr
4. [root@localhost apr-1.5.2]# make
5. [root@localhost apr-1.5.2]# make install
2.解决 APR-util not found 问题
1. [root@localhost bin]# tar -zvxf apr-util-1.5.4.tar.gz
2. [root@hadoopCentos1 apache]# cd apr-util-1.5.4
3. [root@localhost apr-util-1.5.4]# ./configure --prefix=/usr/local/apr-util -
with-apr=/usr/local/apr/bin/apr-1-config
4. [root@localhost apr-util-1.5.4]# make
5. [root@localhost apr-util-1.5.4]# make install
3、解决 pcre-config for libpcre not found 问题
1. [root@hadoopCentos1 apache]# tar -zvxf pcre-8.31.tar.gz
�
2. [root@hadoopCentos1 apache]# cd pcre-8.31
3. [root@hadoopCentos1 pcre-8.31]# ./configure --prefix=/usr/local/pcre
4. [root@hadoopCentos1 pcre-8.31]# make
5. [root@hadoopCentos1 pcre-8.31]# make install
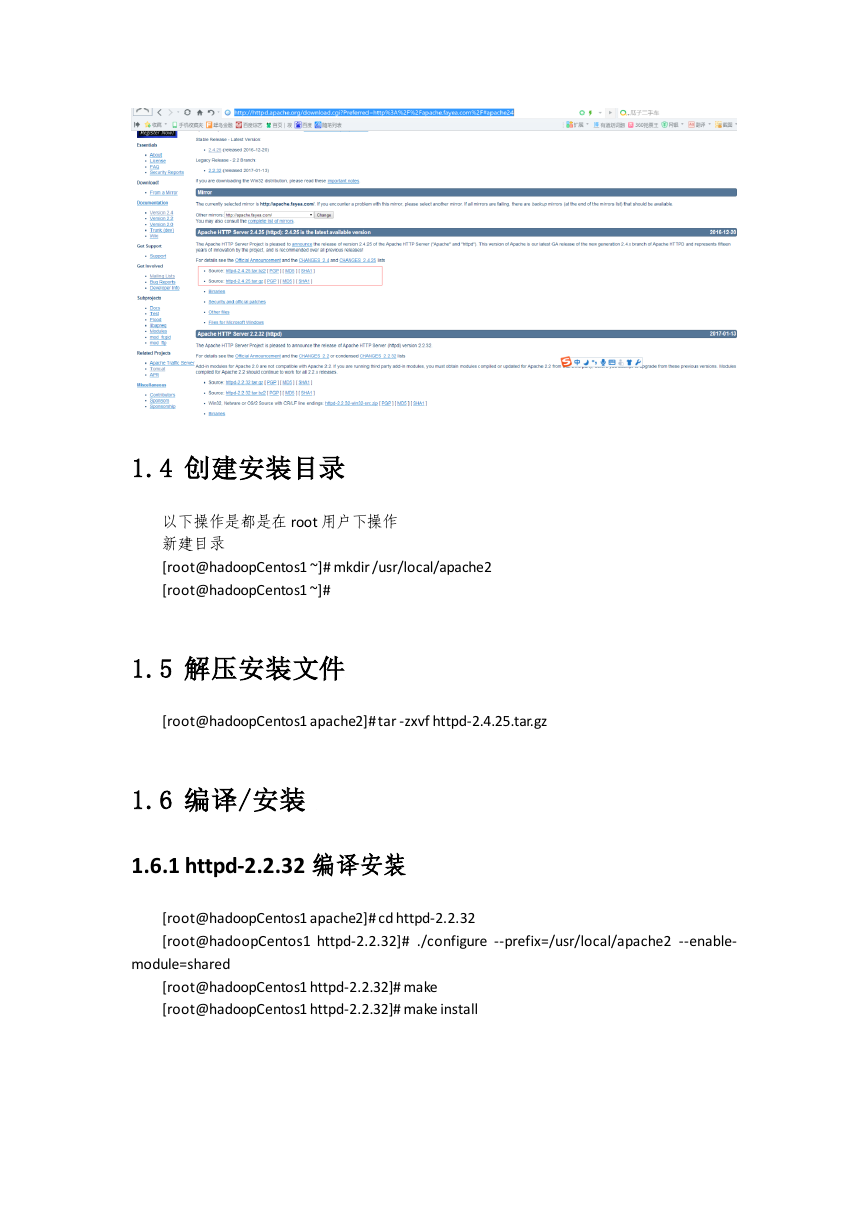
处理完报错后,重新执行 configure 命令
[root@hadoopCentos1 httpd-2.4.25]# ./configure --prefix=/usr/local/apache2/ --with-
apr=/usr/local/apr --with-apr-util=/usr/local/apr-util/ --with-pcre=/usr/local/pcre/
执行完成界面如下
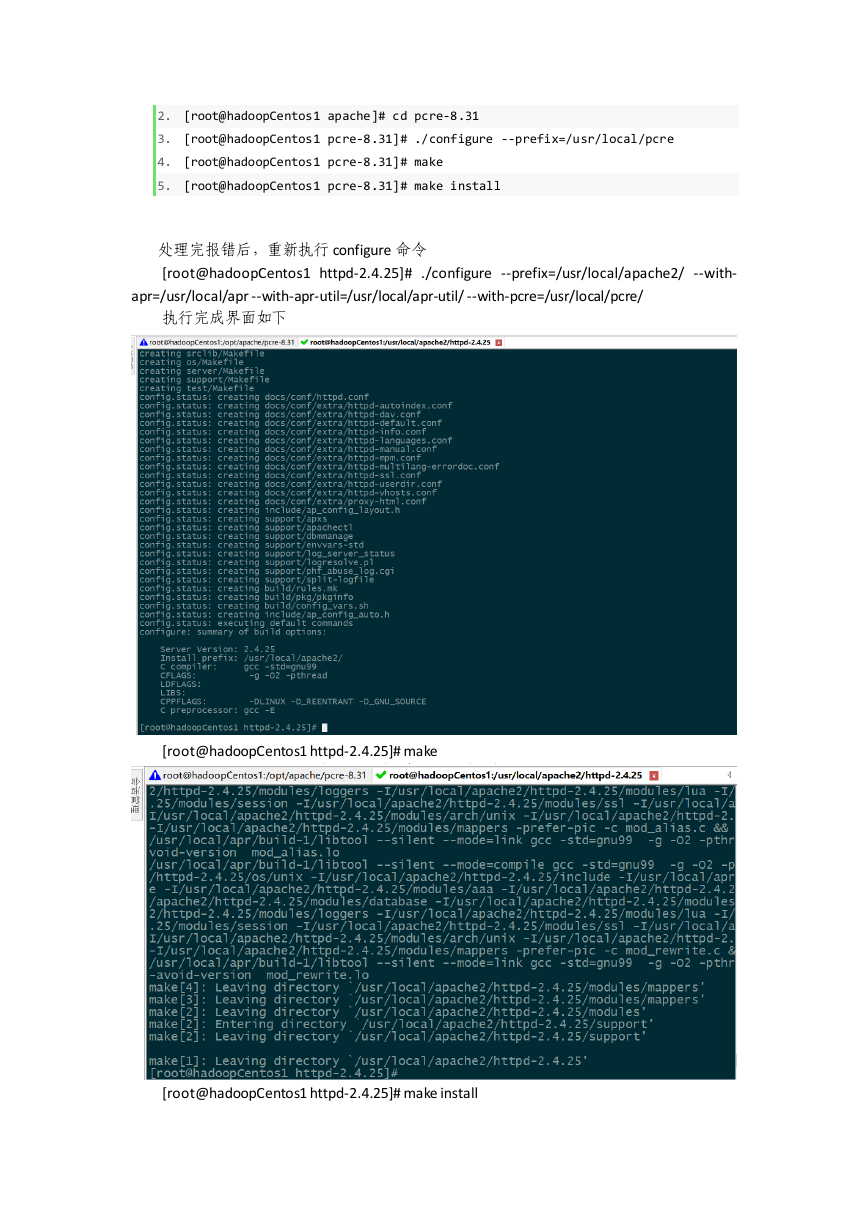
[root@hadoopCentos1 httpd-2.4.25]# make
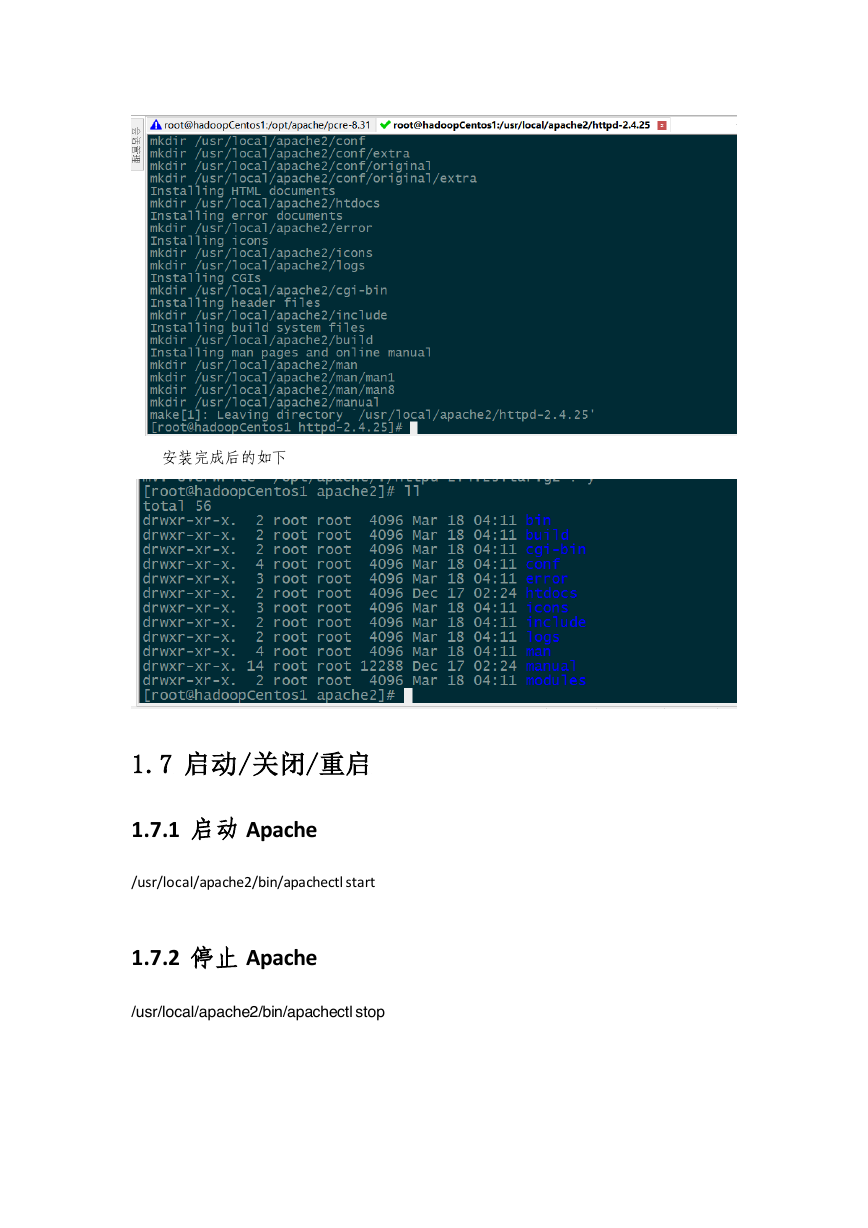
[root@hadoopCentos1 httpd-2.4.25]# make install
�
安装完成后的如下
1.7 启动/关闭/重启
1.7.1 启动 Apache
/usr/local/apache2/bin/apachectl start
1.7.2 停止 Apache
/usr/local/apache2/bin/apachectl stop
�
1.7.3 重启 Apache
/usr/local/apache2/bin/apachectl restart
启动遇到错误:
[root@localhost bin]# ./apachectl start
httpd: Could not reliably determine the server's fully qualified domain name, using
localhost.localdomain for ServerName
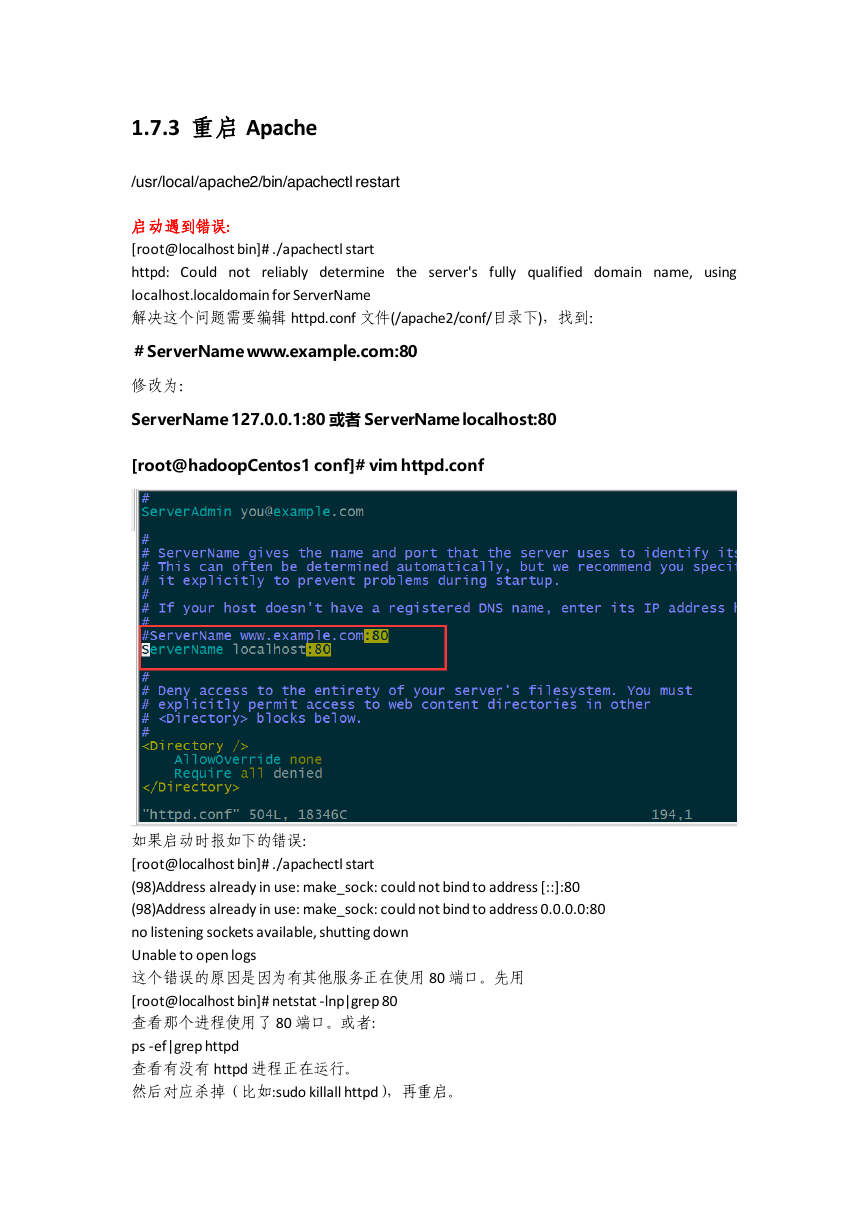
解决这个问题需要编辑 httpd.conf 文件(/apache2/conf/目录下),找到:
#ServerName www.example.com:80
修改为:
ServerName 127.0.0.1:80 或者 ServerName localhost:80
[root@hadoopCentos1 conf]# vim httpd.conf
如果启动时报如下的错误:
[root@localhost bin]# ./apachectl start
(98)Address already in use: make_sock: could not bind to address [::]:80
(98)Address already in use: make_sock: could not bind to address 0.0.0.0:80
no listening sockets available, shutting down
Unable to open logs
这个错误的原因是因为有其他服务正在使用 80 端口。先用
[root@localhost bin]# netstat -lnp|grep 80
查看那个进程使用了 80 端口。或者:
ps -ef|grep httpd
查看有没有 httpd 进程正在运行。
然后对应杀掉(比如:sudo killall httpd),再重启。
�
然后重新启动:
[root@localhost bin]# ./apachectl start
打开浏览器,地址输入 localhost,可以看到启动成功了。
在 IE 中通过 http://localhost:80,如果看到页面中显示“It works!”字样,则代表 Apache 验
证通过。如果网站的 index 后缀是 PHP 格式的,则要修改 httpd.conf 配置文件
(/usr/local/apache2/conf),在 DirectoryIndex 增加 index.php。
1. #
2. # DirectoryIndex: sets the file that Apache will serve if a directory
3. # is requested.
4. #
5.
6. DirectoryIndex index.html index.php
7.
�



 2023年江西萍乡中考道德与法治真题及答案.doc
 2012年重庆南川中考生物真题及答案.doc
 2013年江西师范大学地理学综合及文艺理论基础考研真题.doc
 2020年四川甘孜小升初语文真题及答案I卷.doc
 2020年注册岩土工程师专业基础考试真题及答案.doc
 2023-2024学年福建省厦门市九年级上学期数学月考试题及答案.doc
 2021-2022学年辽宁省沈阳市大东区九年级上学期语文期末试题及答案.doc
 2022-2023学年北京东城区初三第一学期物理期末试卷及答案.doc
 2018上半年江西教师资格初中地理学科知识与教学能力真题及答案.doc
 2012年河北国家公务员申论考试真题及答案-省级.doc
 2020-2021学年江苏省扬州市江都区邵樊片九年级上学期数学第一次质量检测试题及答案.doc
 2022下半年黑龙江教师资格证中学综合素质真题及答案.doc