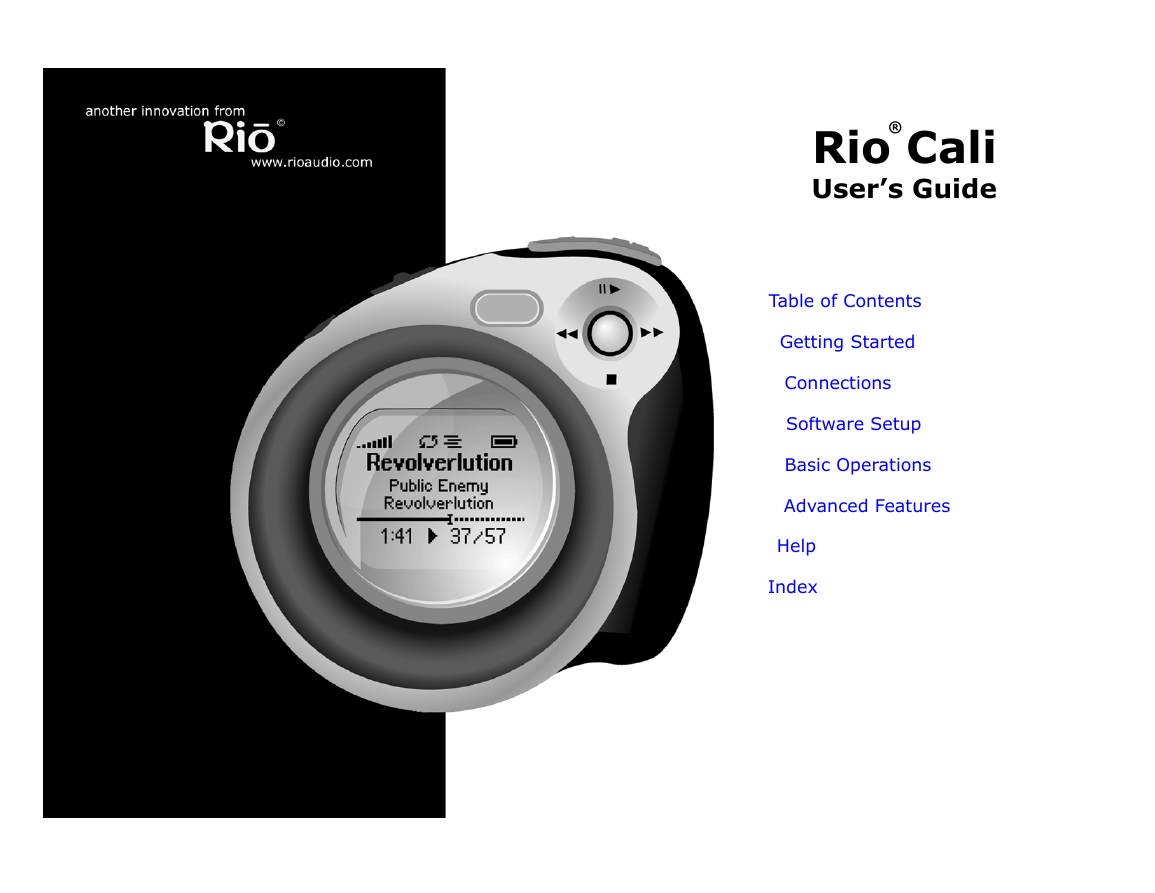
Rio Cali
User’s Guide
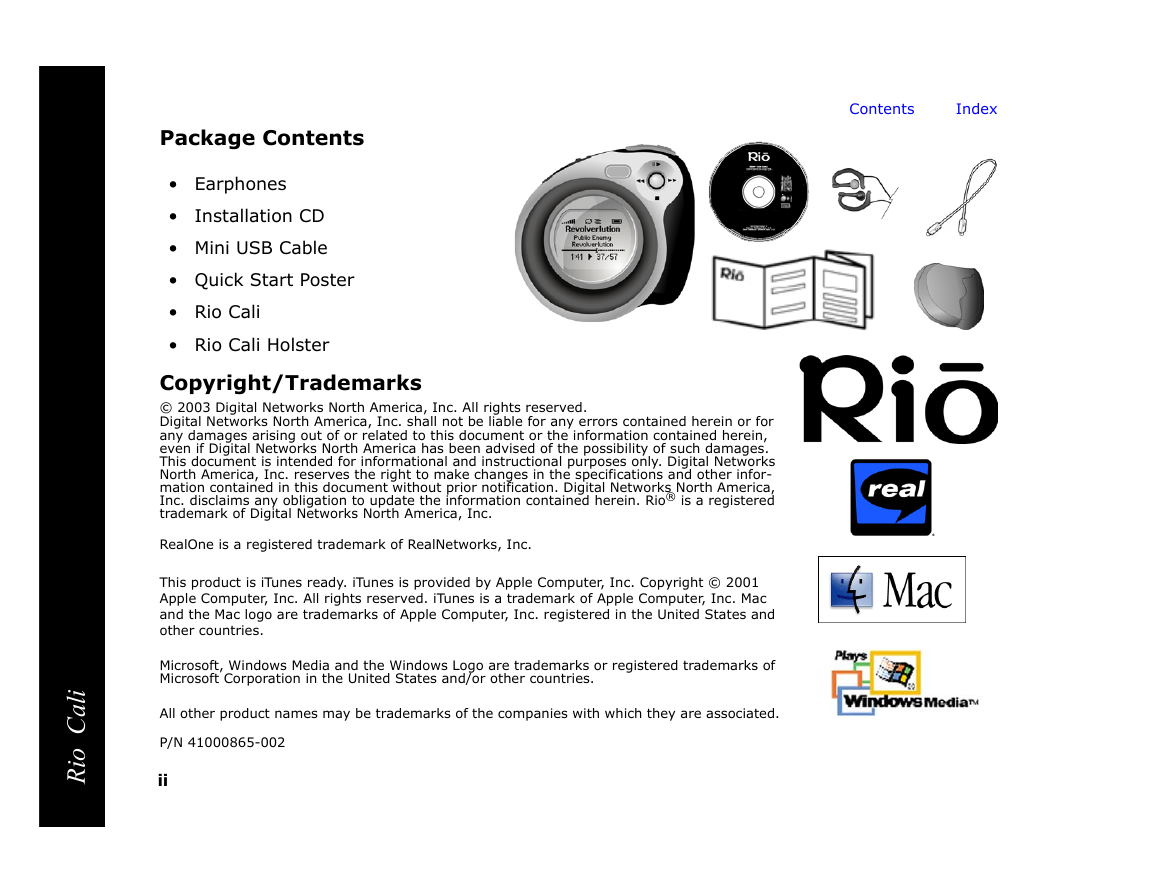
Package Contents
Copyright/Trademarks
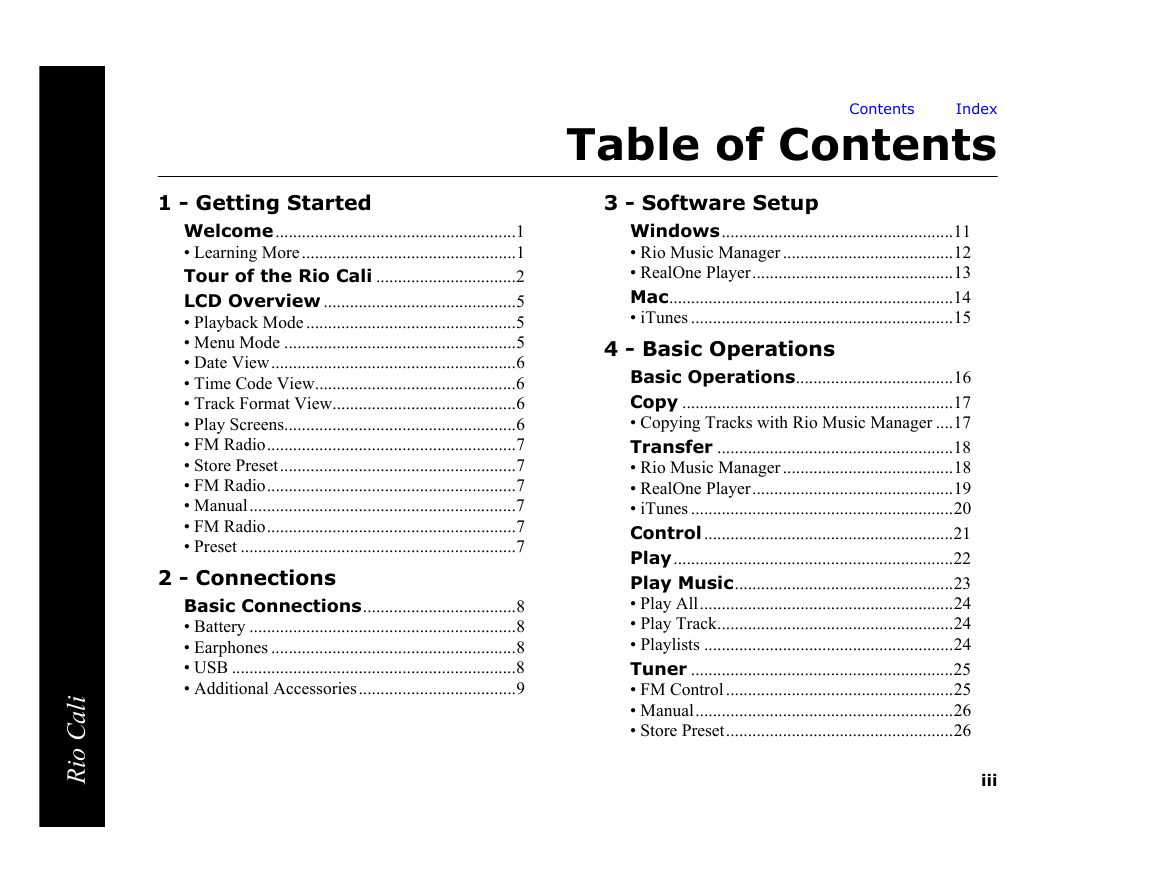
Table of Contents
1 - Getting Started
2 - Connections
3 - Software Setup
4 - Basic Operations
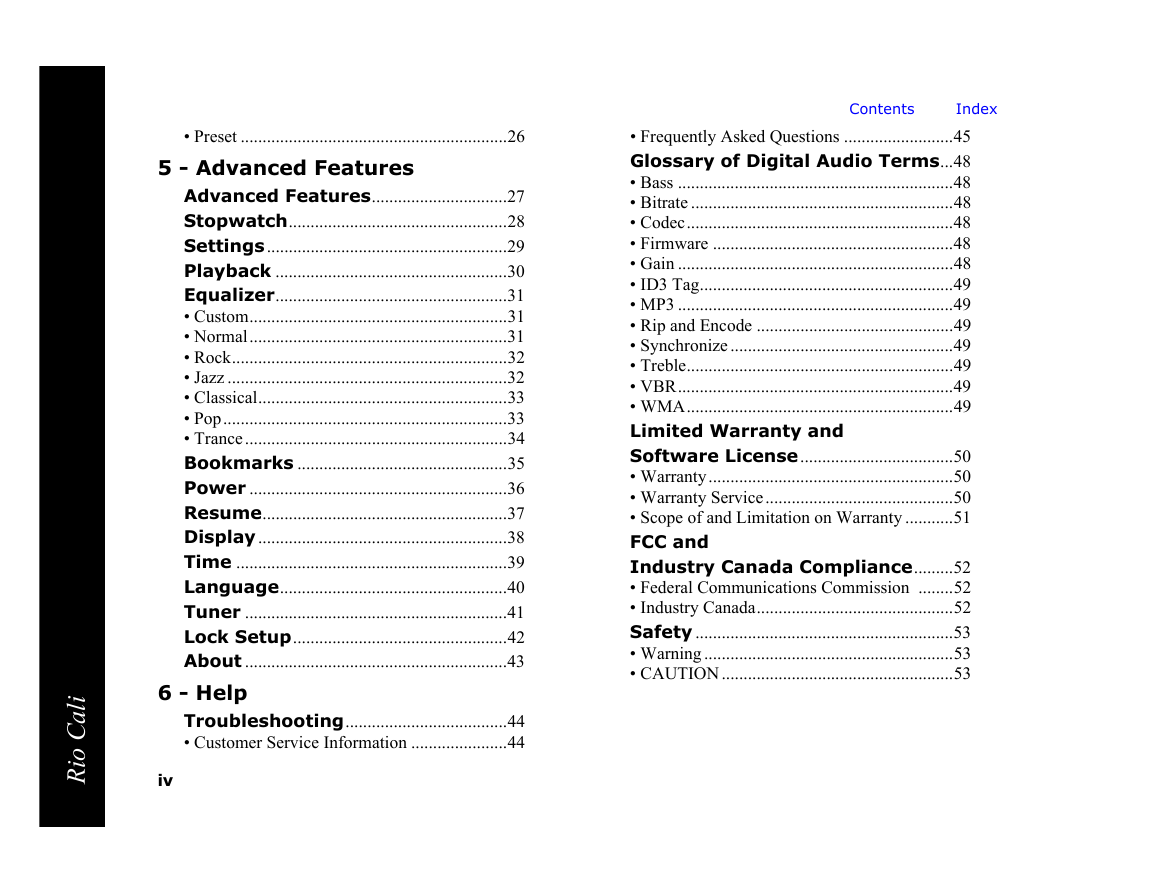
5 - Advanced Features
6 - Help
Chapter 1 Getting Started
:: Welcome
Learning More
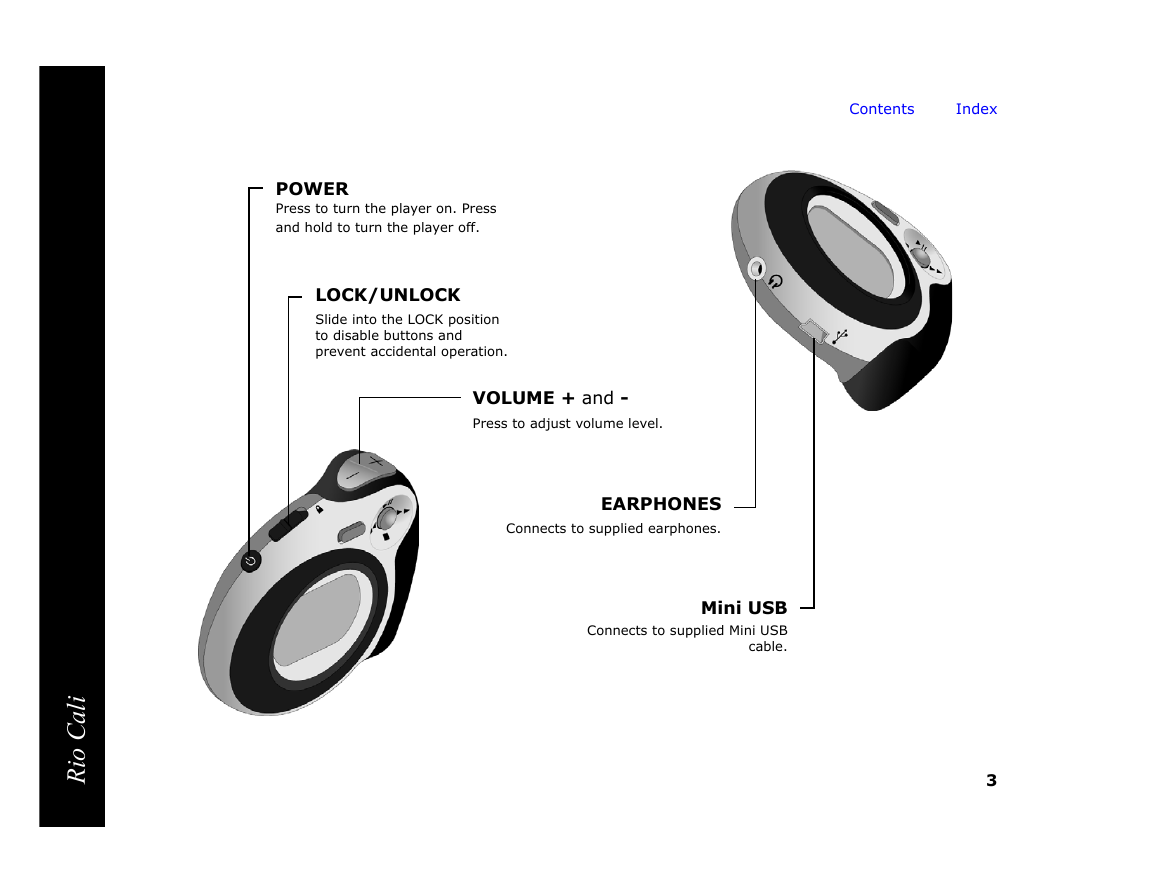
:: Tour of the Rio Cali
:: LCD Overview
Playback Mode
Menu Mode
Date View
Time Code View
Track Format View
FM Radio
Store Preset
FM Radio
Manual
FM Radio
Preset
Play Screens
Chapter 2 Connections
:: Basic Connections
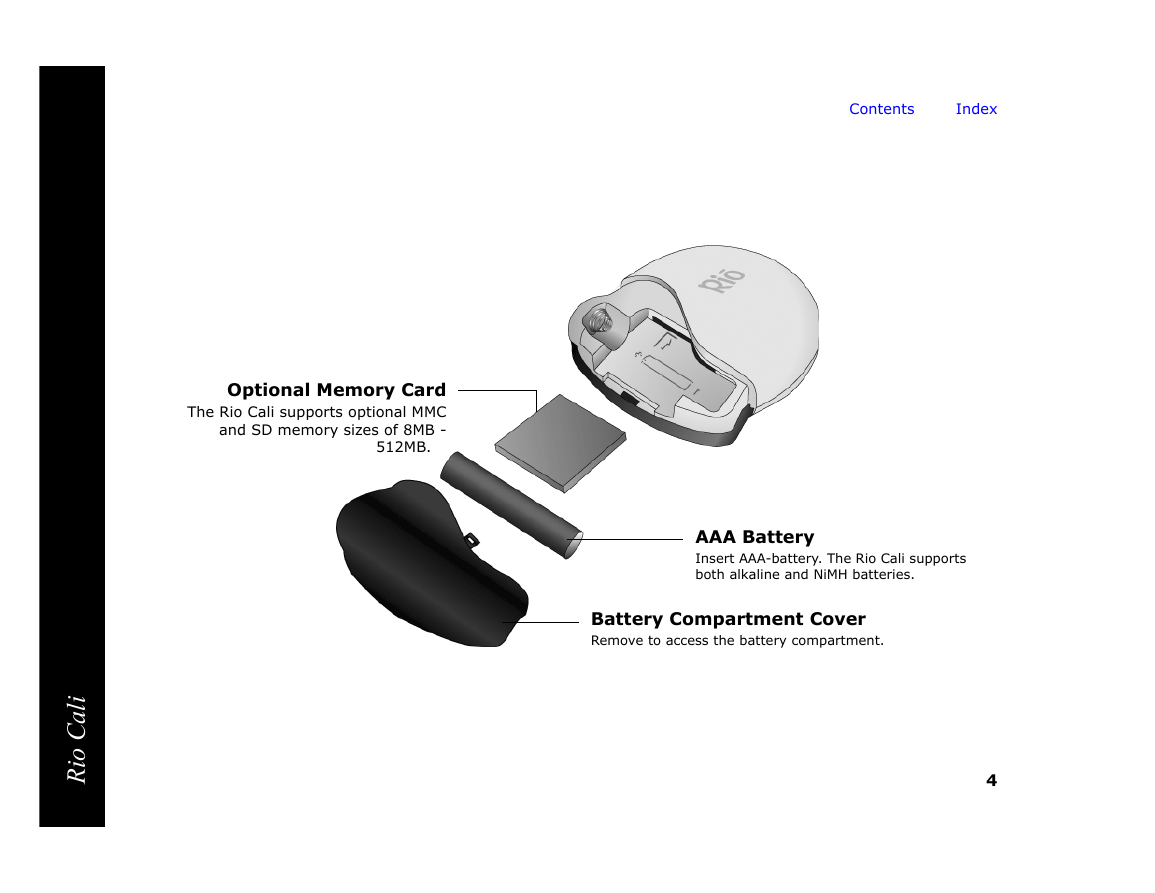
Battery
Earphones
USB
USB Detection with the Windows Device Driver
1 Confirm the Rio installation CD is in the computer’s CD-ROM drive.
2 Check the CD-ROM Drives box when the Windows Device Driver Wizard requests the location of the ...
3 Click Next and follow the Windows Device Driver Wizard instructions.
Additional Accessories
Chapter 3 Software Setup
:: Windows
1 Place the installation CD label-side up into the computer’s CD-ROM drive. The Rio installation ...
2 Click Rio Music Manager INSTALL NOW (required) and follow the on-screen instructions. Additiona...
3 If prompted, reboot the computer when the installation is complete.
4 Double-click the My Computer icon, , on the Windows desktop.
5 Double-click the CD-ROM icon, .
6 Double-click the Install icon, .
7 Go to Step 2.
Rio Music Manager
RealOne Player
:: Mac
1 Place the software CD label-side up into the computer’s CD-ROM drive. Double-click the Rio icon...
2 Double-click the Install OSX icon, . The Rio Software Screen will display.
3 Click Install.
4 Follow the on-screen instructions to install the software.
5 If prompted, reboot the computer when the installation is complete.
iTunes
Chapter 4 Basic Operations
:: Basic Operations
:: Copy
Copying Tracks with Rio Music Manager
1 Launch the Rio Music Manager.
2 Insert an Audio CD into your CD-ROM drive.
3 Click the CD-ROM icon on the Rio Music Manager Device List.
4 Use any of the following techniques to select tracks:
5 Click to begin copying tracks to your computer.
:: Transfer
Rio Music Manager
1 Launch the Rio Music Manager.
2 Click My Music in the left frame to access tracks. Rio Music Manager will scan the computer’s h...
3 Select tracks within a category of tracks. Categories include Albums, Artists, Genres, Songs, a...
4 Use any of the following techniques to select files:
5 After the tracks have been selected they can be copied to the Rio Cali by clicking .
RealOne Player
1 Launch RealOne Player.
2 Connect the player to a computer using the USB cable.
3 Power the Rio Cali on.
4 Click DEVICES at the bottom of the RealOne Player window. The Devices window is displayed.
5 Double-click Rio Cali.
6 Click ADD CLIPS in the command bar at the bottom of the RealOne Player window. The Add Clips wi...
7 Select the tracks to be transferred to the Rio Cali. Click Add Clip to queue the tracks to be t...
8 Click TRANSFER in the command bar at the bottom of the window to begin transferring the selecte...
iTunes
1 Launch iTunes.
2 Connect the player to a USB port on the computer.
3 Power the Rio Fuse on.
4 Click Library in the iTunes Source frame.
5 Select tracks to transfer.
6 Drag and drop selected tracks to the Rio Fuse Player in the iTunes Source frame.
:: Control
:: Play
:: Play Music
Play All
1 Press MENU.
2 Select Play Music.
3 Press RIOSTICK.
4 Select Play All.
5 Press RIOSTICK to begin playback.
Play Track
1 Press MENU.
2 Select Play Music.
3 Press RIOSTICK.
4 Select Play Track.
5 Press RIOSTICK.
6 Select a track to play.
7 Press RIOSTICK to begin playback.
Playlists
1 Press MENU.
2 Select Play Music.
3 Press RIOSTICK.
4 Select Playlists.
5 Press RIOSTICK.
6 Select a playlist to play.
7 Press RIOSTICK to begin playback.
:: Tuner
1 Press MENU.
2 Select Tuner.
3 Press RIOSTICK.
FM Control
Manual
1 Press MENU.
2 Select Tuner.
3 Press RIOSTICK.
Store Preset
1 When in Manual mode, tune to a frequency you wish to store to a preset slot.
2 Press and hold RIOSTICK to enter Store Preset mode.
3 Select FORWARD or REVERSE with the RioStick to cycle to the desired preset station slot.
4 Press RIOSTICK to store the frequency to the selected FM preset slot. After a frequency has bee...
Preset
1 When in Manual mode, press RIOSTICK to enter Preset mode.
2 Select FORWARD or REVERSE with the RioStick to cycle to the desired preset station slot.
3 Press RIOSTICK to select a preset station and return to Manual mode.
Chapter 5 Advanced Features
:: Advanced Features
:: Stopwatch
1 Press MENU.
2 Select Stopwatch.
3 Press RIOSTICK.
:: Settings
:: Playback
1 Press MENU.
2 Select Settings.
3 Press RIOSTICK.
4 Select Playback.
5 Press RIOSTICK.
6 Select Playback options.
7 Press RIOSTICK to apply settings and return to Player mode.
:: Equalizer
Custom
1 Press MENU.
2 Select Settings.
3 Press RIOSTICK.
4 Select Equalizer.
5 Press RIOSTICK.
6 Select Custom.
7 Adjust 5-band equalizer. Press FORWARD or REVERSE to navigate between frequencies. Press PLAY/P...
8 Press RIOSTICK to return to Player mode.
Normal
1 Press MENU.
2 Select Settings.
3 Press RIOSTICK
4 Select Equalizer.
5 Press RIOSTICK.
6 Select Normal.
7 Press RIOSTICK to set the Normal equalizer option and return to Player mode.
Rock
1 Press MENU.
2 Select Settings.
3 Press RIOSTICK
4 Select Equalizer.
5 Press RIOSTICK.
6 Select Rock.
7 Press RIOSTICK to set the Rock equalizer option and return to Player mode.
Jazz
1 Press MENU.
2 Select Settings.
3 Press RIOSTICK
4 Select Equalizer.
5 Press RIOSTICK.
6 Select Jazz.
7 Press RIOSTICK to set the Jazz equalizer option and return to Player mode.
Classical
1 Press MENU.
2 Select Settings.
3 Press RIOSTICK
4 Select Equalizer.
5 Press RIOSTICK.
6 Select Classical.
7 Press RIOSTICK to set the Classical equalizer option and return to Player mode.
Pop
1 Press MENU.
2 Select Settings.
3 Press RIOSTICK
4 Select Equalizer.
5 Press RIOSTICK.
6 Select Pop.
7 Press RIOSTICK to set the Pop equalizer option and return to Player mode.
Trance
1 Press MENU.
2 Select Settings.
3 Press RIOSTICK
4 Select Equalizer.
5 Press RIOSTICK.
6 Select Trance.
7 Press RIOSTICK to set the Trance equalizer option and return to Player mode.
:: Bookmarks
1 Press MENU.
2 Select Settings.
3 Press RIOSTICK.
4 Select Bookmarks.
5 Press RIOSTICK.
6 Select a Bookmark option.
7 Press RIOSTICK.
:: Power
1 Press MENU.
2 Select Settings.
3 Press RIOSTICK.
4 Select Power.
5 Press RIOSTICK.
6 Select Power options.
7 Press RIOSTICK to apply settings and return to Player mode.
:: Resume
1 Press MENU.
2 Select Settings.
3 Press RIOSTICK.
4 Select Resume.
5 Press RIOSTICK.
6 Select Resume options.
7 Press RIOSTICK to apply settings and return to Player mode.
:: Display
1 Press MENU.
2 Select Settings.
3 Press RIOSTICK.
4 Select Display.
5 Press RIOSTICK.
6 Adjust Backlight options and Contrast settings.
7 Press RIOSTICK to apply settings and return to Player mode.
:: Time
1 Press MENU.
2 Select Settings.
3 Press RIOSTICK.
4 Select Time.
5 Press RIOSTICK.
6 Select Set Time, Set Date, or Time/Date Mode options.
7 Press RIOSTICK to apply settings and return to Player mode.
:: Language
1 Press MENU.
2 Select Settings.
3 Press RIOSTICK.
4 Select Language.
5 Press RIOSTICK.
6 Select a Language setting.
7 Press RIOSTICK.
:: Tuner
1 Press MENU.
2 Select Settings.
3 Press RIOSTICK.
4 Select Tuner.
5 Press RIOSTICK.
6 Select FM Stereo Mode and Region options.
7 Press RIOSTICK.
:: Lock Setup
1 Press MENU.
2 Select Settings.
3 Press RIOSTICK.
4 Select Lock Setup.
5 Press RIOSTICK.
6 Select Lock Volume and RioStick options.
7 Press RIOSTICK to apply settings and return to Player mode.
:: About
1 Press MENU.
2 Select About.
3 Press RIOSTICK.
4 Select Player or Storage.
5 Press RIOSTICK.
Chapter 6 Help
:: Troubleshooting
Customer Service Information
Web:
Technical Support Telephone:
Customer Support Telephone:
With every Rio product you receive the following support services:
Frequently Asked Questions
1 Turn the Rio Cali off.
2 Remove the battery compartment cover on the back of the player.
3 Remove the battery.
4 Gently insert the external memory card with the label side up and the notch in the upper right ...
5 Replace the battery.
6 Replace the battery compartment cover.
7 Turn the Rio Cali on.
1 Click on the following link: Firmware Upgrade.
2 Click on the link to the Rio Cali.
3 Locate UPDATES and click Firmware. Select and download the latest software. Download the softwa...
1 Connect the player to your computer with the USB cable.
2 Turn the player on. Waiting will display on the player screen.
3 Double-click the file that you downloaded from the Rio website. The update should take approxim...
1 Connect the player to your computer with the USB cable.
2 Turn the player on.
3 Double-click the iTunes icon.
4 Select the Rio player icon.
5 Click Options on the iTunes window. The Rio Settings window is displayed
6 Click Upgrade Firmware on the Rio Settings window.
7 Select the firmware update you downloaded from the website.
8 Click Open.
:: Glossary of Digital Audio Terms
Bass
Bitrate
Codec
Firmware
Gain
ID3 Tag
MP3
Rip and Encode
Synchronize
Treble
VBR
WMA
:: Limited Warranty and Software License
Warranty
Warranty Service
Scope of and Limitation on Warranty
:: FCC and Industry Canada Compliance
Federal Communications Commission (FCC)
1 This device may not cause harmful interference, and
2 This device must accept any interference received, including interference that may cause undesi...
Industry Canada
:: Safety
Warning
CAUTION
Index
Symbols
A
B
C
D
E
F
G
H
I
L
M
P
R
S
T
U
V
W



 2023年江西萍乡中考道德与法治真题及答案.doc
 2012年重庆南川中考生物真题及答案.doc
 2013年江西师范大学地理学综合及文艺理论基础考研真题.doc
 2020年四川甘孜小升初语文真题及答案I卷.doc
 2020年注册岩土工程师专业基础考试真题及答案.doc
 2023-2024学年福建省厦门市九年级上学期数学月考试题及答案.doc
 2021-2022学年辽宁省沈阳市大东区九年级上学期语文期末试题及答案.doc
 2022-2023学年北京东城区初三第一学期物理期末试卷及答案.doc
 2018上半年江西教师资格初中地理学科知识与教学能力真题及答案.doc
 2012年河北国家公务员申论考试真题及答案-省级.doc
 2020-2021学年江苏省扬州市江都区邵樊片九年级上学期数学第一次质量检测试题及答案.doc
 2022下半年黑龙江教师资格证中学综合素质真题及答案.doc