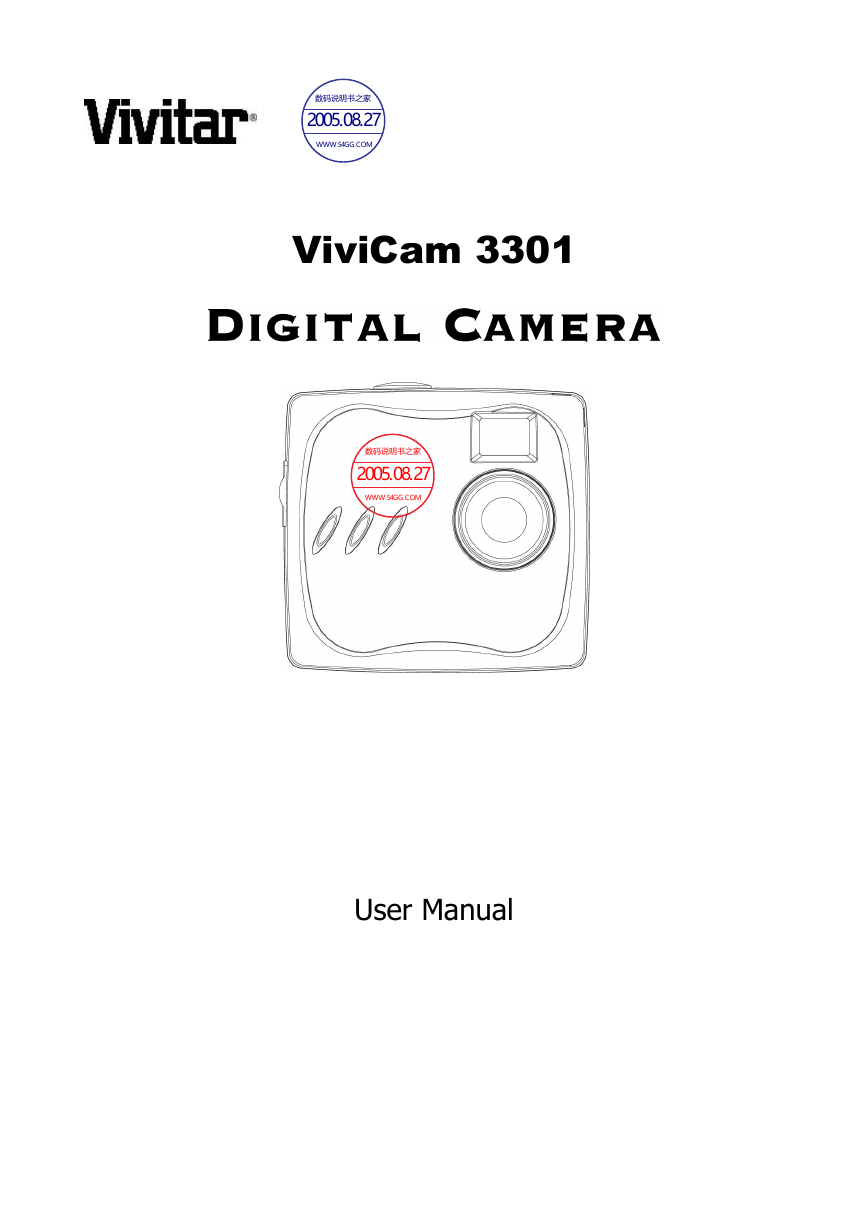
ViviCam 3301
User Manual
�
ViviCam 3301 User Manual
This manual is designed to assist you in using the ViviCam 3301. Information in this document has been
carefully checked for accuracy; however, no guarantee is given to the absolute correctness of the contents.
The information in this document is subject to change without notice. © Copyright 2004 Vivitar Corporation.
Federal Communications Commission (FCC) Compliance
This equipment has been tested and found to comply with the limits for a Class B digital device, pursuant to Part 15 of
the FCC Rules. These limits are designed to provide reasonable protection against harmful interference in a residential
installation. This equipment generates, uses, and can radiate radio frequency energy and, if not installed and used in
accordance with the instructions, may cause harmful interference to radio communications. However, there is no
guarantee that interference will not occur in a particular installation. If this equipment does cause harmful interference to
radio or television reception, which can be determined by turning the equipment off and on, the user is encouraged to try
to correct the interference by one or more of the following measures:
Increase the separation between the equipment and the receiver.
• Reorient or relocate the receiving antenna.
•
• Connect the equipment to an outlet on a circuit different from that to which the receiver is connected.
• Consult the dealer or an experienced radio/TV technician for help.
Note!
Changes or modifications not expressly approved by the party responsible for compliance could void your authority to
operate the equipment.
Use of shielded cable is required to comply with Class B limits in Subpart B of Part 15 of the FCC rules. Do not make
any changes or modifications to the equipment unless otherwise specified in the manual. If such changes or
modifications should be made, you could be required to stop operation of the equipment.
Declaration of Conformity
This device complies with part 15 of the FCC rules. Operation is subject to the following conditions:
This device may not cause harmful interference.
This device must accept any interference received, including interference that may cause undesired operation.
Canadian Department of Communications
This class B digital apparatus meets all requirements of the Canadian Interference-causing Equipment Regulations.
Cet appareil numérique de la classe B respecte toutes les exigences du Réglement sur le matériel brouilieur du Canada.
Trademark Recognition
Windows (an abbreviated term referring to the Microsoft Windows Operation System), NetMeeting, and Media Player are
registered trademarks and products of Microsoft Corporation registered in the USA and other countries. Ulead
PhotoExplorer 8.0 SE and Ulead COOL 360 are products and trademarks of Ulead Inc. Other corporate, product
names, or trade references are trademarks or registered trademarks of their respective companies.
General Warnings
When fitting batteries into the camera, check the polarity of the batteries (- and +) to ensure that you insert the battery
correctly. Incorrect polarity may result in the batteries splitting or leaking and causing a fire, injury, or soiling of the
battery compartment.
Remove the batteries if the camera will not be used for an extended period of time. The batteries may leak and cause a
fire, injury or soiling of the battery compartment. If the batteries leak, clean and wipe the battery compartment carefully
and install new batteries. Wash your hands carefully if you touch the battery fluid. Please note that when you remove
the batteries your images will be lost from the camera memory.
WARNING: Handling the USB cable on this product may expose you to lead, a chemical known to the State of
California to cause birth defects or other reproductive harm. Wash your hands after handling.
V3301 User Manual English Rev: 040115tpiehn
�
Table of Contents
GETTING STARTED
About the ViviCam 3301
Unpacking the ViviCam 3301
Camera Features
Front View
Rear View
Changing the Camera Face Panel
Changing the Camera Face Panel
Note: Be sure to download your images before changing the faceplate to avoid losing your images or
video clips.
Inserting a Battery
CAPTURING IMAGES
Turning the Camera ON and OFF
LCD Information/Status Display
Camera Icons and Descriptions
Capturing Digital Still Images
Capturing Streaming Snapshots (Video clips)
Deleting Images and Videos
SOFTWARE INSTALLATION
Software Overview & Features
Picture Manager (TWAIN)
CamWizard
CamExplorer
Ulead PhotoExplorer 8.0 SE
Ulead COOL 360
Adobe Acrobat Reader
Installing the Software
Installing the DIGITAL CAMERA TWAIN
CONNECTING TO YOUR PC
Connecting the ViviCam 3301 to Your PC
DOWNLOADING IMAGES AND VIDEOS TO YOUR PC
1
1
1
2
2
2
3
3
3
3
4
4
4
5
6
6
7
8
8
8
8
8
8
8
8
9
9
12
12
13
�
Transfer Images & Videos with the ViviCam 3301 CamWizard
CamWizard Menu Options
Saving Images and Videos to Your Computer
Viewing A Slideshow
View Video(s) in Windows Media Player
View Images & Videos in the Camera
Transfer Images with Ulead PhotoExplorer
Save Images using Ulead PhotoExplorer
USING THE VIVICAM 3301 AS A PC/WEB CAMERA
Using the ViviCam 3301 as a PC/Web Camera
Connecting the ViviCam 3301 to a PC
Viewing Video Clips with Windows Media Player
VIDEO CONFERENCING WITH NETMEETING
How to Use the ViviCam 3301 with Microsoft NetMeeting
VIVICAM 3301 QUICK TIPS
Capturing Images Indoors – General Tips
Capturing Images Outdoors – General Tips
VIVICAM 3301 SPECIFICATIONS
TROUBLESHOOTING
13
13
14
14
14
14
15
15
16
16
16
16
17
17
18
18
18
19
20
�
GETTING STARTED
About the ViviCam 3301
Congratulations on your purchase of the ViviCam 3301. Your ViviCam 3301 has been ergonomically
designed to allow you to quickly and easily capture quality digital images and short video clips without the
trouble and expense of buying and developing film.
With a 1.3 Mega-Pixel image sensor you are assured of clear images that can be printed, displayed on a
web site, or sent to friends and family through e-mail. The 1.3 Mega-Pixel image sensor is capable of
capturing digital still images and streaming snapshots. Using the Picture Manager interface software, the
streaming Snapshots from your camera will automatically converted into digital video clips. You can also
use the ViviCam 3301 as a PC/web camera, taking real-time images when connected to your PC with the
supplied USB cable.
The included software enables you to easily download your images and video to your PC. With Ulead
PhotoExplorer and COOL 360 software you can edit your images and video with ease. For more information
on how to use Ulead PhotoExplorer and COOL 360, you may visit their website at www.ulead.com
Unpacking the ViviCam 3301
Open the ViviCam 3301 package and examine the contents. Your package should contain the following
items:
• ViviCam 3301
• Camera neck strap
• Tilt base
• USB cable
• Color face plates (optional*)
• 1 AAA alkaline battery
• Quick Start Guide
• Software CD containing:
− Picture Manager (TWAIN driver)
− CamWizard
− CamExplorer
− Ulead PhotoExplorer 8.0 SE
− Ulead COOL 360
− Owner’s Manual (PDF)
− Adobe Acrobat Reader
* Color faceplates may be included with your camera kit depending upon the options selected by your
camera retailer. Check with your retailer for details as options will vary by retailer.
1
�
Camera Features
Please refer to the following diagram to identify the ViviCam 3301 features:
Front View
Rear View
2
�
Changing the Camera Face Panel
You can give the ViviCam 3301 a new appearance by changing the front panel. The ViviCam 3301 comes
with several cool-color faceplates that you can use interchangeably. Follow these instructions to change the
faceplate.
1. Turn the camera OFF.
2. Open the battery compartment cover located on the bottom of the camera by sliding the cover in
the direction indicated by the arrow.
3. Remove the battery. Notice the small hole underneath the battery. Use a ballpoint pen to gently
press through the hole.
4. The faceplate will detach from the camera. Remove the faceplate from the front of the camera.
5. Select another colored plate and place it on the front of the camera, snapping it into place.
Note: Be sure to download your images before changing the faceplate to avoid
losing your images or video clips.
Inserting a Battery
Follow these instructions to insert or replace the battery in your ViviCam 3301:
1. Turn the camera OFF.
2. Open the battery compartment cover located on the bottom of the camera by sliding the cover in the
direction indicated by the arrow.
3. Note the battery polarity marks inside the battery well. Insert (1) one fresh AAA alkaline battery, and
replace the battery compartment door. You will hear a click as the door snaps into place.
IMPORTANT WARNINGS:
• Do not open the battery compartment when the camera is ON.
• Store your camera with the battery removed. However, download your images prior to storing
your camera. A small amount of battery power is required to maintain images in memory and
therefore the battery will drain completely over time, even when not used. Loss of image data
will occur should the battery lose power.
• The ViviCam 3301 allows up to 30 seconds for changing the battery without losing images
saved in the camera. It is recommend that you always download your images within 24 hours to
avoid losing your images.
• Even without any images in the camera, the ViviCam 3301 will slowly draw battery power. To
conserve battery power, after downloading images, remove the battery from camera.
Note: The camera will use some battery power whenever a battery is inserted. Remove the
battery from the camera after downloading images and the camera will not be used for
more than a day.
3
�
Capturing Images
Turning the Camera ON and OFF
• To turn the camera ON, press and hold the Power/Mode button for about two seconds.
• To turn the power to OFF, press and hold the Power/Mode button for three seconds.
Note: The ViviCam 3301 will automatically power off after 60 seconds of inactivity.
LCD Information/Status Display
The following icons are used in the Information/Status LCD display to present mode and setting options.
Streaming
Snapshot mode
Delete
mode
Indoor/outdoor
mode
Number of
pictures taken
Resolution
Battery
Note: When scrolling through the modes, an icon blinks when it is selected.
4
�



 2023年江西萍乡中考道德与法治真题及答案.doc
 2012年重庆南川中考生物真题及答案.doc
 2013年江西师范大学地理学综合及文艺理论基础考研真题.doc
 2020年四川甘孜小升初语文真题及答案I卷.doc
 2020年注册岩土工程师专业基础考试真题及答案.doc
 2023-2024学年福建省厦门市九年级上学期数学月考试题及答案.doc
 2021-2022学年辽宁省沈阳市大东区九年级上学期语文期末试题及答案.doc
 2022-2023学年北京东城区初三第一学期物理期末试卷及答案.doc
 2018上半年江西教师资格初中地理学科知识与教学能力真题及答案.doc
 2012年河北国家公务员申论考试真题及答案-省级.doc
 2020-2021学年江苏省扬州市江都区邵樊片九年级上学期数学第一次质量检测试题及答案.doc
 2022下半年黑龙江教师资格证中学综合素质真题及答案.doc