“Clairvoyance”
Digital Camera Binoculars
TB-320
User’s manual
�
Table of Contents
1. Introduction
• “Clairvoyance” Features
• System Requirements.
2. Getting to know your “Clairvoyance”
• LCD display
3. Software Installation
• Installation the “Clairvoyance” software
to your computer.
• Connecting the Clairvoyance to the
computer’s USB port.
• Using Photo Editing Software.
4. Focusing the Binoculars
5. Taking photos.
• Use Clairvoyance as USB Disk.
• Use Clairvoyance as SD memory card.
• Use Clairvoyance as PC Cam.
6. Maintenance
7. Specifications
• Camera.
• Binoculars.
8. Troubleshooting
9. For Windows XP User Only
• Choosing your setting/LCD read out.
• Battery Installation.
• Battery Status indicator.
• Taking still pictures.
• Self Timer – Taking still pictures.
• Taking A Video.
• Erasing/Deleting Pictures.
• Run on PC cam mode.
• Downloading photos to your computer.
�
• Fluorescent lighting settings for - 50/60Hz 220V.
• 22x16mm status LCD display with Icons.
• Fixed focus 15m to infinity.
• 5Pins Mini USB connector for high speed photo
• Erase last picture or all pictures and SD card
transfer.
format.
• Auto power off to conserve battery life.
• “Clairvoyance” CD with applications software to
edit, manipulate and enhance your pictures and
videos.
1. Introduction
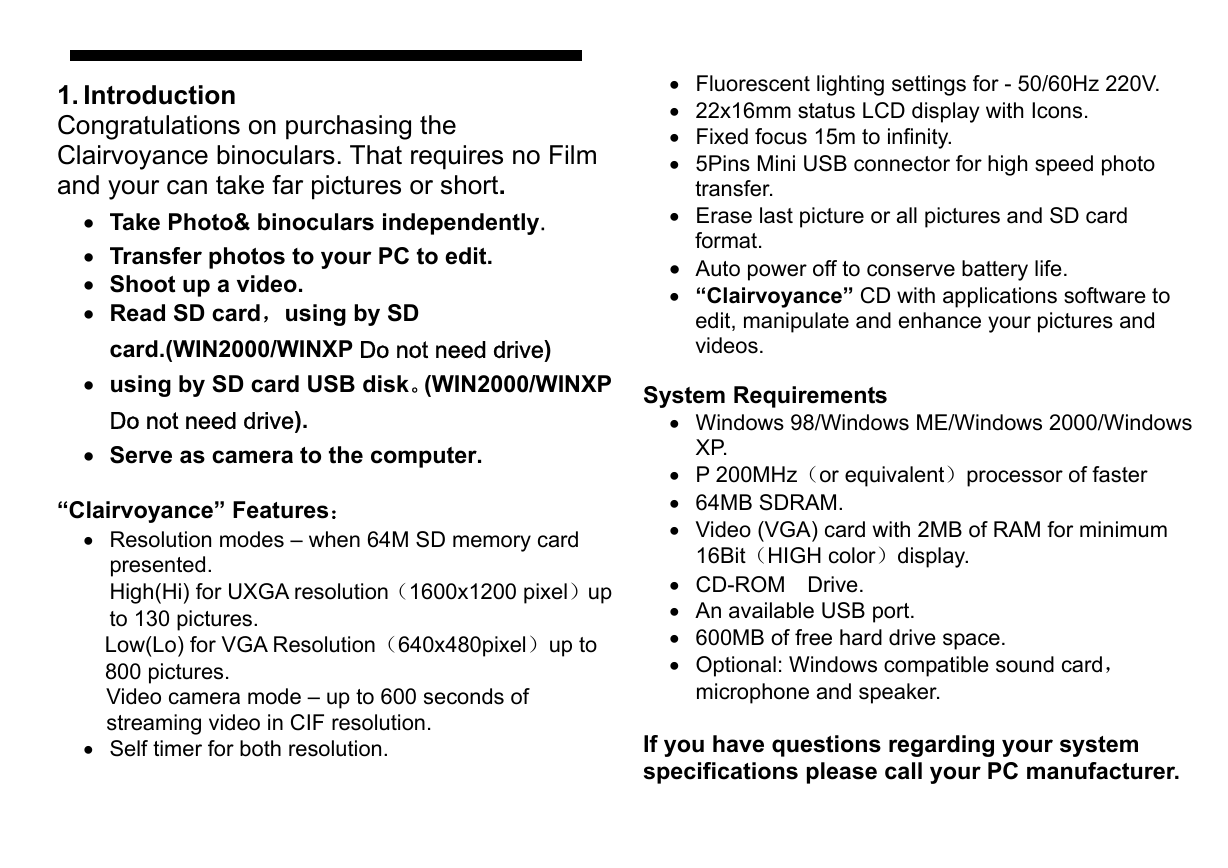
Congratulations on purchasing the
Clairvoyance binoculars. That requires no Film
and your can take far pictures or short.
• Take Photo& binoculars independently.
• Transfer photos to your PC to edit.
• Shoot up a video.
• Read SD card,using by SD
card.(WIN2000/WINXP Do not need drive)
• using by SD card USB disk。(WIN2000/WINXP
Do not need drive).
• Serve as camera to the computer.
“Clairvoyance” Features:
• Resolution modes – when 64M SD memory card
presented.
High(Hi) for UXGA resolution(1600x1200 pixel)up
to 130 pictures.
Low(Lo) for VGA Resolution(640x480pixel)up to
800 pictures.
Video camera mode – up to 600 seconds of
streaming video in CIF resolution.
• Self timer for both resolution.
System Requirements
XP.
• Windows 98/Windows ME/Windows 2000/Windows
• P 200MHz(or equivalent)processor of faster
• 64MB SDRAM.
• Video (VGA) card with 2MB of RAM for minimum
16Bit(HIGH color)display.
• CD-ROM Drive.
• An available USB port.
• 600MB of free hard drive space.
• Optional: Windows compatible sound card,
microphone and speaker.
If you have questions regarding your system
specifications please call your PC manufacturer.
�
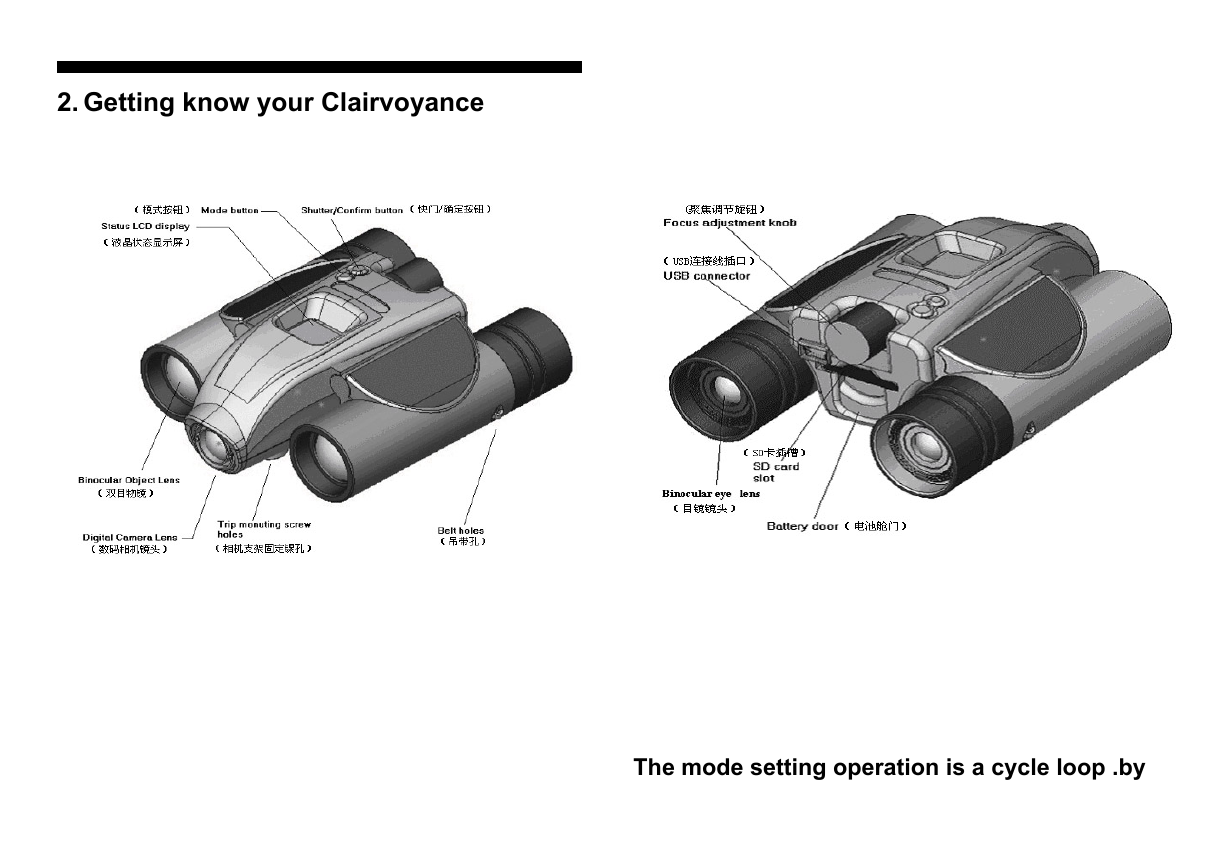
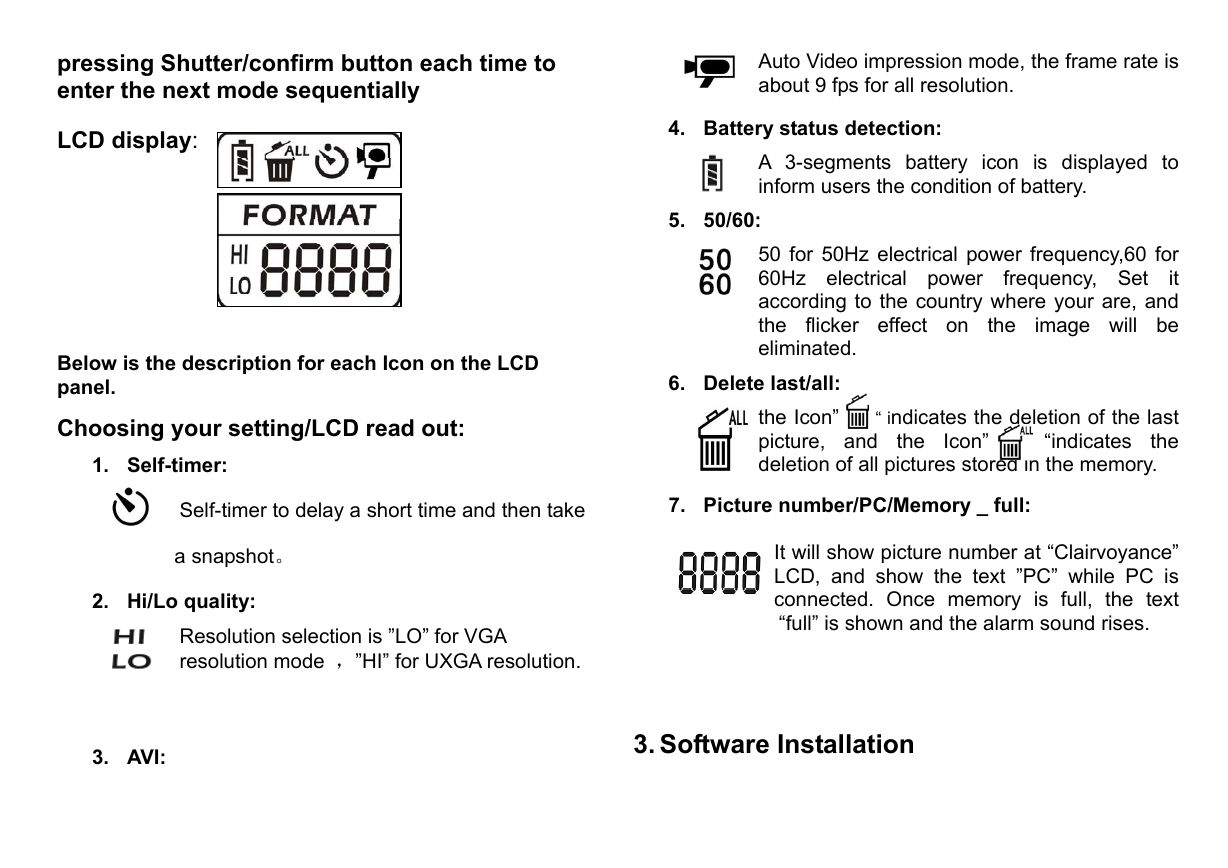
2. Getting know your Clairvoyance
The mode setting operation is a cycle loop .by
�
pressing Shutter/confirm button each time to
enter the next mode sequentially
LCD display:
Below is the description for each Icon on the LCD
panel.
Choosing your setting/LCD read out:
1. Self-timer:
Self-timer to delay a short time and then take
a snapshot。
2. Hi/Lo quality:
Auto Video impression mode, the frame rate is
about 9 fps for all resolution.
4. Battery status detection:
A 3-segments battery icon is displayed to
inform users the condition of battery.
5. 50/60:
50 for 50Hz electrical power frequency,60 for
60Hz electrical power
it
according to the country where your are, and
the
image will be
eliminated.
flicker effect on
frequency, Set
the
6. Delete last/all:
the Icon” “ indicates the deletion of the last
picture, and
the
deletion of all pictures stored in the memory.
“indicates
Icon”
the
7. Picture number/PC/Memory _ full:
It will show picture number at “Clairvoyance”
LCD, and show the text ”PC” while PC is
connected. Once memory is full, the text
“full” is shown and the alarm sound rises.
Resolution selection is ”LO” for VGA
resolution mode ,”HI” for UXGA resolution.
3. AVI:
3. Software Installation
�
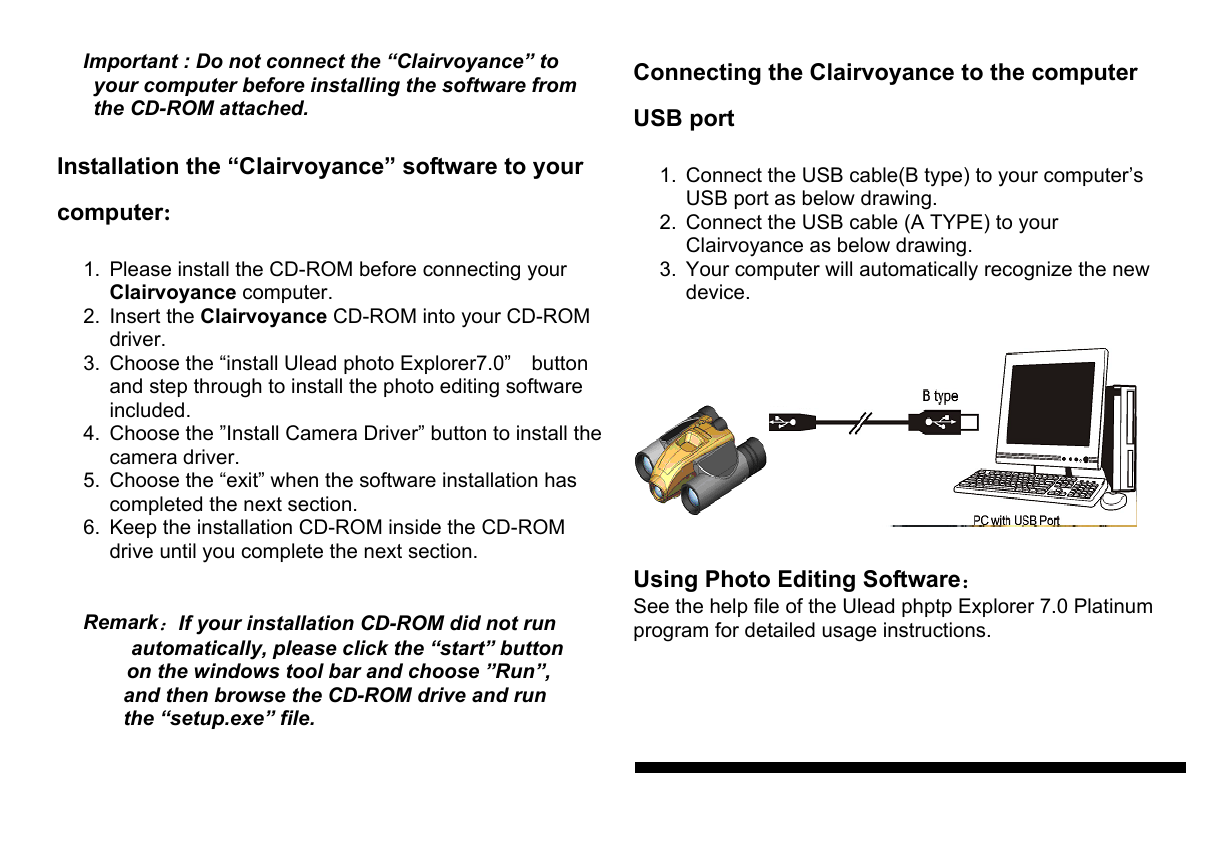
Important : Do not connect the “Clairvoyance” to
your computer before installing the software from
the CD-ROM attached.
Installation the “Clairvoyance” software to your
computer:
USB port as below drawing.
2. Connect the USB cable (A TYPE) to your
Clairvoyance as below drawing.
Connecting the Clairvoyance to the computer
USB port
1. Connect the USB cable(B type) to your computer’s
1. Please install the CD-ROM before connecting your
3. Your computer will automatically recognize the new
device.
Clairvoyance computer.
2. Insert the Clairvoyance CD-ROM into your CD-ROM
driver.
3. Choose the “install Ulead photo Explorer7.0” button
and step through to install the photo editing software
included.
4. Choose the ”Install Camera Driver” button to install the
camera driver.
5. Choose the “exit” when the software installation has
completed the next section.
6. Keep the installation CD-ROM inside the CD-ROM
drive until you complete the next section.
Remark:If your installation CD-ROM did not run
automatically, please click the “start” button
on the windows tool bar and choose ”Run”,
and then browse the CD-ROM drive and run
the “setup.exe” file.
Using Photo Editing Software:
See the help file of the Ulead phptp Explorer 7.0 Platinum
program for detailed usage instructions.
�
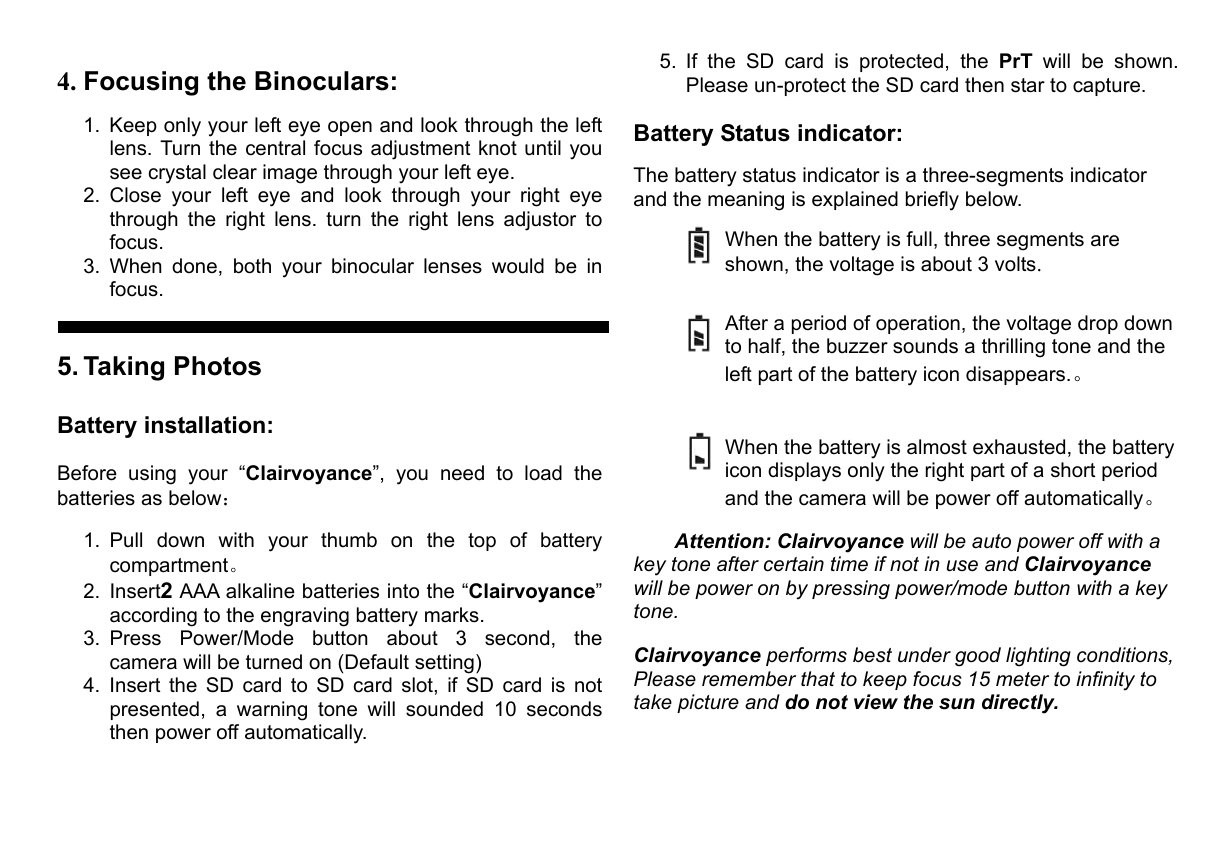
4. Focusing the Binoculars:
1. Keep only your left eye open and look through the left
lens. Turn the central focus adjustment knot until you
see crystal clear image through your left eye.
2. Close your left eye and look through your right eye
through the right lens. turn the right lens adjustor to
focus.
3. When done, both your binocular lenses would be in
focus.
5. Taking Photos
Battery installation:
Before using your “Clairvoyance”, you need to load the
batteries as below:
1. Pull down with your thumb on the top of battery
compartment。
2. Insert2 AAA alkaline batteries into the “Clairvoyance”
according to the engraving battery marks.
3. Press Power/Mode button about 3 second,
the
camera will be turned on (Default setting)
4. Insert the SD card to SD card slot, if SD card is not
presented, a warning tone will sounded 10 seconds
then power off automatically.
5. If the SD card is protected, the PrT will be shown.
Please un-protect the SD card then star to capture.
Battery Status indicator:
The battery status indicator is a three-segments indicator
and the meaning is explained briefly below.
When the battery is full, three segments are
shown, the voltage is about 3 volts.
After a period of operation, the voltage drop down
to half, the buzzer sounds a thrilling tone and the
left part of the battery icon disappears.。
When the battery is almost exhausted, the battery
icon displays only the right part of a short period
and the camera will be power off automatically。
Attention: Clairvoyance will be auto power off with a
key tone after certain time if not in use and Clairvoyance
will be power on by pressing power/mode button with a key
tone.
Clairvoyance performs best under good lighting conditions,
Please remember that to keep focus 15 meter to infinity to
take picture and do not view the sun directly.
�
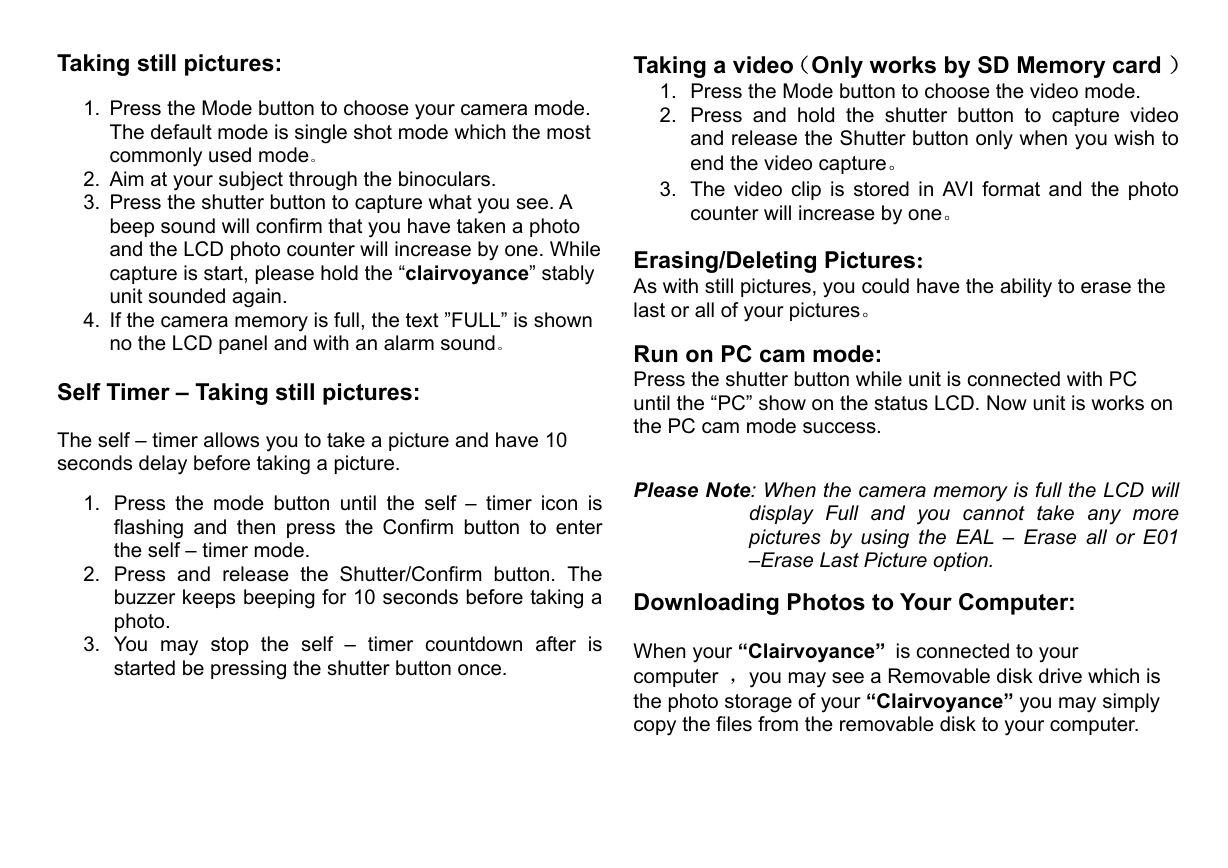
Taking still pictures:
1. Press the Mode button to choose your camera mode.
The default mode is single shot mode which the most
commonly used mode。
2. Aim at your subject through the binoculars.
3. Press the shutter button to capture what you see. A
beep sound will confirm that you have taken a photo
and the LCD photo counter will increase by one. While
capture is start, please hold the “clairvoyance” stably
unit sounded again.
4. If the camera memory is full, the text ”FULL” is shown
no the LCD panel and with an alarm sound。
Self Timer – Taking still pictures:
The self – timer allows you to take a picture and have 10
seconds delay before taking a picture.
1. Press the mode button until the self – timer icon is
flashing and then press the Confirm button to enter
the self – timer mode.
2. Press and release the Shutter/Confirm button. The
buzzer keeps beeping for 10 seconds before taking a
photo.
3. You may stop the self – timer countdown after is
started be pressing the shutter button once.
Taking a video(Only works by SD Memory card )
1. Press the Mode button to choose the video mode.
2. Press and hold the shutter button to capture video
and release the Shutter button only when you wish to
end the video capture。
3. The video clip is stored in AVI format and the photo
counter will increase by one。
Erasing/Deleting Pictures:
As with still pictures, you could have the ability to erase the
last or all of your pictures。
Run on PC cam mode:
Press the shutter button while unit is connected with PC
until the “PC” show on the status LCD. Now unit is works on
the PC cam mode success.
Please Note: When the camera memory is full the LCD will
display Full and you cannot take any more
pictures by using the EAL – Erase all or E01
–Erase Last Picture option.
Downloading Photos to Your Computer:
When your “Clairvoyance” is connected to your
computer ,you may see a Removable disk drive which is
the photo storage of your “Clairvoyance” you may simply
copy the files from the removable disk to your computer.
�


 2023年江西萍乡中考道德与法治真题及答案.doc
 2012年重庆南川中考生物真题及答案.doc
 2013年江西师范大学地理学综合及文艺理论基础考研真题.doc
 2020年四川甘孜小升初语文真题及答案I卷.doc
 2020年注册岩土工程师专业基础考试真题及答案.doc
 2023-2024学年福建省厦门市九年级上学期数学月考试题及答案.doc
 2021-2022学年辽宁省沈阳市大东区九年级上学期语文期末试题及答案.doc
 2022-2023学年北京东城区初三第一学期物理期末试卷及答案.doc
 2018上半年江西教师资格初中地理学科知识与教学能力真题及答案.doc
 2012年河北国家公务员申论考试真题及答案-省级.doc
 2020-2021学年江苏省扬州市江都区邵樊片九年级上学期数学第一次质量检测试题及答案.doc
 2022下半年黑龙江教师资格证中学综合素质真题及答案.doc