logo资料库

Mimaki打印机-CG-100SRII说明书.pdf

第1页 / 共150页
第2页 / 共150页
第3页 / 共150页
第4页 / 共150页
第5页 / 共150页
第6页 / 共150页
第7页 / 共150页
第8页 / 共150页
资料共150页,剩余部分请下载后查看
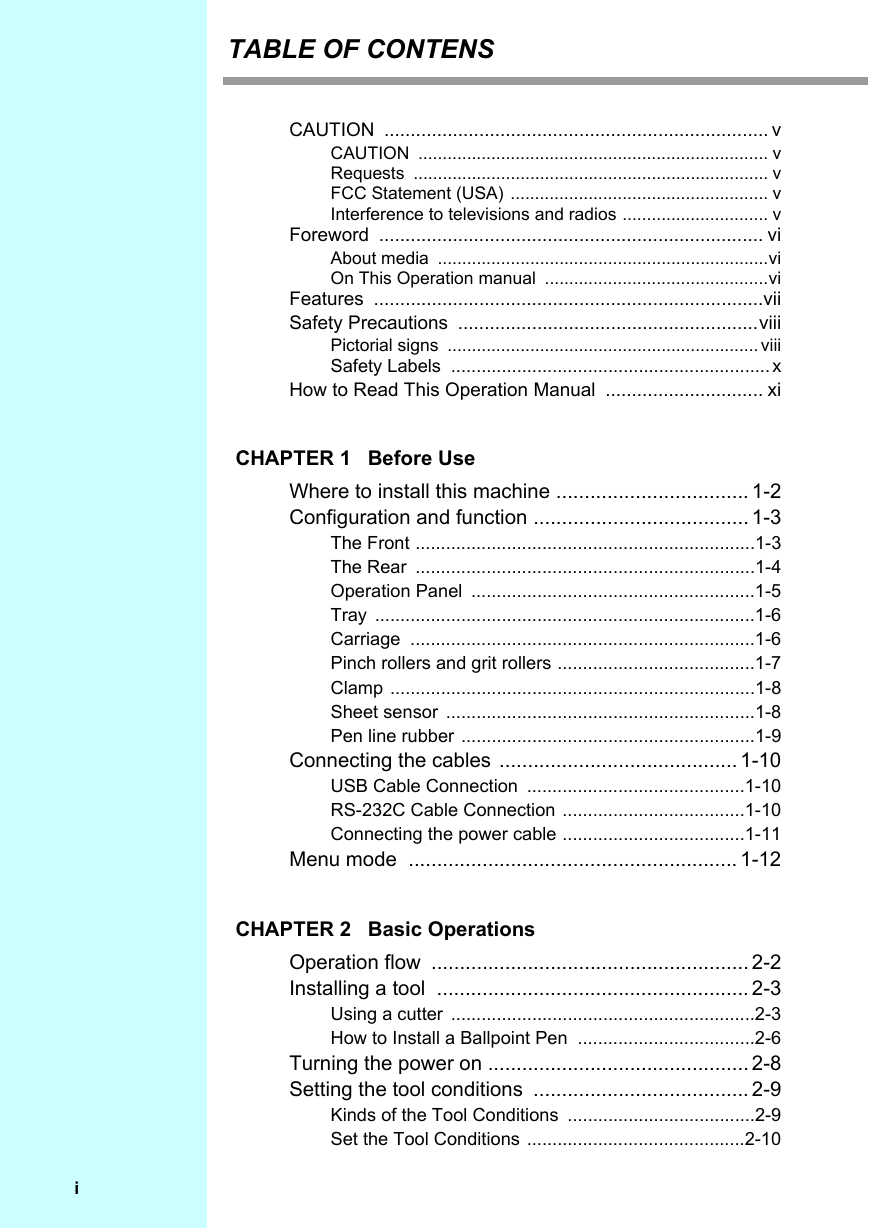
TABLE OF CONTENS
CAUTION
CAUTION
Requests
FCC Statement (USA)
Interference to televisions and radios
Foreword
About media
On This Operation manual
Features
Mark Sensor
Roll Sheet Stopper
Two Clamp Pressure Modes Changeover Mechanism
Front Loading
Plug-in Cutting Software (FineCut) Attached
Safety Precautions
Pictorial signs
Example of pictorial signs
Safety Labels
How to Read This Operation Manual
CHAPTER 1 Before Use
Where to install this machine
Configuration and function
The Front
The Rear
Operation Panel
Tray
Carriage
Pinch rollers and grit rollers
Clamp
Sheet sensor
Pen line rubber
Connecting the cables
USB Cable Connection
RS-232C Cable Connection
Connecting the power cable
Menu mode
CHAPTER 2 Basic Operations
Operation flow
Installing a tool
Using a cutter
How to install a cutter
Adjusting the protrusion of the cutter blade
How to install the cutter holder
How to Install a Ballpoint Pen
Turning the power on
Setting the tool conditions
Kinds of the Tool Conditions
Set the Tool Conditions
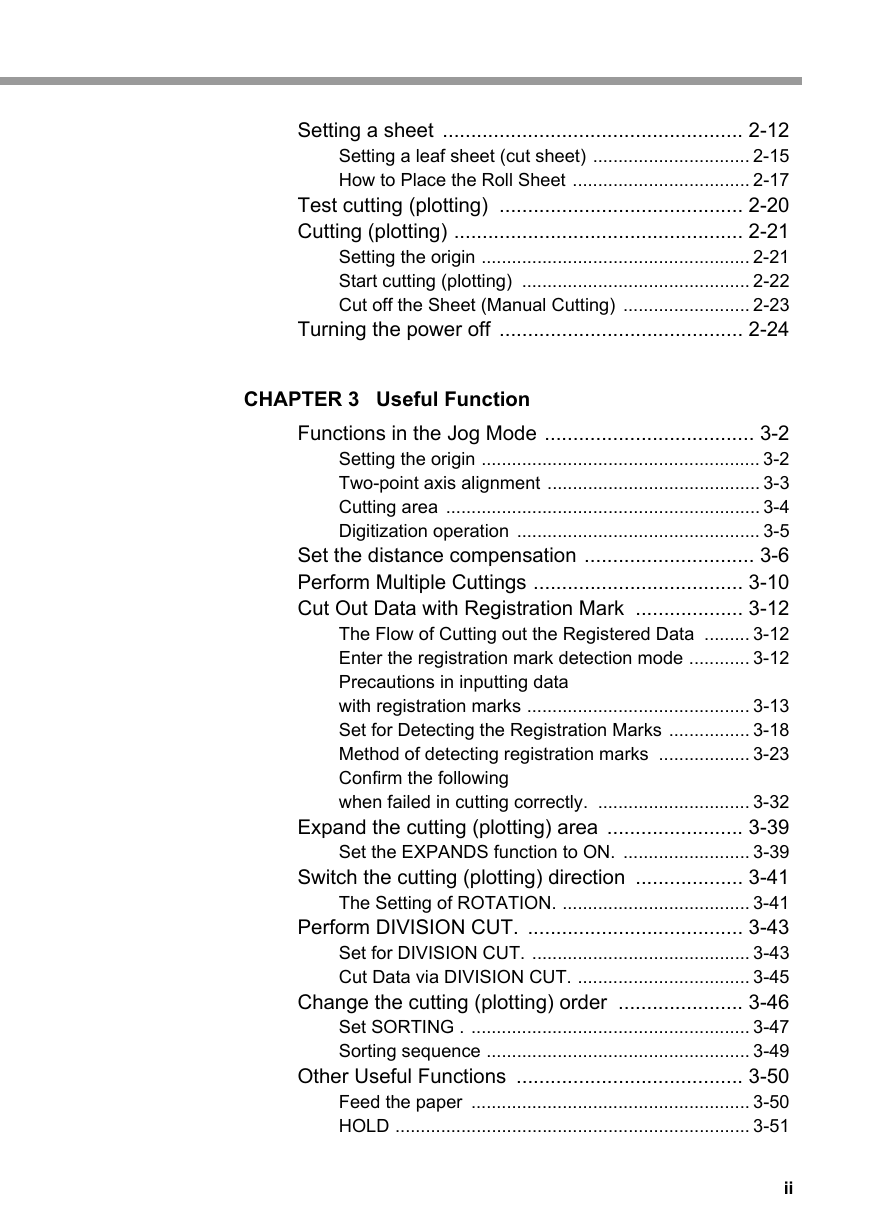
Setting a sheet
Setting a leaf sheet (cut sheet)
How to Place the Roll Sheet
Test cutting (plotting)
Cutting (plotting)
Setting the origin
Start cutting (plotting)
Cut off the Sheet (Manual Cutting)
Turning the power off
CHAPTER 3 Useful Function
Functions in the Jog Mode
Setting the origin
Two-point axis alignment
Cutting area
Digitization operation
Set the distance compensation
Perform Multiple Cuttings
Cut Out Data with Registration Mark
The Flow of Cutting out the Registered Data
Enter the registration mark detection mode
Precautions in inputting data with registration marks
Size of the registration marks
The area where registration marks and designs can be arranged
No-plotting area around the registration marks
Example of cause of wrong detection 1
Example of cause of wrong detection 2
The size of, and the distance between, registration marks
Distance between registration marks for copied designs
Recommended size of the area defined with a set of four registration marks
Color of mark
Mark blurred
Precautions on registration mark detection
Set for Detecting the Registration Marks
Setting Items
Reset the Setting of Registration Mark Detection
Method of detecting registration marks
Check sheet skew with a light pointer
Full-automatic detection of marks
Semi-automatic detection of registration marks
Detect a registration mark automatically after the sheet is detected
Confirm the following when failed in cutting correctly.
Check the sensor for the registration mark detection
Correct the light pointer position
Alignment of MARK SENSOR
Expand the cutting (plotting) area
Set the EXPANDS function to ON.
Set EXPANDS function to “OFF”.
Switch the cutting (plotting) direction
The Setting of ROTATION.
Reset the Setting of ROTATION.
Perform DIVISION CUT.
Set for DIVISION CUT.
Reset the setting for DIVISION CUT.
Cut Data via DIVISION CUT.
Change the cutting (plotting) order
Set SORTING .
Reset the Setting of SORTING.
Sorting sequence
Other Useful Functions
Feed the paper
HOLD
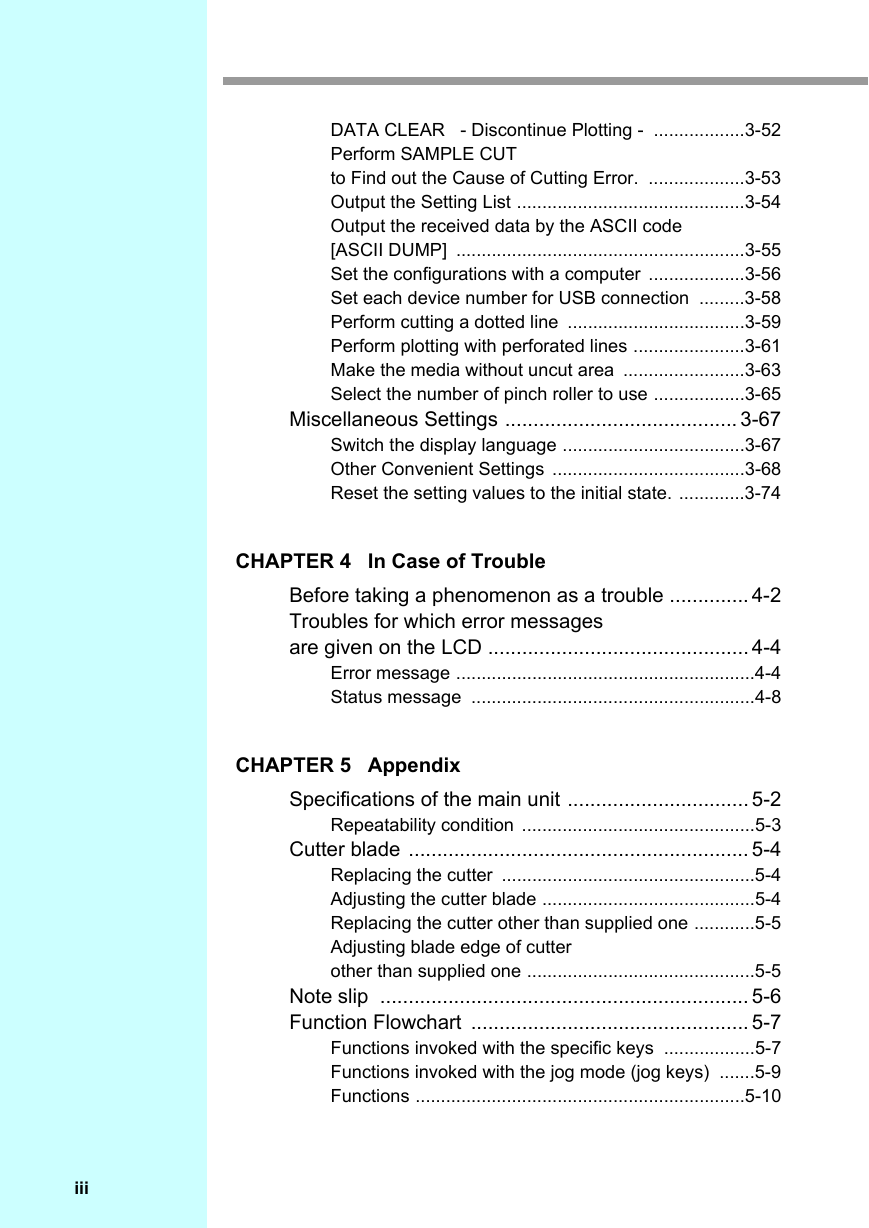
DATA CLEAR - Discontinue Plotting -
Perform SAMPLE CUT to Find out the Cause of Cutting Error.
Result of SAMPLE CUT
Output the Setting List
Output the received data by the ASCII code [ASCII DUMP]
Set the configurations with a computer
Setting Items
Set each device number for USB connection
Perform cutting a dotted line
Perform plotting with perforated lines
Set POUNCING function.
Make the media without uncut area
Select the number of pinch roller to use
Miscellaneous Settings
Switch the display language
Other Convenient Settings
Setting List
Reset the setting values to the initial state.
CHAPTER 4 In Case of Trouble
Before taking a phenomenon as a trouble
Troubles for which error messages are given on the LCD
Error message
Status message
CHAPTER 5 Appendix
Specifications of the main unit
Repeatability condition
Cutter blade
Replacing the cutter
Adjusting the cutter blade
Replacing the cutter other than supplied one
Adjusting blade edge of cutter other than supplied one
Note slip
Function Flowchart
Functions invoked with the specific keys
Functions invoked with the jog mode (jog keys)
Functions

MIMAKI ENGINEERING CO., LTD. URL: http: // www.mimaki. co. jp/ D201949-15
TABLE OF CONTENS CAUTION ......................................................................... v CAUTION ........................................................................ v Requests ......................................................................... v FCC Statement (USA) ..................................................... v Interference to televisions and radios .............................. v Foreword ......................................................................... vi About media ....................................................................vi On This Operation manual ..............................................vi Features ..........................................................................vii Safety Precautions .........................................................viii Pictorial signs ................................................................ viii Safety Labels ...............................................................x How to Read This Operation Manual .............................. xi CHAPTER 1 Before Use Where to install this machine .................................. 1-2 Configuration and function ...................................... 1-3 The Front ...................................................................1-3 The Rear ...................................................................1-4 Operation Panel ........................................................1-5 Tray ...........................................................................1-6 Carriage ....................................................................1-6 Pinch rollers and grit rollers .......................................1-7 Clamp ........................................................................1-8 Sheet sensor .............................................................1-8 Pen line rubber ..........................................................1-9 Connecting the cables .......................................... 1-10 USB Cable Connection ...........................................1-10 RS-232C Cable Connection ....................................1-10 Connecting the power cable ....................................1-11 Menu mode .......................................................... 1-12 CHAPTER 2 Basic Operations Operation flow ........................................................ 2-2 Installing a tool ....................................................... 2-3 Using a cutter ............................................................2-3 How to Install a Ballpoint Pen ...................................2-6 Turning the power on .............................................. 2-8 Setting the tool conditions ...................................... 2-9 Kinds of the Tool Conditions .....................................2-9 Set the Tool Conditions ...........................................2-10 i
Setting a sheet ..................................................... 2-12 Setting a leaf sheet (cut sheet) ............................... 2-15 How to Place the Roll Sheet ................................... 2-17 Test cutting (plotting) ........................................... 2-20 Cutting (plotting) ................................................... 2-21 Setting the origin ..................................................... 2-21 Start cutting (plotting) ............................................. 2-22 Cut off the Sheet (Manual Cutting) ......................... 2-23 Turning the power off ........................................... 2-24 CHAPTER 3 Useful Function Functions in the Jog Mode ..................................... 3-2 Setting the origin ....................................................... 3-2 Two-point axis alignment .......................................... 3-3 Cutting area .............................................................. 3-4 Digitization operation ................................................ 3-5 Set the distance compensation .............................. 3-6 Perform Multiple Cuttings ..................................... 3-10 Cut Out Data with Registration Mark ................... 3-12 The Flow of Cutting out the Registered Data ......... 3-12 Enter the registration mark detection mode ............ 3-12 Precautions in inputting data with registration marks ............................................ 3-13 Set for Detecting the Registration Marks ................ 3-18 Method of detecting registration marks .................. 3-23 Confirm the following when failed in cutting correctly. .............................. 3-32 Expand the cutting (plotting) area ........................ 3-39 Set the EXPANDS function to ON. ......................... 3-39 Switch the cutting (plotting) direction ................... 3-41 The Setting of ROTATION. ..................................... 3-41 Perform DIVISION CUT. ...................................... 3-43 Set for DIVISION CUT. ........................................... 3-43 Cut Data via DIVISION CUT. .................................. 3-45 Change the cutting (plotting) order ...................... 3-46 Set SORTING . ....................................................... 3-47 Sorting sequence .................................................... 3-49 Other Useful Functions ........................................ 3-50 Feed the paper ....................................................... 3-50 HOLD ...................................................................... 3-51 ii
DATA CLEAR - Discontinue Plotting - ..................3-52 Perform SAMPLE CUT to Find out the Cause of Cutting Error. ...................3-53 Output the Setting List .............................................3-54 Output the received data by the ASCII code [ASCII DUMP] .........................................................3-55 Set the configurations with a computer ...................3-56 Set each device number for USB connection .........3-58 Perform cutting a dotted line ...................................3-59 Perform plotting with perforated lines ......................3-61 Make the media without uncut area ........................3-63 Select the number of pinch roller to use ..................3-65 Miscellaneous Settings ......................................... 3-67 Switch the display language ....................................3-67 Other Convenient Settings ......................................3-68 Reset the setting values to the initial state. .............3-74 CHAPTER 4 In Case of Trouble Before taking a phenomenon as a trouble .............. 4-2 Troubles for which error messages are given on the LCD .............................................. 4-4 Error message ...........................................................4-4 Status message ........................................................4-8 CHAPTER 5 Appendix Specifications of the main unit ................................ 5-2 Repeatability condition ..............................................5-3 Cutter blade ............................................................ 5-4 Replacing the cutter ..................................................5-4 Adjusting the cutter blade ..........................................5-4 Replacing the cutter other than supplied one ............5-5 Adjusting blade edge of cutter other than supplied one .............................................5-5 Note slip ................................................................. 5-6 Function Flowchart ................................................. 5-7 Functions invoked with the specific keys ..................5-7 Functions invoked with the jog mode (jog keys) .......5-9 Functions .................................................................5-10 iii
iv
CAUTION CAUTION DISCLAIMER OF WARRANTY : THIS LIMITED WARRANTY OF MIMAKI SHALL BE THE SOLE AND EXCLUSIVE WARRANTY AND IS IN LIEU OF ALL OTHER WARRANTIES,EXPRESS OR IMPLIED, INCLUDING, BUT NOT LIMITED TO, ANY IMPLIED WARRANTY OF MERCHANTABILITY OR FITNESS, AND MIMAKI NEITHER ASSUMES NOR AUTHORIZES DEALER TO ASSUME FOR IT ANY OTHER OBLIGATION OR LIABILITY OR MAKE ANY OTHER WARRANTY OR MAKE ANY OTHER WARRANTY IN CONNECTION WITH ANY PRODUCT WITHOUT MIMAKI’S PRIOR WRITTEN CONSENT. IN NO EVENT SHALL MIMAKI BE LIABLE FOR SPECIAL, INCIDENTAL OR CONSEQUENTIAL DAMAGES OR FOR LOSS OF PROFITS OF DEALER OR CUSTOMERS OF ANY PRODUCT. Requests • This Operation manual has been carefully prepared for your easy understanding.However, please do not hesitate to contact a distributor in your district or our office if you have any inquiry. • Description contained in this Operation manual are subject to change without notice forimprovement. • Generally, names and designations referred to in this Operation manual are trade marks or registered trade marks of the manufacturers or suppliers. FCC Statement (USA) This equipment has been tested and found to comply with the limits for a Class A digital device,pursuant to Part 15 of the FCC Rules. These limits are designed to provide reasonable protection against harmful inter- ference when the equipment is operated in a commercial environment. This equipment generates, uses and can radiate radio frequency energy and, if not installed and used in accordance with the Operation manual, may cause harmful interference to radio communications. Operation of this equipment in a residential area is likely to cause harmful interference in which cause the user will be required to correct the interference at his own expense. • In the case where MIMAKI-recommended cable is not used for connection of this device, limits provided by FCC rules can be exceeded.To prevent this, use of MIMAKI-recommended cable is essential for the connection of this plotter. Interference to televisions and radios The product described in this manual generates high frequency when operating. The product can interfere with radios and televisions if set up or commissioned under improper conditions. The product is not guaranteed against any damage to specific-purpose radio and televisions. The product’s interference with your radio or television will be checked by turning on/off the power switch of the product. In the event that the product is the cause of interference, try to eliminate it by taking one of the following cor- rective measures or taking some of them in combination. • Change the orientation of the antenna of the television set or radio to find a position without reception • Separate the television set or radio from this product. • Plug the power cord of this product into an outlet which is isolated from power circuits connected to the difficulty. television set or radio. v
Foreword About media Please follow the local regulations to dispose of roll sheets or other media. Congratulations on your purchase of a CG-SRII series cutting plottver. CG-SRII series cutting plotter is a highly functional cutting plotter with the high-speed registration mark detection. Read this Operation manual carefully and make the most effective use of your plotter. On This Operation manual • This Operation manual describes the operation and maintenance of CG-SRII series cutting plotter (hereinafter referred to as the plotter). • Please read and fully understand this Operation manual before putting the machine into service. It is also necessary to keep this peration manual on hand. • Make arrangements to deliver this Operation manual to the person in charge of the operation of this plotter. • This Operation manual has been carefully prepared for your easy understanding. However, please do not hesitate to contact a distributor in your district or our office if you have any inquiry. • Description contained in this Operation manual are subject to change without notice for improvement. • In the case where this Operation manual should be illegible due to destruction or lost by fire or break- age, purchase another copy of the Operation manual from our office. • You can also download the latest operation manual from our website. Reproduction of this manual is strictly prohibited. All Rights Reserved. Copyright © 2012 MIMAKI ENGINEERING Co., Ltd. vi
Features The features of the plotter are described below. Together with the method of operation of the plotter explained in this manual, they help you understand how to use the machine properly. Mark Sensor The high accuracy mark-detection sensor enables the plotter to read the mark plotted on sheets automati- cally, compensate distances, set the plotting origin and correct paper skew. Roll Sheet Stopper The roll sheet stopper helps the plotter feed a roll paper without sagging. In addition, the improved sheet let- off surface reduces the jam of a roll sheet. Thus the troubles are minimized. Two Clamp Pressure Modes Changeover Mechanism The sheet clamp system incorporate two clamp pressure modes changeover mechanism to widen the avail- able sheet size range. Strong pressure mode substantially increases the clamp pressure to prevent a long sheet from slipping. The moderate pressure mode prevents the media from getting scratched by the grit roller during plot opera- tion. Front Loading You can mount the roll-placing table in the front side to cut the front-loaded roll sheet. Plug-in Cutting Software (FineCut) Attached The plug-in software FineCut, enables easy and fine cutting of the characters or illustrations edited on the Illustrator or CorelDRAW. vii
分享到:
收藏