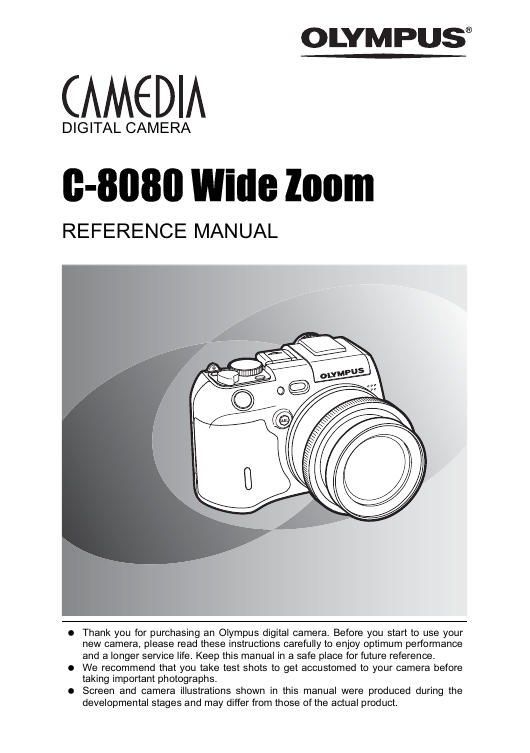
CAMERA OPERATION MANUAL
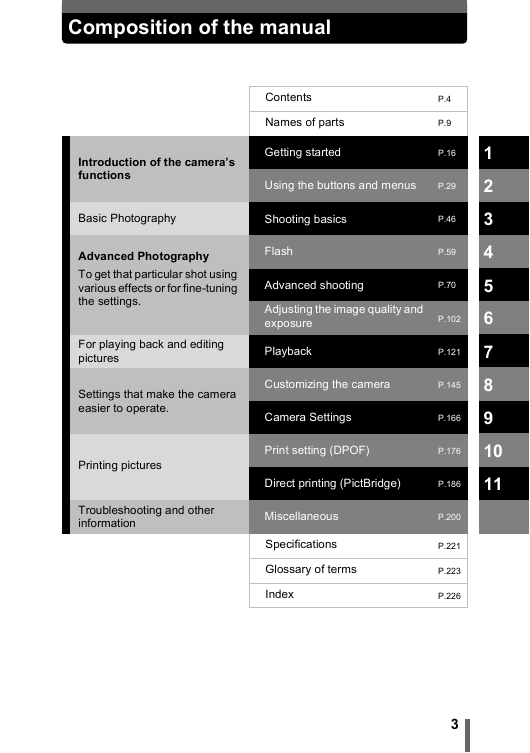
Composition of the manual
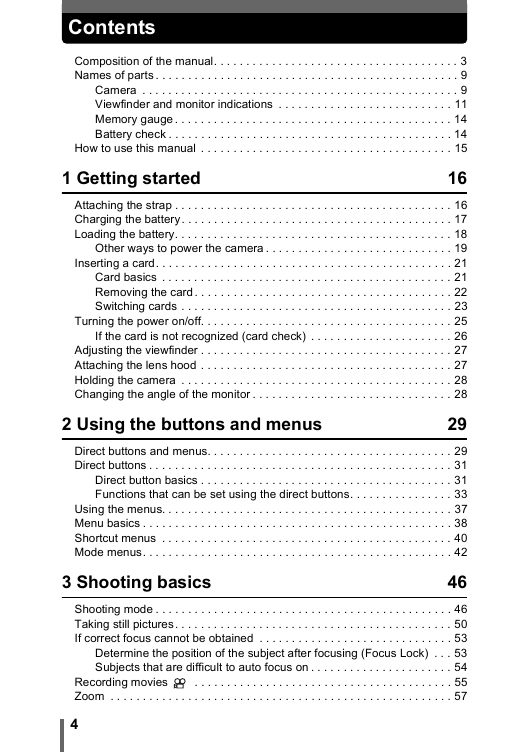
Contents
Names of parts
Camera
Viewfinder and monitor indications
Memory gauge
Battery check
How to use this manual
1 Getting started
Attaching the strap
Charging the battery
Loading the battery
Other ways to power the camera
Inserting a card
Card basics
Removing the card
Switching cards
Turning the power on/off
If the card is not recognized (card check)
Adjusting the viewfinder
Attaching the lens hood
Holding the camera
Changing the angle of the monitor
2 Using the buttons and menus
Direct buttons and menus
Direct buttons
Direct button basics
Functions that can be set using the direct buttons
Using the menus
Menu basics
Shortcut menus
Mode menus
3 Shooting basics
Shooting mode
Taking still pictures
If correct focus cannot be obtained
Determine the position of the subject after focusing (Focus Lock)
Subjects that are difficult to auto focus on
Recording movies
Zoom
Using the optical zoom
Using the digital zoom
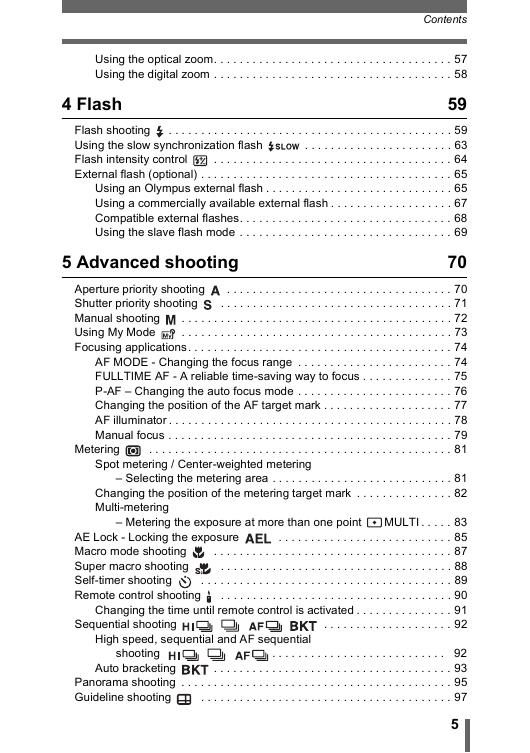
4 Flash
Flash shooting
Using the slow synchronization flash
Flash intensity control
External flash (optional)
Using an Olympus external flash
Using a commercially available external flash
Compatible external flashes
Using the slave flash mode
5 Advanced shooting
Aperture priority shooting
Shutter priority shooting
Manual shooting
Using My Mode
Focusing applications
AF MODE - Changing the focus range
FULLTIME AF - A reliable time-saving way to focus
P-AF – Changing the auto focus mode
Changing the position of the AF target mark
AF illuminator
Manual focus
Metering
Spot metering / Center-weighted metering – Selecting the metering area
Changing the position of the metering target mark
Multi-metering – Metering the exposure at more than one point
AE Lock - Locking the exposure
Macro mode shooting
Super macro shooting
Self-timer shooting
Remote control shooting
Changing the time until remote control is activated
Sequential shooting
High speed, sequential and AF sequential shooting
Auto bracketing
Panorama shooting
Guideline shooting
Shooting in black & white or sepia-tone
FRAME ASSIST – Displaying vertical and horizontal lines to aid composition
Recording sound with still pictures
Recording sound with movies
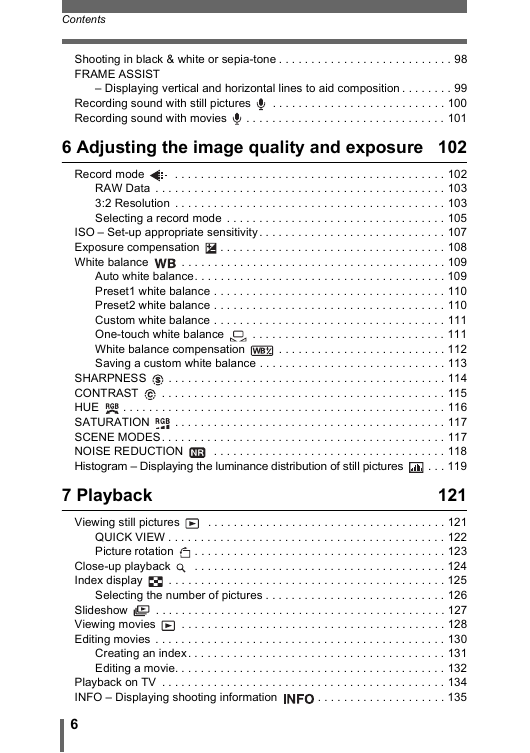
6 Adjusting the image quality and exposure
Record mode
RAW Data
3:2 Resolution
Selecting a record mode
ISO – Set-up appropriate sensitivity
Exposure compensation
White balance
Auto white balance
Preset1 white balance
Preset2 white balance
Custom white balance
One-touch white balance
White balance compensation
Saving a custom white balance
SHARPNESS
CONTRAST
HUE
SATURATION
SCENE MODES
NOISE REDUCTION
Histogram – Displaying the luminance distribution of still pictures
7 Playback
Viewing still pictures
QUICK VIEW
Picture rotation
Close-up playback
Index display
Selecting the number of pictures
Slideshow
Viewing movies
Editing movies
Creating an index
Editing a movie
Playback on TV
INFO – Displaying shooting information
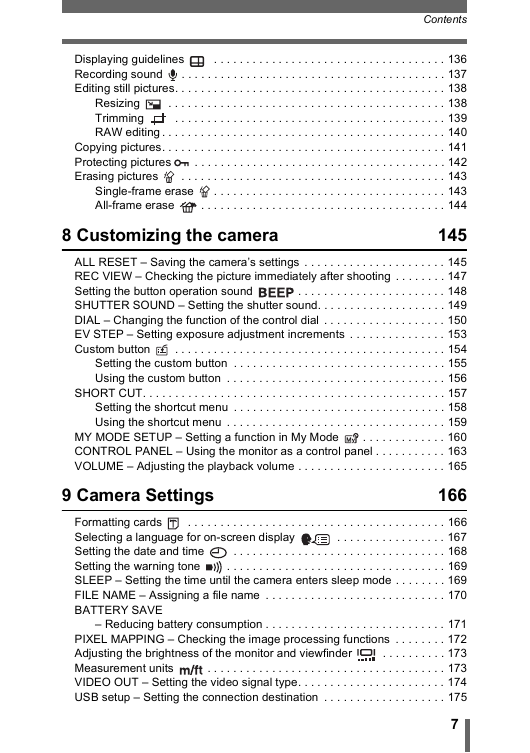
Displaying guidelines
Recording sound
Editing still pictures
Resizing
Trimming
RAW editing
Copying pictures
Protecting pictures
Erasing pictures
Single-frame erase
All-frame erase
8 Customizing the camera
ALL RESET – Saving the camera’s settings
REC VIEW – Checking the picture immediately after shooting
Setting the button operation sound
SHUTTER SOUND – Setting the shutter sound
DIAL – Changing the function of the control dial
EV STEP – Setting exposure adjustment increments
Custom button
Setting the custom button
Using the custom button
SHORT CUT
Setting the shortcut menu
Using the shortcut menu
MY MODE SETUP – Setting a function in My Mode
CONTROL PANEL – Using the monitor as a control panel
VOLUME – Adjusting the playback volume
9 Camera Settings
Formatting cards
Selecting a language for on-screen display
Setting the date and time
Setting the warning tone
SLEEP – Setting the time until the camera enters sleep mode
FILE NAME – Assigning a file name
BATTERY SAVE – Reducing battery consumption
PIXEL MAPPING – Checking the image processing functions
Adjusting the brightness of the monitor and viewfinder
Measurement units
VIDEO OUT – Setting the video signal type
USB setup – Setting the connection destination
10 Print setting (DPOF)
How to print pictures
All-frame reservation
Single-frame reservation
Trimming
Resetting print reservation data
11 Direct printing (PictBridge)
Using the direct printing function
Connecting the camera to a printer
Printing pictures
Easy printing
PRINT/MULTI PRINT
ALL PRINT
ALL INDEX mode/PRINT ORDER mode
Trim the picture
Exiting direct printing
If an error code is displayed
Miscellaneous
Error codes
Troubleshooting
List of menus
List of factory default settings
List of items by shooting mode
Camera maintenance
How to replace the battery (CR2025) of the remote control device
Specifications
Glossary of terms
Index
DIGITAL CAMERA - PC CONNECTION OPERATION MANUAL
Introduction
INDEX
Flowchart
Identifying the OS
Windows
Mac OS (Macintosh)
Windows
Installing the USB driver for Windows 98 (When using Windows 98/98 SE)
Connecting the camera to the computer
Confirming the computer recognizes the camera
Confirming the USB driver is installed
Downloading images to your computer
Disconnecting the camera from your computer
Windows 98
Windows Me/2000/XP
Macintosh
Connecting the camera to the computer
Downloading images to your computer
Mac OS 9
Mac OS X
Disconnecting the camera from your computer
Downloading image files using other OS (For other OS users)




 2023年江西萍乡中考道德与法治真题及答案.doc
 2012年重庆南川中考生物真题及答案.doc
 2013年江西师范大学地理学综合及文艺理论基础考研真题.doc
 2020年四川甘孜小升初语文真题及答案I卷.doc
 2020年注册岩土工程师专业基础考试真题及答案.doc
 2023-2024学年福建省厦门市九年级上学期数学月考试题及答案.doc
 2021-2022学年辽宁省沈阳市大东区九年级上学期语文期末试题及答案.doc
 2022-2023学年北京东城区初三第一学期物理期末试卷及答案.doc
 2018上半年江西教师资格初中地理学科知识与教学能力真题及答案.doc
 2012年河北国家公务员申论考试真题及答案-省级.doc
 2020-2021学年江苏省扬州市江都区邵樊片九年级上学期数学第一次质量检测试题及答案.doc
 2022下半年黑龙江教师资格证中学综合素质真题及答案.doc