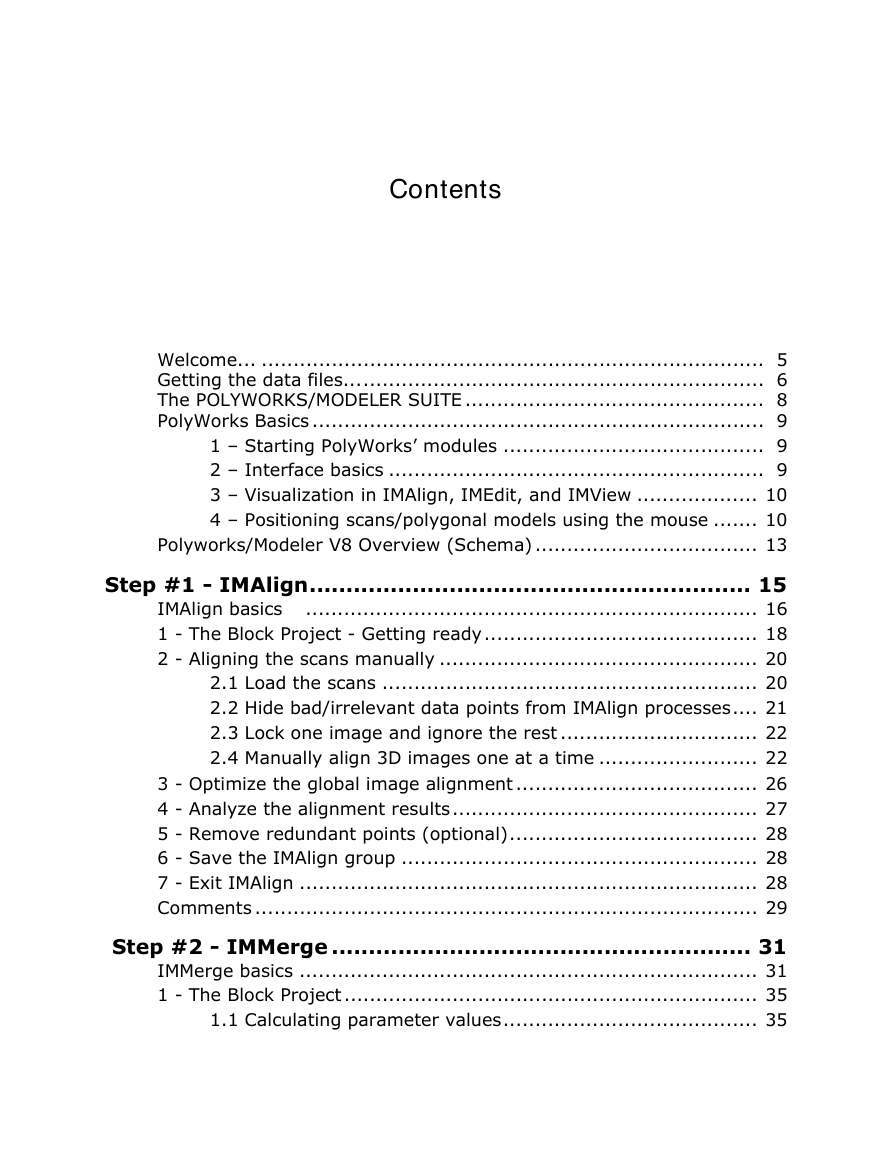
Contents
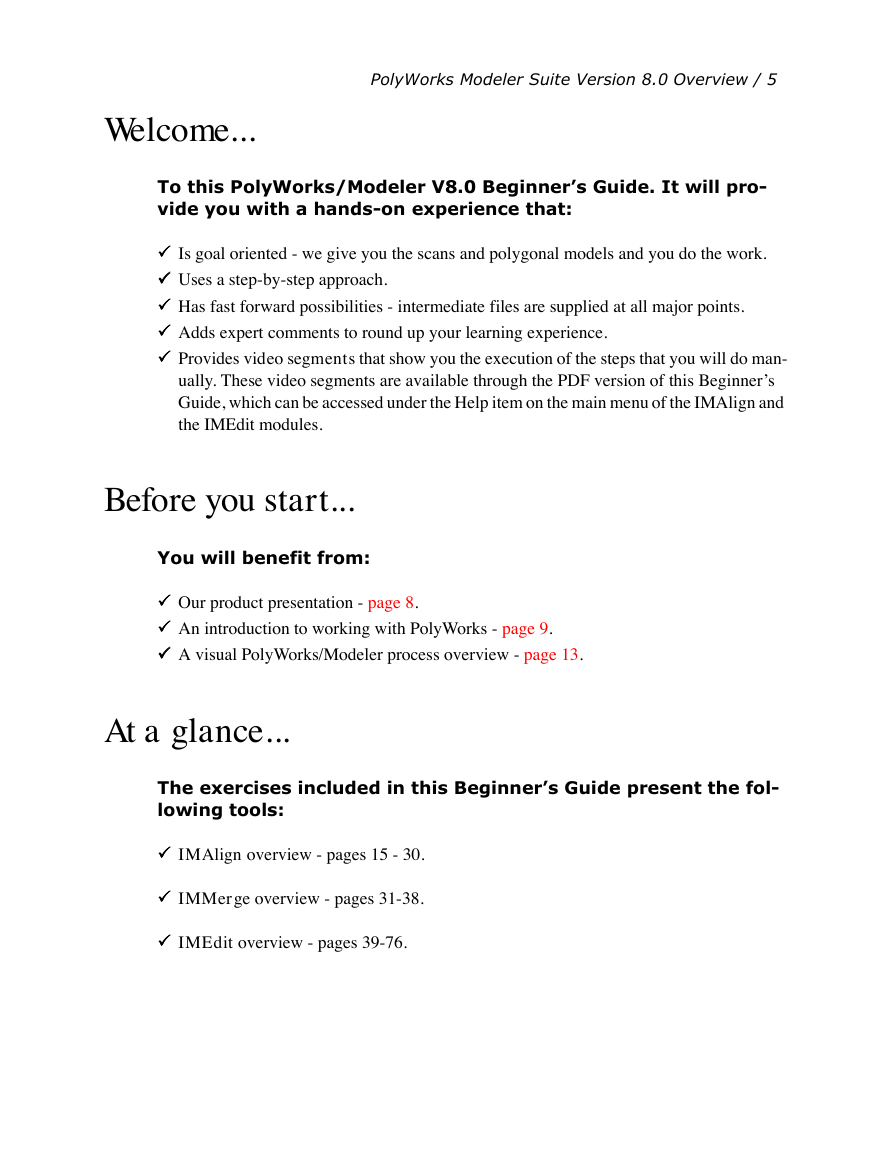
Welcome...
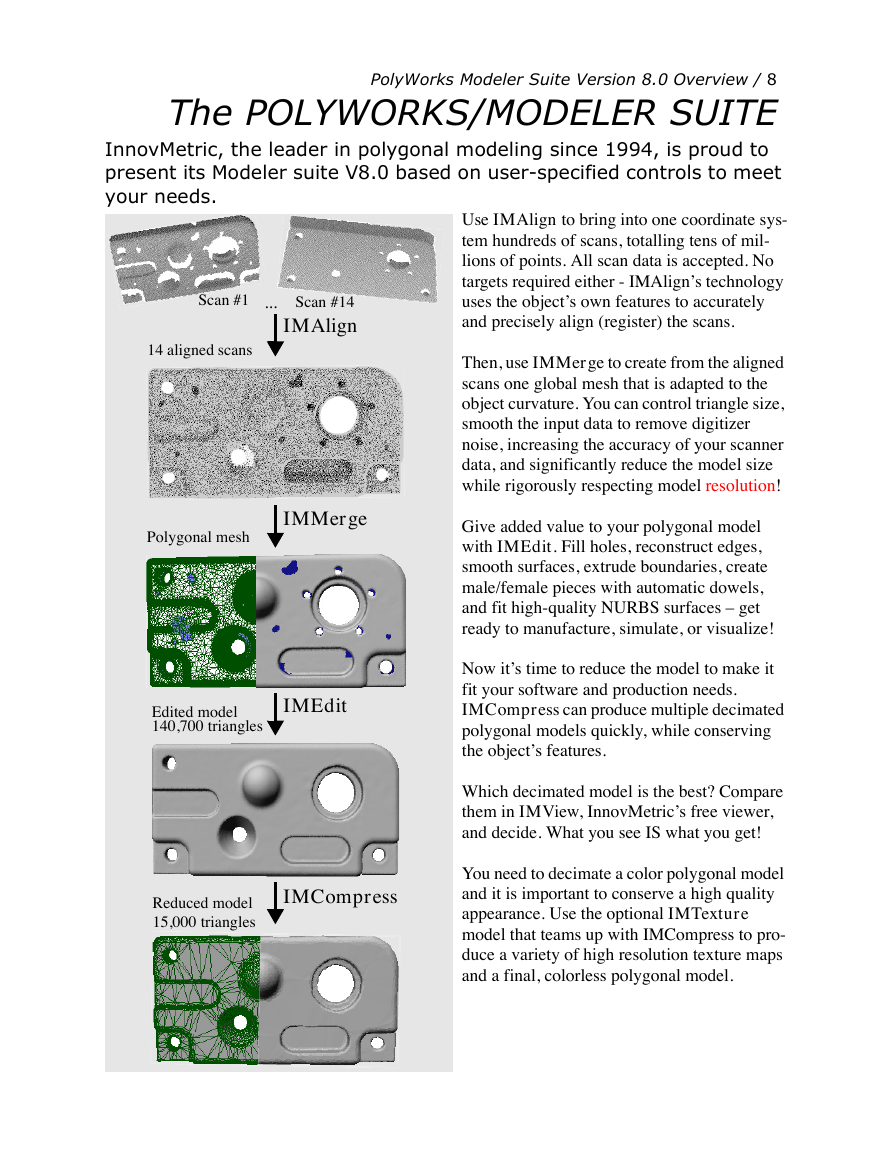
The POLYWORKS/MODELER SUITE
PolyWorks Basics
1 – Starting PolyWorks’ modules
2 – Interface basics
3 – Visualization in IMAlign, IMEdit, and IMView
4 – Positioning scans/polygonal models using the mouse
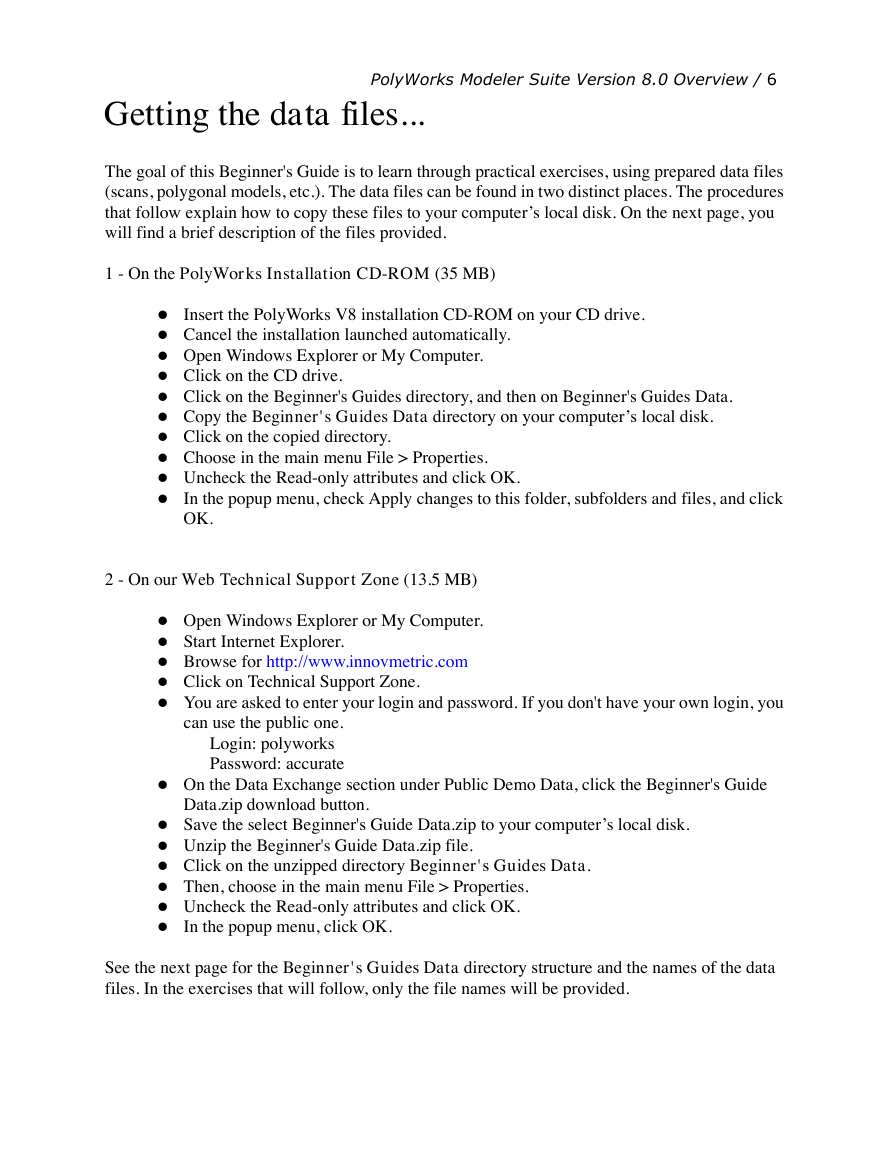
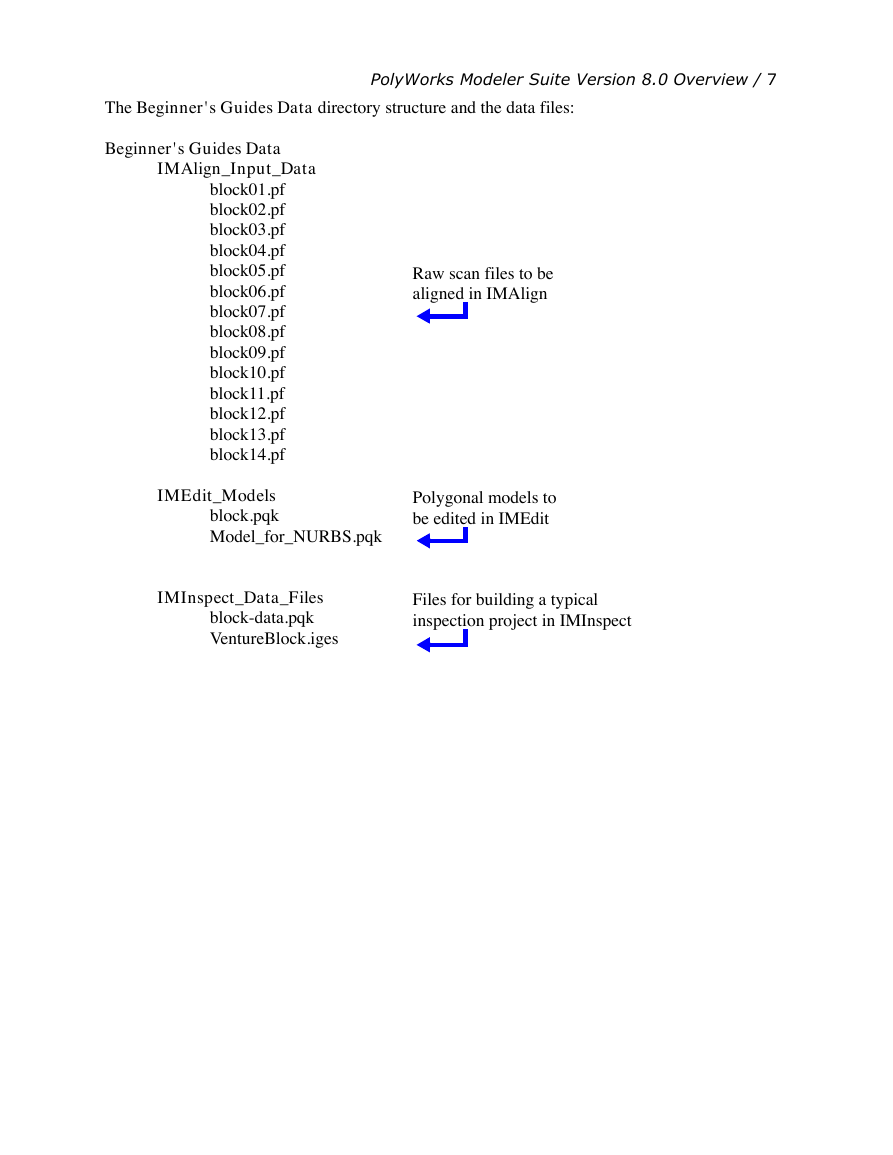
Getting the data files...
Step #1 - IMAlign
IMAlign basics
1 - The Block Project - Getting ready
2 - Aligning the scans manually
2.1 Load the scans
2.3 Lock one image and ignore the rest
2.4 Manually align 3D images one at a time
3 - Optimize the global image alignment
4 - Analyze the alignment results
5 - Remove redundant points (optional)
6 - Save the IMAlign group
7 - Exit IMAlign
Comments
2.2 Hide bad/irrelevant data points from IMAlign processes
Step #2 - IMMerge
IMMerge basics
1 - The Block Project
1.1 Calculating parameter values
1.2 Creating the polygonal mesh from an IMAlign group
Comments
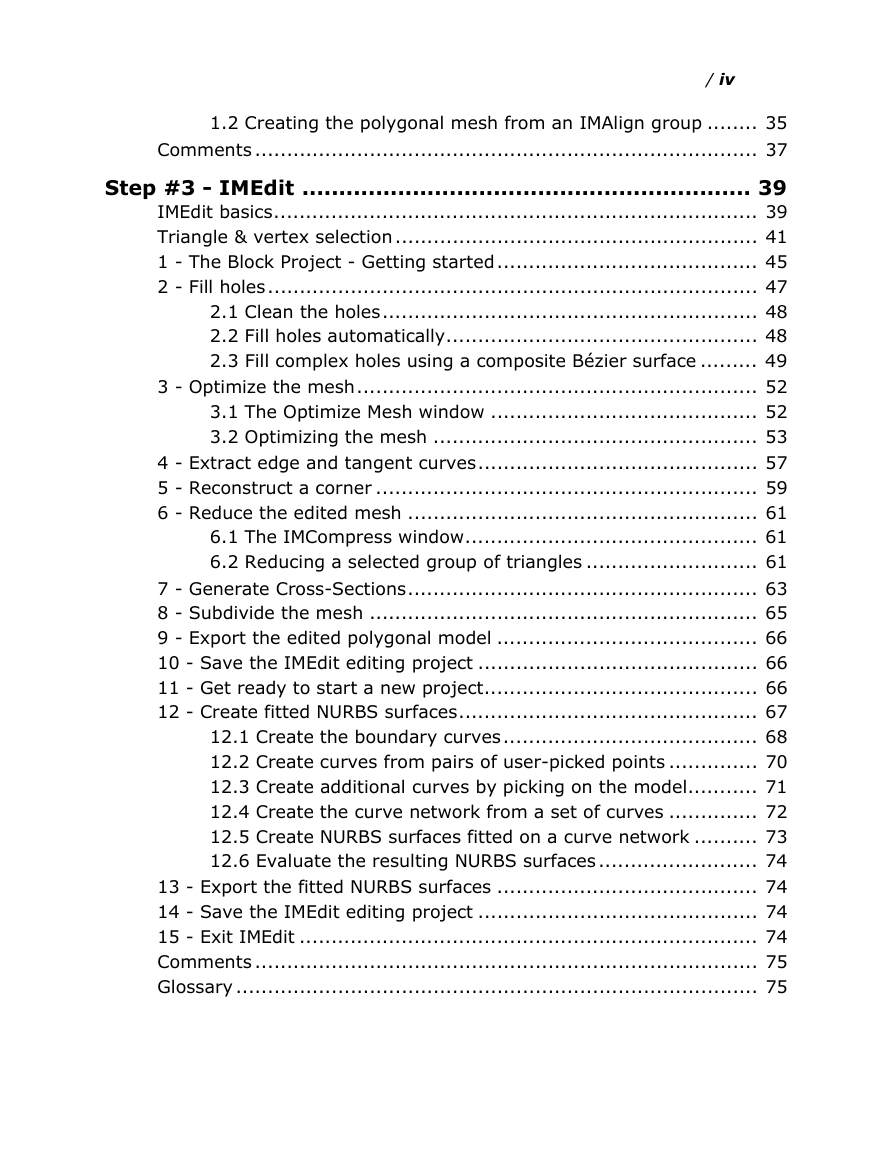
Step #3 - IMEdit
IMEdit basics
Triangle & vertex selection
1 - The Block Project - Getting started
2 - Fill holes
2.1 Clean the holes
2.2 Fill holes automatically
2.3 Fill complex holes using a composite Bézier surface
3 - Optimize the mesh
3.1 The Optimize Mesh window
3.2 Optimizing the mesh
4 - Extract edge and tangent curves
5 - Reconstruct a corner
6 - Reduce the edited mesh
6.1 The IMCompress window
6.2 Reducing a selected group of triangles
7 - Generate Cross-Sections
8 - Subdivide the mesh
9 - Export the edited polygonal model
10 - Save the IMEdit editing project
11 - Get ready to start a new project
12 - Create fitted NURBS surfaces
12.1 Create the boundary curves
12.2 Create curves from pairs of user-picked points
12.3 Create additional curves by picking on the model
12.4 Create the curve network from a set of curves
12.5 Create NURBS surfaces fitted on a curve network
12.6 Evaluate the resulting NURBS surfaces
13 - Export the fitted NURBS surfaces
14 - Save the IMEdit editing project
15 - Exit IMEdit
Comments
Glossary



 2023年江西萍乡中考道德与法治真题及答案.doc
 2012年重庆南川中考生物真题及答案.doc
 2013年江西师范大学地理学综合及文艺理论基础考研真题.doc
 2020年四川甘孜小升初语文真题及答案I卷.doc
 2020年注册岩土工程师专业基础考试真题及答案.doc
 2023-2024学年福建省厦门市九年级上学期数学月考试题及答案.doc
 2021-2022学年辽宁省沈阳市大东区九年级上学期语文期末试题及答案.doc
 2022-2023学年北京东城区初三第一学期物理期末试卷及答案.doc
 2018上半年江西教师资格初中地理学科知识与教学能力真题及答案.doc
 2012年河北国家公务员申论考试真题及答案-省级.doc
 2020-2021学年江苏省扬州市江都区邵樊片九年级上学期数学第一次质量检测试题及答案.doc
 2022下半年黑龙江教师资格证中学综合素质真题及答案.doc