DLP Projector
Features
1. High Brightness
2. High Resolution
3. Compact Size, Feather Weight for Portability
4. Durable Magnesium Alloy Body
5. RGB input Terminal
6. One Touch Auto-Adjustment Function
7. Easy Keystone Adjustment
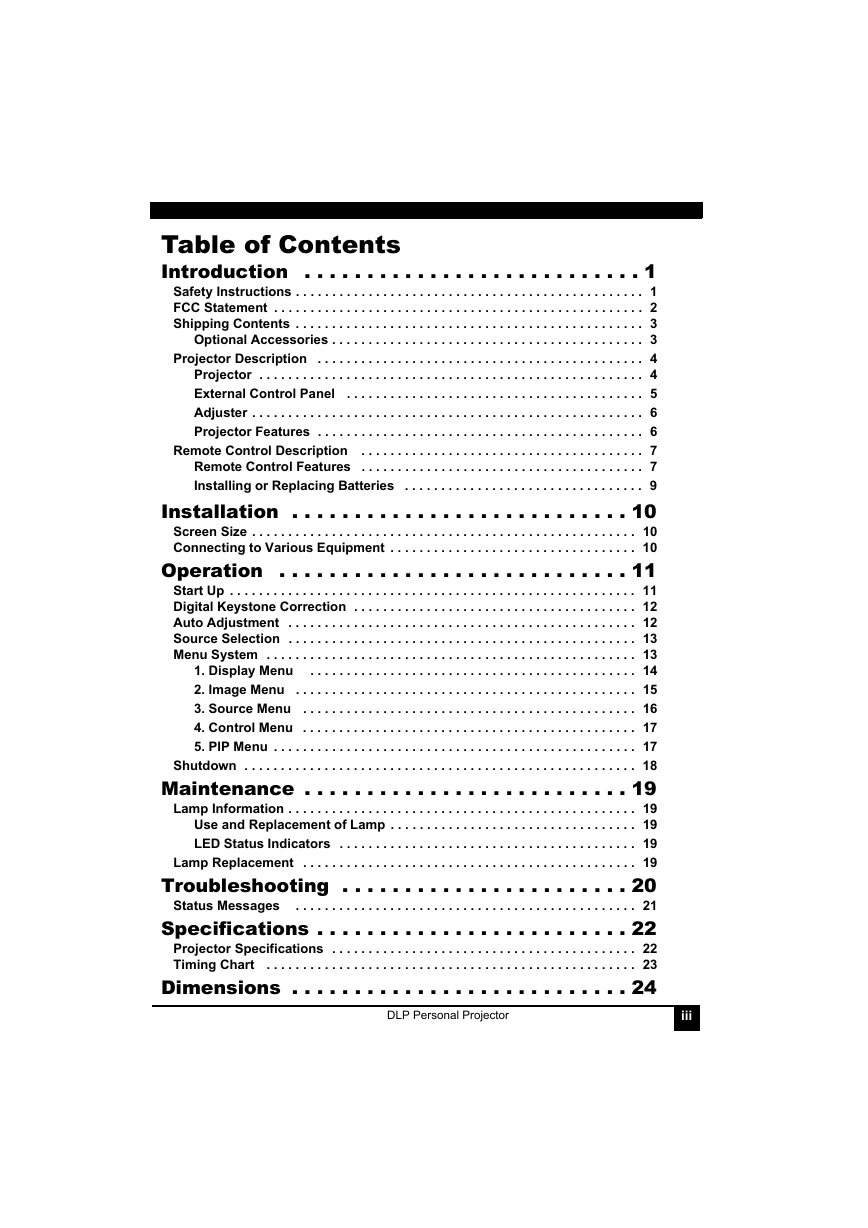
Introduction 1
Installation 10
Operation 11
Maintenance 19
Troubleshooting 20
Specifications 22
Dimensions 24
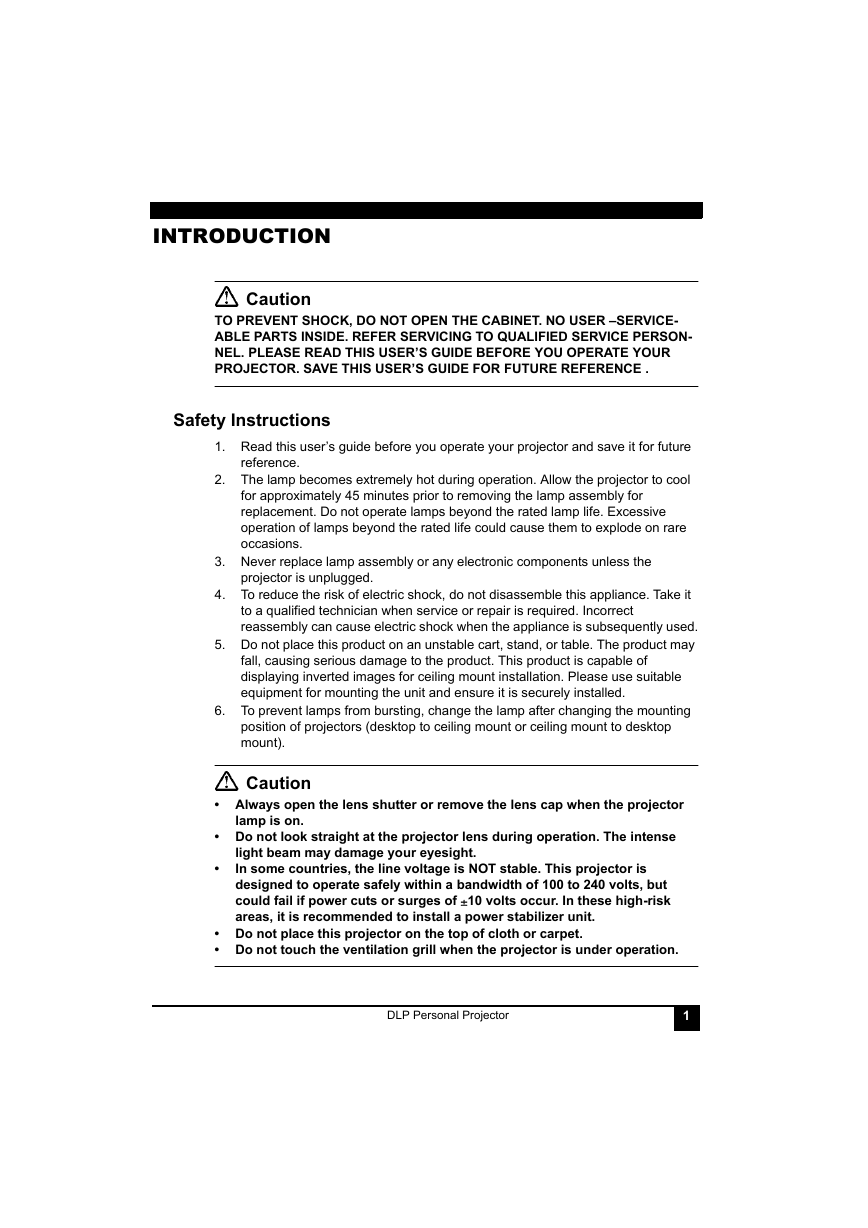
Introduction
Safety Instructions
1. Read this user’s guide before you operate your projector and save it for future reference.
2. The lamp becomes extremely hot during operation. Allow the projector to cool for approximately...
3. Never replace lamp assembly or any electronic components unless the projector is unplugged.
4. To reduce the risk of electric shock, do not disassemble this appliance. Take it to a qualifie...
5. Do not place this product on an unstable cart, stand, or table. The product may fall, causing ...
6. To prevent lamps from bursting, change the lamp after changing the mounting position of projec...
FCC Statement
CLASS B
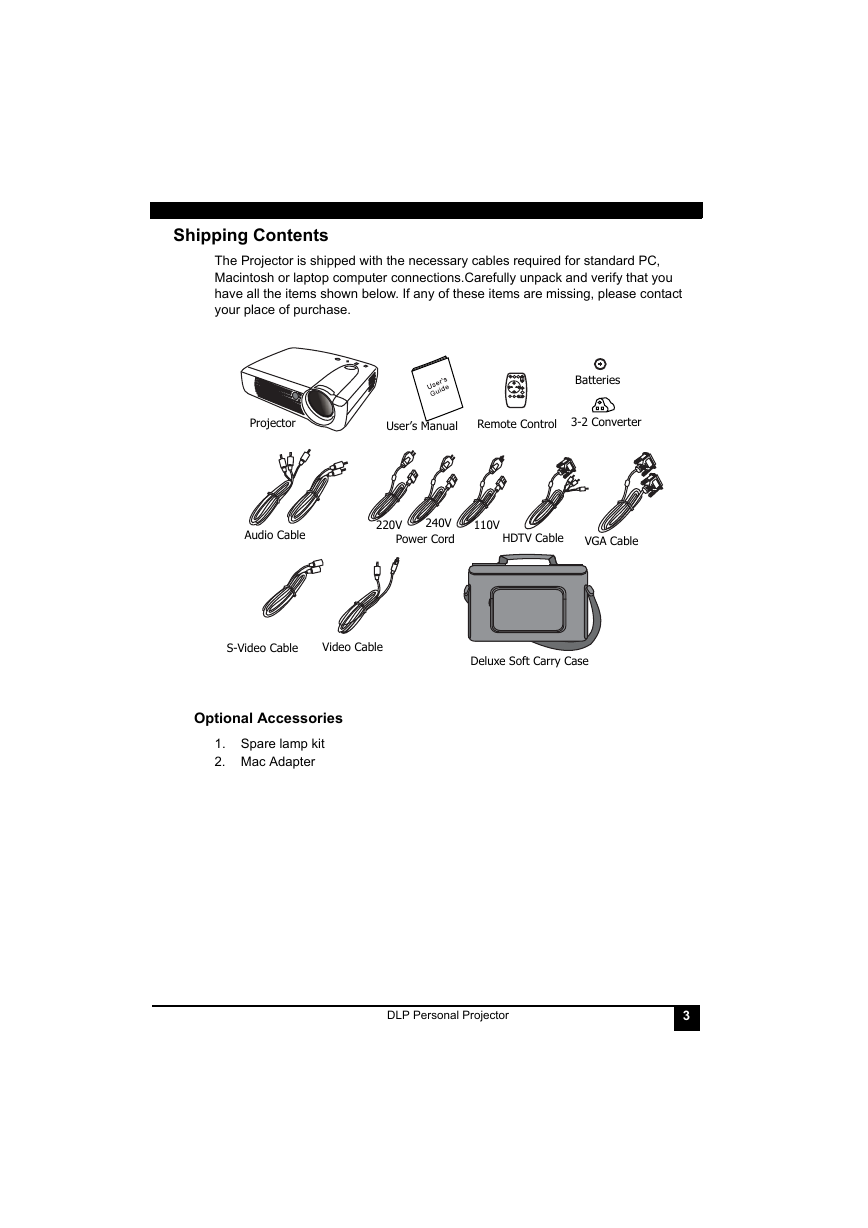
Shipping Contents
Optional Accessories
1. Spare lamp kit
2. Mac Adapter
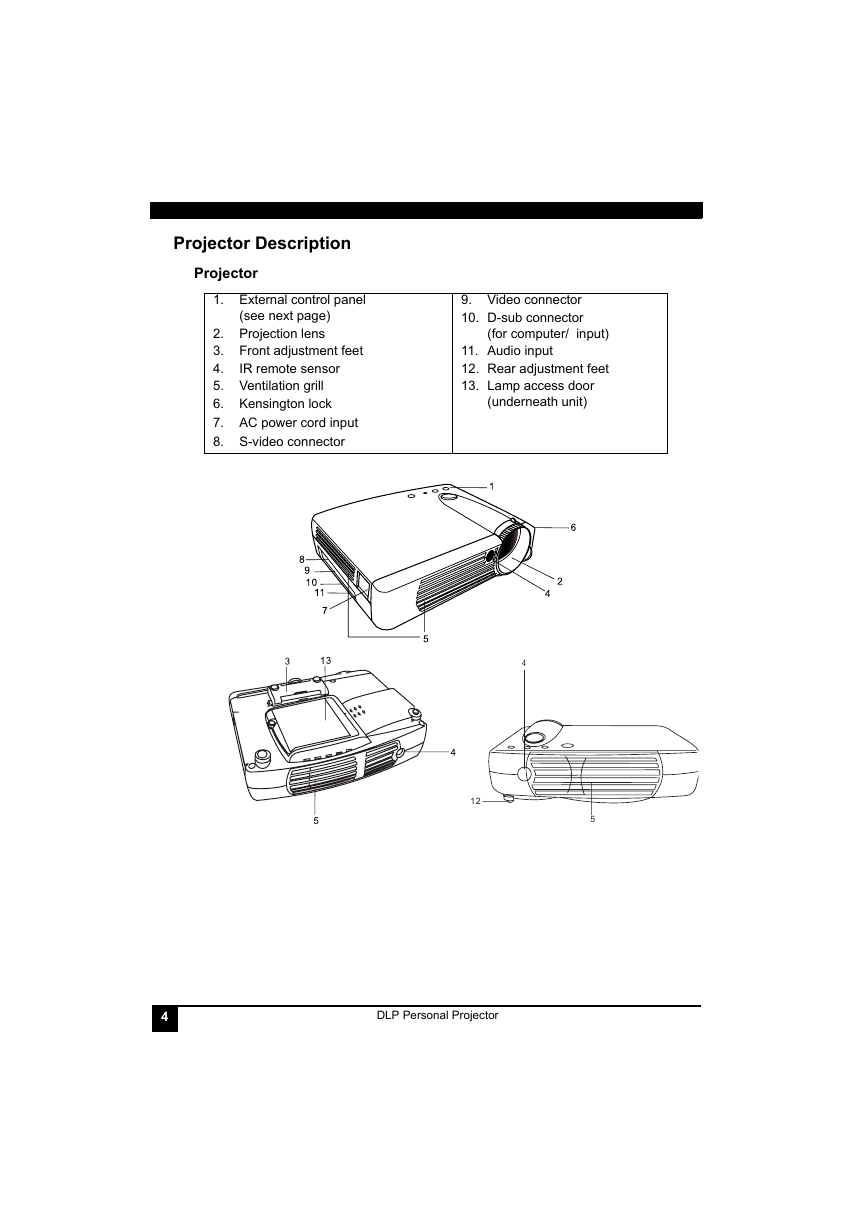
Projector Description
Projector
1. External control panel (see next page)
2. Projection lens
3. Front adjustment feet
4. IR remote sensor
5. Ventilation grill
6. Kensington lock
7. AC power cord input
8. S-video connector
9. Video connector
10. D-sub connector (for computer/ input)
11. Audio input
12. Rear adjustment feet
13. Lamp access door (underneath unit)
External Control Panel
Adjuster
1. Lift the projector up and press the adjuster button to release the adjuster.
2. The adjuster will drop into position and be locked.
Projector Features
Remote Control Description
Remote Control Features
FREEZE
BLANK
ZOOM +/ -
Installing or Replacing Batteries
Installation
Screen Size
Connecting to Various Equipment
Operation
Start Up
1. Plug the power cord into a wall socket.
2. Press POWER for 1 second.
3. Switch on all connected equipment.
Digital Keystone Correction
Auto Adjustment
Source Selection
Menu System
1. Display Menu
2. Image Menu
3. Source Menu
1. Default
2. Ceiling - mounted projection
3. Rear screen projection
4. Ceiling - mounted and rear screen projection
4. Control Menu
5. PIP Menu
Shutdown
1. Press POWER and a warning message will prompt up. To turn off the projector, press POWER again.
2. The fan will continue to run for approximately 60 seconds.
3. Disconnect the power cord from the wall socket.
Maintenance
Lamp Information
Use and Replacement of Lamp
LED Status Indicators
Lamp Replacement
Troubleshooting
TRY THESE SOLUTIONS
Status Messages
On Screen Messages
Description
Specifications
Projector Specifications
Technical Specifications
General
Optical
Electrical
Mechanical
Input terminal
Output
Timing Chart
Resolution
H Sync (kHz)
V Sync (Hz)
Remark
640x350
31.5
70.1
640x400
37.9
85.1
VESA
720x400
31.5
70.0
720x400
37.9
85.1
VESA
640x480
31.5
60.0
VESA
640x480
37.9
72.8
VESA
640x480
35
66.7
Macintosh
640x480
43.3
85.0
VESA
800x600
35.2
56.3
VESA
800x600
37.9
60.3
VESA
800x600
46.9
75.0
VESA
800x600
48.1
72.2
VESA
800x600
53.7
85.1
VESA
832x624
49.7
74.5
Macintosh
1024x768
48.4
60.0
VESA
1024x768
56.5
70.1
VESA
1024x768
60.0
75.0
VESA
1024x768
68.7
85.0
VESA
1280x1024
64.0
60.0
VESA
Dimensions
cover.pdf
DLP Projector
Features
1. High Brightness
2. High Resolution
3. Compact Size, Feather Weight for Portability
4. Durable Magnesium Alloy Body
5. RGB input Terminal
6. One Touch Auto-Adjustment Function
7. Easy Keystone Adjustment
Introduction 1
Installation 10
Operation 11
Maintenance 19
Troubleshooting 20
Specifications 22
Dimensions 24
Introduction
Safety Instructions
1. Read this user’s guide before you operate your projector and save it for future reference.
2. The lamp becomes extremely hot during operation. Allow the projector to cool for approximately...
3. Never replace lamp assembly or any electronic components unless the projector is unplugged.
4. To reduce the risk of electric shock, do not disassemble this appliance. Take it to a qualifie...
5. Do not place this product on an unstable cart, stand, or table. The product may fall, causing ...
6. To prevent lamps from bursting, change the lamp after changing the mounting position of projec...
FCC Statement
CLASS B
Shipping Contents
Optional Accessories
1. Spare lamp kit
2. Mac Adapter
Projector Description
Projector
1. External control panel (see next page)
2. Projection lens
3. Front adjustment feet
4. IR remote sensor
5. Ventilation grill
6. Kensington lock
7. AC power cord input
8. S-video connector
9. Video connector
10. D-sub connector (for computer/ input)
11. Audio input
12. Rear adjustment feet
13. Lamp access door (underneath unit)
External Control Panel
Adjuster
1. Lift the projector up and press the adjuster button to release the adjuster.
2. The adjuster will drop into position and be locked.
Projector Features
Remote Control Description
Remote Control Features
FREEZE
BLANK
ZOOM +/ -
Installing or Replacing Batteries
Installation
Screen Size
Connecting to Various Equipment
Operation
Start Up
1. Plug the power cord into a wall socket.
2. Press POWER for 1 second.
3. Switch on all connected equipment.
Digital Keystone Correction
Auto Adjustment
Source Selection
Menu System
1. Display Menu
2. Image Menu
3. Source Menu
1. Default
2. Ceiling - mounted projection
3. Rear screen projection
4. Ceiling - mounted and rear screen projection
4. Control Menu
5. PIP Menu
Shutdown
1. Press POWER and a warning message will prompt up. To turn off the projector, press POWER again.
2. The fan will continue to run for approximately 60 seconds.
3. Disconnect the power cord from the wall socket.
Maintenance
Lamp Information
Use and Replacement of Lamp
LED Status Indicators
Lamp Replacement
Troubleshooting
TRY THESE SOLUTIONS
Status Messages
On Screen Messages
Description
Specifications
Projector Specifications
Technical Specifications
General
Optical
Electrical
Mechanical
Input terminal
Output
Timing Chart
Resolution
H Sync (kHz)
V Sync (Hz)
Remark
640x350
31.5
70.1
640x400
37.9
85.1
VESA
720x400
31.5
70.0
720x400
37.9
85.1
VESA
640x480
31.5
60.0
VESA
640x480
37.9
72.8
VESA
640x480
35
66.7
Macintosh
640x480
43.3
85.0
VESA
800x600
35.2
56.3
VESA
800x600
37.9
60.3
VESA
800x600
46.9
75.0
VESA
800x600
48.1
72.2
VESA
800x600
53.7
85.1
VESA
832x624
49.7
74.5
Macintosh
1024x768
48.4
60.0
VESA
1024x768
56.5
70.1
VESA
1024x768
60.0
75.0
VESA
1024x768
68.7
85.0
VESA
1280x1024
64.0
60.0
VESA
Dimensions



 2023年江西萍乡中考道德与法治真题及答案.doc
 2012年重庆南川中考生物真题及答案.doc
 2013年江西师范大学地理学综合及文艺理论基础考研真题.doc
 2020年四川甘孜小升初语文真题及答案I卷.doc
 2020年注册岩土工程师专业基础考试真题及答案.doc
 2023-2024学年福建省厦门市九年级上学期数学月考试题及答案.doc
 2021-2022学年辽宁省沈阳市大东区九年级上学期语文期末试题及答案.doc
 2022-2023学年北京东城区初三第一学期物理期末试卷及答案.doc
 2018上半年江西教师资格初中地理学科知识与教学能力真题及答案.doc
 2012年河北国家公务员申论考试真题及答案-省级.doc
 2020-2021学年江苏省扬州市江都区邵樊片九年级上学期数学第一次质量检测试题及答案.doc
 2022下半年黑龙江教师资格证中学综合素质真题及答案.doc