OpenStack 搭建的流程
1.配置环境
2. Add the Identity service(添加身份服务) controller 节点
4、Add the Compute service(添加计算服务)
4.1 安装并配置控制节点
4.2 安装并配置一个计算节点
4.3 验证操作
5、Add the Networking service(添加网络服务)
5.1 安装和配置控制节点
5.2 配置网络选项
5.3Configure the metadata agent(配置元数据代理)
5.4 Configure Compute to use Networking(配置计算使用网络)
5.5 安装和配置计算节点
5.6 验证操作
6、Add the dashboard
1.1 创建网络及路由
1.2 创建云主机
1.3 安装 OpenStack 库
1.4 升级主机上的包
1.5 安装 SQL database
1.6 安装 Message queue
2.1 创建数据库和管理令牌
2.2 生成一个令牌
2.3 安装配置 keystone 组件配置
2.4 同步数据库
2.5 配置 Http 服务
2.6 创建服务实体和接口
2.7 创建项目,用户和角色
2.8 验证操作
2.9 创建环境脚本
3.1 创建 glance 库
3.2 为 glance 用户授权
3.4 创建 glance 用户
3.5 为 glance 添加角色
3.6 创建 glance 服务实体
3.7 创建服务接口
3.8 安装和配置组件
3.9 验证操作
3.Add the Image service(添加镜像服务)
o
o
o
o
o
o
o
o
o
o
o
o
o
o
o
o
o
o
o
o
o
o
o
o
o
o
o
o
o
o
o
o
�
o
o
6.1 安装配置
6.2 验证操作
1.配置环境
1.1 创建网络及路由
使用公司公有云创建俩个私有网络,分别是 172.16.0.0/24,10.0.0.0/24(不受管网络);
创建路由器,给路由器分配公网 ip,并关联俩个私有网络;
1.2 创建云主机
创建俩个云主机(controller 节点,compute 节点),使用 Cetenos7 镜像,2 processor,
4 GB memory;
1.3 安装 OpenStack 库
yum install centos-release-openstack-liberty;
1.4 升级主机上的包
Upgrade the packages on your host(升级主机上的包):yum upgrade ;
Install the OpenStack client(安装 OpenStack 客户端):yum install python-
openstackclient;
关闭 SElinux 或者 yum install openstack-selinux ;
yum install openstack-utils
openstack-config 命令的安装包
1.5 安装 SQL database
OpenStack 支持 MariaDB 、 MySQL、PostgreSQL
在控制节点上安装 SQL database:yum install mariadb mariadb-server MySQL-
python
创建并修改配置文件 /etc/my.cnf.d/mariadb_openstack.cnf
�
[mysqld]
bind-address = 10.0.0.11 #(控制节点的管理 ip 地址)
default-storage-engine = innodb #(默认的存储引擎)
innodb_file_per_table
一个数据空间)
#(InnoDB 为独立表空间模式,每个数据库的每个表都会生成
collation-server = utf8_general_ci
init-connect = 'SET NAMES utf8'
character-set-server = utf8 #(字符集)
启动数据库,并设为系统启动是自启
systemctl enable mariadb.service
systemctl start mariadb.service
运行 mysql_secure_installation 确保数据库服务的安全
1.6 安装 Message queue
在控制节点上安装 Message queue (协调服务的操作和状态信息)(三种队列服务
RabbitMQ,
ZeroMQ):yum install rabbitmq-server
Qpid, and
启动消息队列服务,并设为系统启动是自启
# systemctl enable rabbitmq-server.service
# systemctl start rabbitmq-server.service
加入 OpenStack 用户,并设置密码为“123” : # rabbitmqctl add_user
openstack 123
为 OpenStack 用户设置读和写的权限: rabbitmqctl set_permissions openstack
".*" ".*" ".*"
Add the Identity service(添加身份
2.
服务) controller 节点
�
2.1 创建数据库和管理令牌
mysql -u root -p , CREATE DATABASE keystone;
给 keystone 用户授权:GRANT ALL PRIVILEGES ON keystone.* TO
'keystone'@'localhost'
keystone.* TO 'keystone'@'%'
IDENTIFIED BY '123';GRANT ALL PRIVILEGES ON
IDENTIFIED BY '123';
2.2 生成一个令牌
Generate a random value to use as the administration token during initial
configuration(生成一个随机值作为管理令牌的初始定制):
$ openssl rand -hex 10;输出:ce629bc82bdfc0b61632,把生成的值保存下来,以
便后续使用
2.3 安装配置 keystone 组件配置
安装配置组件: yum install openstack-keystone httpd mod_wsgi
python-memcached;
memcached
启动 Memcached 服务,并设为系统启动是自启
systemctl enable memcached.service
systemctl start memcached.service
编辑 /etc/keystone/keystone.conf
openstack-config --set /etc/keystone/keystone.conf DEFAULT admin_token
ce629bc82bdfc0b61632
###定义初始管理令牌的值
openstack-config --set /etc/keystone/keystone.conf database connection
mysql://keystone:123@controller/keystone
###连接数据库
openstack-config --set /etc/keystone/keystone.conf memcache servers
localhost:11211
###配置缓存服务
openstack-config --set /etc/keystone/keystone.conf token
provider
###(通过 uuid 来认证)
uuid
�
openstack-config --set /etc/keystone/keystone.conf token
driver
###配置 uuid 令牌和缓存驱动
memcache
openstack-config --set /etc/keystone/keystone.conf revoke driver
sql
##(吊销驱动)
openstack-config --set /etc/keystone/keystone.conf DEFAULT verbose True
(协助解决问题,启用详细记录)
###
2.4 同步数据库
Populate the Identity service database:(填入身份服务数据库)
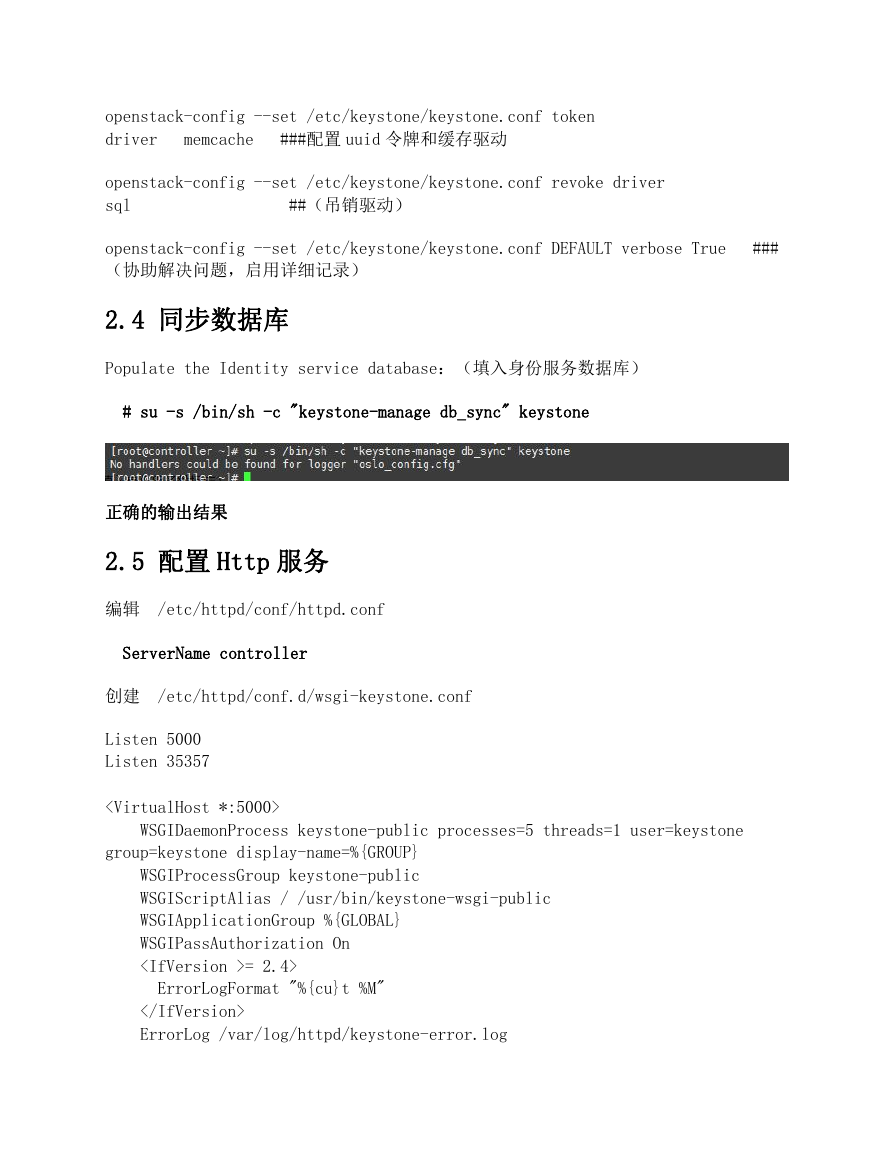
# su -s /bin/sh -c "keystone-manage db_sync" keystone
正确的输出结果
2.5 配置 Http 服务
编辑 /etc/httpd/conf/httpd.conf
ServerName controller
创建 /etc/httpd/conf.d/wsgi-keystone.conf
Listen 5000
Listen 35357
WSGIDaemonProcess keystone-public processes=5 threads=1 user=keystone
group=keystone display-name=%{GROUP}
WSGIProcessGroup keystone-public
WSGIScriptAlias / /usr/bin/keystone-wsgi-public
WSGIApplicationGroup %{GLOBAL}
WSGIPassAuthorization On
= 2.4>
ErrorLogFormat "%{cu}t %M"
ErrorLog /var/log/httpd/keystone-error.log
�
CustomLog /var/log/httpd/keystone-access.log combined
= 2.4>
Require all granted
Order allow,deny
Allow from all
WSGIDaemonProcess keystone-admin processes=5 threads=1 user=keystone
group=keystone display-name=%{GROUP}
WSGIProcessGroup keystone-admin
WSGIScriptAlias / /usr/bin/keystone-wsgi-admin
WSGIApplicationGroup %{GLOBAL}
WSGIPassAuthorization On
= 2.4>
ErrorLogFormat "%{cu}t %M"
ErrorLog /var/log/httpd/keystone-error.log
CustomLog /var/log/httpd/keystone-access.log combined
= 2.4>
Require all granted
Order allow,deny
Allow from all
启动 HTTPD 服务,并设为系统启动是自启
# systemctl enable httpd.service
# systemctl start httpd.service
2.6 创建服务实体和接口
�
Create the service entity and API endpoints(创建服务实体和接口)
配置身份验证令牌
/etc/keystone/keystone.conf 里面的 admin-token 的值相同)
export OS_TOKEN=ADMIN_TOKEN(此处值应与
配置端点的访问路径
export OS_URL=http://controller:35357/v3
VERSION=3
export
OS_IDENTITY_API_
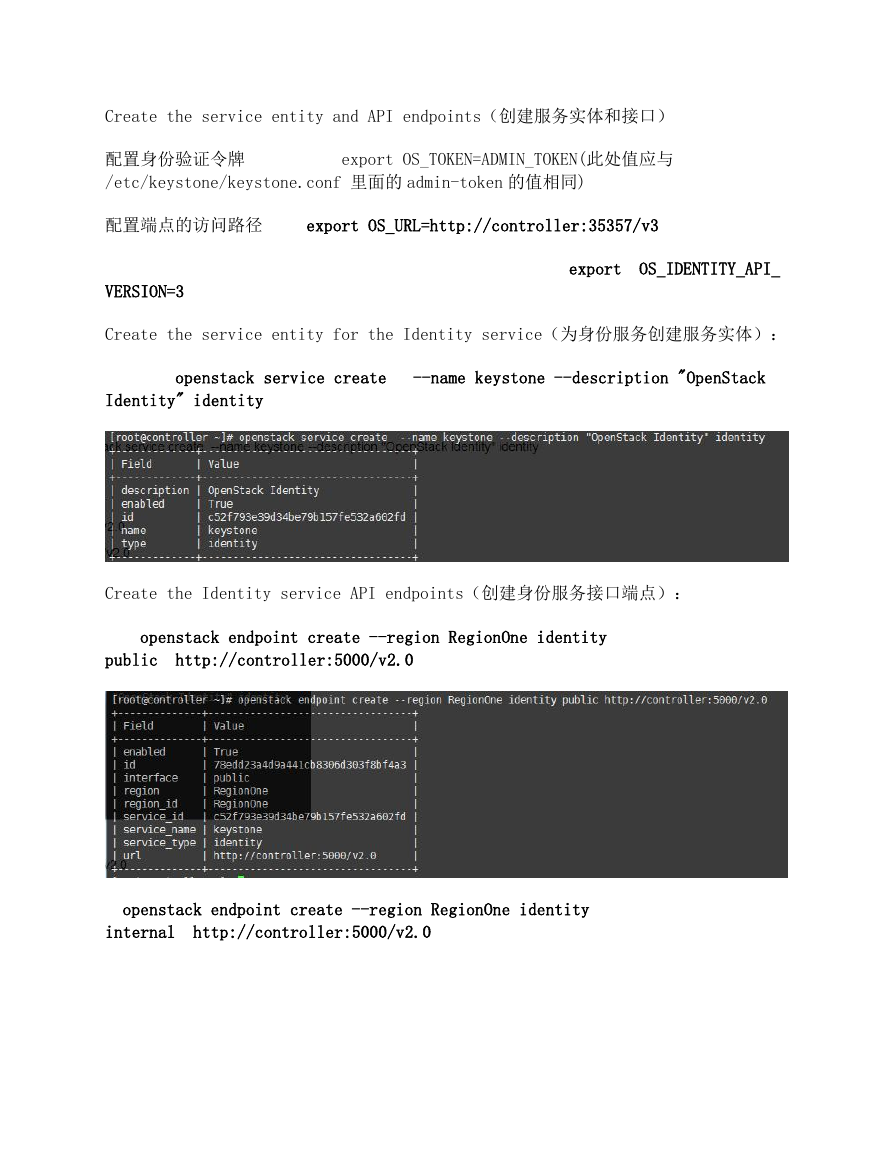
Create the service entity for the Identity service(为身份服务创建服务实体):
openstack service create
--name keystone --description "OpenStack
Identity" identity
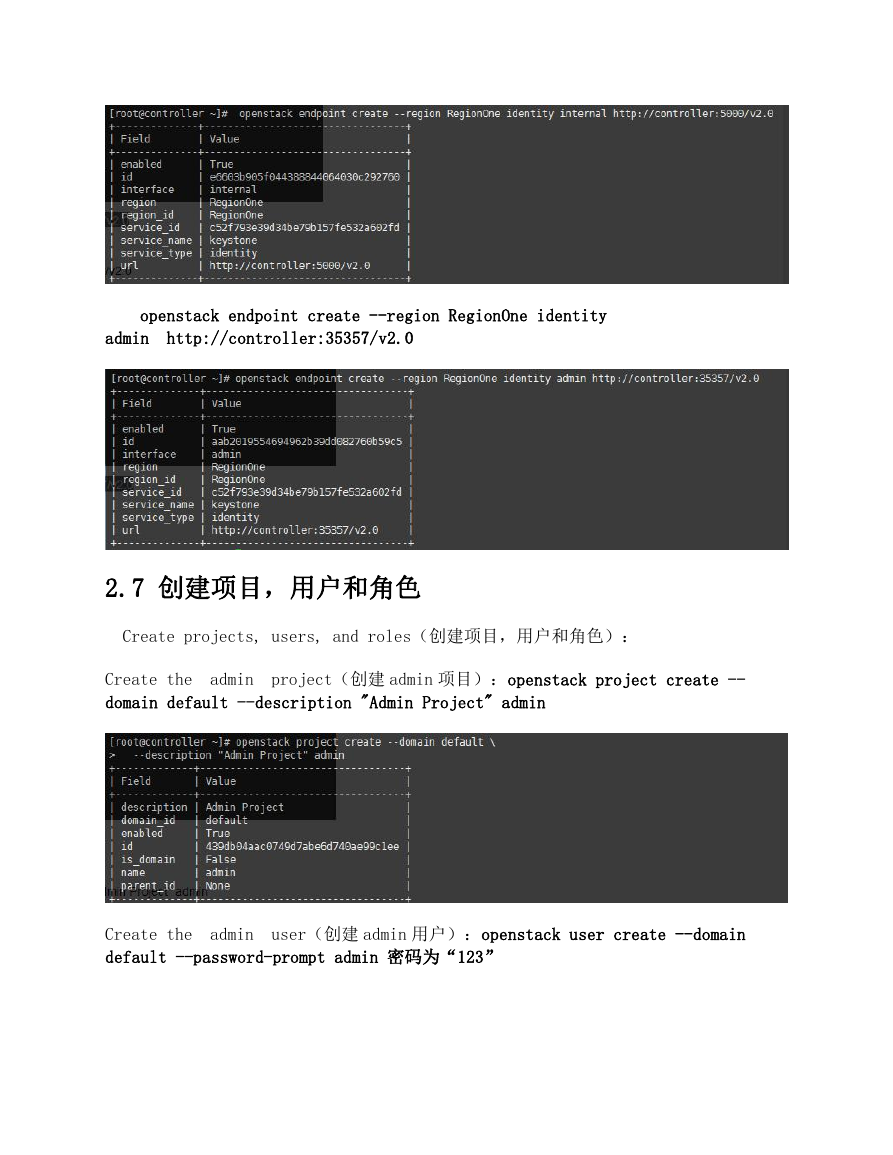
Create the Identity service API endpoints(创建身份服务接口端点):
openstack endpoint create --region RegionOne identity
public
http://controller:5000/v2.0
openstack endpoint create --region RegionOne identity
internal
http://controller:5000/v2.0
�
openstack endpoint create --region RegionOne identity
admin
http://controller:35357/v2.0
2.7 创建项目,用户和角色
Create projects, users, and roles(创建项目,用户和角色):
Create the
domain default --description "Admin Project" admin
admin
project(创建 admin 项目):openstack project create --
Create the
default --password-prompt admin 密码为“123”
admin
user(创建 admin 用户):openstack user create --domain
�



 2023年江西萍乡中考道德与法治真题及答案.doc
 2012年重庆南川中考生物真题及答案.doc
 2013年江西师范大学地理学综合及文艺理论基础考研真题.doc
 2020年四川甘孜小升初语文真题及答案I卷.doc
 2020年注册岩土工程师专业基础考试真题及答案.doc
 2023-2024学年福建省厦门市九年级上学期数学月考试题及答案.doc
 2021-2022学年辽宁省沈阳市大东区九年级上学期语文期末试题及答案.doc
 2022-2023学年北京东城区初三第一学期物理期末试卷及答案.doc
 2018上半年江西教师资格初中地理学科知识与教学能力真题及答案.doc
 2012年河北国家公务员申论考试真题及答案-省级.doc
 2020-2021学年江苏省扬州市江都区邵樊片九年级上学期数学第一次质量检测试题及答案.doc
 2022下半年黑龙江教师资格证中学综合素质真题及答案.doc