PS:本笔记配对传智播客的安卓基础视频-20151228-Android基础视频
张萍老师:http://bbs.itcast.cn/?197082
数据存储与界面展示
Android工程的目录详解:
Android版本介绍、常用手机的分辨率:
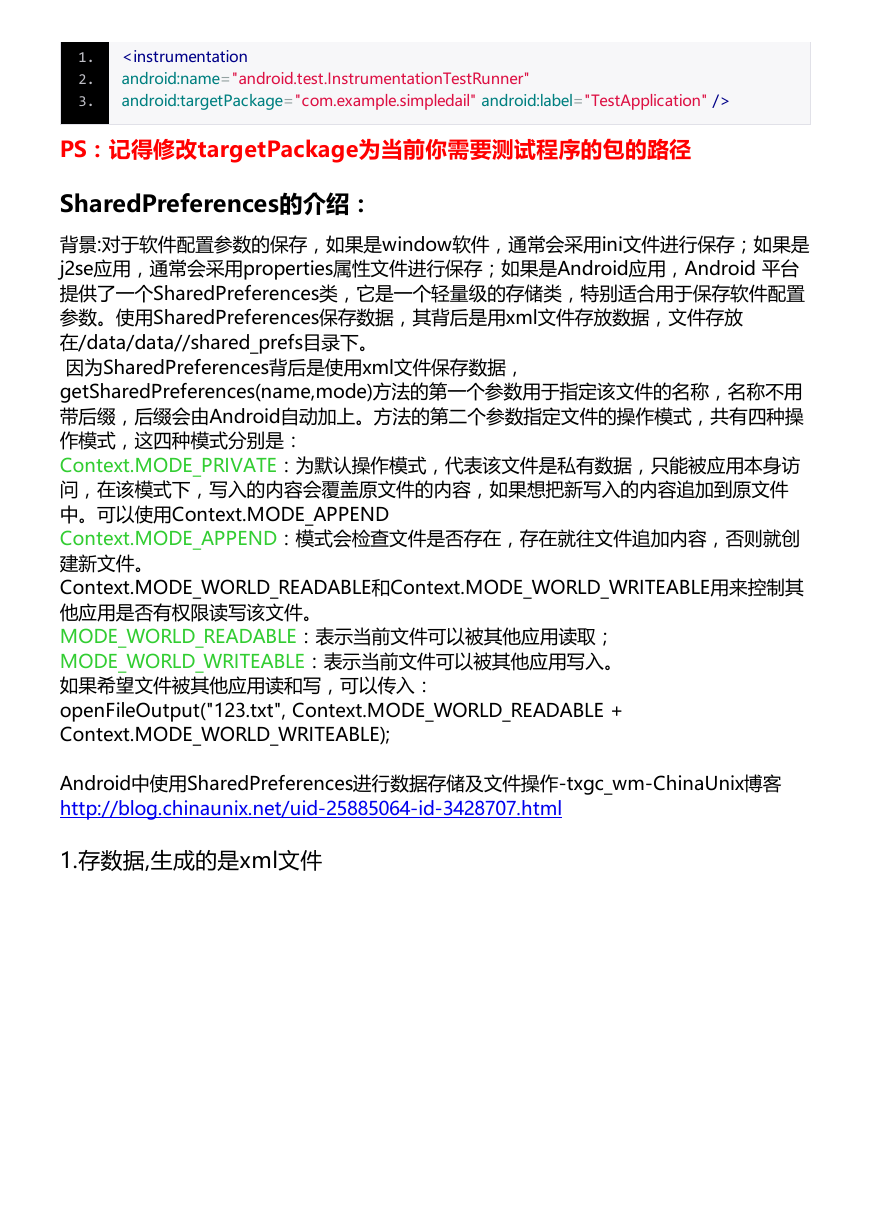
Android测试程序需要添加的代码:
1.在清单文件中的application里面添加下面的代码配置函数库
1.
2.再在清单文件application外面添加下面的三行代码:
�
1.
PS:记得修改targetPackage为当前你需要测试程序的包的路径
SharedPreferences的介绍:
背景:对于软件配置参数的保存,如果是window软件,通常会采用ini文件进行保存;如果是
j2se应用,通常会采用properties属性文件进行保存;如果是Android应用,Android 平台
提供了一个SharedPreferences类,它是一个轻量级的存储类,特别适合用于保存软件配置
参数。使用SharedPreferences保存数据,其背后是用xml文件存放数据,文件存放
在/data/data//shared_prefs目录下。
因为SharedPreferences背后是使用xml文件保存数据,
getSharedPreferences(name,mode)方法的第一个参数用于指定该文件的名称,名称不用
带后缀,后缀会由Android自动加上。方法的第二个参数指定文件的操作模式,共有四种操
作模式,这四种模式分别是:
Context.MODE_PRIVATE:为默认操作模式,代表该文件是私有数据,只能被应用本身访
问,在该模式下,写入的内容会覆盖原文件的内容,如果想把新写入的内容追加到原文件
中。可以使用Context.MODE_APPEND
Context.MODE_APPEND:模式会检查文件是否存在,存在就往文件追加内容,否则就创
建新文件。
Context.MODE_WORLD_READABLE和Context.MODE_WORLD_WRITEABLE用来控制其
他应用是否有权限读写该文件。
MODE_WORLD_READABLE:表示当前文件可以被其他应用读取;
MODE_WORLD_WRITEABLE:表示当前文件可以被其他应用写入。
如果希望文件被其他应用读和写,可以传入:
openFileOutput("123.txt", Context.MODE_WORLD_READABLE +
Context.MODE_WORLD_WRITEABLE);
Android中使用SharedPreferences进行数据存储及文件操作-txgc_wm-ChinaUnix博客
http://blog.chinaunix.net/uid-25885064-id-3428707.html
1.存数据,生成的是xml文件
�
2.拿数据:
官方google给出的实例:
http://www.android-doc.com/guide/topics/data/data-storage.html#pref
数据库SQLite学习笔记:
1.sqlite3 打开数据库
2.chmod lunix下修改文件的权限
3.改变dos的编码方式 chcp936(GBK) chcp65001(utf-8)
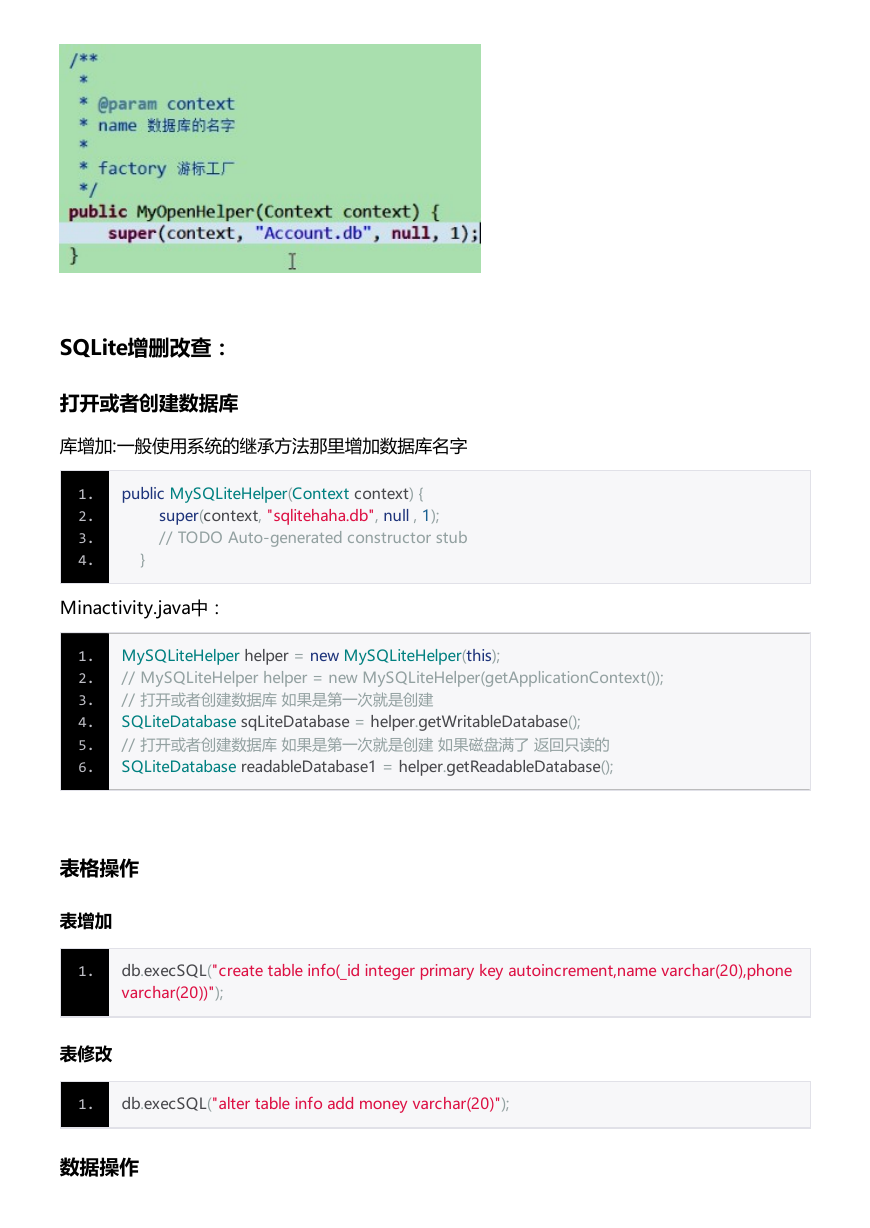
如何创建一个数据库
定义一个类继承SqliteOpenHelper
�
SQLite增删改查:
打开或者创建数据库
库增加:一般使用系统的继承方法那里增加数据库名字
1. public MySQLiteHelper(Context context) {
2.
3.
4.
super(context, "sqlitehaha.db", null , 1);
// TODO Auto-generated constructor stub
}
Minactivity.java中:
1. MySQLiteHelper helper = new MySQLiteHelper(this);
2. // MySQLiteHelper helper = new MySQLiteHelper(getApplicationContext());
3. // 打开或者创建数据库 如果是第一次就是创建
4. SQLiteDatabase sqLiteDatabase = helper.getWritableDatabase();
5. // 打开或者创建数据库 如果是第一次就是创建 如果磁盘满了 返回只读的
6. SQLiteDatabase readableDatabase1 = helper.getReadableDatabase();
表格操作
表增加
1. db.execSQL("create table info(_id integer primary key autoincrement,name varchar(20),phone
varchar(20))");
表修改
1. db.execSQL("alter table info add money varchar(20)");
数据操作
�
数据增加:
1.
2.
1. //执行增加一条的sql语句
2. db.execSQL("insert into info(name,phone) values(?,?)", new Object[]{"张三","1388888"});
1. /**
2. * table 表名
3. * ContentValues 内部封装了一个map key: 对应列的名字 value对应的值
4. **/
5. ContentValues values = new ContentValues();
6. values.put("name", "王五");
7. values.put("phone", "110");
8. //返回值代表插入新行的id
9. long insert = db.insert("info", null, values); //底层就在组拼sql语句
10. //[3]数据库用完需要关闭
11. db.close();
12. if (insert>0) {
13. Toast.makeText(getApplicationContext(), "添加成功", 1).show();
14. }else {
15. Toast.makeText(getApplicationContext(), "添加fail", 1).show();
16. }
数据修改
1.
2.
1. db.execSQL("update info set phone=? where name=? ", new Object[]{"138888888","张三"});
1. ContentValues values = new ContentValues();
2. values.put("phone", "114");
3. //代表更新了多少行
4. int update = db.update("info", values, "name=?", new String[]{"王五"});
5. //int update = db.update("info", values, "name='王五',null");
6. db.close();
7. Toast.makeText(getApplicationContext(), "更新了"+update+"行", 0).show();
数据删除
1.
�
1. db.execSQL("delete from info where name=?", new Object[]{"张三"});
2.
1. //返回值代表影响的行数
2. int delete = db.delete("info", "name=?", new String[]{"王五"});
3. //int delete = db.delete("info", "name='王五'", null);
4. db.close();
5. Toast.makeText(getApplicationContext(), "删除了"+delete+"行", 0).show();
数据查询
1.
1. Cursor cursor = db.rawQuery("select * from info", null);
2. if (cursor!= null && cursor.getCount()>0) {
3. while(cursor.moveToNext()){
4. //columnIndex代表列的索引
5. String name = cursor.getString(1);
6. String phone = cursor.getString(2);
7. System.out.println("name:"+name+"========="+phone);
8. }
9. }
2.
1. Cursor cursor = db.query("info", new String[]{"name","phone"}, "name=?", new String[]{"王五"
}, null, null, null);
2. if (cursor!= null&&cursor.getCount()>0) {
3. while(cursor.moveToNext()){
4. //columnIndex代表列的索引
5. String name = cursor.getString(1);
6. String phone = cursor.getString(2);
7. System.out.println("name:"+name+"========="+phone);
8. }
事物
1. db.beginTransaction();
2. try {
3. ...
4. db.setTransactionSuccessful();
5. } finally {
6. db.endTransaction();
7. }
�
8.
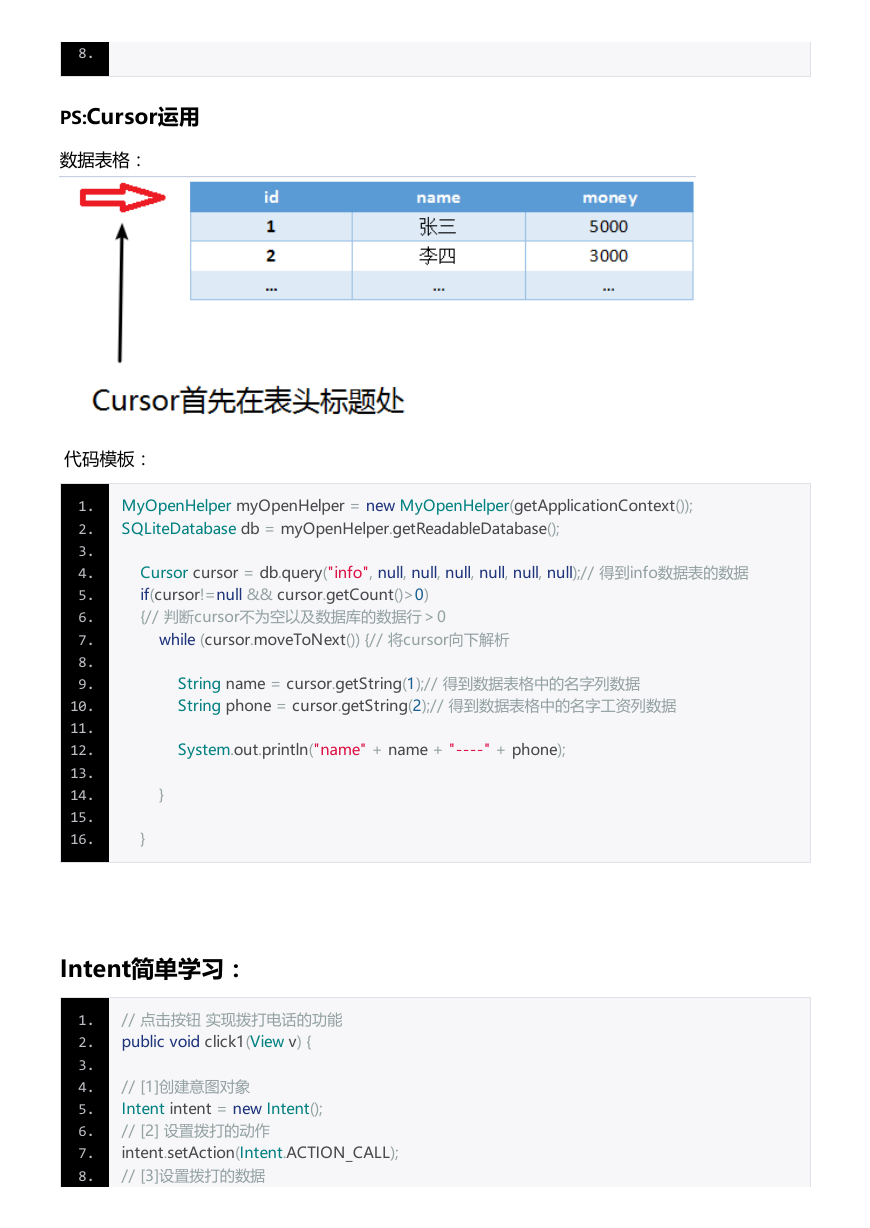
PS:Cursor运用
数据表格:
代码模板:
if(cursor!=null && cursor.getCount()>0)
{// 判断cursor不为空以及数据库的数据行>0
while (cursor.moveToNext()) {// 将cursor向下解析
1. MyOpenHelper myOpenHelper = new MyOpenHelper(getApplicationContext());
2. SQLiteDatabase db = myOpenHelper.getReadableDatabase();
3.
4. Cursor cursor = db.query("info", null, null, null, null, null, null);// 得到info数据表的数据
5.
6.
7.
8.
9.
10.
11.
12.
13.
14.
15.
16.
String name = cursor.getString(1);// 得到数据表格中的名字列数据
String phone = cursor.getString(2);// 得到数据表格中的名字工资列数据
System.out.println("name" + name + "----" + phone);
}
}
Intent简单学习:
1. // 点击按钮 实现拨打电话的功能
2. public void click1(View v) {
3.
4. // [1]创建意图对象
5. Intent intent = new Intent();
6. // [2] 设置拨打的动作
7. intent.setAction(Intent.ACTION_CALL);
8. // [3]设置拨打的数据
intent.setData(Uri.parse("tel:" + 119));
�
9. intent.setData(Uri.parse("tel:" + 119));
10.
11. // [4]开启Activity 记得加上权限
12. startActivity(intent);
13.
14. }
15.
16. // 点击按钮 跳转到TestActivity
17. public void click2(View v) {
18. // [1]创建意图对象 意图就是我要完成一件事
19. Intent intent = new Intent();
20.
21. // [2] 设置跳转的动作
22. intent.setAction("com.itheima.testactivity");
23. // [3] 设置category
24. intent.addCategory("android.intent.category.DEFAULT");
25.
26. // [4]设置数据
27. // intent.setData(Uri.parse("itheima:"+110));
28. // [5]设置数据类型
29. // intent.setType("aa/bb");
30.
31. // [6]注意 小细节☆ 如果setdata 方法和 settype 方法一起使用的时候 应该使用下面这个方法
32. intent.setDataAndType(Uri.parse("itheima1:" + 110), "aa/bb1");
33.
34. // [4]开启Activity
35. startActivity(intent);
36.
37. }
Listview :
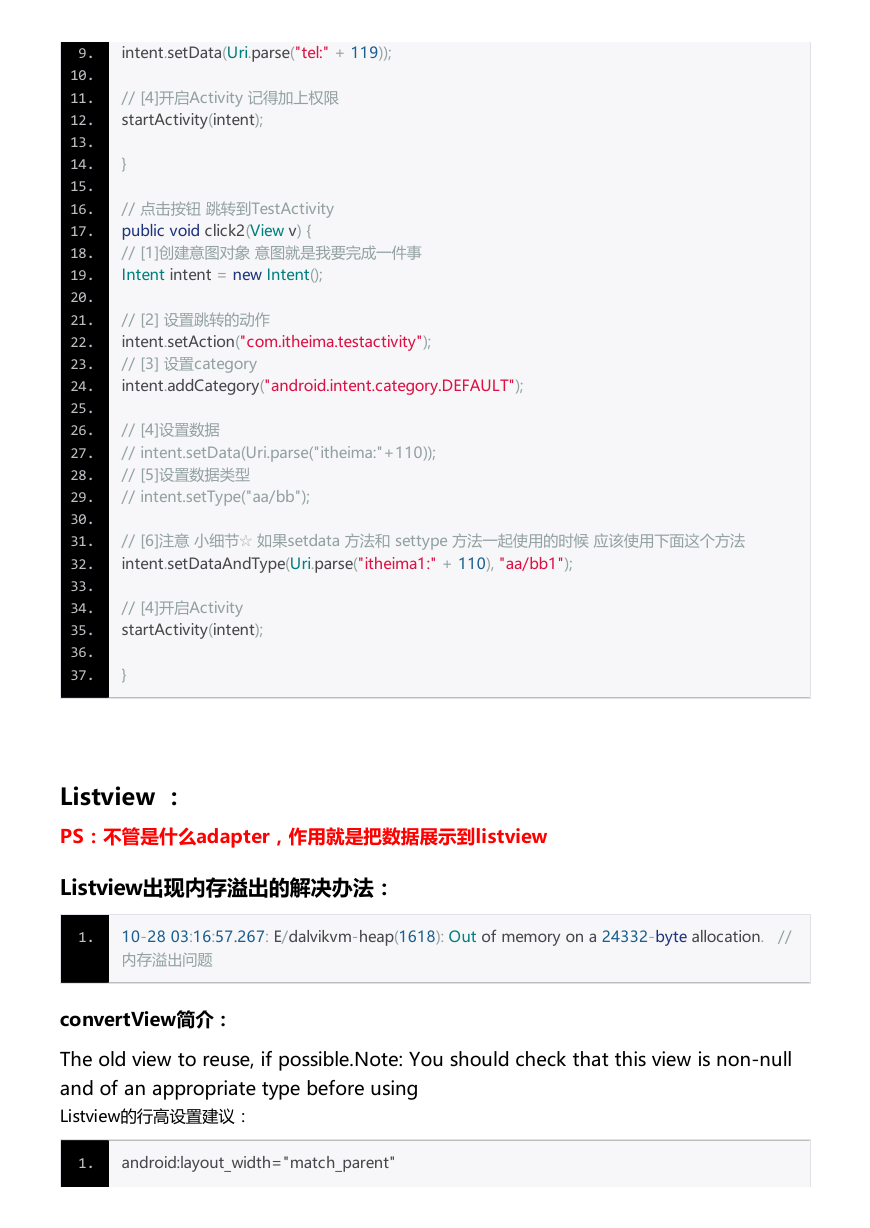
PS:不管是什么adapter,作用就是把数据展示到listview
Listview出现内存溢出的解决办法:
1. 10-28 03:16:57.267: E/dalvikvm-heap(1618): Out of memory on a 24332-byte allocation. //
内存溢出问题
convertView简介:
The old view to reuse, if possible.Note: You should check that this view is non-null
and of an appropriate type before using
Listview的行高设置建议:
1. android:layout_width="match_parent"
android:layout_height="match_parent"
�


 2023年江西萍乡中考道德与法治真题及答案.doc
 2012年重庆南川中考生物真题及答案.doc
 2013年江西师范大学地理学综合及文艺理论基础考研真题.doc
 2020年四川甘孜小升初语文真题及答案I卷.doc
 2020年注册岩土工程师专业基础考试真题及答案.doc
 2023-2024学年福建省厦门市九年级上学期数学月考试题及答案.doc
 2021-2022学年辽宁省沈阳市大东区九年级上学期语文期末试题及答案.doc
 2022-2023学年北京东城区初三第一学期物理期末试卷及答案.doc
 2018上半年江西教师资格初中地理学科知识与教学能力真题及答案.doc
 2012年河北国家公务员申论考试真题及答案-省级.doc
 2020-2021学年江苏省扬州市江都区邵樊片九年级上学期数学第一次质量检测试题及答案.doc
 2022下半年黑龙江教师资格证中学综合素质真题及答案.doc