FDIO Quick Start Guide
Installing and Using FDIO
Overview 2
Configuration Utility
2
Installing FDIO 2
Installing with APT (Latest Released Version)
Installing with YUM (Latest Released Version)
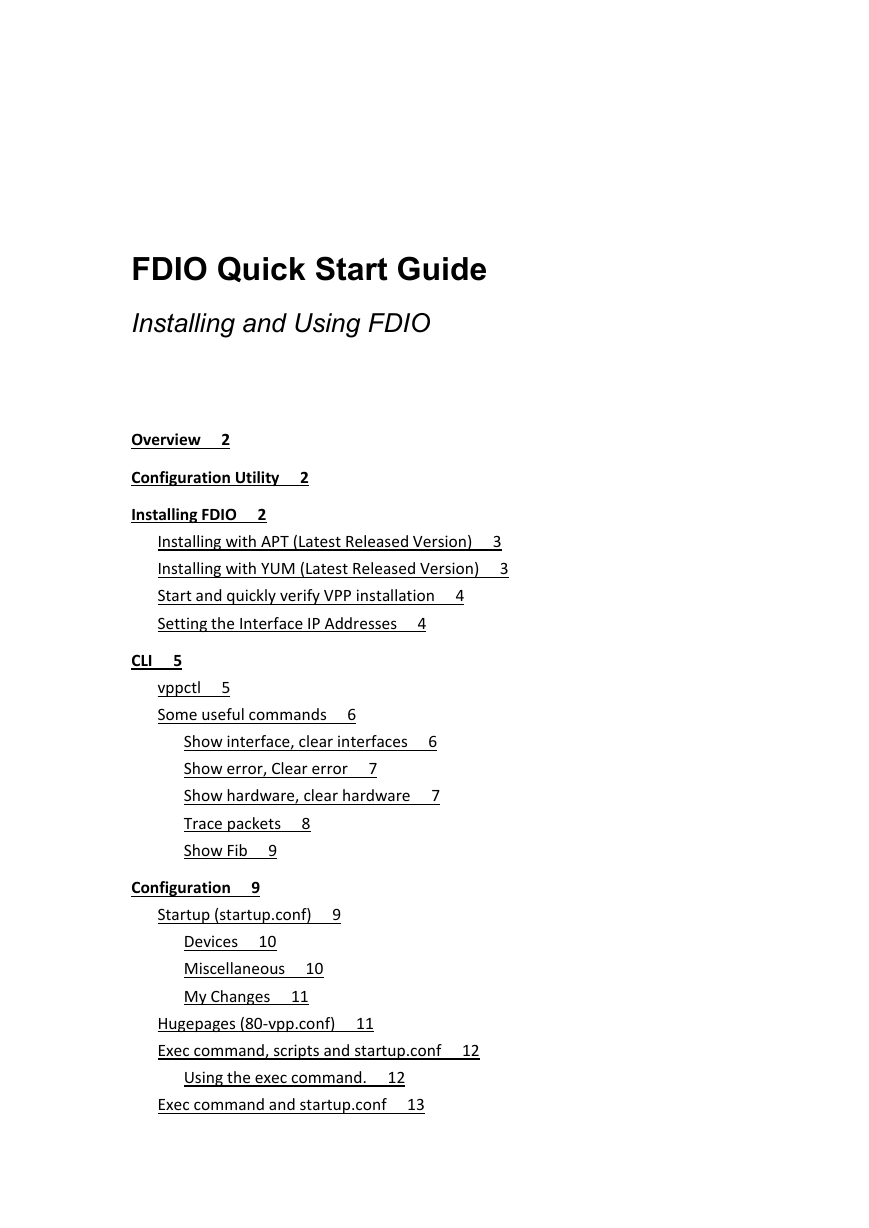
Start and quickly verify VPP installation
Setting the Interface IP Addresses
4
4
3
3
CLI
5
5
vppctl
Some useful commands
6
Show interface, clear interfaces
Show error, Clear error
Show hardware, clear hardware
Trace packets
Show Fib
9
8
7
6
7
Configuration
9
Startup (startup.conf)
9
Devices
10
Miscellaneous
My Changes
10
11
Hugepages (80-vpp.conf)
Exec command, scripts and startup.conf
11
12
Using the exec command.
12
Exec command and startup.conf
13
�
Downloading and Building FDIO 14
Building binaries and packages
14
Directories
15
src/vpp/conf
build-root/build-vpp_debug-native/dpdk/dpdk-17.02/usertools/
build-root/install-vpp_debug-native/vpp/bin/
15
16
16
16
dpdk-devbind.py
16
src/scripts/vnet/
src/vnet/
src/vnet/devices/
16
17
Installing packages with dpkg
17
Install Summary
19
Uninstalling FDIO, giving the ports back
20
1.Overview
This document will describe downloading, installing and running FDIO. We will talk
about the installing FDIO, the build tree, configuration files and scripts. This isn’t
meant to be a detailed description, but more a way to quickly ramp up and understand
the basics of FDIO. VPP is a core technology in FDIO and thus referenced as VPP in
many places in this document.. In this doc commands that start with “# “ should be
root and “$ “ are not.
2. Configuration Utility
The VPP configuration can be used to safely and easily configure a system for use
with VPP. Information on how to use this utility can be found at the following:
https://wiki.fd.io/view/VPP/Configuration_Tool
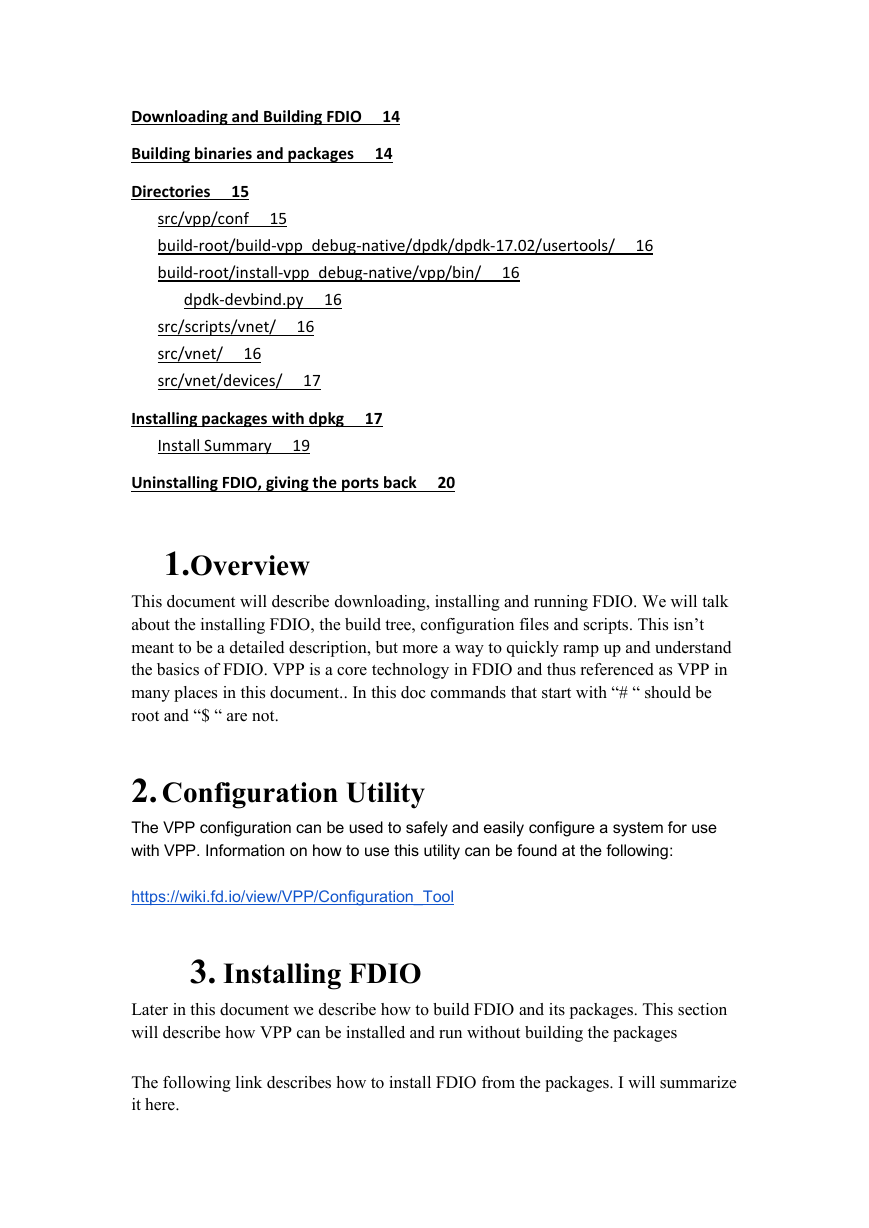
3. Installing FDIO
Later in this document we describe how to build FDIO and its packages. This section
will describe how VPP can be installed and run without building the packages
The following link describes how to install FDIO from the packages. I will summarize
it here.
�
https://wiki.fd.io/view/VPP/Installing_VPP_binaries_from_packages
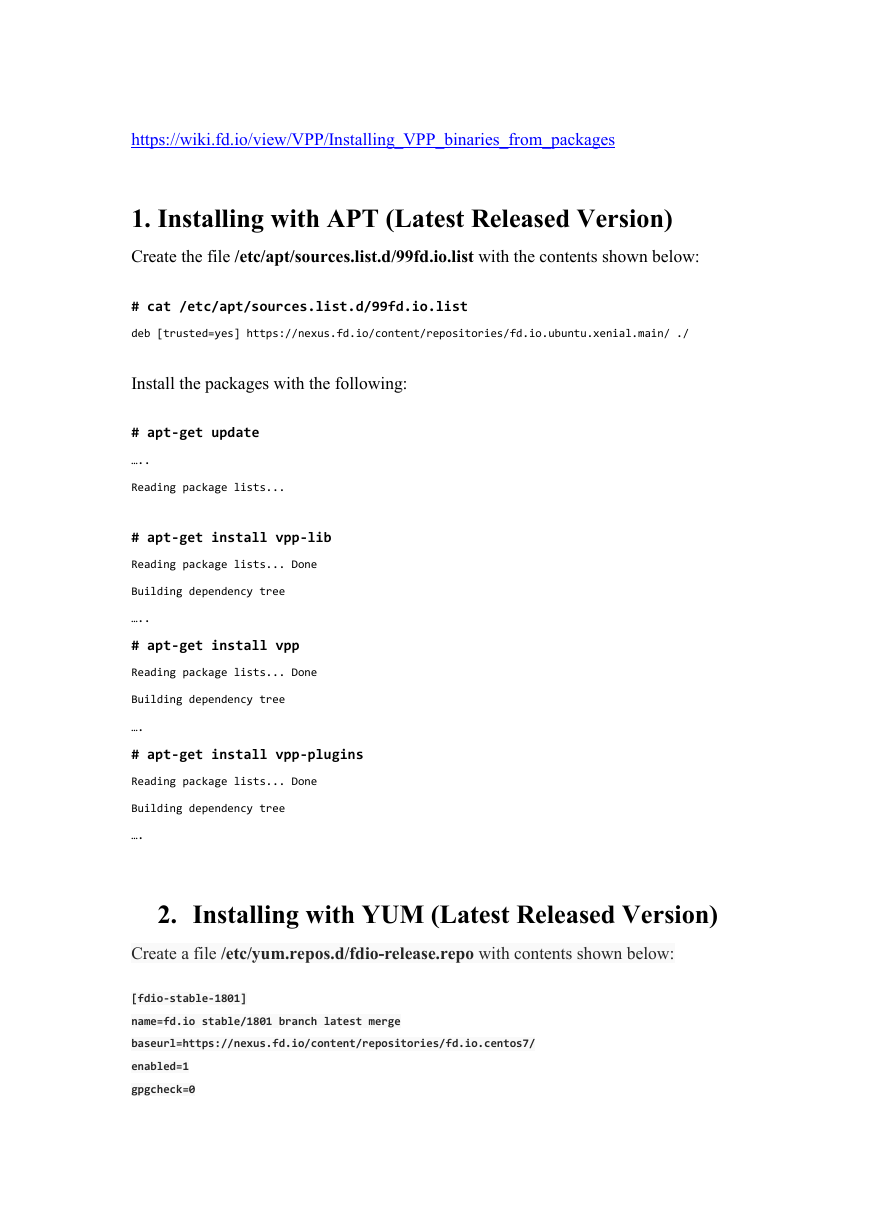
1. Installing with APT (Latest Released Version)
Create the file /etc/apt/sources.list.d/99fd.io.list with the contents shown below:
# cat /etc/apt/sources.list.d/99fd.io.list
deb [trusted=yes] https://nexus.fd.io/content/repositories/fd.io.ubuntu.xenial.main/ ./
Install the packages with the following:
# apt-get update
…..
Reading package lists...
# apt-get install vpp-lib
Reading package lists... Done
Building dependency tree
…..
# apt-get install vpp
Reading package lists... Done
Building dependency tree
….
# apt-get install vpp-plugins
Reading package lists... Done
Building dependency tree
….
2. Installing with YUM (Latest Released Version)
Create a file /etc/yum.repos.d/fdio-release.repo with contents shown below:
[fdio-stable-1801]
name=fd.io stable/1801 branch latest merge
baseurl=https://nexus.fd.io/content/repositories/fd.io.centos7/
enabled=1
gpgcheck=0
�
Install VPP:
# yum install vpp
3. Start and quickly verify VPP installation
When VPP is started it will take all the available interfaces. VPP should be started
after the install. VPP can also be started or restarted after installation with the service
command.
Start VPP:
# service vpp start
Verify VPP is started using the ps command.
# ps -eaf | grep vpp
root
root
23781
1 99 14:00 ?
00:00:02 /usr/bin/vpp -c /etc/vpp/startup.conf
23904 11029 0 14:00 pts/1
00:00:00 grep --color=auto vpp
Verify that vpp is using some interfaces using the vppctl command. The vppctl
command is used to run the vpp cli.
# vppctl show int
Name
Idx
State
Counter
Count
TenGigabitEthernet2/0/0
TenGigabitEthernet2/0/1
TenGigabitEthernet86/0/0
TenGigabitEthernet86/0/1
local0
1
2
3
4
0
down
down
down
down
down
4. Setting the Interface IP Addresses
We can then add IP addresses to the interfaces. Once this is done we can then ping
these addresses from a live network.
# vppctl set int ip address TenGigabitEthernet86/0/0 30.0.0.2/8
�
# vppctl set int state TenGigabitEthernet86/0/0 up
# vppctl set int ip address TenGigabitEthernet86/0/1 40.0.0.2/8
# vppctl set int state TenGigabitEthernet86/0/1 up
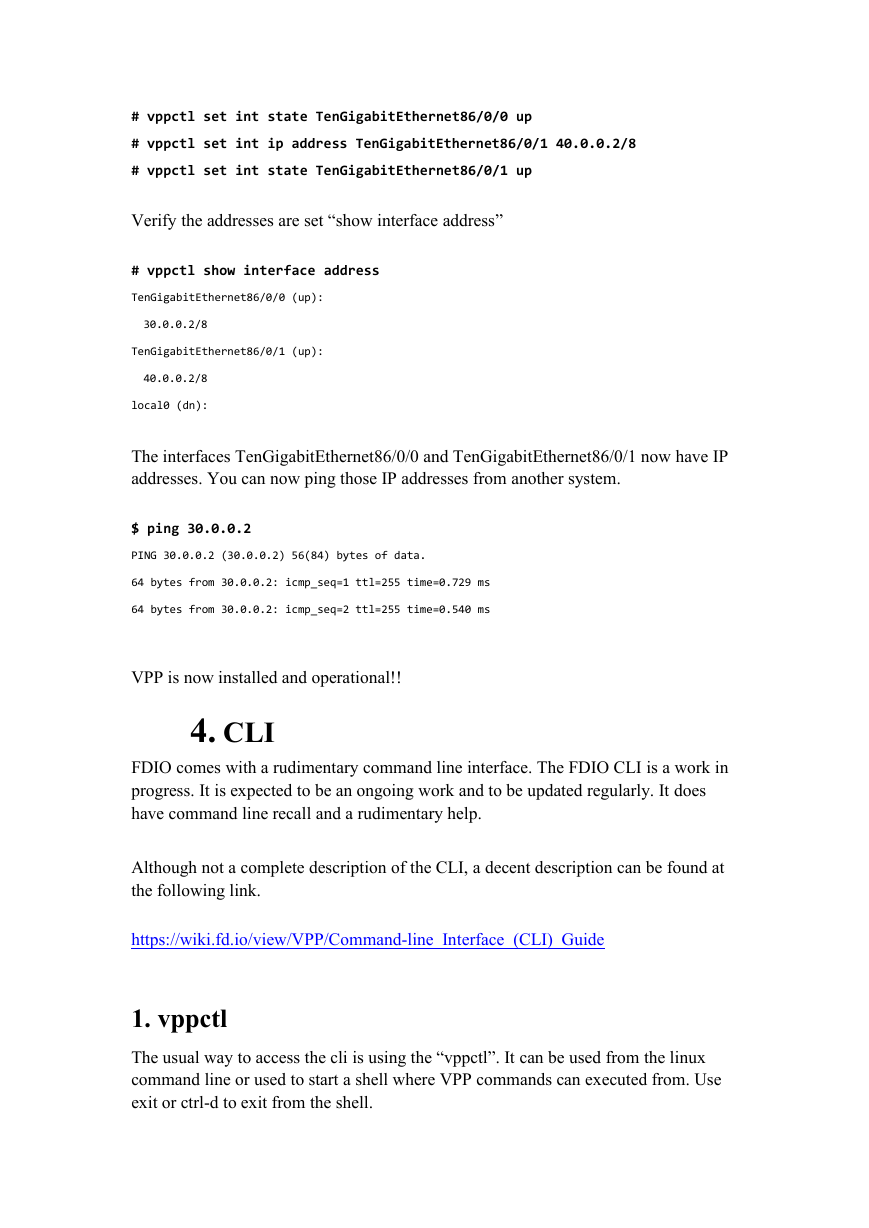
Verify the addresses are set “show interface address”
# vppctl show interface address
TenGigabitEthernet86/0/0 (up):
30.0.0.2/8
TenGigabitEthernet86/0/1 (up):
40.0.0.2/8
local0 (dn):
The interfaces TenGigabitEthernet86/0/0 and TenGigabitEthernet86/0/1 now have IP
addresses. You can now ping those IP addresses from another system.
$ ping 30.0.0.2
PING 30.0.0.2 (30.0.0.2) 56(84) bytes of data.
64 bytes from 30.0.0.2: icmp_seq=1 ttl=255 time=0.729 ms
64 bytes from 30.0.0.2: icmp_seq=2 ttl=255 time=0.540 ms
VPP is now installed and operational!!
4. CLI
FDIO comes with a rudimentary command line interface. The FDIO CLI is a work in
progress. It is expected to be an ongoing work and to be updated regularly. It does
have command line recall and a rudimentary help.
Although not a complete description of the CLI, a decent description can be found at
the following link.
https://wiki.fd.io/view/VPP/Command-line_Interface_(CLI)_Guide
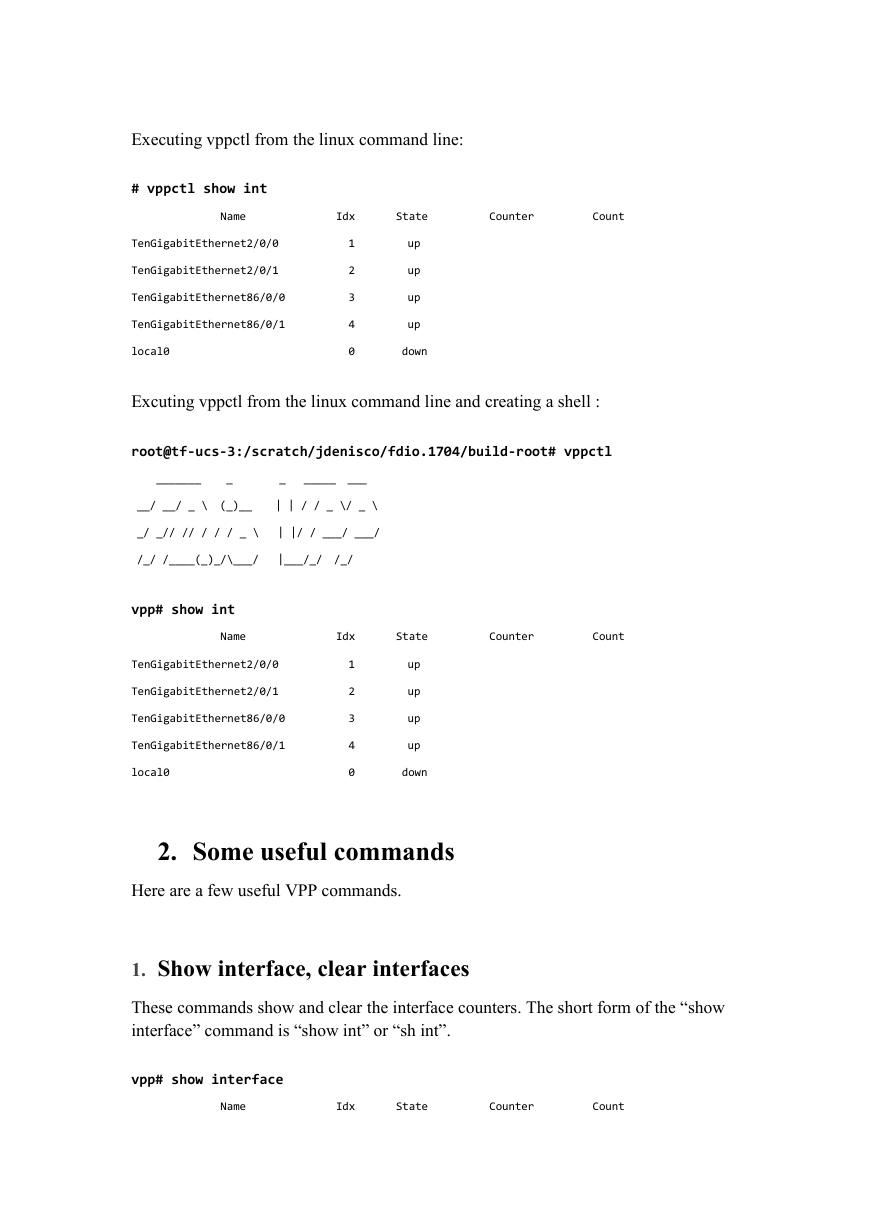
1. vppctl
The usual way to access the cli is using the “vppctl”. It can be used from the linux
command line or used to start a shell where VPP commands can executed from. Use
exit or ctrl-d to exit from the shell.
�
Executing vppctl from the linux command line:
# vppctl show int
Name
Idx
State
Counter
Count
TenGigabitEthernet2/0/0
TenGigabitEthernet2/0/1
TenGigabitEthernet86/0/0
TenGigabitEthernet86/0/1
local0
1
2
3
4
0
up
up
up
up
down
Excuting vppctl from the linux command line and creating a shell :
root@tf-ucs-3:/scratch/jdenisco/fdio.1704/build-root# vppctl
_______
_
_
_____ ___
__/ __/ _ \ (_)__
| | / / _ \/ _ \
_/ _// // / / / _ \
| |/ / ___/ ___/
/_/ /____(_)_/\___/
|___/_/ /_/
vpp# show int
Name
Idx
State
Counter
Count
TenGigabitEthernet2/0/0
TenGigabitEthernet2/0/1
TenGigabitEthernet86/0/0
TenGigabitEthernet86/0/1
local0
1
2
3
4
0
up
up
up
up
down
2. Some useful commands
Here are a few useful VPP commands.
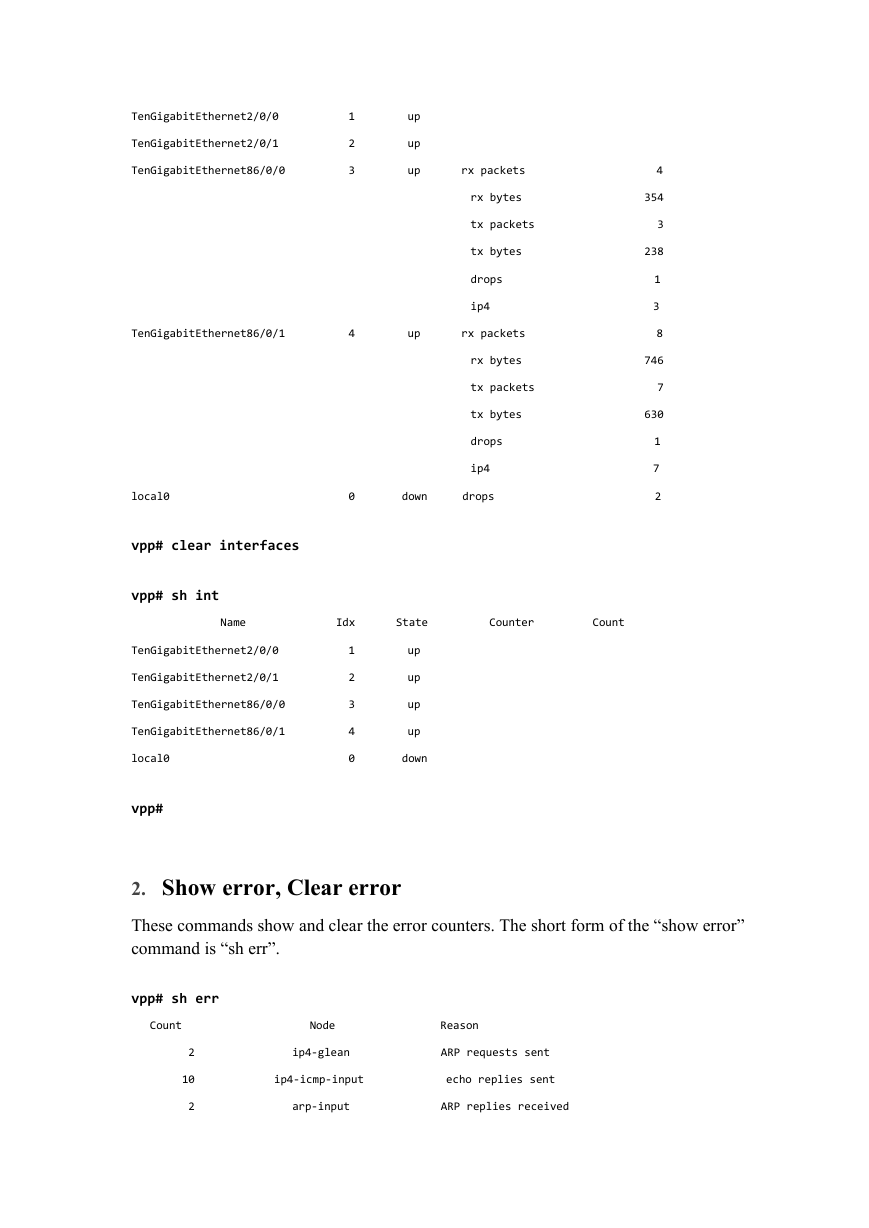
1. Show interface, clear interfaces
These commands show and clear the interface counters. The short form of the “show
interface” command is “show int” or “sh int”.
vpp# show interface
Name
Idx
State
Counter
Count
�
4
354
3
238
1
3
8
746
7
630
1
7
2
TenGigabitEthernet2/0/0
TenGigabitEthernet2/0/1
TenGigabitEthernet86/0/0
1
2
3
up
up
up
rx packets
rx bytes
tx packets
tx bytes
drops
ip4
TenGigabitEthernet86/0/1
4
up
rx packets
rx bytes
tx packets
tx bytes
drops
ip4
local0
0
down
drops
vpp# clear interfaces
vpp# sh int
Name
Idx
State
Counter
Count
TenGigabitEthernet2/0/0
TenGigabitEthernet2/0/1
TenGigabitEthernet86/0/0
TenGigabitEthernet86/0/1
local0
vpp#
1
2
3
4
0
up
up
up
up
down
2. Show error, Clear error
These commands show and clear the error counters. The short form of the “show error”
command is “sh err”.
vpp# sh err
Count
2
10
2
Node
ip4-glean
Reason
ARP requests sent
ip4-icmp-input
echo replies sent
arp-input
ARP replies received
�
Node
ip4-glean
Reason
ARP requests sent
ip4-icmp-input
echo replies sent
arp-input
ARP replies received
vpp# show errors
Count
2
10
2
vpp# clear errors
vpp# sh err
Count
Node
Reason
3. Show hardware, clear hardware
These commands show and clear the hardware counters. The link state is shown with
this command.
vpp# show hardware
Name
Idx
Link Hardware
TenGigabitEthernet2/0/0
1
up
TenGigabitEthernet2/0/0
Ethernet address 90:e2:ba:96:cb:98
Intel 82599
carrier up full duplex speed 10000 mtu 9216
rx queues 1, rx desc 1024, tx queues 1, tx desc 1024
cpu socket 0
….
TenGigabitEthernet86/0/0
3
up
TenGigabitEthernet86/0/0
Ethernet address 90:e2:ba:96:cd:4c
Intel 82599
carrier up full duplex speed 10000 mtu 9216
rx queues 1, rx desc 1024, tx queues 1, tx desc 1024
cpu socket 1
tx frames ok
tx bytes ok
….
vpp# clear hardware
vpp# show hardware
3
256
�



 2023年江西萍乡中考道德与法治真题及答案.doc
 2012年重庆南川中考生物真题及答案.doc
 2013年江西师范大学地理学综合及文艺理论基础考研真题.doc
 2020年四川甘孜小升初语文真题及答案I卷.doc
 2020年注册岩土工程师专业基础考试真题及答案.doc
 2023-2024学年福建省厦门市九年级上学期数学月考试题及答案.doc
 2021-2022学年辽宁省沈阳市大东区九年级上学期语文期末试题及答案.doc
 2022-2023学年北京东城区初三第一学期物理期末试卷及答案.doc
 2018上半年江西教师资格初中地理学科知识与教学能力真题及答案.doc
 2012年河北国家公务员申论考试真题及答案-省级.doc
 2020-2021学年江苏省扬州市江都区邵樊片九年级上学期数学第一次质量检测试题及答案.doc
 2022下半年黑龙江教师资格证中学综合素质真题及答案.doc