logo资料库

夏普投影机-XG-P10XE说明书.pdf

第1页 / 共48页
第2页 / 共48页
第3页 / 共48页
第4页 / 共48页
第5页 / 共48页
第6页 / 共48页
第7页 / 共48页
第8页 / 共48页
资料共48页,剩余部分请下载后查看
Foreword
For Your Reference
Required Hardware and Software
Projector and PC Connections
Installing the Software
Uninstalling the Software
Starting and Quitting
Opening Modes
Starting from the “Sharp Advanced Presentation Software” icon in the Windows task tray
Starting from the Windows “Start” button
Starting from the “Sharp Advanced Presentation Software” shortcut icon on the Windows desktop
Changing Auto-Launch Setting
When “Auto-Launch ON” is selected
When “Auto-Launch OFF” is selected
Quitting
Help
Controlling the Projector’s Adjustment
RS-232C Control
“Set Up” Adjustment
“Input1 PICT”/“Input2 PICT”/“Input3 PICT” Adjustment
“Fine Sync” Adjustment
“Audio” Adjustment
“Options” Adjustment
Save Control Settings and Load Control Settings
To make “Save Control Settings”
To make “Load Control Settings”
Password setting
Setting the Password
Changing the Password
Selecting the Keylock Level
Adjusting Images
Gamma Correction
Adjusting the Gamma curve
Setting the gamma correction area
Saving the Gamma Correction Settings
Loading the Gamma Correction Settings
Setup for Transferring Images
Selecting the Projector
Changing Connection Type
Changing Compression Rate
Saving a Custom Image as Startup Image and Background Image
Transferring Images
Presentation Transfer
To send a single image (“Send Image”)
To send all the images (“Self Run”)
Capture & Transfer
Quick Transfer
To send another image
Troubleshooting
Unable to transfer images or an error occurs with communication
The functions in this software are not operating properly
The transmitting speed is low
Unable to save the startup image
Quality of the image is low
Unable to speed up the transfer or improve the image quality
Unable to speed up “Gamma Correction” though the transmitting speed was changed
Glossary
Services
I n s t a l l i n g / i U n n s t a l l i n g B a s c i O p e r a t i o n s C o n t r o l l i n g j A d u s t i n g a n d O t h e r O p e r a t i o n s T r a n s f e r r i n g I m a g e s l T r o u b e s h o o t i n g OPERATION MANUAL Sharp Advanced Presentation Software Version 2.2 Please read operation manual carefully before using your software. S e r v c e s i l G o s s a r y /
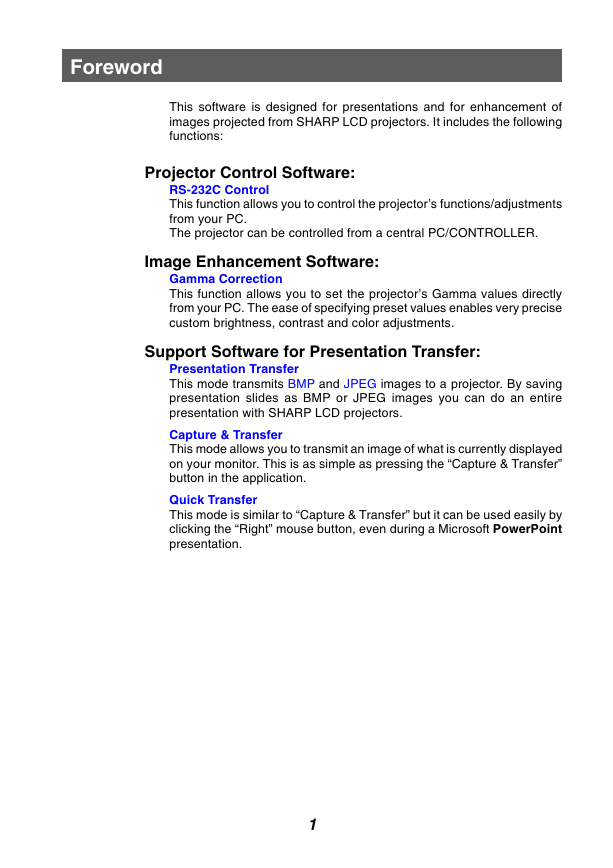
Foreword This software is designed for presentations and for enhancement of images projected from SHARP LCD projectors. It includes the following functions: Projector Control Software: RS-232C Control This function allows you to control the projector’s functions/adjustments from your PC. The projector can be controlled from a central PC/CONTROLLER. Image Enhancement Software: Gamma Correction This function allows you to set the projector’s Gamma values directly from your PC. The ease of specifying preset values enables very precise custom brightness, contrast and color adjustments. Support Software for Presentation Transfer: Presentation Transfer This mode transmits BMP and JPEG images to a projector. By saving presentation slides as BMP or JPEG images you can do an entire presentation with SHARP LCD projectors. Capture & Transfer This mode allows you to transmit an image of what is currently displayed on your monitor. This is as simple as pressing the “Capture & Transfer” button in the application. Quick Transfer This mode is similar to “Capture & Transfer” but it can be used easily by clicking the “Right” mouse button, even during a Microsoft PowerPoint presentation. 1
This software operates under the Microsoft Windows 95 and 98 operating systems. This manual references only these Microsoft Windows Operating Systems and compatible Mouse devices. For details please refer to the Microsoft Windows operation manual. Note that Sharp Advanced Presentation Software is subject to change without prior notice for upgrading and improvement. 2
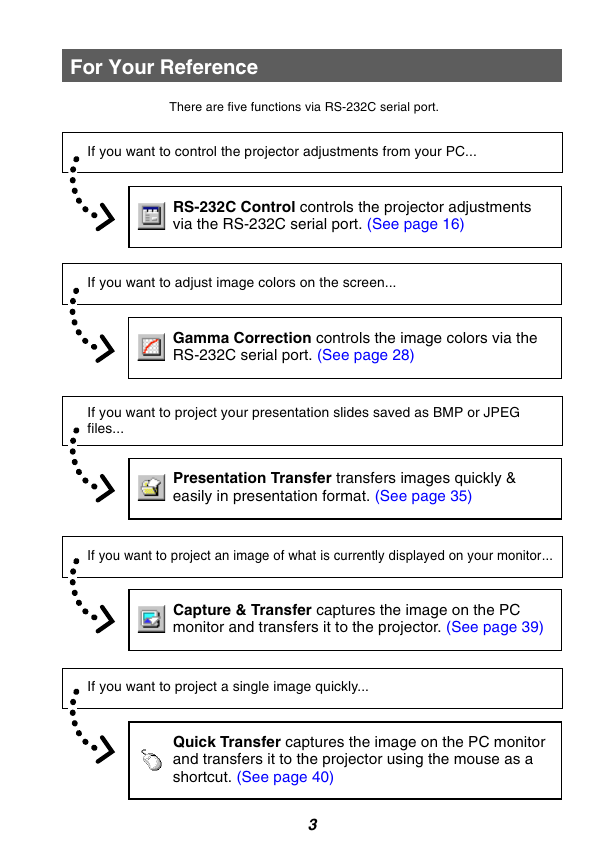
For Your Reference There are five functions via RS-232C serial port. If you want to control the projector adjustments from your PC... RS-232C Control controls the projector adjustments via the RS-232C serial port. (See page 16) If you want to adjust image colors on the screen... Gamma Correction controls the image colors via the RS-232C serial port. (See page 28) If you want to project your presentation slides saved as BMP or JPEG files... Presentation Transfer transfers images quickly & easily in presentation format. (See page 35) If you want to project an image of what is currently displayed on your monitor... Capture & Transfer captures the image on the PC monitor and transfers it to the projector. (See page 39) If you want to project a single image quickly... Quick Transfer captures the image on the PC monitor and transfers it to the projector using the mouse as a shortcut. (See page 40) 3
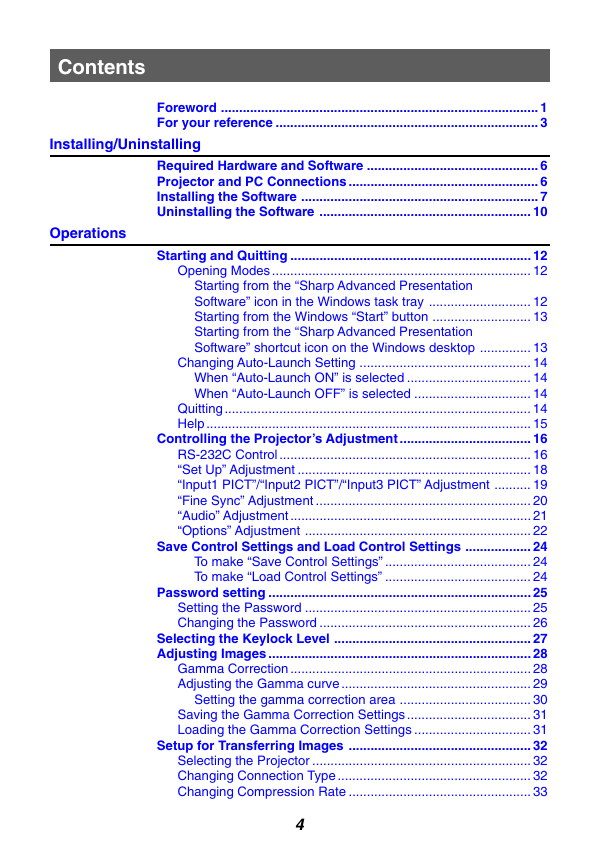
Contents Foreword ....................................................................................... 1 For your reference ........................................................................ 3 Installing/Uninstalling Operations Required Hardware and Software ............................................... 6 Projector and PC Connections .................................................... 6 Installing the Software ................................................................. 7 Uninstalling the Software .......................................................... 10 Starting and Quitting .................................................................. 12 Opening Modes ....................................................................... 12 Starting from the “Sharp Advanced Presentation Software” icon in the Windows task tray ............................ 12 Starting from the Windows “Start” button ........................... 13 Starting from the “Sharp Advanced Presentation Software” shortcut icon on the Windows desktop .............. 13 Changing Auto-Launch Setting ............................................... 14 When “Auto-Launch ON” is selected .................................. 14 When “Auto-Launch OFF” is selected ................................ 14 Quitting .................................................................................... 14 Help ......................................................................................... 15 Controlling the Projector’s Adjustment .................................... 16 RS-232C Control ..................................................................... 16 “Set Up” Adjustment ................................................................ 18 “Input1 PICT”/“Input2 PICT”/“Input3 PICT” Adjustment .......... 19 “Fine Sync” Adjustment ........................................................... 20 “Audio” Adjustment .................................................................. 21 “Options” Adjustment .............................................................. 22 Save Control Settings and Load Control Settings .................. 24 To make “Save Control Settings” ........................................ 24 To make “Load Control Settings” ........................................ 24 Password setting ........................................................................ 25 Setting the Password .............................................................. 25 Changing the Password .......................................................... 26 Selecting the Keylock Level ...................................................... 27 Adjusting Images ........................................................................ 28 Gamma Correction .................................................................. 28 Adjusting the Gamma curve .................................................... 29 Setting the gamma correction area .................................... 30 Saving the Gamma Correction Settings .................................. 31 Loading the Gamma Correction Settings ................................ 31 Setup for Transferring Images .................................................. 32 Selecting the Projector ............................................................ 32 Changing Connection Type ..................................................... 32 Changing Compression Rate .................................................. 33 4
Saving a Custom Image as Startup Image and Background Image ........................................................................................... 34 Transferring Images ................................................................... 35 Presentation Transfer .............................................................. 35 To send a single image (“Send Image”) ............................. 37 To send all the images (“Self Run”) .................................... 38 Capture & Transfer .................................................................. 39 To send another image ....................................................... 40 Quick Transfer ......................................................................... 40 To send another image ....................................................... 41 Troubleshooting ......................................................................... 42 Unable to transfer images or an error occurs with communication ........................................................................ 42 The functions in this software are not operating properly ....... 42 The transmitting speed is low ................................................. 42 Unable to save the startup image ........................................... 42 Quality of the image is low ...................................................... 43 Unable to speed up the transfer or improve the image quality .... 43 Unable to speed up “Gamma Correction” though the transmitting speed was changed ...................................... 43 Glossary ...................................................................................... 44 Services ....................................................................................... 46 G Microsoft and Windows are registered trademarks of Microsoft Corporation, USA. G All other brand or product names are trademarks or registered trademarks of their respective holders. G Great effort has been expended to ensure that the descriptions in this manual are correct. Should you, however, come across an inconsistency, a telephone call or letter to SHARP Corporation noting the questionable area would be highly appreciated. G This software is the property of SHARP Corporation and all related copyright and other rights belong to SHARP Corporation. G This manual may not be transferred wholly or in part in any form whatsoever without prior written permission. Uses other than personal use are for copyright reasons not permitted without the written permission of SHARP Corporation. G SHARP Corporation shall in no event be liable for damages, loss of revenue or third party claims arising from the use of the software. G Software specifications and the contents of the operation manual are subject to change without prior notice. G Operating speed may slow down depending on computer operating environment and processing capability. G The software is based on modules developed by the Independent JPEG Group. G The software uses LEAD Tools Pro developed by Bunka Orient Corp. and Lead Technologies, Inc. 5
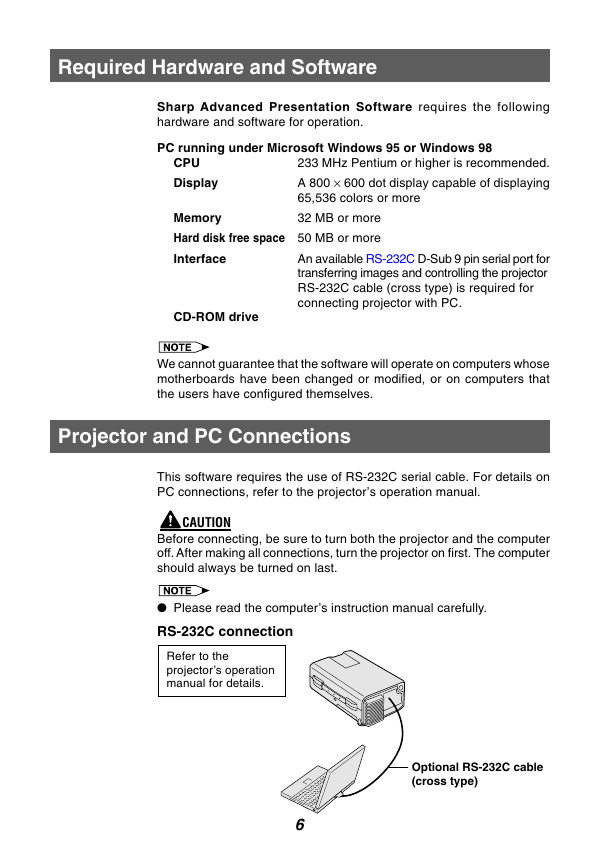
Required Hardware and Software Sharp Advanced Presentation Software requires the following hardware and software for operation. PC running under Microsoft Windows 95 or Windows 98 CPU Display 233 MHz Pentium or higher is recommended. A 800 × 600 dot display capable of displaying 65,536 colors or more Memory 32 MB or more Hard disk free space 50 MB or more Interface An available RS-232C D-Sub 9 pin serial port for transferring images and controlling the projector RS-232C cable (cross type) is required for connecting projector with PC. CD-ROM drive We cannot guarantee that the software will operate on computers whose motherboards have been changed or modified, or on computers that the users have configured themselves. Projector and PC Connections This software requires the use of RS-232C serial cable. For details on PC connections, refer to the projector’s operation manual. CAUTION Before connecting, be sure to turn both the projector and the computer off. After making all connections, turn the projector on first. The computer should always be turned on last. G Please read the computer’s instruction manual carefully. RS-232C connection Refer to the projector’s operation manual for details. Optional RS-232C cable (cross type) 6
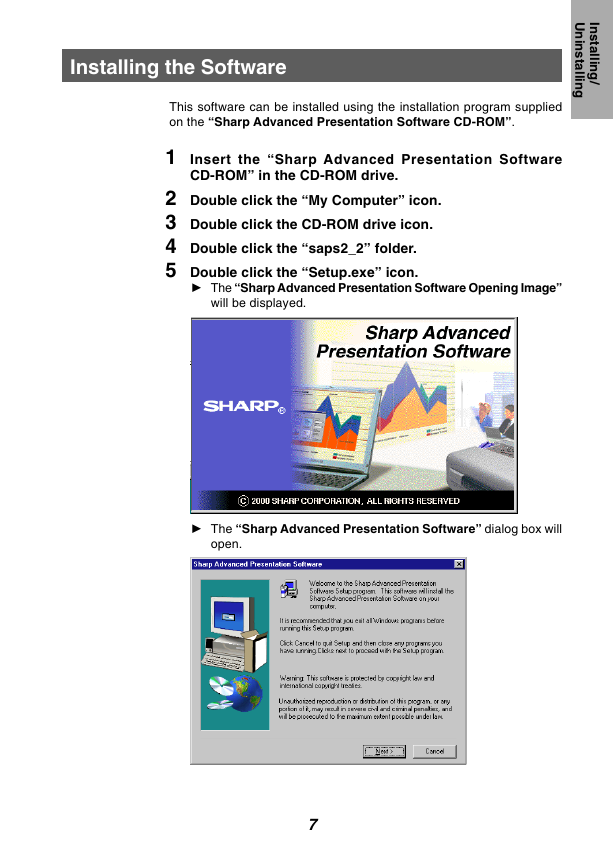
I n s t a l l i n g / i U n n s t a l l i n g Installing the Software This software can be installed using the installation program supplied on the “Sharp Advanced Presentation Software CD-ROM”. 1 Insert the “Sharp Advanced Presentation Software CD-ROM” in the CD-ROM drive. 2 Double click the “My Computer” icon. 3 Double click the CD-ROM drive icon. 4 Double click the “saps2_2” folder. 5 Double click the “Setup.exe” icon. w The “Sharp Advanced Presentation Software Opening Image” will be displayed. w The “Sharp Advanced Presentation Software” dialog box will open. 7
分享到:
收藏