附录:主要代码
主函数:
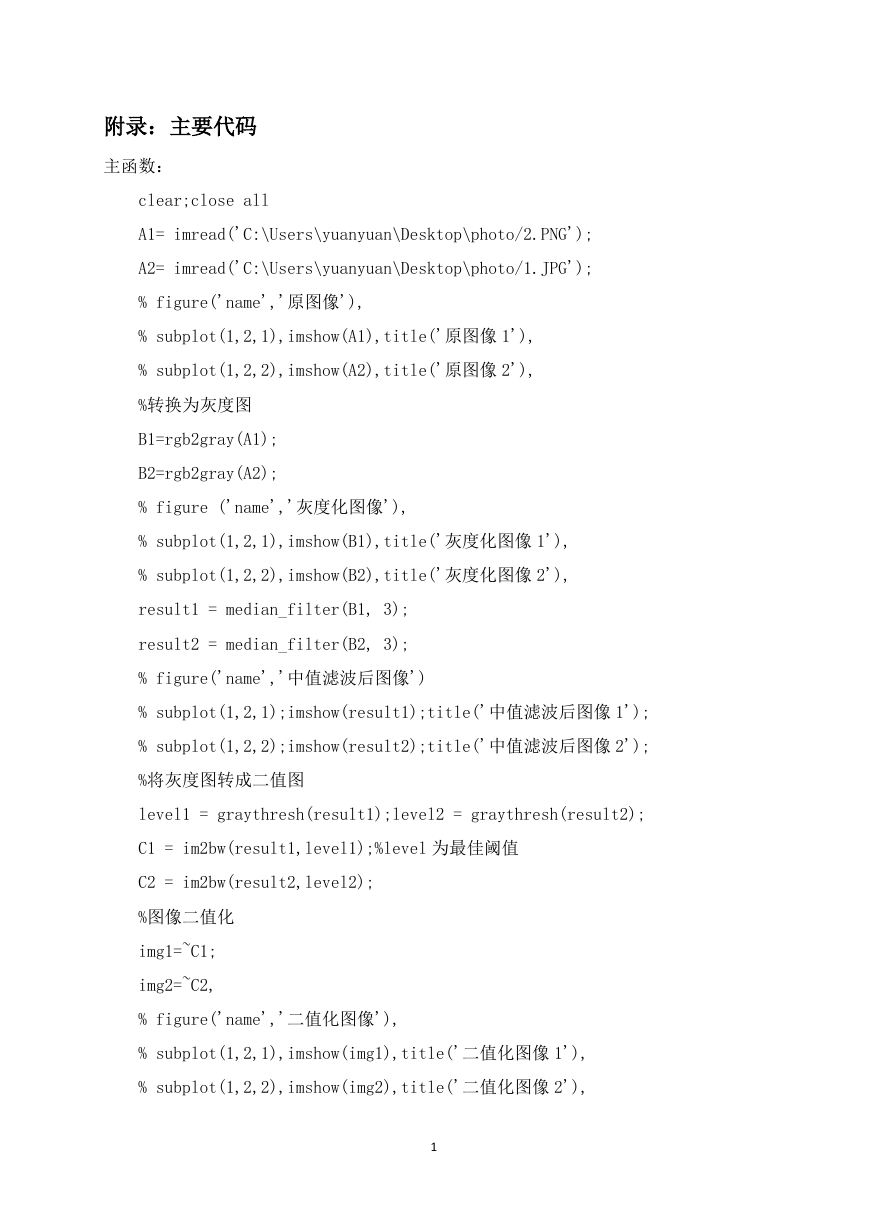
clear;close all
A1= imread('C:\Users\yuanyuan\Desktop\photo/2.PNG');
A2= imread('C:\Users\yuanyuan\Desktop\photo/1.JPG');
% figure('name','原图像'),
% subplot(1,2,1),imshow(A1),title('原图像 1'),
% subplot(1,2,2),imshow(A2),title('原图像 2'),
%转换为灰度图
B1=rgb2gray(A1);
B2=rgb2gray(A2);
% figure ('name','灰度化图像'),
% subplot(1,2,1),imshow(B1),title('灰度化图像 1'),
% subplot(1,2,2),imshow(B2),title('灰度化图像 2'),
result1 = median_filter(B1, 3);
result2 = median_filter(B2, 3);
% figure('name','中值滤波后图像')
% subplot(1,2,1);imshow(result1);title('中值滤波后图像 1');
% subplot(1,2,2);imshow(result2);title('中值滤波后图像 2');
%将灰度图转成二值图
level1 = graythresh(result1);level2 = graythresh(result2);
C1 = im2bw(result1,level1);%level 为最佳阈值
C2 = im2bw(result2,level2);
%图像二值化
img1=~C1;
img2=~C2,
% figure('name','二值化图像'),
% subplot(1,2,1),imshow(img1),title('二值化图像 1'),
% subplot(1,2,2),imshow(img2),title('二值化图像 2'),
1
�
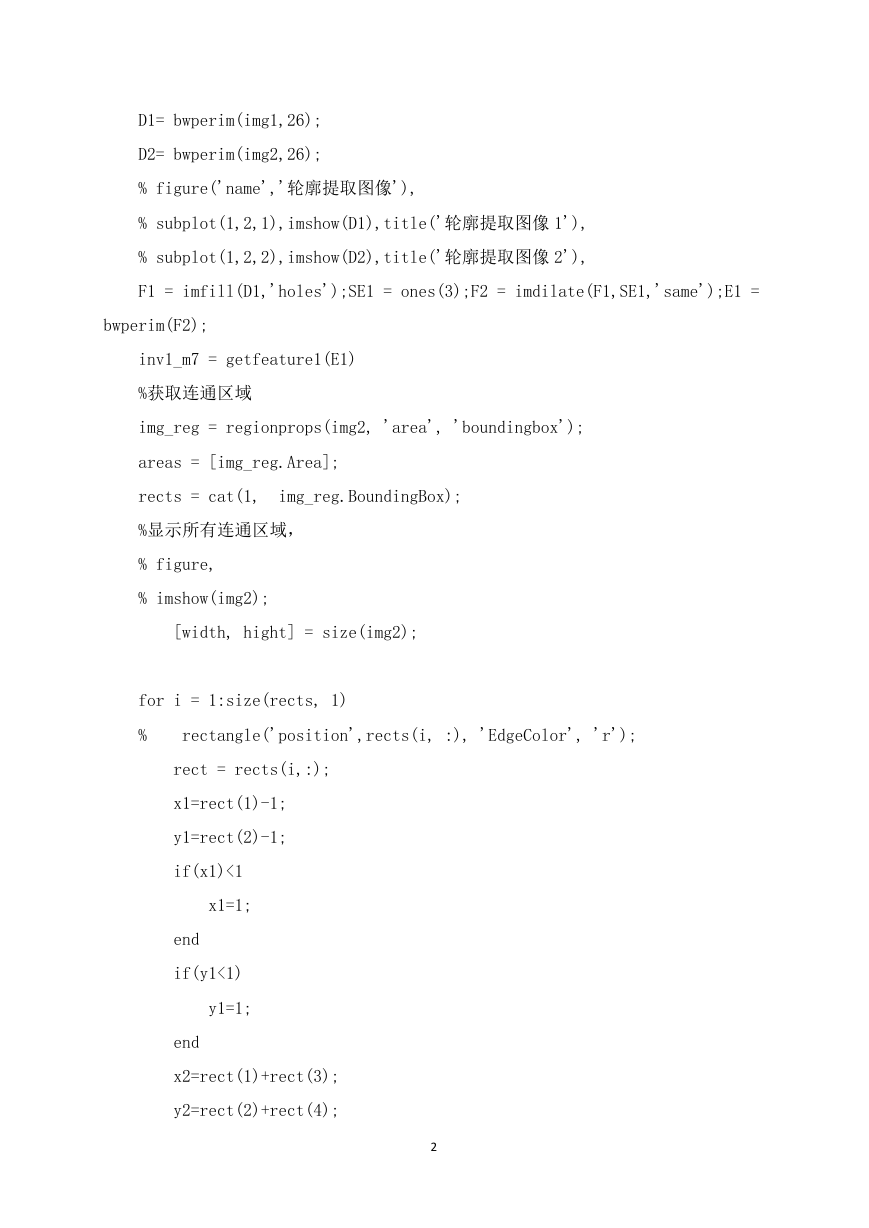
D1= bwperim(img1,26);
D2= bwperim(img2,26);
% figure('name','轮廓提取图像'),
% subplot(1,2,1),imshow(D1),title('轮廓提取图像 1'),
% subplot(1,2,2),imshow(D2),title('轮廓提取图像 2'),
F1 = imfill(D1,'holes');SE1 = ones(3);F2 = imdilate(F1,SE1,'same');E1 =
bwperim(F2);
inv1_m7 = getfeature1(E1)
%获取连通区域
img_reg = regionprops(img2, 'area', 'boundingbox');
areas = [img_reg.Area];
rects = cat(1, img_reg.BoundingBox);
%显示所有连通区域,
% figure,
% imshow(img2);
[width, hight] = size(img2);
for i = 1:size(rects, 1)
% rectangle('position',rects(i, :), 'EdgeColor', 'r');
rect = rects(i,:);
x1=rect(1)-1;
y1=rect(2)-1;
if(x1)<1
x1=1;
end
if(y1<1)
y1=1;
end
x2=rect(1)+rect(3);
y2=rect(2)+rect(4);
2
�
if(y2>width)
y2=width;
end
if(x2>hight)
x2=hight;
end
[width, hight, x1,y1,x2,y2]
% if (x2>=width || y2>=hight)
% continue;
% end
%截取图像函数
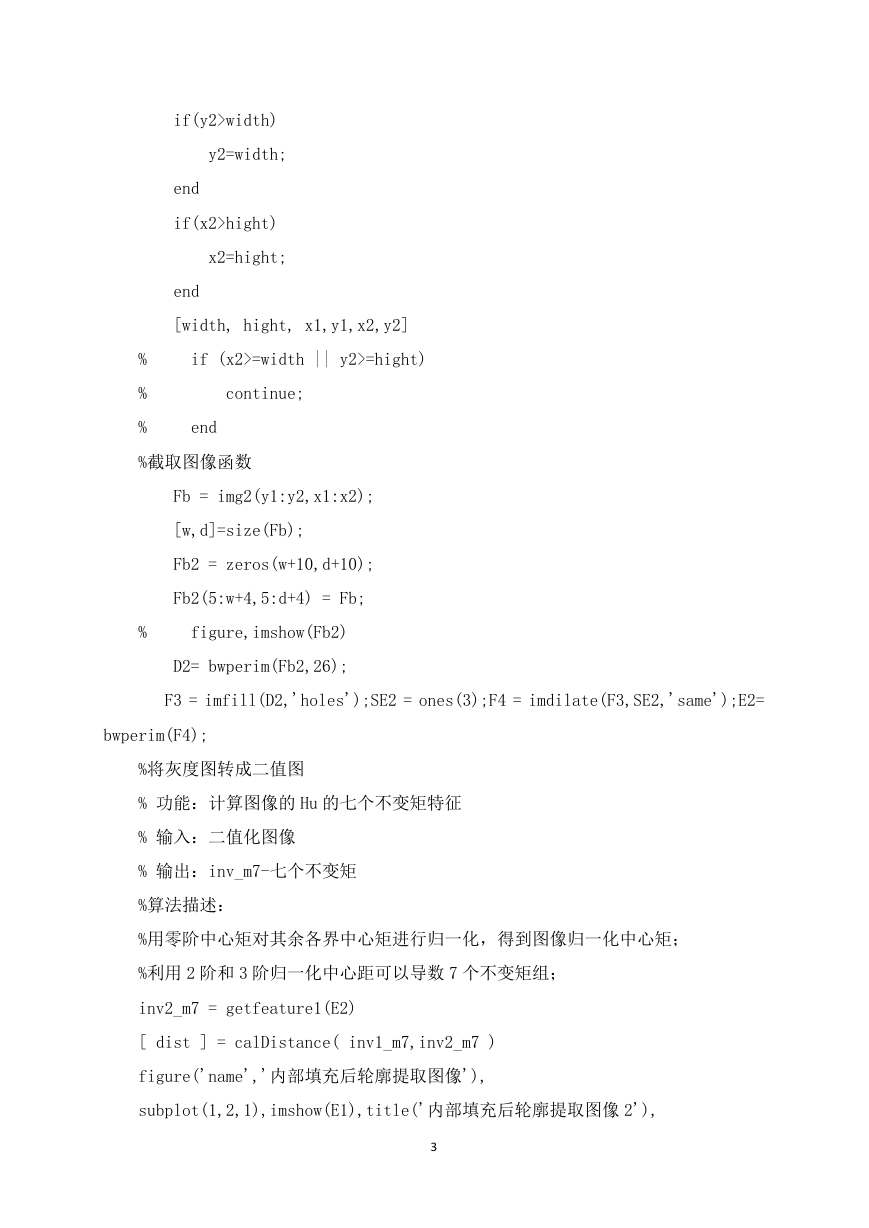
Fb = img2(y1:y2,x1:x2);
[w,d]=size(Fb);
Fb2 = zeros(w+10,d+10);
Fb2(5:w+4,5:d+4) = Fb;
% figure,imshow(Fb2)
D2= bwperim(Fb2,26);
F3 = imfill(D2,'holes');SE2 = ones(3);F4 = imdilate(F3,SE2,'same');E2=
bwperim(F4);
%将灰度图转成二值图
% 功能:计算图像的 Hu 的七个不变矩特征
% 输入:二值化图像
% 输出:inv_m7-七个不变矩
%算法描述:
%用零阶中心矩对其余各界中心矩进行归一化,得到图像归一化中心矩;
%利用 2 阶和 3 阶归一化中心距可以导数 7 个不变矩组;
inv2_m7 = getfeature1(E2)
[ dist ] = calDistance( inv1_m7,inv2_m7 )
figure('name','内部填充后轮廓提取图像'),
subplot(1,2,1),imshow(E1),title('内部填充后轮廓提取图像 2'),
3
�
subplot(1,2,2),imshow(E2),title(sprintf('内部填充后轮廓提取图像 2
dist=%f',dist));
end
中值滤波函数:
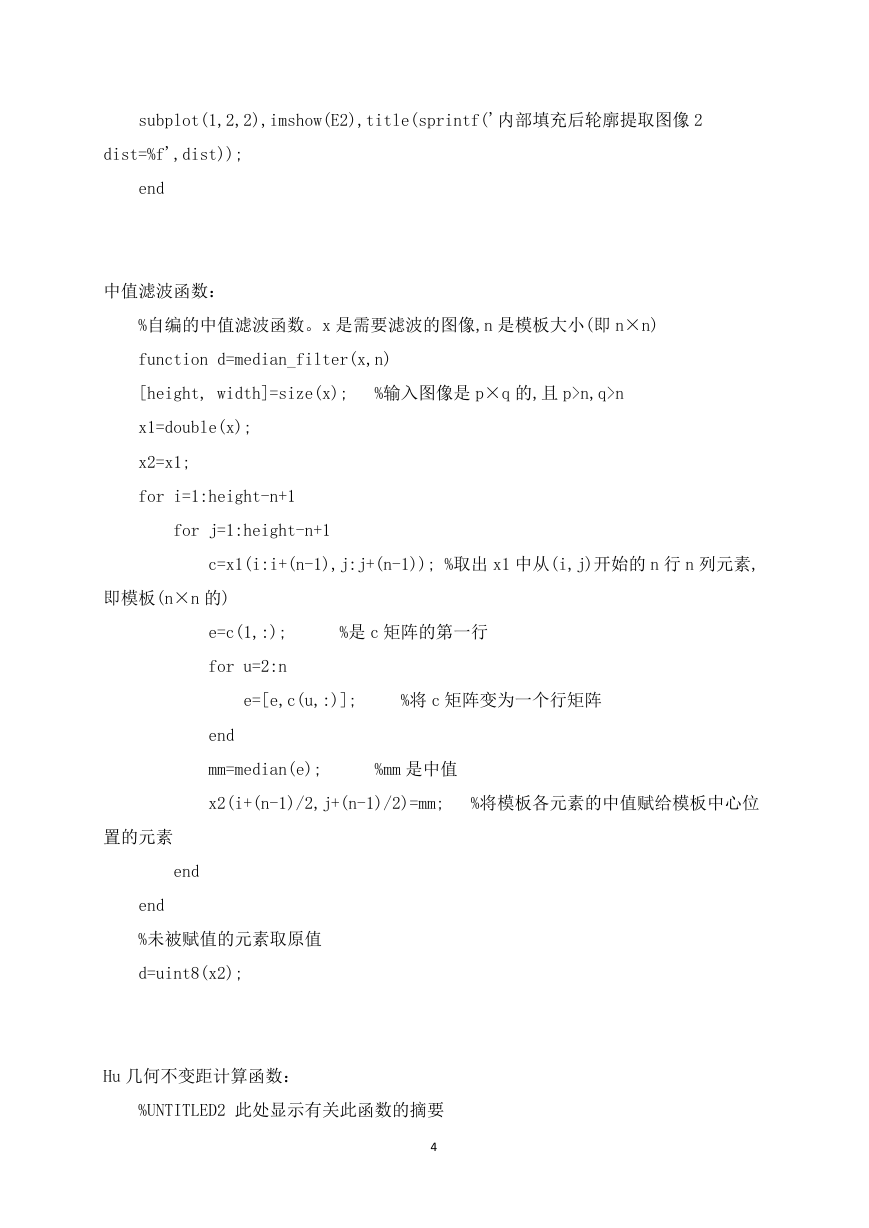
%自编的中值滤波函数。x 是需要滤波的图像,n 是模板大小(即 n×n)
function d=median_filter(x,n)
[height, width]=size(x); %输入图像是 p×q 的,且 p>n,q>n
x1=double(x);
x2=x1;
for i=1:height-n+1
for j=1:height-n+1
c=x1(i:i+(n-1),j:j+(n-1)); %取出 x1 中从(i,j)开始的 n 行 n 列元素,
即模板(n×n 的)
e=c(1,:); %是 c 矩阵的第一行
for u=2:n
e=[e,c(u,:)]; %将 c 矩阵变为一个行矩阵
end
mm=median(e); %mm 是中值
x2(i+(n-1)/2,j+(n-1)/2)=mm; %将模板各元素的中值赋给模板中心位
置的元素
end
end
%未被赋值的元素取原值
d=uint8(x2);
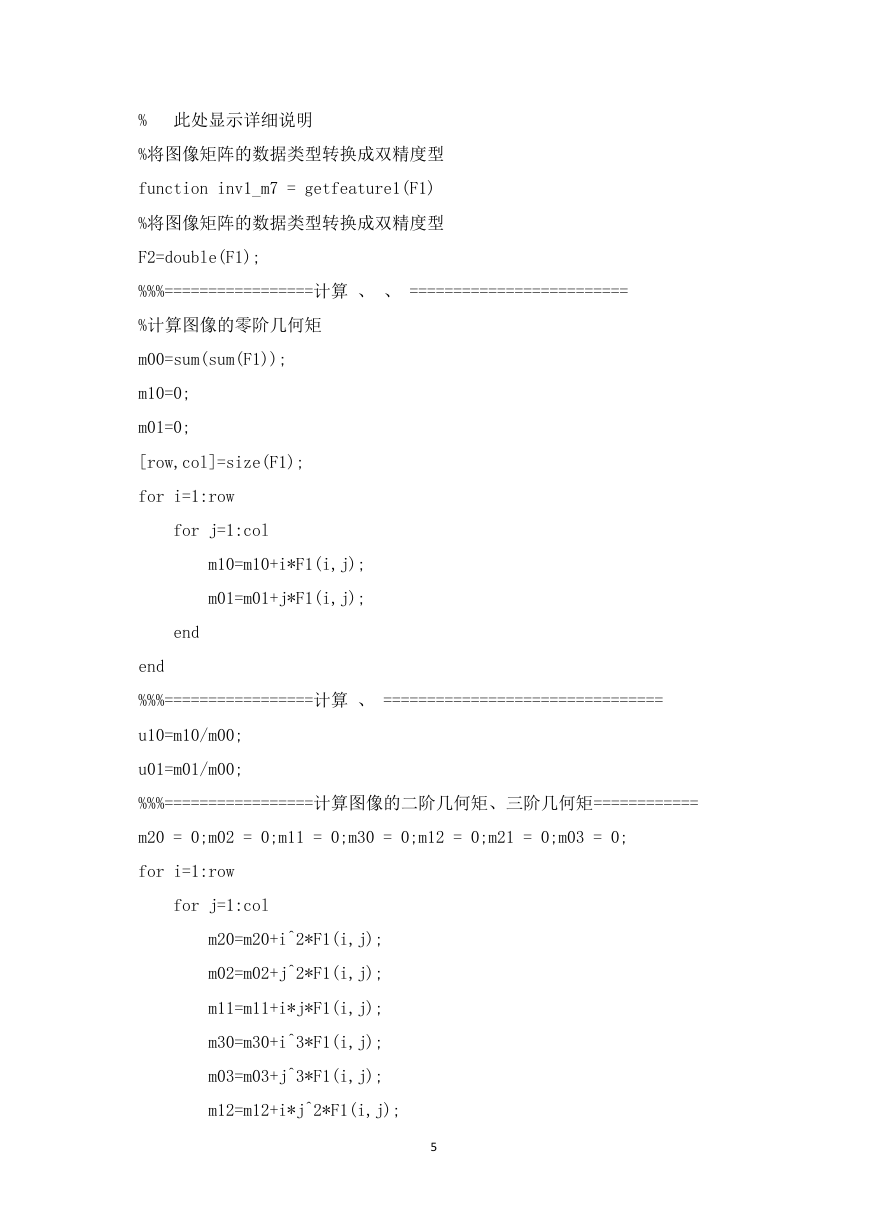
Hu 几何不变距计算函数:
%UNTITLED2 此处显示有关此函数的摘要
4
�
% 此处显示详细说明
%将图像矩阵的数据类型转换成双精度型
function inv1_m7 = getfeature1(F1)
%将图像矩阵的数据类型转换成双精度型
F2=double(F1);
%%%=================计算 、 、 =========================
%计算图像的零阶几何矩
m00=sum(sum(F1));
m10=0;
m01=0;
[row,col]=size(F1);
for i=1:row
for j=1:col
m10=m10+i*F1(i,j);
m01=m01+j*F1(i,j);
end
end
%%%=================计算 、 ================================
u10=m10/m00;
u01=m01/m00;
%%%=================计算图像的二阶几何矩、三阶几何矩============
m20 = 0;m02 = 0;m11 = 0;m30 = 0;m12 = 0;m21 = 0;m03 = 0;
for i=1:row
for j=1:col
m20=m20+i^2*F1(i,j);
m02=m02+j^2*F1(i,j);
m11=m11+i*j*F1(i,j);
m30=m30+i^3*F1(i,j);
m03=m03+j^3*F1(i,j);
m12=m12+i*j^2*F1(i,j);
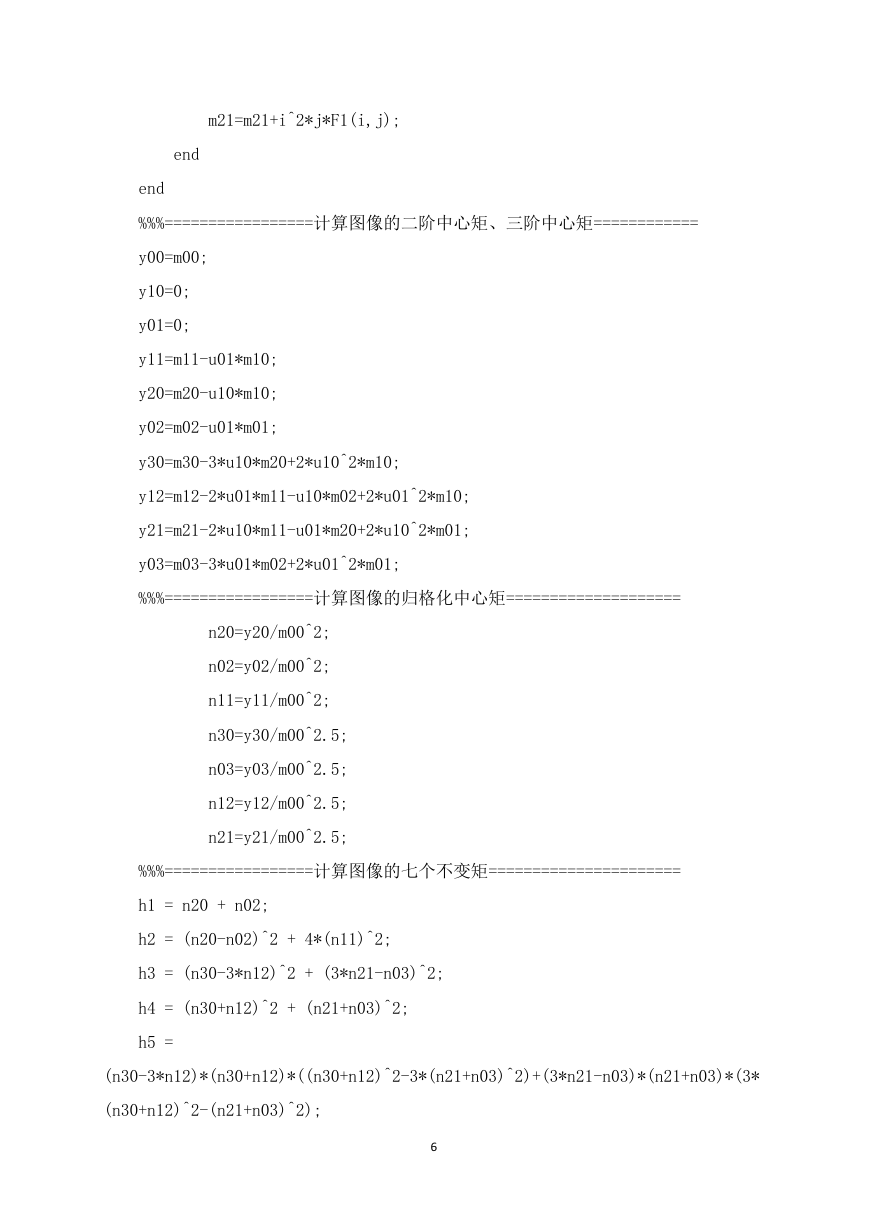
5
�
m21=m21+i^2*j*F1(i,j);
end
end
%%%=================计算图像的二阶中心矩、三阶中心矩============
y00=m00;
y10=0;
y01=0;
y11=m11-u01*m10;
y20=m20-u10*m10;
y02=m02-u01*m01;
y30=m30-3*u10*m20+2*u10^2*m10;
y12=m12-2*u01*m11-u10*m02+2*u01^2*m10;
y21=m21-2*u10*m11-u01*m20+2*u10^2*m01;
y03=m03-3*u01*m02+2*u01^2*m01;
%%%=================计算图像的归格化中心矩====================
n20=y20/m00^2;
n02=y02/m00^2;
n11=y11/m00^2;
n30=y30/m00^2.5;
n03=y03/m00^2.5;
n12=y12/m00^2.5;
n21=y21/m00^2.5;
%%%=================计算图像的七个不变矩======================
h1 = n20 + n02;
h2 = (n20-n02)^2 + 4*(n11)^2;
h3 = (n30-3*n12)^2 + (3*n21-n03)^2;
h4 = (n30+n12)^2 + (n21+n03)^2;
h5 =
(n30-3*n12)*(n30+n12)*((n30+n12)^2-3*(n21+n03)^2)+(3*n21-n03)*(n21+n03)*(3*
(n30+n12)^2-(n21+n03)^2);
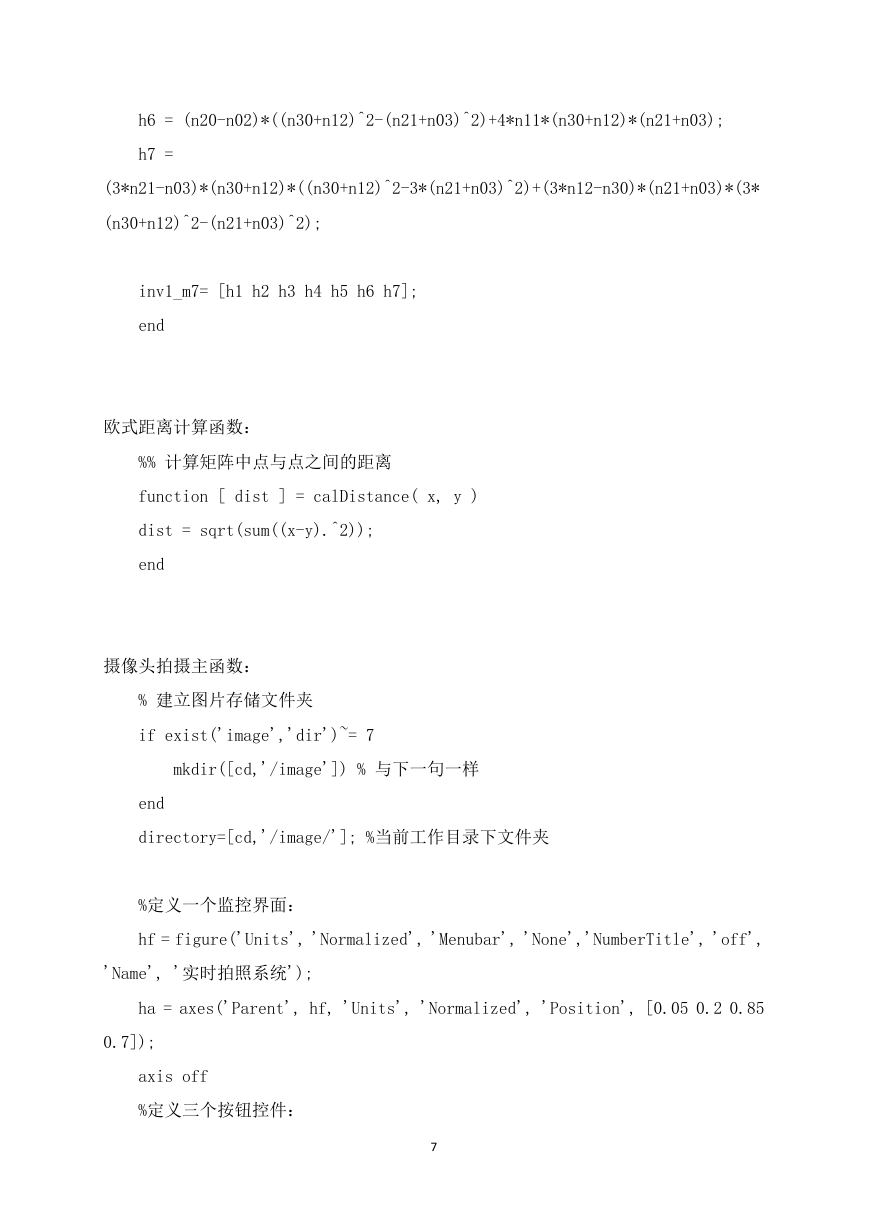
6
�
h6 = (n20-n02)*((n30+n12)^2-(n21+n03)^2)+4*n11*(n30+n12)*(n21+n03);
h7 =
(3*n21-n03)*(n30+n12)*((n30+n12)^2-3*(n21+n03)^2)+(3*n12-n30)*(n21+n03)*(3*
(n30+n12)^2-(n21+n03)^2);
inv1_m7= [h1 h2 h3 h4 h5 h6 h7];
end
欧式距离计算函数:
%% 计算矩阵中点与点之间的距离
function [ dist ] = calDistance( x, y )
dist = sqrt(sum((x-y).^2));
end
摄像头拍摄主函数:
% 建立图片存储文件夹
if exist('image','dir')~= 7
mkdir([cd,'/image']) % 与下一句一样
end
directory=[cd,'/image/']; %当前工作目录下文件夹
%定义一个监控界面:
hf = figure('Units', 'Normalized', 'Menubar', 'None','NumberTitle', 'off',
'Name', '实时拍照系统');
ha = axes('Parent', hf, 'Units', 'Normalized', 'Position', [0.05 0.2 0.85
0.7]);
axis off
%定义三个按钮控件:
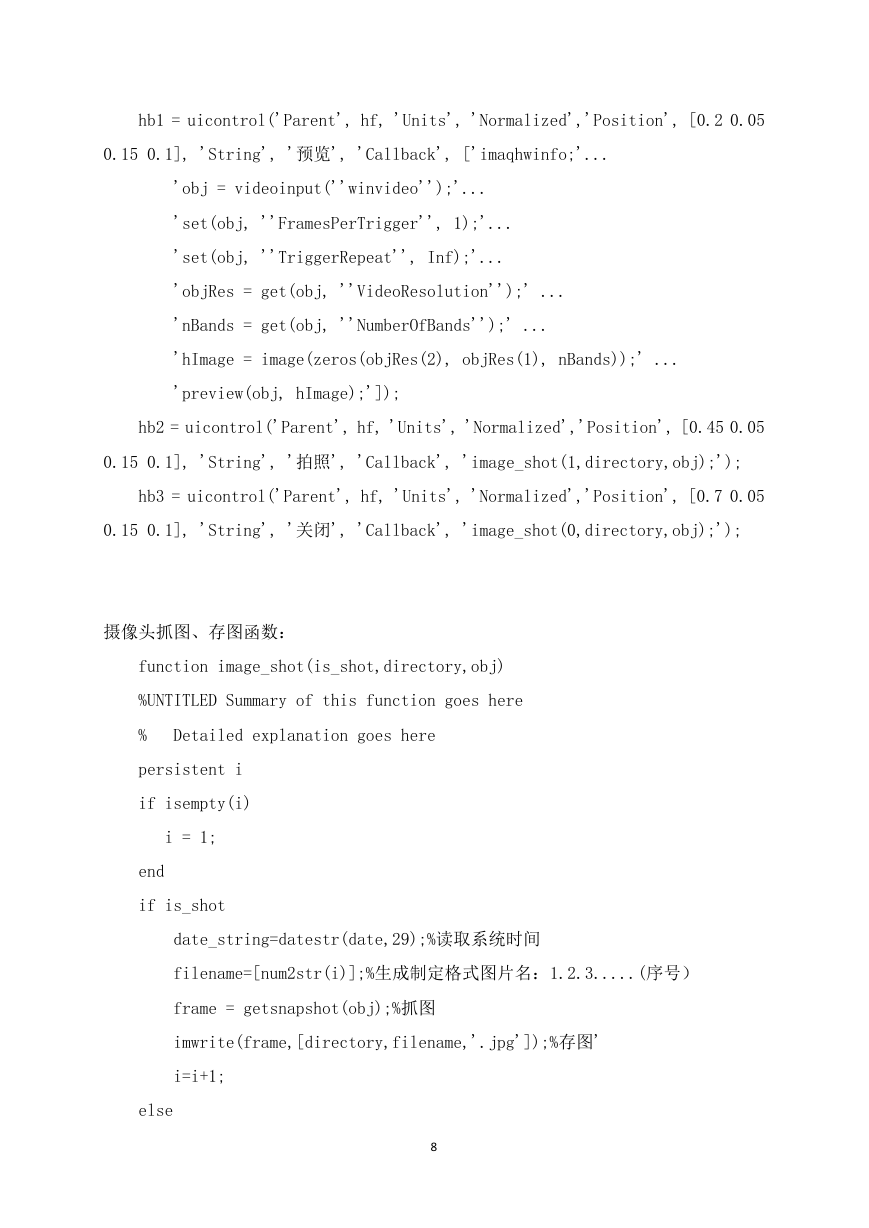
7
�
hb1 = uicontrol('Parent', hf, 'Units', 'Normalized','Position', [0.2 0.05
0.15 0.1], 'String', '预览', 'Callback', ['imaqhwinfo;'...
'obj = videoinput(''winvideo'');'...
'set(obj, ''FramesPerTrigger'', 1);'...
'set(obj, ''TriggerRepeat'', Inf);'...
'objRes = get(obj, ''VideoResolution'');' ...
'nBands = get(obj, ''NumberOfBands'');' ...
'hImage = image(zeros(objRes(2), objRes(1), nBands));' ...
'preview(obj, hImage);']);
hb2 = uicontrol('Parent', hf, 'Units', 'Normalized','Position', [0.45 0.05
0.15 0.1], 'String', '拍照', 'Callback', 'image_shot(1,directory,obj);');
hb3 = uicontrol('Parent', hf, 'Units', 'Normalized','Position', [0.7 0.05
0.15 0.1], 'String', '关闭', 'Callback', 'image_shot(0,directory,obj);');
摄像头抓图、存图函数:
function image_shot(is_shot,directory,obj)
%UNTITLED Summary of this function goes here
% Detailed explanation goes here
persistent i
if isempty(i)
i = 1;
end
if is_shot
date_string=datestr(date,29);%读取系统时间
filename=[num2str(i)];%生成制定格式图片名:1.2.3.....(序号)
frame = getsnapshot(obj);%抓图
imwrite(frame,[directory,filename,'.jpg']);%存图'
i=i+1;
else
8
�


 2023年江西萍乡中考道德与法治真题及答案.doc
 2012年重庆南川中考生物真题及答案.doc
 2013年江西师范大学地理学综合及文艺理论基础考研真题.doc
 2020年四川甘孜小升初语文真题及答案I卷.doc
 2020年注册岩土工程师专业基础考试真题及答案.doc
 2023-2024学年福建省厦门市九年级上学期数学月考试题及答案.doc
 2021-2022学年辽宁省沈阳市大东区九年级上学期语文期末试题及答案.doc
 2022-2023学年北京东城区初三第一学期物理期末试卷及答案.doc
 2018上半年江西教师资格初中地理学科知识与教学能力真题及答案.doc
 2012年河北国家公务员申论考试真题及答案-省级.doc
 2020-2021学年江苏省扬州市江都区邵樊片九年级上学期数学第一次质量检测试题及答案.doc
 2022下半年黑龙江教师资格证中学综合素质真题及答案.doc