logo资料库

柯达数码相机-M580说明书.pdf

第1页 / 共68页
第2页 / 共68页
第3页 / 共68页
第4页 / 共68页
第5页 / 共68页
第6页 / 共68页
第7页 / 共68页
第8页 / 共68页
资料共68页,剩余部分请下载后查看
KODAK EASYSHARE M580 Digital Camera
Product features
Table of contents
Setting up your camera
Attaching the strap
Loading the KLIC-7006 battery
Charging the battery
Using the in-camera battery charger
Using the external battery charger
Turning on the camera
Setting the language and date/time
Storing pictures on an optional SD or SDHC Card
Taking pictures/videos
Taking pictures
Using the framing marks
Taking a video
Reviewing the picture/video just taken
Adjusting LCD brightness
Understanding the picture-taking icons
Know when your battery needs charging
Using the optical zoom
Using digital zoom
Using the flash
Using different modes
Using Scene (SCN) modes
Using shortcuts
Using the self-timer
Using burst
Taking panoramic pictures
Sharing pictures/videos
Sharing pictures through social networks
Choose which social networking sites to display on your camera
Manage email addresses and KODAK PULSE Digital Frames
Tagging pictures
Tagging people
Need to update a name?
Tagging with keywords
Using the keyboard
Marking pictures/videos as favorites and for email
Marking pictures/videos as favorites
Marking pictures for email
Reviewing and editing
Reviewing pictures/videos
Playing a video
Deleting pictures/videos
Using the undo delete picture feature
Protecting pictures/videos from deletion
Viewing pictures/videos in different ways
Magnifying a picture
Viewing as thumbnails
A smarter way to find and enjoy your pictures
Understanding the review icons
Using the menu button in review
Cropping pictures
Editing videos
Making a picture from a video
Trimming a video
Selecting multiple pictures/videos
Copying pictures/videos
Creating a multimedia slide show
Make a slide show that you can save
Play a slide show loop
Displaying pictures/videos on an HD television
Using the optional remote control
Remove the tab to activate the battery
Doing more with your camera
Using the menu button to change settings
Transferring, printing pictures
Transferring pictures to your computer
Printing pictures
Direct printing with a KODAK All-in-One Printer
Connecting the camera to a KODAK All-in-One Printer
Printing from a KODAK All-in-One Printer
Ordering prints online
Printing from an optional SD or SDHC Card
Marking your pictures for print
Troubleshooting
Getting help from your camera
Turning on camera Help
Troubleshooting
Getting help on the Web
Appendix
Camera specifications
Care and maintenance
Upgrading your software and firmware
Storage capacities
Important safety instructions
Battery replacement, battery life
Extending battery life
Limited warranty
Regulatory compliance
FCC compliance and advisory
Waste Electrical and Electronic Equipment/Battery disposal
Canadian DOC statement
CE
Australian C-Tick
VCCI Class B ITE
Russian GOST-R
China RoHS
Korean Class B ITE
Korean Li-Ion Regulatory
Index
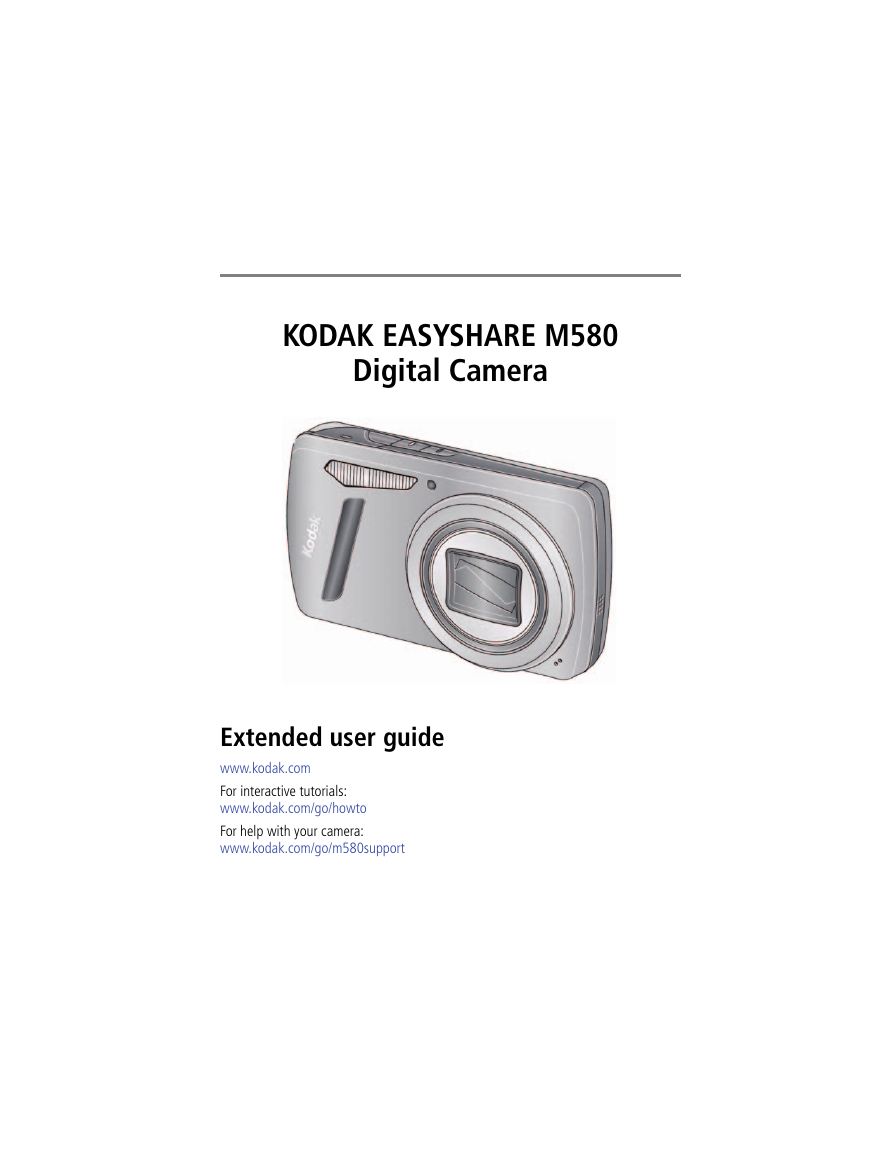
KODAK EASYSHARE M580 Digital Camera Extended user guide www.kodak.com For interactive tutorials: www.kodak.com/go/howto For help with your camera: www.kodak.com/go/m580support
Eastman Kodak Company Rochester, New York 14650 © Eastman Kodak Company, 2010 All screen images are simulated. Kodak, EasyShare, and Pulse are trademarks of Eastman Kodak Company. 4H6898_en
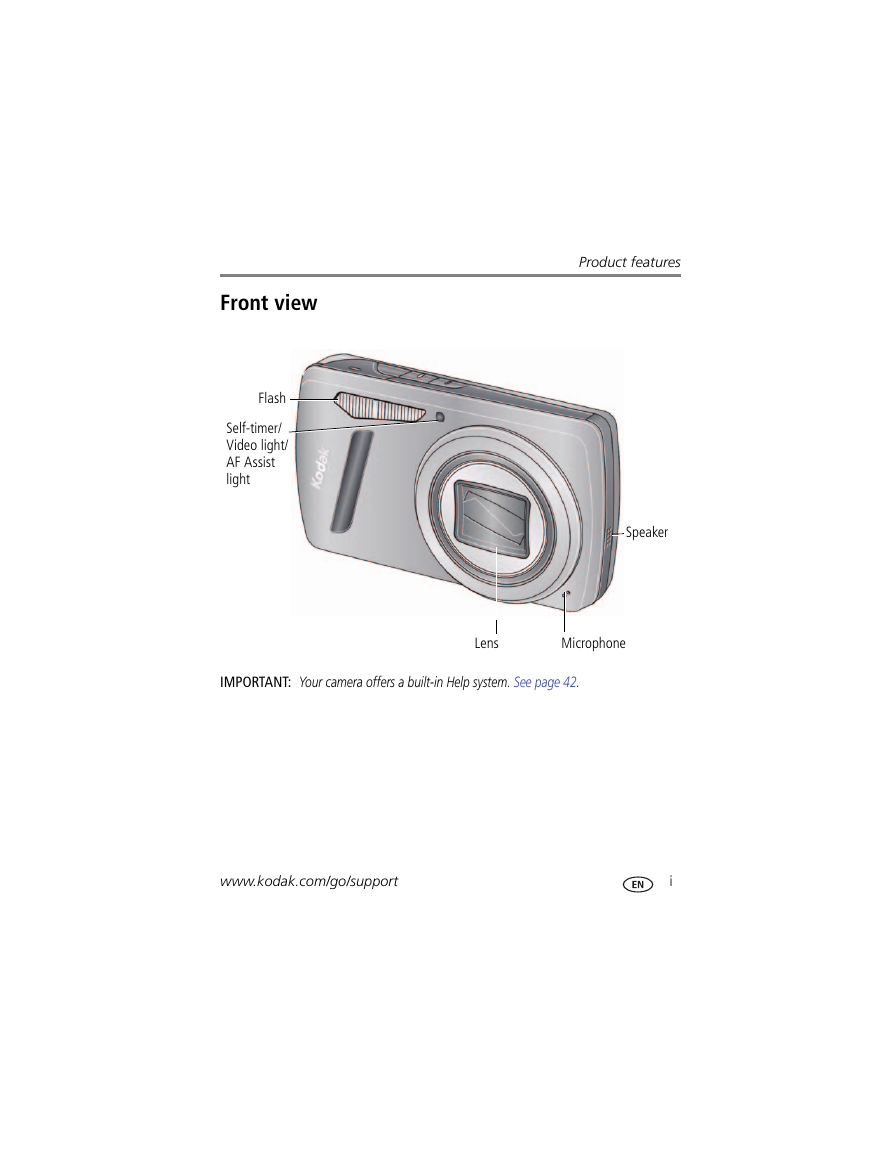
Front view Flash Self-timer/ Video light/ AF Assist light Product features Speaker IMPORTANT: Your camera offers a built-in Help system. See page 42. Lens Microphone www.kodak.com/go/support i
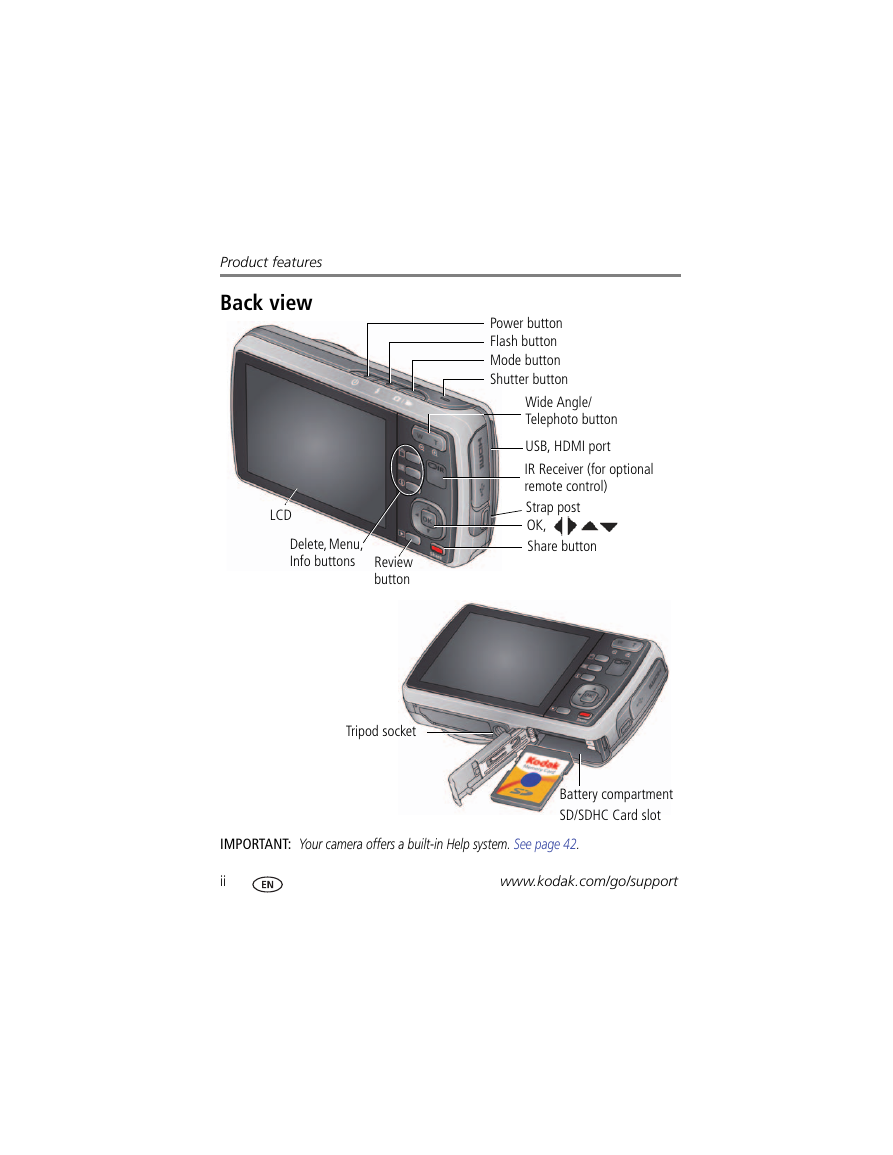
Power button Flash button Mode button Shutter button Wide Angle/ Telephoto button USB, HDMI port IR Receiver (for optional remote control) Strap post OK, Share button Product features Back view LCD Delete, Menu, Info buttons Review button Tripod socket Battery compartment SD/SDHC Card slot IMPORTANT: Your camera offers a built-in Help system. See page 42. ii www.kodak.com/go/support
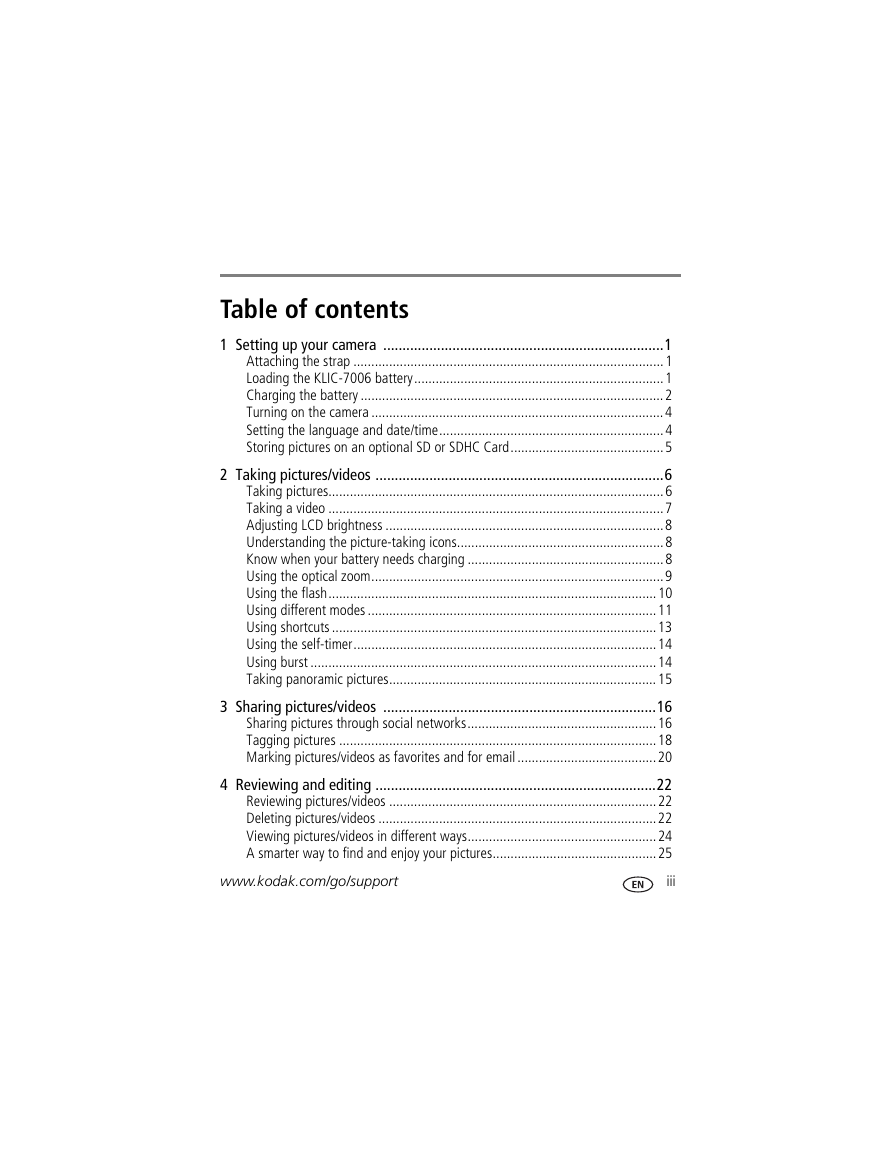
1 Table of contents 1 Setting up your camera .........................................................................1 Attaching the strap .......................................................................................1 Loading the KLIC-7006 battery......................................................................1 Charging the battery .....................................................................................2 Turning on the camera ..................................................................................4 Setting the language and date/time...............................................................4 Storing pictures on an optional SD or SDHC Card...........................................5 2 Taking pictures/videos ...........................................................................6 Taking pictures..............................................................................................6 Taking a video ..............................................................................................7 Adjusting LCD brightness ..............................................................................8 Understanding the picture-taking icons..........................................................8 Know when your battery needs charging .......................................................8 Using the optical zoom..................................................................................9 Using the flash............................................................................................10 Using different modes .................................................................................11 Using shortcuts ...........................................................................................13 Using the self-timer.....................................................................................14 Using burst .................................................................................................14 Taking panoramic pictures...........................................................................15 3 Sharing pictures/videos .......................................................................16 Sharing pictures through social networks.....................................................16 Tagging pictures .........................................................................................18 Marking pictures/videos as favorites and for email .......................................20 4 Reviewing and editing .........................................................................22 Reviewing pictures/videos ...........................................................................22 Deleting pictures/videos ..............................................................................22 Viewing pictures/videos in different ways.....................................................24 A smarter way to find and enjoy your pictures..............................................25 www.kodak.com/go/support iii
Table of contents Understanding the review icons...................................................................26 Using the menu button in review.................................................................27 Cropping pictures........................................................................................27 Editing videos .............................................................................................28 Selecting multiple pictures/videos ................................................................29 Copying pictures/videos...............................................................................29 Creating a multimedia slide show................................................................30 Displaying pictures/videos on an HD television.............................................31 5 Doing more with your camera .............................................................33 Using the menu button to change settings...................................................33 6 Transferring, printing pictures .............................................................39 Transferring pictures to your computer.........................................................39 Printing pictures..........................................................................................40 Marking your pictures for print ....................................................................41 7 Troubleshooting ..................................................................................42 Getting help from your camera ....................................................................42 Troubleshooting..........................................................................................43 Getting help on the Web .............................................................................47 8 Appendix .............................................................................................48 Camera specifications .................................................................................48 Care and maintenance ................................................................................50 Upgrading your software and firmware........................................................50 Storage capacities .......................................................................................51 Important safety instructions .......................................................................51 Battery replacement, battery life..................................................................52 Limited warranty .........................................................................................53 Regulatory compliance ................................................................................54 iv www.kodak.com/go/support
1 Setting up your camera Attaching the strap Loading the KLIC-7006 battery Purchase extra batteries for your special event www.kodak.com/go/m580accessories Charge the battery Know when your battery needs charging see page 2 see page 8 www.kodak.com/go/support 1
Setting up your camera Charging the battery If your package included An in-camera battery charger An external battery charger Then see Using the in-camera battery charger Using the external battery charger Using the in-camera battery charger Charge the battery whenever necessary. Battery Charging light: • Blinking: charging • Steady: finished charging Your adapter may differ. 1 2 Turn OFF the camera. Connect KODAK Camera USB Cable, Micro B / 5-Pin and charger. (Use only the cable included with this camera!) NOTE: You can use the camera while it’s plugged in. Purchase extra batteries Know when your battery needs charging www.kodak.com/go/m580accessories see page 8 2 www.kodak.com/go/support
分享到:
收藏