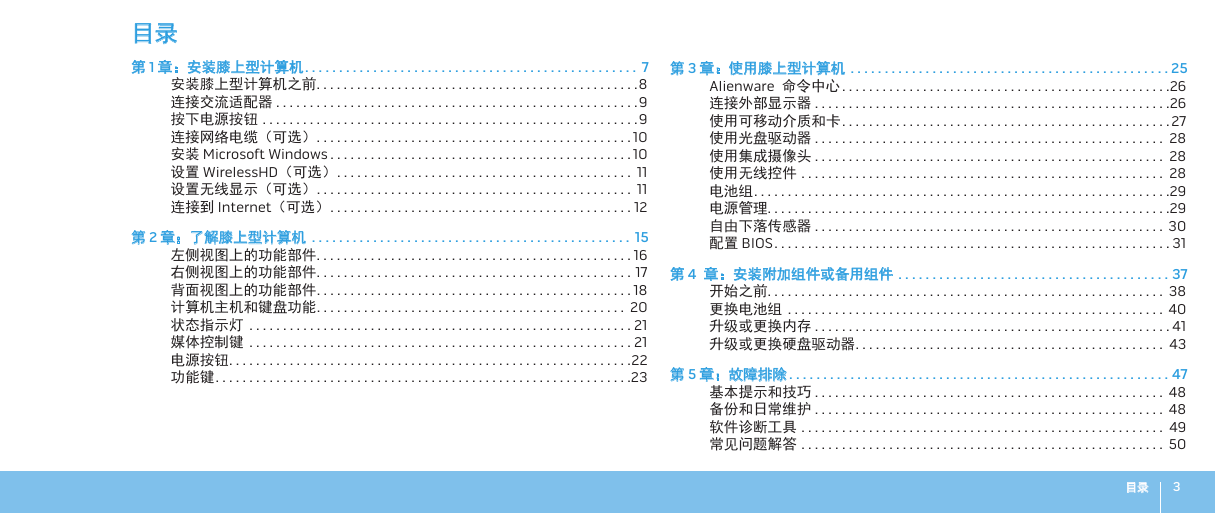
CHAPTER 1: SETTING UP YOUR LAPTOP
Before Setting Up Your Laptop
Connect the AC Adapter
Press the Power Button
Connect the Network Cable (Optional)
Set Up Microsoft Windows
Set Up WirelessHD (Optional)
Set Up Wireless Display (Optional)
Connect to the Internet (Optional)
CHAPTER 2: GETTING TO KNOW YOUR LAPTOP
Left View Features
Right View Features
Back View Features
Computer Base and Keyboard Features
Status Lights
Media Control Keys
Power Button
Function Keys
CHAPTER 3: USING YOUR LAPTOP
Alienware Command Center
Connecting External Displays
Using Removable Media and Cards
Using the Optical Drive
Using the Integrated Camera
Using the Wireless Control
Battery Pack
Power Management
Free Fall Sensor
Configuring the BIOS
CHAPTER 4: INSTALLING ADDITIONAL OR REPLACEMENT COMPONENTS
Before You Begin
Replacing the Battery Pack
Upgrading or Replacing Memory
Upgrading or Replacing the Hard Drive(s)
CHAPTER 5: TROUBLESHOOTING
Basic Hints and Tips
Backup and General Maintenance
Software Diagnostic Tools
Answers to Common Problems
CHAPTER 6: SYSTEM RECOVERY
AlienRespawn
My Dell Downloads
CHAPTER 7: SPECIFICATIONS
APPENDIX A: GENERAL AND ELECTRICAL SAFETY PRECAUTIONS
APPENDIX B: Contacting Alienware
第 1 章:安装膝上型计算机
安装膝上型计算机之前
连接交流适配器
按下电源按钮
连接网络电缆(可选)
安装 Microsoft Windows
设置 WirelessHD(可选)
设置无线显示(可选)
连接到 Internet(可选)
第 2 章:了解膝上型计算机
左侧视图上的功能部件
右侧视图上的功能部件
背面视图上的功能部件
计算机主机和键盘功能
状态指示灯
媒体控制键
电源按钮
功能键
第 3 章:使用膝上型计算机
Alienware 命令中心
连接外部显示器
使用可移动介质和卡
使用光盘驱动器
使用集成摄像头
使用无线控件
电池组
电源管理
自由下落传感器
配置 BIOS
第 4 章:安装附加组件或备用组件
开始之前
更换电池组
升级或更换内存
升级或更换硬盘驱动器
第 5 章:故障排除
基本提示和技巧
备份和日常维护
软件诊断工具
常见问题解答
第 6 章:系统恢复
AlienRespawn
我的 Dell 下载
第 7 章:规格
附录
常规和电气安全预防措施
联系 Alienware


 2023年江西萍乡中考道德与法治真题及答案.doc
 2012年重庆南川中考生物真题及答案.doc
 2013年江西师范大学地理学综合及文艺理论基础考研真题.doc
 2020年四川甘孜小升初语文真题及答案I卷.doc
 2020年注册岩土工程师专业基础考试真题及答案.doc
 2023-2024学年福建省厦门市九年级上学期数学月考试题及答案.doc
 2021-2022学年辽宁省沈阳市大东区九年级上学期语文期末试题及答案.doc
 2022-2023学年北京东城区初三第一学期物理期末试卷及答案.doc
 2018上半年江西教师资格初中地理学科知识与教学能力真题及答案.doc
 2012年河北国家公务员申论考试真题及答案-省级.doc
 2020-2021学年江苏省扬州市江都区邵樊片九年级上学期数学第一次质量检测试题及答案.doc
 2022下半年黑龙江教师资格证中学综合素质真题及答案.doc