Index
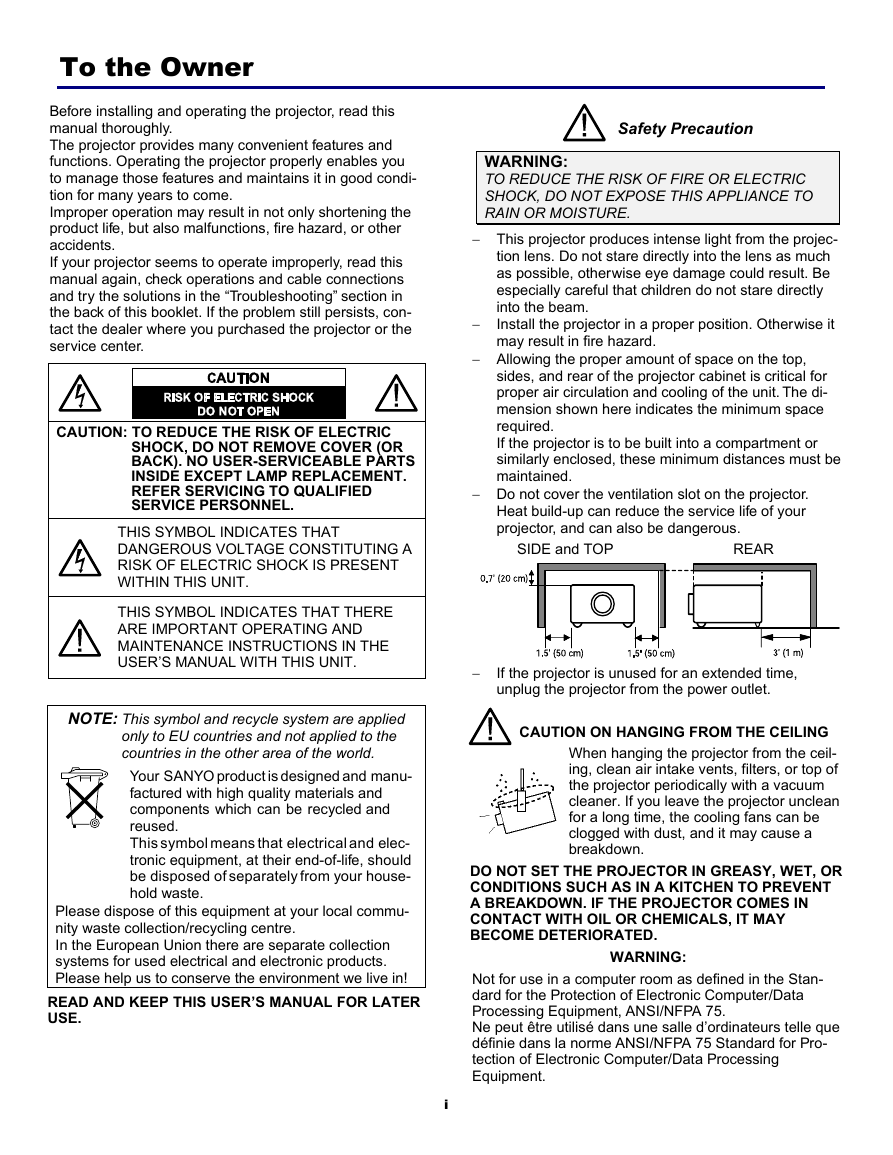
To the Owner
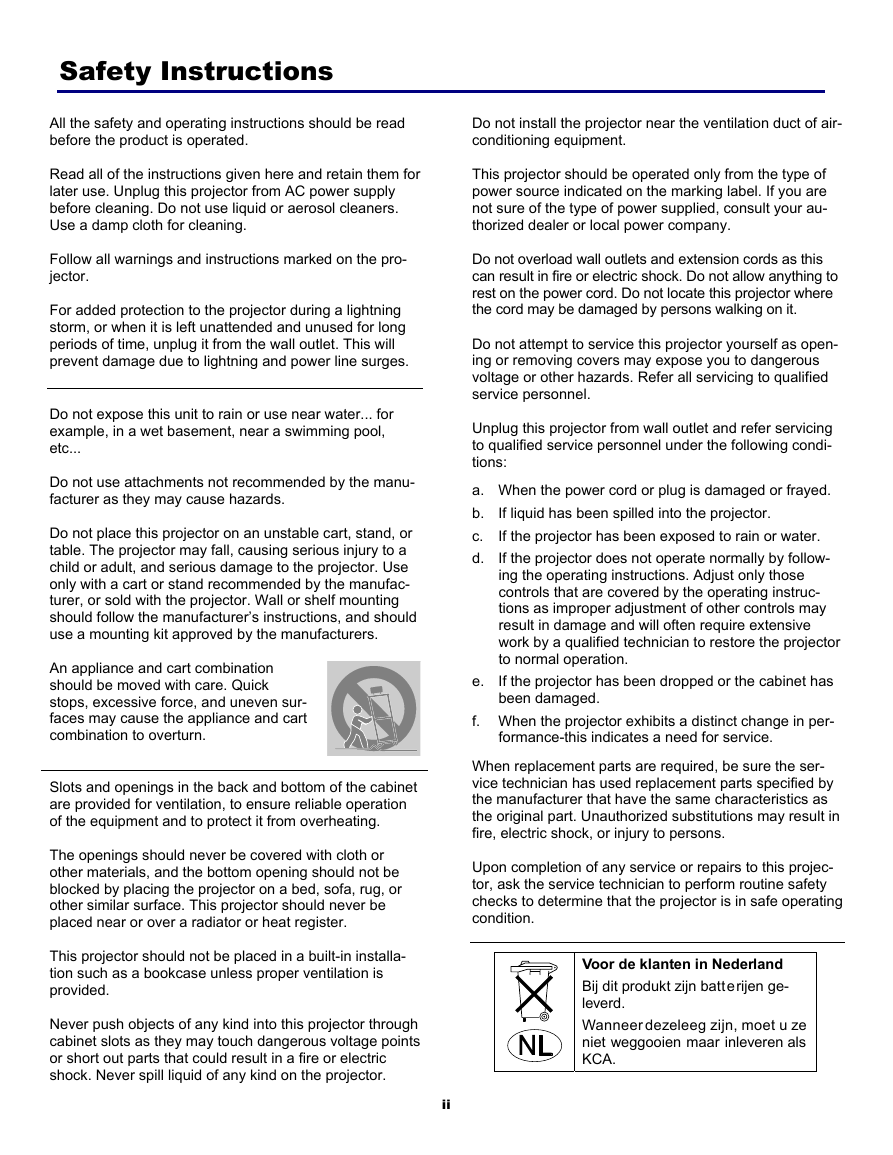
Safety Instructions
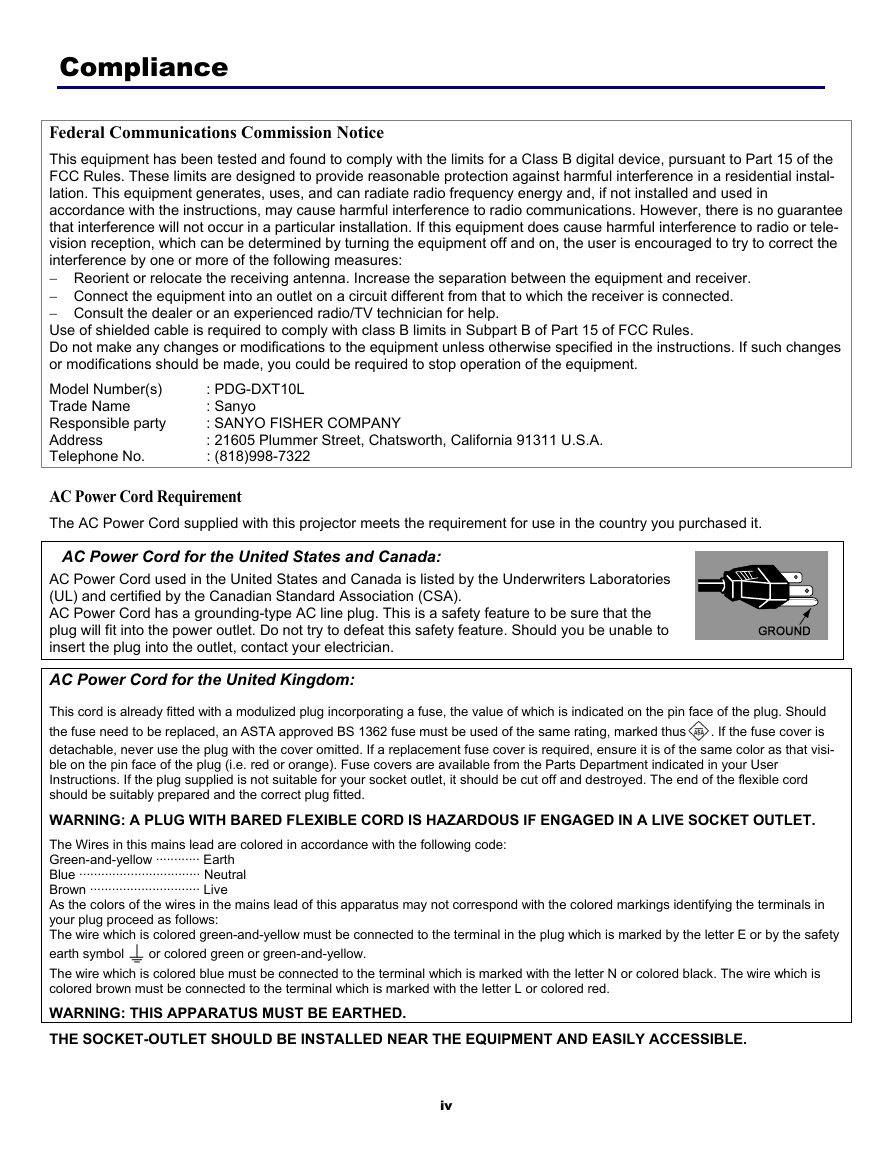
Compliance
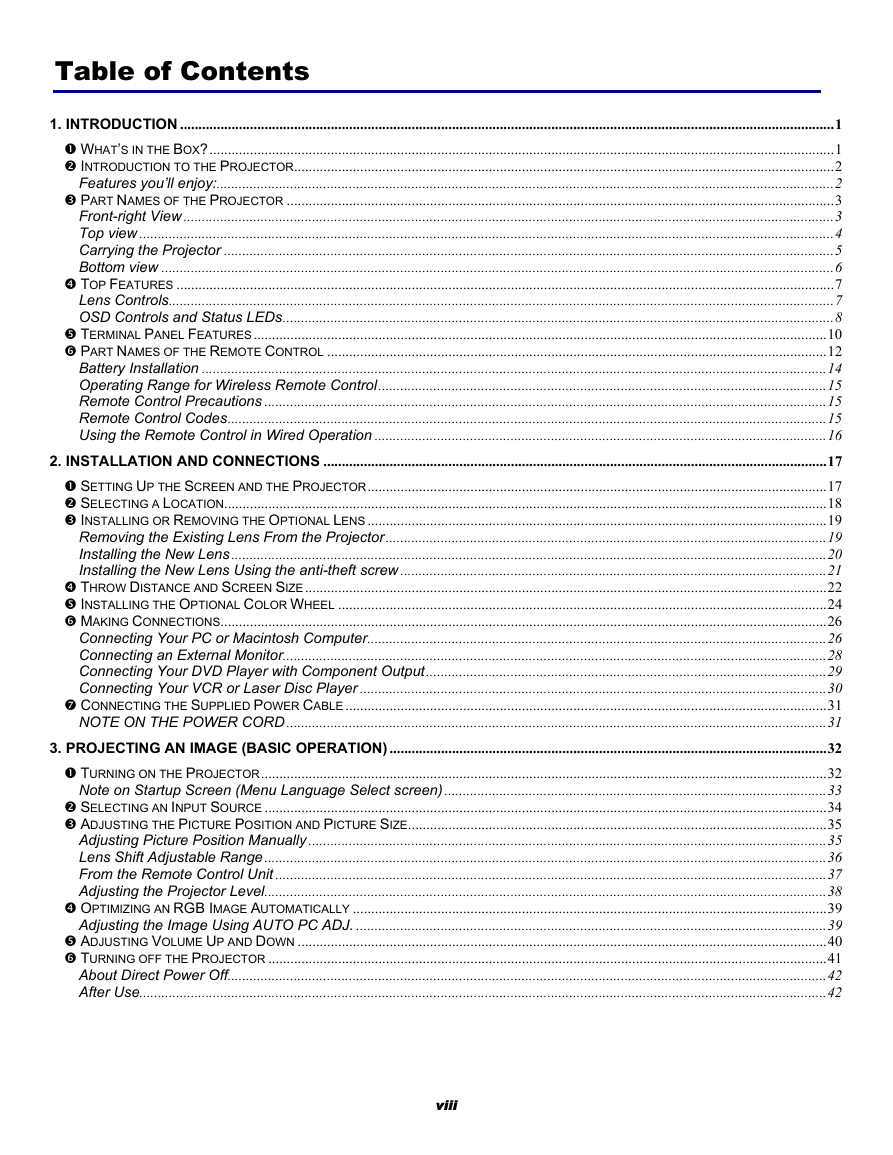
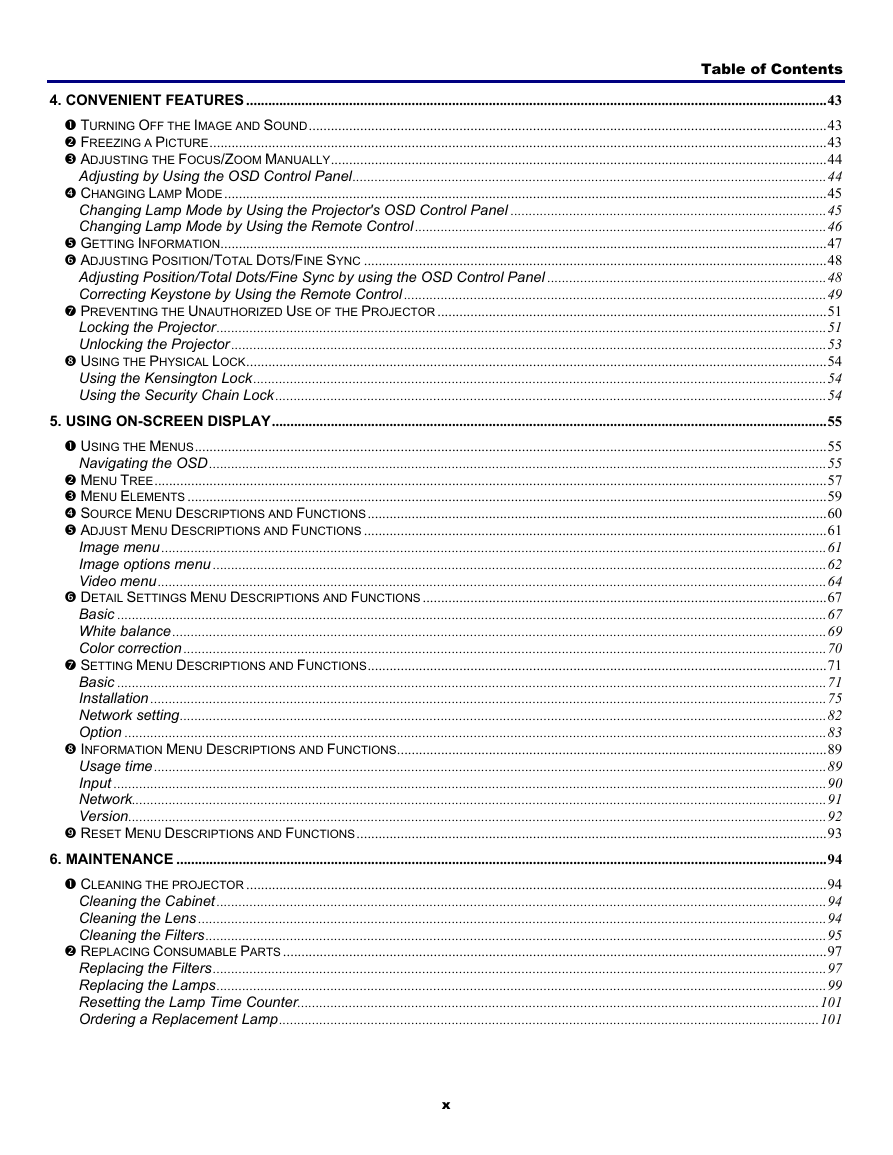
Table of Contents
1. Introduction
(1) What’s in the Box?
(2) Introduction to the Projector
Features you’ll enjoy:
(3) Part Names of the Projector
Front-right view
Top view
Carrying the Projector
Bottom view
(4) Top Features
Lens Controls
OSD Controls and Status LEDs
(5) Terminal Panel Features
(6) Part Names of the Remote Control
Battery Installation
Operating Range for Wireless Remote Control
Remote Control Precautions
Remote Control Codes
Using the Remote Control in Wired Operation
2. Installation and Connections
(1) Setting Up the Screen and the Projector
(2) Selecting a Location
(3) Installing or Removing the Optional Lens
Removing the Existing Lens From the Projector
Installing the New Lens
Installing the New Lens Using the anti-theft screw
(4) Throw Distance and Screen Size
(5) Installing the Optional Color Wheel
(6) Making Connections
Connecting Your PC or Macintosh Computer
Connecting an External Monitor
Connecting Your DVD Player with Component Output
Connecting Your VCR or Laser Disc Player
(7) Connecting the Supplied Power Cable
NOTE ON THE POWER CORD
3. Projecting an Image (Basic Operation)
(1) Turning on the Projector
Note on Startup Screen (Menu Language Select screen)
(2) Selecting an Input Source
(3) Adjusting the Picture Position and Picture Size
Adjusting Picture Position Manually
Lens Shift Adjustable Range
From the Remote Control Unit
Adjusting the Projector Level
(4) Optimizing an RGB Image Automatically
Adjusting the Image Using AUTO PC ADJ.
(5) Adjusting Volume Up and Down
(6) Turning off the Projector
About Direct Power Off
After Use
4. Convenient Features
(1) Turning Off the Image and Sound
(2) Freezing a Picture
(3) Adjusting the Focus/Zoom Manually
Adjusting by Using the OSD Control Panel
(4) Changing Lamp Mode
Changing Lamp Mode by Using the Projector's OSD Control Pane
Changing Lamp Mode by Using the Remote Control
(5) Getting Information
(6) Adjusting Position/Total Dots/Fine Sync
Adjusting Position/Total Dots/Fine Sync by using the OSD Con
Correcting Keystone by Using the Remote Control
(7) Preventing the Unauthorized Use of the Projector
Locking the Projector
Unlocking the Projector
(8) Using the Physical Lock
Using the Kensington Lock
Using the Security Chain Lock
5. Using On-Screen Display
(1) Using the Menus
Navigating the OSD
(2) Menu Tree
(3) Menu Elements
(4) Source Menu Descriptions and Functions
(5) Adjust Menu Descriptions and Functions
Image menu
Image options menu
Video menu
(6) Detail Settings Menu Descriptions and Functions
Basic
White balance
Color correction
(7) Setting Menu Descriptions and Functions
Basic
Installation
Network setting
Option
(8) Information Menu Descriptions and Functions
Usage time
Input
Network
Version
(9) Reset Menu Descriptions and Functions
6. Maintenance
(1) Cleaning the projector
Cleaning the Cabinet
Cleaning the Lens
Cleaning the Filters
(2) Replacing Consumable Parts
Replacing the Filters
Replacing the Lamps
Resetting the Lamp Time Counter
Ordering a Replacement Lamp
7. Appendix
(1) Troubleshooting
Indicator Messages
Common Problems and Solutions
Tips for Troubleshooting
(2) Image Problems
Lamp Problems
Remote Control Problems
Audio Problems
(3) Having the Projector Serviced
8. Specifications
(1) Projector Specifications
Optical Specifications
Electrical Specifications
Mechanical Specifications
Environmental Considerations
Regulations
Optional Parts
(2) Cabinet Dimensions
(3) Pin Assignments of Mini D-Sub 15 Pin Input Connector
(4) Compatible Input Signal List
(5) PC Control Codes and Cable Connections
Functional Execution Command Table
Status Read Command Table
(6) Screen Trigger
(7) Operation Using HTTP Browser
Overview
Preparation Before Use
Handling of the Address for Operation by Using a Browser
Configuring Network Settings
Structure of the HTTP Server
(8) 15 Pin GPIO Control
9. Troubleshooting Check List


 2023年江西萍乡中考道德与法治真题及答案.doc
 2012年重庆南川中考生物真题及答案.doc
 2013年江西师范大学地理学综合及文艺理论基础考研真题.doc
 2020年四川甘孜小升初语文真题及答案I卷.doc
 2020年注册岩土工程师专业基础考试真题及答案.doc
 2023-2024学年福建省厦门市九年级上学期数学月考试题及答案.doc
 2021-2022学年辽宁省沈阳市大东区九年级上学期语文期末试题及答案.doc
 2022-2023学年北京东城区初三第一学期物理期末试卷及答案.doc
 2018上半年江西教师资格初中地理学科知识与教学能力真题及答案.doc
 2012年河北国家公务员申论考试真题及答案-省级.doc
 2020-2021学年江苏省扬州市江都区邵樊片九年级上学期数学第一次质量检测试题及答案.doc
 2022下半年黑龙江教师资格证中学综合素质真题及答案.doc