INDEX
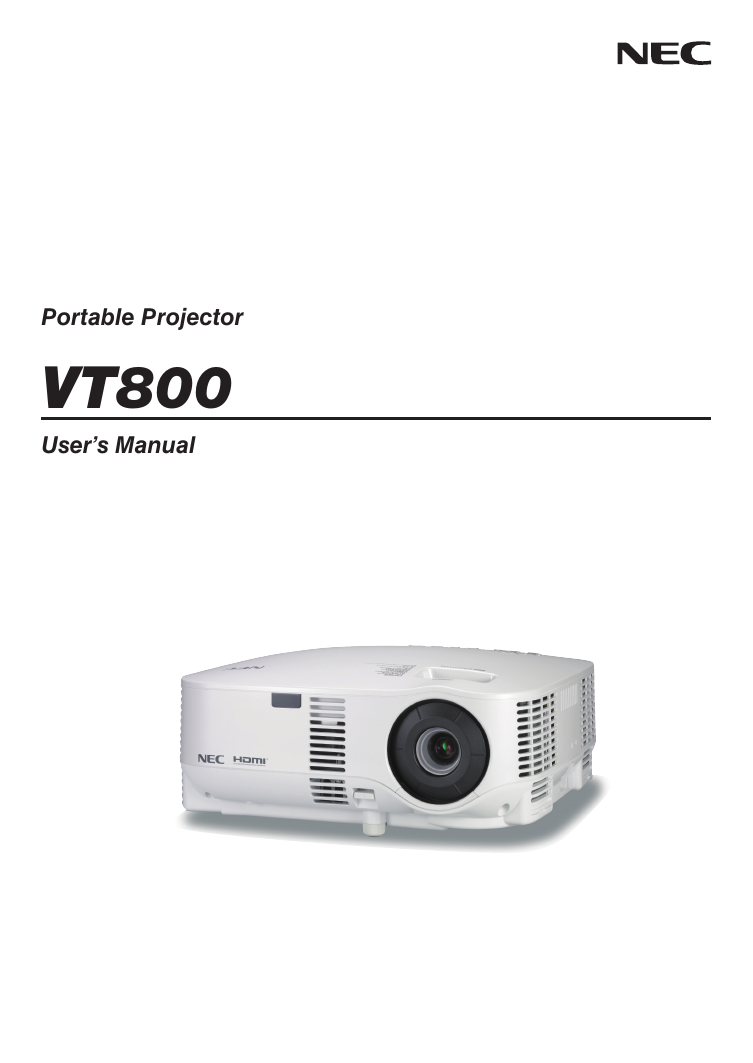
Front cover
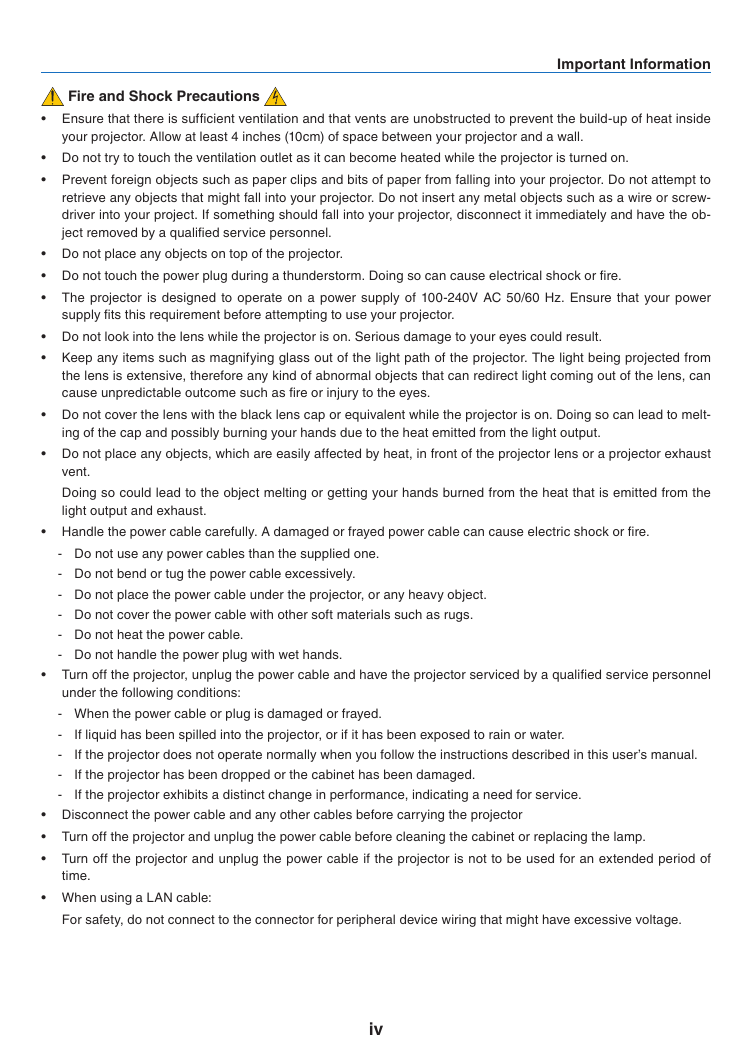
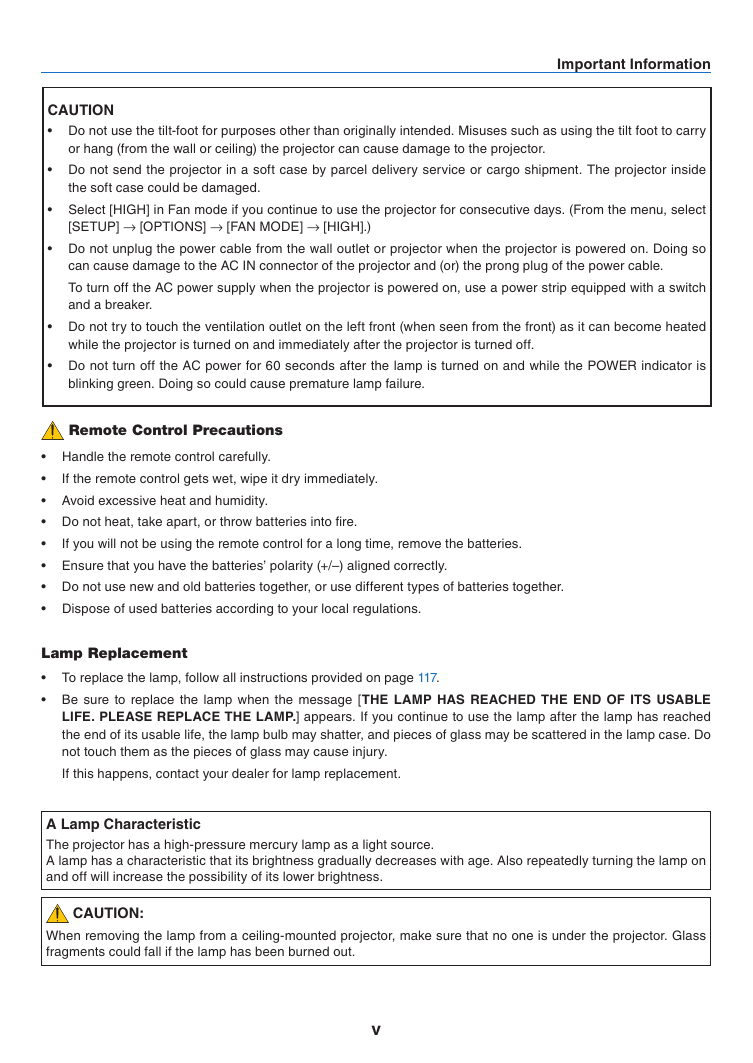
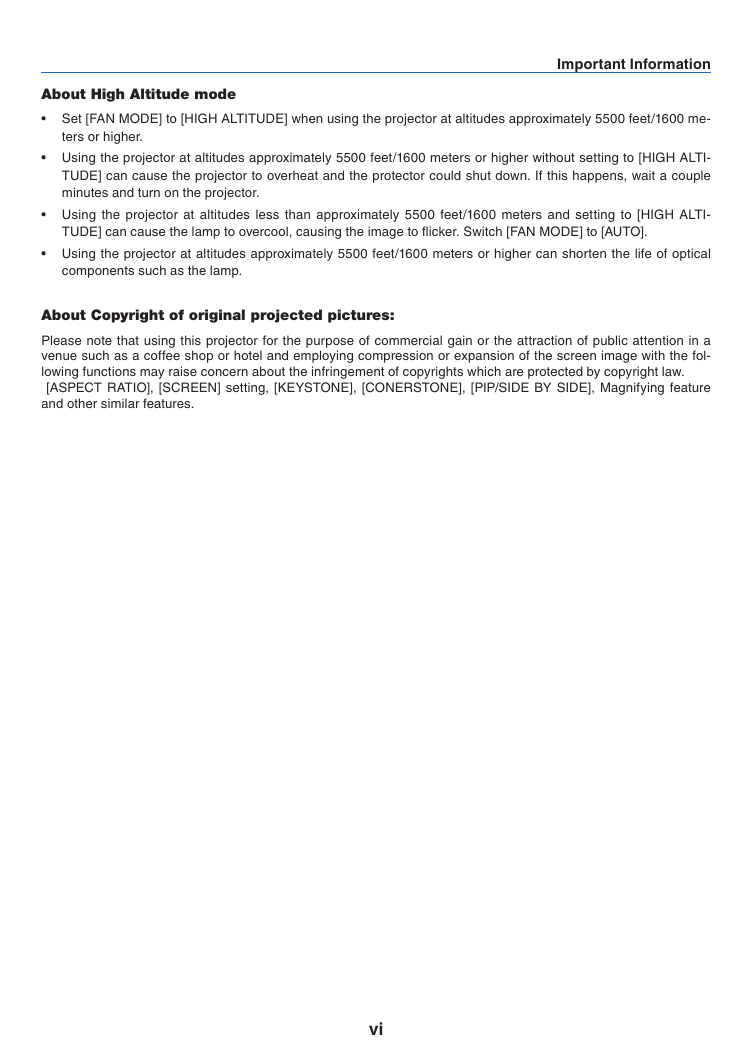
Important Information
Table of Contents
1. Introduction
(1) What’s in the Box?
(2) Introduction to the Projector
Congratulations on Your Purchase of the Projector
Features you’ll enjoy :
About this user’s manual
(3) Part Names of the Projector
Front/Top
Rear
Bottom
Top Features
Terminal Panel Features
(4) Part Names of the Remote Control
Battery Installation
Operating Range for Wireless Remote Control
Remote Control Precautions
2. Installation and Connections
(1) Setting Up the Screen and the Projector
Selecting a Location
(2) Making Connections
Connecting Your PC or Macintosh Computer
Connecting an External Monitor
Connecting Your HDMI Compatible Equipment
Connecting Your DVD Player with Component Output
Connecting Your VCR
Connecting to a Network
Connecting the Supplied Power Cable
3. Projecting an Image (Basic Operation)
(1) Turning on the Projector
Note on Startup screen (Menu Language Select screen)
(2) Selecting a Source
Selecting the computer or video source
(3) Adjusting the Picture Size and Position
Adjusting the focus (Focus ring)
Finely adjusting the size of an image (Zoom lever)
Adjusting the Tilt Foot
(4) Correcting Keystone Distortion
Auto Keystone Correction
Manual Keystone Correction
(5) Optimizing an RGB Image Automatically
(6) Adjusting Volume Up & Down
(7) Turning off the Projector
(8) After Use
4. Convenient Features
(1) Turning Off the Image and Sound
(2) Freezing a Picture
(3) Enlarging and Moving a Picture
(4) Changing Lamp Mode
(5) Getting Integrated Help
(6) Using a USB Mouse
(7) Using the Optional Remote Mouse Receiver (NP01MR)
(8) Correcting Horizontal and Vertical Keystone Distortion (Cornerstone)
(9) Displaying Two Pictures at the Same Time
Selecting the PIP or SIDE BY SIDE Mode [MODE]
POSITION
(10) Preventing Unauthorized Use of the Projector
Turning on the Security function by assigning a keyword for the first time
Checking If Security is enabled
Disabling the Security
(11) Limiting Access Level to Available Menu Items
Logging On
Logging Off
Creating or Adding a User
Editing a User (Changing Account Settings)
Deleting a User
(12) Operation Using an HTTP Browser
Overview
Preparation Before Use
Handling of the Address for Operation via a Browser
Structure of the HTTP Server
(13) Projecting Your Computer’s Screen Image from the Projector via a Network [NETWORK PROJECTOR]
Setting the Projector to Network Projector Input Mode
Changing the resolution of Windows Vista screen to the information on [DISPLAY RESOLUTION] in the NETWORK PROJECTOR screen.
Projecting the Image with Network Projector
Exiting the Network Projector Operation
(14) Using the Projector to Operate Your Computer via a Network [REMOTE DESKTOP]
Setting the password to the user account of Windows Vista
Setting the Remote Access
Checking the IP address on Windows Vista
Starting the Remote Desktop
Exiting the Remote Desktop
5. Using the Viewer
(1) Making the Most out of the Viewer Function
(2) Saving data to a USB memory device
(3) Operating the Viewer Function from the Projector (playback)
Projecting slides (Viewer)
Operating Viewer Menu
Setting Option for Viewer
THUMBNAILS menu
Exiting Viewer
(4) Changing Background Logo
6. Using On-Screen Menu
(1) Using the Menus
Using ADVANCED menu and BASIC menu
Entering alphanumeric characters by using Software Keyboard
(2) Menu tree
(3) Menu Elements
(4) Menu Descriptions & Functions [SOURCE]
COMPUTER1 and 2
HDMI
VIDEO
S-VIDEO
VIEWER
NETWORK
ENTRY LIST
(5) Menu Descriptions & Functions [ADJUST]
[PICTURE]
[MODE]
[PRESET]
[DETAIL SETTINGS]
[GENERAL]
Selecting Reference Setting [REFERENCE]
Selecting Gamma Correction Mode [GAMMA CORRECTION]
Adjusting Color Temperature [COLOR TEMPERATURE]
[WHITE BALANCE]
Adjusting White Balance [WHITE BALANCE]
[CONTRAST]
[BRIGHTNESS]
[SHARPNESS]
[COLOR]
[HUE]
[RESET]
[IMAGE OPTIONS]
Adjusting Clock and Phase [CLOCK/PHASE]
Adjusting Horizontal/Vertical Position [HORIZONTAL/VERTICAL POSITION]
Selecting Overscan Percentage [OVERSCAN]
Selecting Aspect Ratio [ASPECT RATIO]
Selecting Resolution [RESOLUTION]
[VIDEO]
Using Noise Reduction [NOISE REDUCTION]
Selecting Interlaced Progressive Conversion Process Mode [DEINTERLACE]
Turning On or Off the 3D Dimensional Separation [3D Y/C SEPARATION]
[AUDIO]
Controlling Sound [VOLUME/BASS/TREBLE/BALANCE]
Enabling 3D Surround [3D SURROUND]
(6) Menu Descriptions & Functions [SETUP]
[BASIC]
Selecting Keystone Mode [KEYSTONE]
Selecting Cornerstone Mode [CORNERSTONE]
Using the PIP/SIDE BY SIDE Function
Using the Wall Color Correction [WALL COLOR]
Setting Lamp Mode to Normal or Eco [LAMP MODE]
Using Off Timer [OFF TIMER]
[TOOLS]
Using Program Timer [PROGRAM TIMER]
Using [CORNERSTONE]
Using [ENTRY LIST]
Setting the Current Date and Time [DATE,TIME PRESET]
Setting Mouse Pointer,Button and Sensitivity [MOUSE]
Using [HELP]
Logging Off Your Projector [LOGOFF]
Selecting Menu Language [LANGUAGE]
[MENU]
Selecting Menu Color [COLOR SELECT]
Turning On /Off Source Display,Message and Time [SOURCE DISPLAY ],[MESSAGE DISPLAY ], [TIME DISPLAY ],[ID DISPLAY]
Selecting Menu Display Time [MENU DISPLAY TIME]
Selecting a Color or Logo for Background [BACKGROUND]
Selecting Interval Time for Filter Message [FILTER MESSAGE]
Setting Closed Caption [CLOSED CAPTION]
[INSTALLATION(1)]
Selecting Projector Orientation [ORIENTATION]
Selecting Aspect Ratio and Position for Screen [SCREEN]
[INSTALLATION(2)]
[NETWORK SETTINGS]
[GENERAL]
[WIRED]
[DOMAIN]
[MAIL]
Selecting Communication Speed [COMMUNICATION SPEED]
Setting Security [SECURITY SETTINGS]
Disabling the Cabinet Buttons [CONTROL PANEL LOCK]
Setting a Password [BACKGROUND LOCK]
ACCOUNT LOCK
ACCOUNT
[SECURITY]
Setting a Password for PJLink [PJLink]
Selecting Power-saving in [STANDBY MODE]
Turning On or Off Remote Sensor [REMOTE SENSOR]
Setting ID to the Projector [CONTROL ID]
[OPTIONS]
Setting Auto Adjust [AUTO ADJUST]
Enabling Auto Power On [AUTO POWER ON (AC)]
Enabling Power Management [AUTO POWER OFF]
Enabling High Speed Fan Mode [FAN MODE]
Selecting Default Source [DEFAULT SOURCE SELECT]
Selecting Signal Format [SIGNAL SELECT]
Selecting [COLOR SYSTEM]
Setting HDMI [HDMI SETTINGS]
Setting MONITOR OUT Connector [OUT TERMINAL]
(7) Menu Descriptions & Functions [INFO.]
[USAGE TIME]
[SOURCE(1)]
[SOURCE(2)]
[WIRED LAN]
[VERSION(1)]
[VERSION(2)]
(8) Menu Descriptions & Functions [RESET]
[CURRENT SIGNAL]
[ALL DATA]
[ALL DATA (INCLUDING ENTRY LIST)]
Clearing Lamp Hour Meter [CLEAR LAMP HOURS]
Resetting the Filter Usage Hours [CLEAR FILTER HOURS]
7. Maintenance
(1) Cleaning or Replacing the Filter
(2) Cleaning the Cabinet and the Lens
(3) Replacing the Lamp
8. Appendix
(1) Troubleshooting
Indicator Messages
Common Problems &Solutions
(2) Specifications
(3) Cabinet Dimensions
(4) Screen Size and Projection Distance
(5) Pin Assignments of D-Sub COMPUTER1/2 Input Connector
(6) Compatible Input Signal List
(7) PC Control Codes and Cable Connection
PC Control Codes
Cable Connection
PC Control Connector (D-SUB 9P)
(8) Troubleshooting Check List
(9) TravelCare Guide





 2023年江西萍乡中考道德与法治真题及答案.doc
 2012年重庆南川中考生物真题及答案.doc
 2013年江西师范大学地理学综合及文艺理论基础考研真题.doc
 2020年四川甘孜小升初语文真题及答案I卷.doc
 2020年注册岩土工程师专业基础考试真题及答案.doc
 2023-2024学年福建省厦门市九年级上学期数学月考试题及答案.doc
 2021-2022学年辽宁省沈阳市大东区九年级上学期语文期末试题及答案.doc
 2022-2023学年北京东城区初三第一学期物理期末试卷及答案.doc
 2018上半年江西教师资格初中地理学科知识与教学能力真题及答案.doc
 2012年河北国家公务员申论考试真题及答案-省级.doc
 2020-2021学年江苏省扬州市江都区邵樊片九年级上学期数学第一次质量检测试题及答案.doc
 2022下半年黑龙江教师资格证中学综合素质真题及答案.doc