Network Sharing Camera
Handbook
NSC-GC1/GC3
VCLICK!
Table of contents
Getting started
Basic Operations
Using functions for
shooting
Using functions for
viewing
Customizing the settings
Viewing images on a TV
Troubleshooting
Others
Index
© 2007 Sony Corporation
3-272-527-11(1)
GB
�
Notes on using your camera
Types of “Memory Stick” that can be
used (not supplied)
The IC recording medium used by this
camera is a “Memory Stick Duo”.
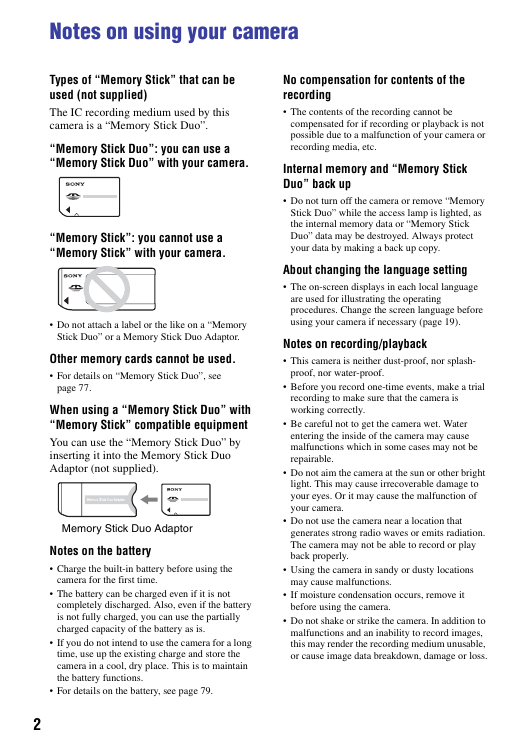
“Memory Stick Duo”: you can use a
“Memory Stick Duo” with your camera.
“Memory Stick”: you cannot use a
“Memory Stick” with your camera.
Do not attach a label or the like on a “Memory
Stick Duo” or a Memory Stick Duo Adaptor.
Other memory cards cannot be used.
For details on “Memory Stick Duo”, see
page 77.
When using a “Memory Stick Duo” with
“Memory Stick” compatible equipment
You can use the “Memory Stick Duo” by
inserting it into the Memory Stick Duo
Adaptor (not supplied).
Memory Stick Duo Adaptor
Notes on the battery
Charge the built-in battery before using the
camera for the first time.
The battery can be charged even if it is not
completely discharged. Also, even if the battery
is not fully charged, you can use the partially
charged capacity of the battery as is.
If you do not intend to use the camera for a long
time, use up the existing charge and store the
camera in a cool, dry place. This is to maintain
the battery functions.
For details on the battery, see page 79.
2
No compensation for contents of the
recording
The contents of the recording cannot be
compensated for if recording or playback is not
possible due to a malfunction of your camera or
recording media, etc.
Internal memory and “Memory Stick
Duo” back up
Do not turn off the camera or remove “Memory
Stick Duo” while the access lamp is lighted, as
the internal memory data or “Memory Stick
Duo” data may be destroyed. Always protect
your data by making a back up copy.
About changing the language setting
The on-screen displays in each local language
are used for illustrating the operating
procedures. Change the screen language before
using your camera if necessary (page 19).
Notes on recording/playback
This camera is neither dust-proof, nor splash-
proof, nor water-proof.
Before you record one-time events, make a trial
recording to make sure that the camera is
working correctly.
Be careful not to get the camera wet. Water
entering the inside of the camera may cause
malfunctions which in some cases may not be
repairable.
Do not aim the camera at the sun or other bright
light. This may cause irrecoverable damage to
your eyes. Or it may cause the malfunction of
your camera.
Do not use the camera near a location that
generates strong radio waves or emits radiation.
The camera may not be able to record or play
back properly.
Using the camera in sandy or dusty locations
may cause malfunctions.
If moisture condensation occurs, remove it
before using the camera.
Do not shake or strike the camera. In addition to
malfunctions and an inability to record images,
this may render the recording medium unusable,
or cause image data breakdown, damage or loss.
�
Notes on using your camera
Clean the flash surface before use. The heat of
flash emission may cause dirt on the flash
surface to become discolored or to stick to the
flash surface, resulting in insufficient light
emission.
When connecting your camera to another device
with a cable, be sure to insert the connector plug
in the correct way. Pushing the plug forcibly
into the terminal will damage the terminal and
may result in a malfunction of your camera.
Movies other than those shot, edited or
composed on this camera cannot be played
back.
Notes on the LCD screen and the lens
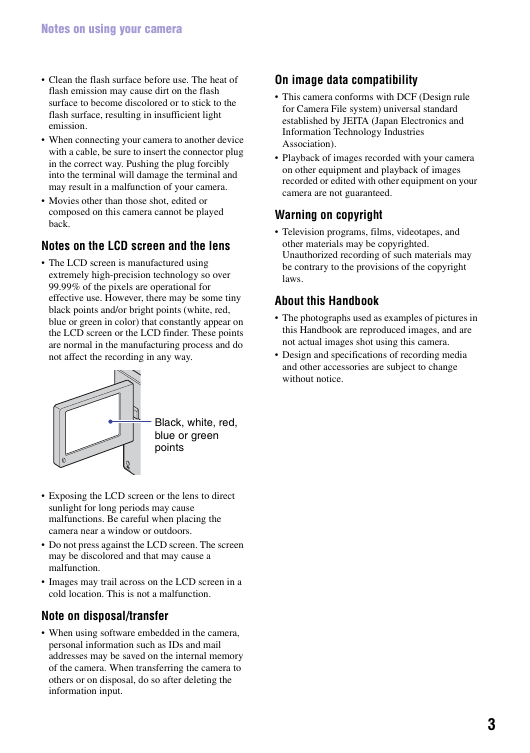
The LCD screen is manufactured using
extremely high-precision technology so over
99.99% of the pixels are operational for
effective use. However, there may be some tiny
black points and/or bright points (white, red,
blue or green in color) that constantly appear on
the LCD screen or the LCD finder. These points
are normal in the manufacturing process and do
not affect the recording in any way.
Black, white, red,
blue or green
points
Exposing the LCD screen or the lens to direct
sunlight for long periods may cause
malfunctions. Be careful when placing the
camera near a window or outdoors.
Do not press against the LCD screen. The screen
may be discolored and that may cause a
malfunction.
Images may trail across on the LCD screen in a
cold location. This is not a malfunction.
Note on disposal/transfer
When using software embedded in the camera,
personal information such as IDs and mail
addresses may be saved on the internal memory
of the camera. When transferring the camera to
others or on disposal, do so after deleting the
information input.
On image data compatibility
This camera conforms with DCF (Design rule
for Camera File system) universal standard
established by JEITA (Japan Electronics and
Information Technology Industries
Association).
Playback of images recorded with your camera
on other equipment and playback of images
recorded or edited with other equipment on your
camera are not guaranteed.
Warning on copyright
Television programs, films, videotapes, and
other materials may be copyrighted.
Unauthorized recording of such materials may
be contrary to the provisions of the copyright
laws.
About this Handbook
The photographs used as examples of pictures in
this Handbook are reproduced images, and are
not actual images shot using this camera.
Design and specifications of recording media
and other accessories are subject to change
without notice.
3
�
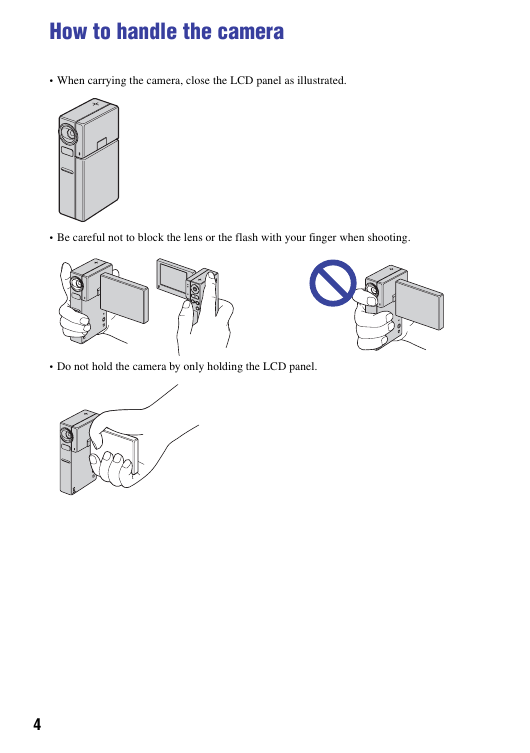
How to handle the camera
When carrying the camera, close the LCD panel as illustrated.
Be careful not to block the lens or the flash with your finger when shooting.
Do not hold the camera by only holding the LCD panel.
4
�
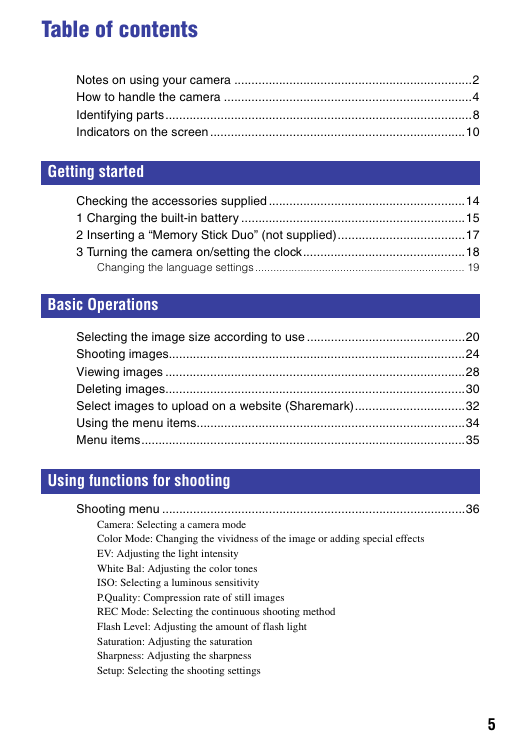
Table of contents
Notes on using your camera .....................................................................2
How to handle the camera ........................................................................4
Identifying parts.........................................................................................8
Indicators on the screen ..........................................................................10
Getting started
Checking the accessories supplied .........................................................14
1 Charging the built-in battery .................................................................15
2 Inserting a “Memory Stick Duo” (not supplied).....................................17
3 Turning the camera on/setting the clock...............................................18
Changing the language settings ..................................................................... 19
Basic Operations
Selecting the image size according to use ..............................................20
Shooting images......................................................................................24
Viewing images .......................................................................................28
Deleting images.......................................................................................30
Select images to upload on a website (Sharemark)................................32
Using the menu items..............................................................................34
Menu items..............................................................................................35
Using functions for shooting
Shooting menu ........................................................................................36
Camera: Selecting a camera mode
Color Mode: Changing the vividness of the image or adding special effects
EV: Adjusting the light intensity
White Bal: Adjusting the color tones
ISO: Selecting a luminous sensitivity
P.Quality: Compression rate of still images
REC Mode: Selecting the continuous shooting method
Flash Level: Adjusting the amount of flash light
Saturation: Adjusting the saturation
Sharpness: Adjusting the sharpness
Setup: Selecting the shooting settings
5
�
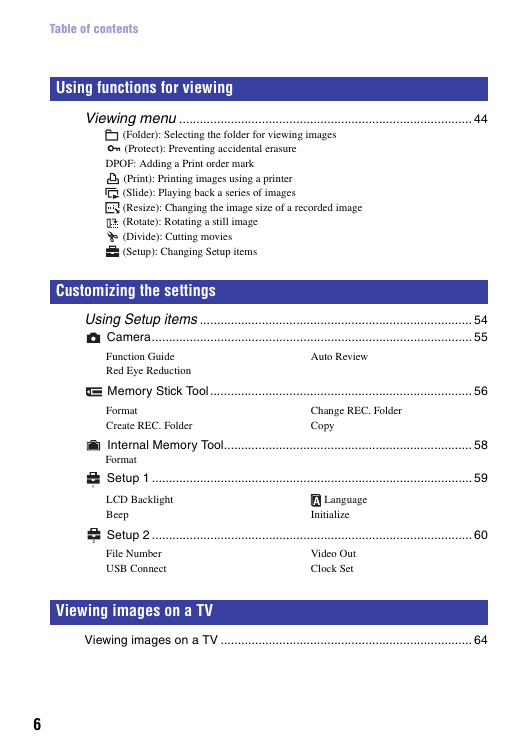
Table of contents
Using functions for viewing
Viewing menu ..................................................................................... 44
(Folder): Selecting the folder for viewing images
(Protect): Preventing accidental erasure
DPOF: Adding a Print order mark
(Print): Printing images using a printer
(Slide): Playing back a series of images
(Resize): Changing the image size of a recorded image
(Rotate): Rotating a still image
(Divide): Cutting movies
(Setup): Changing Setup items
Customizing the settings
Auto Review
Using Setup items ............................................................................... 54
Camera............................................................................................. 55
Function Guide
Red Eye Reduction
Memory Stick Tool ............................................................................ 56
Format
Create REC. Folder
Internal Memory Tool........................................................................ 58
Format
Setup 1 ............................................................................................. 59
Change REC. Folder
Copy
1
LCD Backlight
Beep
Language
Initialize
2
Setup 2 ............................................................................................. 60
File Number
USB Connect
Video Out
Clock Set
Viewing images on a TV
Viewing images on a TV ......................................................................... 64
6
�
Table of contents
Troubleshooting
Troubleshooting .......................................................................................66
Warning indicators and messages ..........................................................74
Others
To use your camera abroad — Power sources........................................76
On the “Memory Stick” ............................................................................77
On the built-in battery..............................................................................79
Index
Index........................................................................................................80
7
�
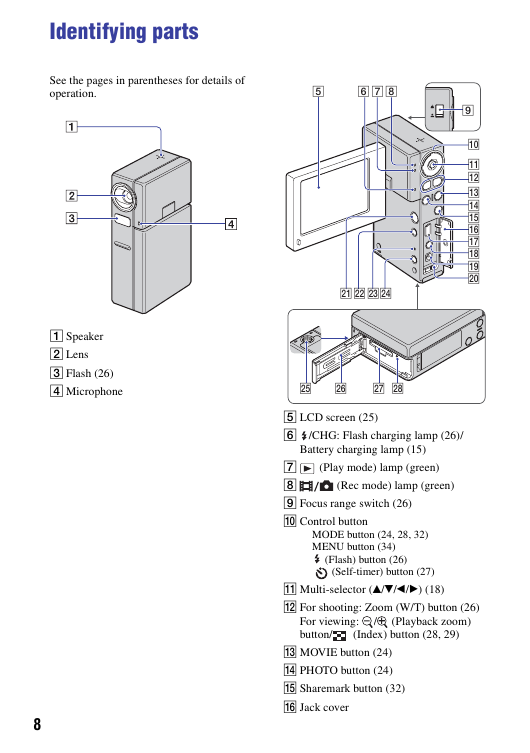
Identifying parts
See the pages in parentheses for details of
operation.
5
6 78
A Speaker
B Lens
C Flash (26)
D Microphone
9
0
qa
qs
qd
qf
qg
qh
qj
qk
ql
w;
wa ws wdwf
wg
wh
wj wk
E LCD screen (25)
F /CHG: Flash charging lamp (26)/
Battery charging lamp (15)
(Rec mode) lamp (green)
G (Play mode) lamp (green)
H
I Focus range switch (26)
J Control button
MODE button (24, 28, 32)
MENU button (34)
(Flash) button (26)
(Self-timer) button (27)
K Multi-selector (v/V/b/B) (18)
L For shooting: Zoom (W/T) button (26)
(Playback zoom)
/
For viewing:
button/
(Index) button (28, 29)
M MOVIE button (24)
N PHOTO button (24)
O Sharemark button (32)
P Jack cover
8
�


 2023年江西萍乡中考道德与法治真题及答案.doc
 2012年重庆南川中考生物真题及答案.doc
 2013年江西师范大学地理学综合及文艺理论基础考研真题.doc
 2020年四川甘孜小升初语文真题及答案I卷.doc
 2020年注册岩土工程师专业基础考试真题及答案.doc
 2023-2024学年福建省厦门市九年级上学期数学月考试题及答案.doc
 2021-2022学年辽宁省沈阳市大东区九年级上学期语文期末试题及答案.doc
 2022-2023学年北京东城区初三第一学期物理期末试卷及答案.doc
 2018上半年江西教师资格初中地理学科知识与教学能力真题及答案.doc
 2012年河北国家公务员申论考试真题及答案-省级.doc
 2020-2021学年江苏省扬州市江都区邵樊片九年级上学期数学第一次质量检测试题及答案.doc
 2022下半年黑龙江教师资格证中学综合素质真题及答案.doc