STM32F103+L298N 驱动直流电机
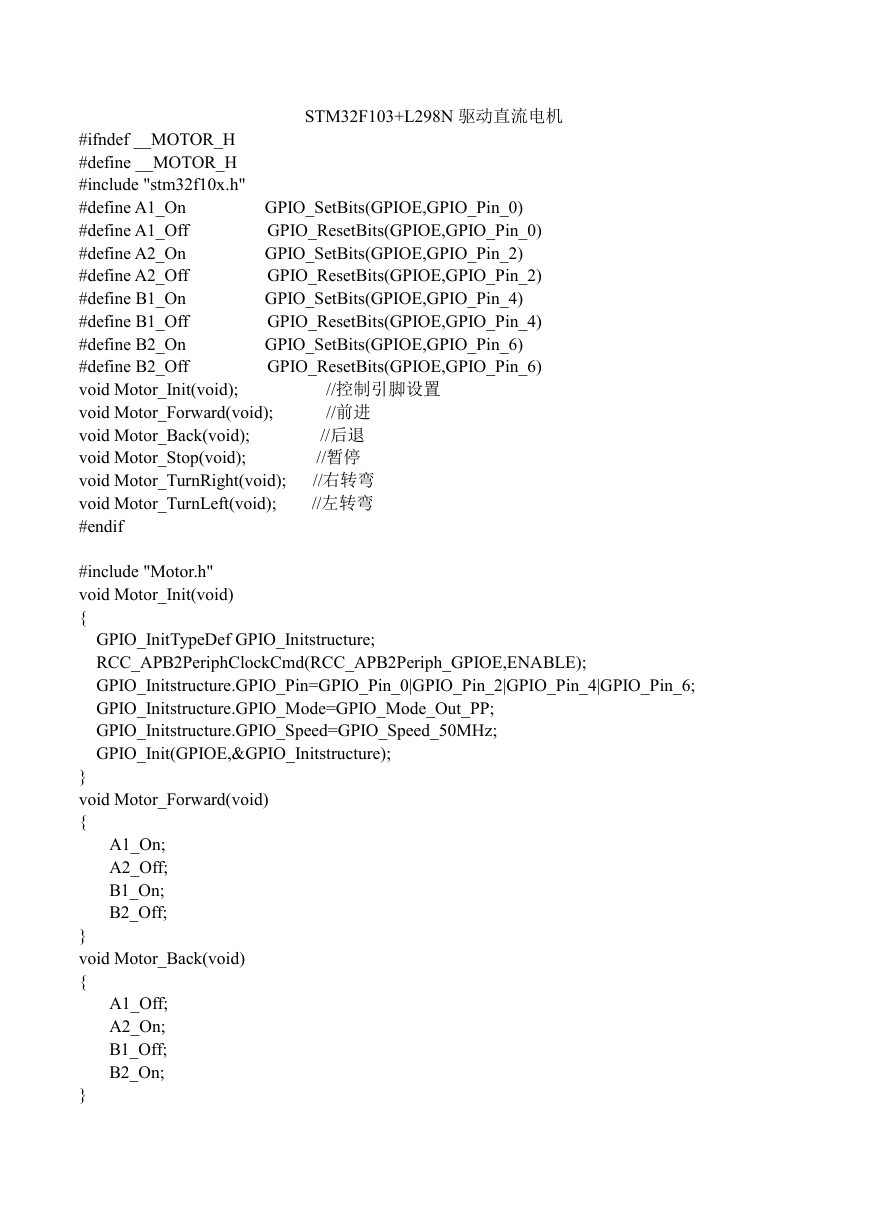
GPIO_SetBits(GPIOE,GPIO_Pin_0)
GPIO_ResetBits(GPIOE,GPIO_Pin_0)
GPIO_SetBits(GPIOE,GPIO_Pin_2)
GPIO_ResetBits(GPIOE,GPIO_Pin_2)
GPIO_SetBits(GPIOE,GPIO_Pin_4)
GPIO_ResetBits(GPIOE,GPIO_Pin_4)
GPIO_SetBits(GPIOE,GPIO_Pin_6)
GPIO_ResetBits(GPIOE,GPIO_Pin_6)
//控制引脚设置
//前进
//后退
//暂停
//右转弯
//左转弯
GPIO_InitTypeDef GPIO_Initstructure;
RCC_APB2PeriphClockCmd(RCC_APB2Periph_GPIOE,ENABLE);
GPIO_Initstructure.GPIO_Pin=GPIO_Pin_0|GPIO_Pin_2|GPIO_Pin_4|GPIO_Pin_6;
GPIO_Initstructure.GPIO_Mode=GPIO_Mode_Out_PP;
GPIO_Initstructure.GPIO_Speed=GPIO_Speed_50MHz;
GPIO_Init(GPIOE,&GPIO_Initstructure);
#ifndef __MOTOR_H
#define __MOTOR_H
#include "stm32f10x.h"
#define A1_On
#define A1_Off
#define A2_On
#define A2_Off
#define B1_On
#define B1_Off
#define B2_On
#define B2_Off
void Motor_Init(void);
void Motor_Forward(void);
void Motor_Back(void);
void Motor_Stop(void);
void Motor_TurnRight(void);
void Motor_TurnLeft(void);
#endif
#include "Motor.h"
void Motor_Init(void)
{
}
void Motor_Forward(void)
{
}
void Motor_Back(void)
{
A1_On;
A2_Off;
B1_On;
B2_Off;
A1_Off;
A2_On;
B1_Off;
B2_On;
}
�
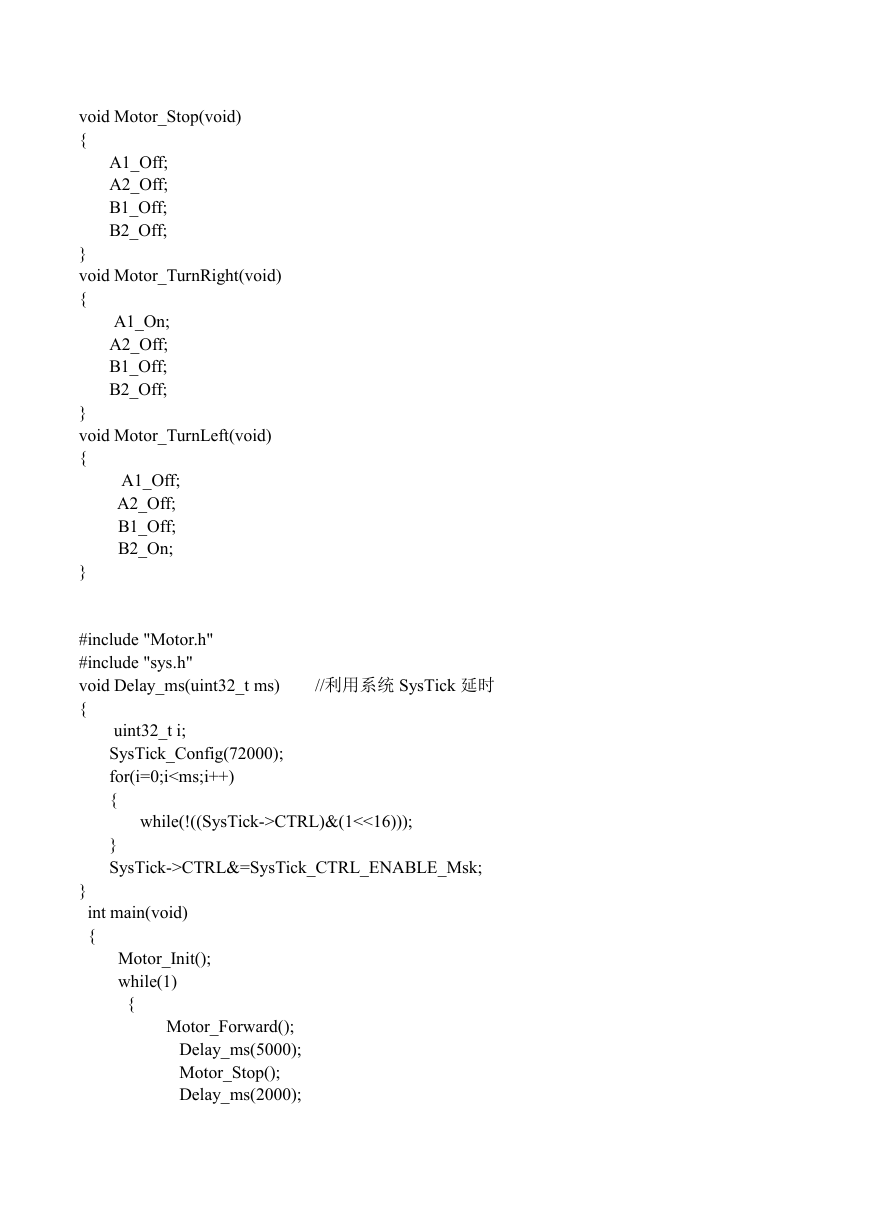
void Motor_Stop(void)
{
}
void Motor_TurnRight(void)
{
A1_Off;
A2_Off;
B1_Off;
B2_Off;
A1_On;
A2_Off;
B1_Off;
B2_Off;
}
void Motor_TurnLeft(void)
{
A1_Off;
A2_Off;
B1_Off;
B2_On;
#include "Motor.h"
#include "sys.h"
void Delay_ms(uint32_t ms)
{
uint32_t i;
SysTick_Config(72000);
for(i=0;iCTRL)&(1<<16)));
}
SysTick->CTRL&=SysTick_CTRL_ENABLE_Msk;
int main(void)
{
Motor_Init();
while(1)
{
Motor_Forward();
Delay_ms(5000);
Motor_Stop();
Delay_ms(2000);
�
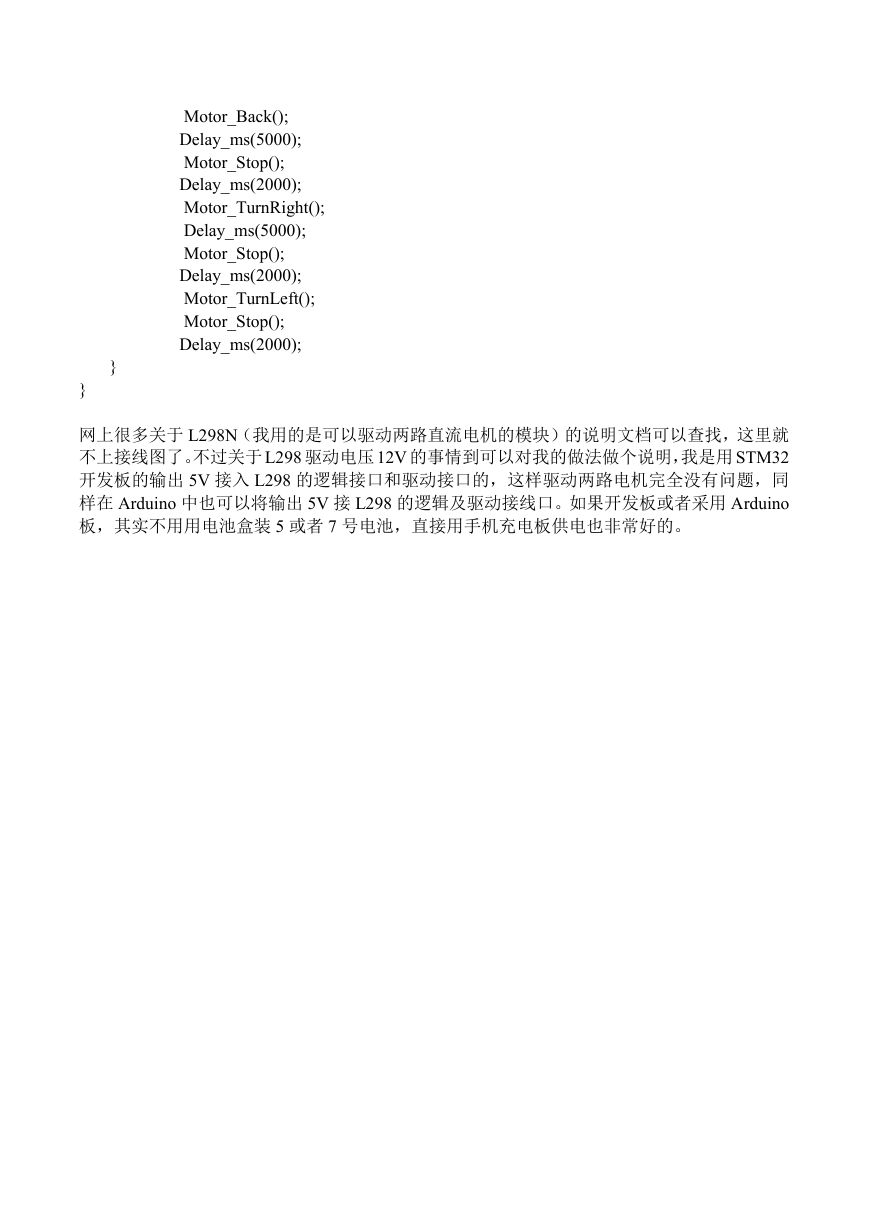
Motor_Back();
Delay_ms(5000);
Motor_Stop();
Delay_ms(2000);
Motor_TurnRight();
Delay_ms(5000);
Motor_Stop();
Delay_ms(2000);
Motor_TurnLeft();
Motor_Stop();
Delay_ms(2000);
}
}
网上很多关于 L298N(我用的是可以驱动两路直流电机的模块)的说明文档可以查找,这里就
不上接线图了。不过关于 L298 驱动电压 12V 的事情到可以对我的做法做个说明,我是用 STM32
开发板的输出 5V 接入 L298 的逻辑接口和驱动接口的,这样驱动两路电机完全没有问题,同
样在 Arduino 中也可以将输出 5V 接 L298 的逻辑及驱动接线口。如果开发板或者采用 Arduino
板,其实不用用电池盒装 5 或者 7 号电池,直接用手机充电板供电也非常好的。
�


 2023年江西萍乡中考道德与法治真题及答案.doc
 2012年重庆南川中考生物真题及答案.doc
 2013年江西师范大学地理学综合及文艺理论基础考研真题.doc
 2020年四川甘孜小升初语文真题及答案I卷.doc
 2020年注册岩土工程师专业基础考试真题及答案.doc
 2023-2024学年福建省厦门市九年级上学期数学月考试题及答案.doc
 2021-2022学年辽宁省沈阳市大东区九年级上学期语文期末试题及答案.doc
 2022-2023学年北京东城区初三第一学期物理期末试卷及答案.doc
 2018上半年江西教师资格初中地理学科知识与教学能力真题及答案.doc
 2012年河北国家公务员申论考试真题及答案-省级.doc
 2020-2021学年江苏省扬州市江都区邵樊片九年级上学期数学第一次质量检测试题及答案.doc
 2022下半年黑龙江教师资格证中学综合素质真题及答案.doc