Setting Up Your Studio Laptop
Before Setting Up Your Studio Laptop
Connecting the AC Adapter
Connecting the Network Cable (optional)
Turning on Your Studio laptop
Using the Wireless Switch
Windows Vista?Setup
Connecting to the Internet (Optional)
Using Your Studio Laptop
Device Status Lights
Right Side Features
Left Side Features
Computer Base and Keyboard Features
Display Features
Media Controls
Removing and Replacing the Battery
Using the Optical Disc Drive
Software Features
Solving Problems
Network Problems
Power Problems
Memory Problems
Lockups and Software Problems
Dell Support Center
Using Support Tools
System Messages
Hardware Troubleshooter
Dell Diagnostics
Restoring Your Operating System
System Restore
Dell Factory Image Restore
Operating System Reinstallation
Getting Help
Technical Support and Customer Service
DellConnect?
Online Services
AutoTech Service
Product Information
Returning Items for Repair Under Warranty or for Credit
Before You Call
Contacting Dell
Finding More Information and Resources
Basic Specifications
Appendix
Macrovision Product Notice
Index
Setting Up Your Studio Laptop
Before Setting Up Your Studio Laptop
Connecting the AC Adapter
Connecting the Network Cable (optional)
Turning on Your Studio laptop
Using the Wireless Switch
Windows Vistaxx Setup
Connecting to the Internet (Optional)
Using Your Studio Laptop
Device Status Lights
Right Side Features
Left Side Features
Computer Base and Keyboard Features
Display Features
Media Controls
Removing and Replacing the Battery
Using the Optical Disc Drive
Software Features
Solving Problems
Network Problems
Power Problems
Memory Problems
Lockups and Software Problems
Dell Support Center
Using Support Tools
System Messages
Hardware Troubleshooter
Dell Diagnostics
Restoring Your Operating System
System Restore
Dell Factory Image Restore
Operating System Reinstallation
Getting Help
Technical Support and Customer Service
DellConnectxy
Online Services
AutoTech Service
Product Information
Returning Items for Repair Under Warranty or for Credit
Before You Call
Contacting Dell
Finding More Information and Resources
Basic Specifications
Appendix
Macrovision Product Notice
Index
Setting Up Your Studio Laptop
Before Setting Up Your Studio Laptop
Connecting the AC Adapter
Connecting the Network Cable (optional)
Turning on Your Studio laptop
Using the Wireless Switch
Windows Vista?Setup
Connecting to the Internet (Optional)
Using Your Studio Laptop
Device Status Lights
Right Side Features
Left Side Features
Computer Base and Keyboard Features
Display Features
Media Controls
Removing and Replacing the Battery
Using the Optical Disc Drive
Software Features
Solving Problems
Network Problems
Power Problems
Memory Problems
Lockups and Software Problems
Dell Support Center
Using Support Tools
System Messages
Hardware Troubleshooter
Dell Diagnostics
Restoring Your Operating System
System Restore
Dell Factory Image Restore
Operating System Reinstallation
Getting Help
Technical Support and Customer Service
DellConnect?
Online Services
AutoTech Service
Product Information
Returning Items for Repair Under Warranty or for Credit
Before You Call
Contacting Dell
Finding More Information and Resources
Basic Specifications
Appendix
Macrovision Product Notice
Index
Setting Up Your Studio Laptop
Before Setting Up Your Studio Laptop
Connecting the AC Adapter
Connecting the Network Cable (optional)
Turning on Your Studio laptop
Using the Wireless Switch
Windows Vistaxx Setup
Connecting to the Internet (Optional)
Using Your Studio Laptop
Device Status Lights
Right Side Features
Left Side Features
Computer Base and Keyboard Features
Display Features
Media Controls
Removing and Replacing the Battery
Using the Optical Disc Drive
Software Features
Solving Problems
Network Problems
Power Problems
Memory Problems
Lockups and Software Problems
Dell Support Center
Using Support Tools
System Messages
Hardware Troubleshooter
Dell Diagnostics
Restoring Your Operating System
System Restore
Dell Factory Image Restore
Operating System Reinstallation
Getting Help
Technical Support and Customer Service
DellConnectyy
Online Services
AutoTech Service
Product Information
Returning Items for Repair Under Warranty or for Credit
Before You Call
Contacting Dell
Finding More Information and Resources
Basic Specifications
Appendix
Macrovision Product Notice
Index
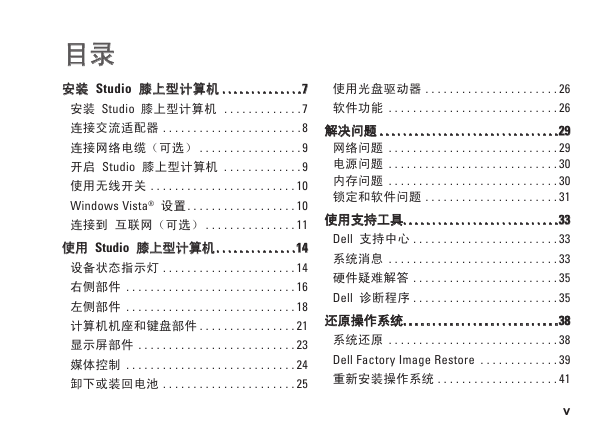
安装 Studio 膝上型计算机
安装 Studio 膝上型计算机
连接交流适配器
连接网络电缆(可选)
开启 Studio 膝上型计算机
使用无线开关
Windows Vista® 设置
连接到 互联网(可选)
使用 Studio 膝上型计算机
设备状态指示灯
右侧部件
左侧部件
计算机机座和键盘部件
显示屏部件
媒体控制
卸下或装回电池
使用光盘驱动器
软件功能
解决问题
网络问题
电源问题
内存问题
锁定和软件问题
使用支持工具
Dell 支持中心
系统消息
硬件疑难解答
Dell 诊断程序
还原操作系统
系统还原
Dell Factory Image Restore
重新安装操作系统
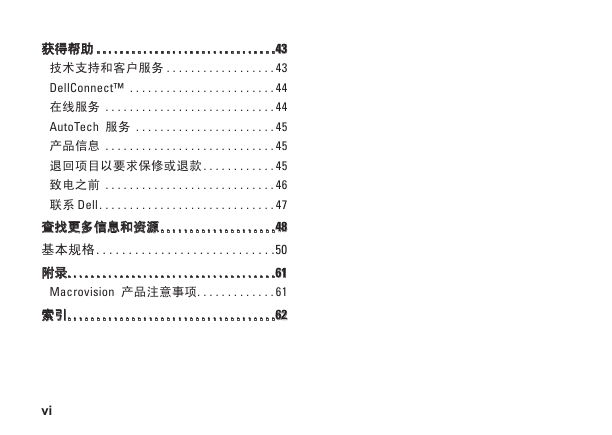
获得帮助
技术支持和客户服务
DellConnect™
在线服务
AutoTech 服务
产品信息
退回项目以要求保修或退款
致电之前
联系 Dell
查找更多信息和资源
基本规格
附录
Macrovision 产品注意事项
索引





 2023年江西萍乡中考道德与法治真题及答案.doc
 2012年重庆南川中考生物真题及答案.doc
 2013年江西师范大学地理学综合及文艺理论基础考研真题.doc
 2020年四川甘孜小升初语文真题及答案I卷.doc
 2020年注册岩土工程师专业基础考试真题及答案.doc
 2023-2024学年福建省厦门市九年级上学期数学月考试题及答案.doc
 2021-2022学年辽宁省沈阳市大东区九年级上学期语文期末试题及答案.doc
 2022-2023学年北京东城区初三第一学期物理期末试卷及答案.doc
 2018上半年江西教师资格初中地理学科知识与教学能力真题及答案.doc
 2012年河北国家公务员申论考试真题及答案-省级.doc
 2020-2021学年江苏省扬州市江都区邵樊片九年级上学期数学第一次质量检测试题及答案.doc
 2022下半年黑龙江教师资格证中学综合素质真题及答案.doc