logo资料库

cr1000x-product-manual.pdf

第1页 / 共229页
第2页 / 共229页
第3页 / 共229页
第4页 / 共229页
第5页 / 共229页
第6页 / 共229页
第7页 / 共229页
第8页 / 共229页
资料共229页,剩余部分请下载后查看
Revision and Copyright Information
Precautions
Warranty and Acknowledgements
Table of Contents
1. Data acquisition system components
1.1 The CR1000X Datalogger
1.1.1 Overview
1.1.2 Operations
1.1.3 Programs
1.2 Sensors
2. Wiring panel and terminal functions
2.1 Power input
2.1.1 Powering a datalogger with a vehicle
2.1.2 Power LED indicator
2.2 Power output
2.3 Grounds
2.4 Communications ports
2.4.1 USB port
2.4.2 Ethernet port
2.4.3 C terminals for communications
2.4.3.1 SDI-12 ports
2.4.3.2 RS-232, RS-485, TTL, and LVTTL ports
2.4.3.3 SDM port
2.4.4 CS I/O port
2.4.5 RS-232/CPI port
2.5 Programmable logic control
3. Setting up the datalogger
3.1 Setting up communications with the datalogger
3.1.1 USB or RS-232 communications
3.1.2 Virtual Ethernet over USB (RNDIS)
3.1.2.1 Connecting to your datalogger via RNDIS
3.1.3 Ethernet communications
3.1.3.1 Configuring datalogger Ethernet settings
3.1.3.2 Ethernet LEDs
3.1.3.3 Setting up Ethernet communications between the datalogger and computer
3.2 Testing communications and completing EZ Setup
3.3 Connecting the datalogger to a computer
3.4 Creating a program in Short Cut
3.5 Sending a program to the datalogger
3.5.0.1 Program run options
4. Working with data
4.1 Collecting data
4.1.1 Collecting data using LoggerNet
4.1.2 Collecting data using PC200W or PC400
4.2 Viewing historic data
4.3 About data tables
4.3.1 Table definitions
4.3.1.1 Header rows
4.3.1.2 Data records
4.4 Creating data tables in a program
5. Data memory
5.1 Memory allocation
5.2 SRAM
5.2.1 Data memory
5.2.2 USR drive
5.3 Flash memory
5.4 Serial Flash memory
5.4.1 CPU drive
5.5 MicroSD (CRD: drive) memory
5.5.1 Formatting microSD cards
5.5.2 MicroSD card precautions
5.5.3 Act LED indicator
5.6 File management via powerup.ini
5.6.1 Syntax
5.6.2 Example powerup.ini files
6. Measurements
6.1 Voltage measurements
6.1.1 Single-ended measurements
6.1.2 Differential measurements
6.1.2.1 Reverse differential
6.1.3 Improving voltage measurement quality
6.1.3.1 Deciding between single-ended or differential measurements
6.1.3.2 Minimizing ground potential differences
Ground potential differences
6.1.3.3 Detecting open inputs
6.1.3.4 Minimizing power-related artifacts
Minimizing electronic noise
6.1.3.5 Filtering to reduce measurement noise
CR1000X filtering details
6.1.3.6 Minimizing settling errors
Measuring settling time
6.1.3.7 Factors affecting accuracy
Measurement accuracy example
6.1.3.8 Minimizing offset voltages
Compensating for offset voltage
Measuring ground reference offset voltage
6.2 Current-loop measurements
6.2.1 Example Current-Loop Measurement Connections
6.3 Resistance measurements
6.3.1 Resistance measurements with voltage excitation
6.3.2 Strain measurements
6.3.3 AC excitation
6.3.4 Accuracy for resistance measurements
6.4 Thermocouple Measurements
6.5 Period-averaging measurements
6.6 Pulse measurements
6.6.1 Low-level ac measurements
6.6.2 High-frequency measurements
6.6.2.1 P terminals
6.6.2.2 C terminals
6.6.3 Switch-closure and open-collector measurements
6.6.3.1 P Terminals
6.6.3.2 C terminals
6.6.4 Edge timing and edge counting
6.6.4.1 Single edge timing
6.6.4.2 Multiple edge counting
6.6.4.3 Timer input NAN conditions
6.6.5 Quadrature measurements
6.6.6 Pulse measurement tips
6.6.6.1 Input filters and signal attenuation
6.6.6.2 Pulse count resolution
6.7 Vibrating wire measurements
6.7.1 VSPECT®
6.8 Sequential and pipeline processing modes
6.8.1 Sequential mode
6.8.2 Pipeline mode
6.8.3 Slow Sequences
7. Communications
7.1 General serial communications
7.2 Modbus communications
7.2.1 About Modbus
7.2.2 Modbus protocols
7.2.3 Understanding Modbus Terminology
7.2.4 Connecting Modbus devices
7.2.5 About Modbus communications
7.2.6 About Modbus programming
7.2.6.1 Endianness
7.2.6.2 Function codes
7.2.7 Modbus information storage
7.2.7.1 Registers
7.2.7.2 Coils
7.2.7.3 Data Types
Unsigned 16-bit integer
Signed 16-bit integer
Signed 32-bit integer
Unsigned 32-bit integer
32-Bit floating point
7.2.8 Modbus tips and troubleshooting
7.2.8.1 Error codes
Result code -01: illegal function
Result code -02: illegal data address
Result code -11: COM port error
7.3 Internet communications
7.3.1 IP address
7.3.2 HTTPS
7.4 DNP3 communications
7.5 Serial peripheral interface (SPI) and I2C
7.6 PakBus communications
7.7 SDI-12 communications
7.7.1 SDI-12 transparent mode
7.7.1.1 SDI-12 transparent mode commands
7.7.2 SDI-12 programmed mode/recorder mode
7.7.3 Programming the datalogger to act as an SDI-12 sensor
7.7.4 SDI-12 power considerations
8. Maintaining your datalogger
8.1 Datalogger calibration
8.1.1 About background calibration
8.2 Datalogger security
8.2.1 Security codes
8.2.2 Creating a .csipasswd file
8.2.2.1 Command syntax
8.3 Datalogger enclosures
8.4 Internal battery
8.4.1 Replacing the internal battery
8.5 Electrostatic discharge and lightning protection
8.6 Power budgeting
8.7 Updating the operating system
8.7.1 Sending an operating system to a local datalogger
8.7.2 Sending an operating system to a remote datalogger
9. Tips and troubleshooting
9.1 Checking station status
9.1.1 Viewing station status
9.1.2 Watchdog errors
9.1.3 Results for last program compiled
9.1.4 Skipped scans
9.1.5 Skipped records
9.1.6 Variable out of bounds
9.1.7 Battery voltage
9.2 Understanding NAN and INF occurrences
9.3 Timekeeping
9.3.1 Clock best practices
9.3.2 Time stamps
9.3.3 Avoiding time skew
9.4 CRBasic program errors
9.4.1 Program does not compile
9.4.2 Program compiles but does not run correctly
9.5 Resetting the datalogger
9.5.1 Processor reset
9.5.2 Program send reset
9.5.3 Manual data table reset
9.5.4 Formatting drives
9.5.5 Full memory reset
9.6 Troubleshooting power supplies
9.7 Minimizing ground loop errors
9.8 Field calibration
9.9 File system error codes
9.10 File name and resource errors
9.11 Background calibration errors
9.12 Information tables and settings (advanced)
9.12.1 Information tables directories
9.12.1.1 Frequently used
9.12.1.2 Communications
General communications
PakBus communications
TCP_IP communications
9.12.1.3 Background calibration
9.12.1.4 Data
9.12.1.5 OS and hardware versions
9.12.1.6 Power monitoring
9.12.1.7 Security
9.12.1.8 Signatures
9.12.2 Information tables and settings descriptions
9.12.2.1 DataTableInfo table system information and settings
9.12.2.2 Status Table system information and settings
9.12.2.3 Device Configuration Utility settings
10. Specifications
10.1 System specifications
10.2 Physical specifications
10.3 Power requirements
10.4 Ground specifications
10.5 Power output specifications
10.6 Analog measurements specifications
10.6.1 Voltage measurements
10.6.2 Resistance measurements specifications
10.6.3 Period-averaging measurements specifications
10.7 Current-loop measurement specifications
10.8 Pulse measurements specifications
10.8.1 Switch closure input
10.8.2 High-frequency input
10.8.3 Low-level ac input
10.8.4 Quadrature input
10.9 Digital input/output specifications
10.9.1 Switch closure input
10.9.2 High-frequency input
10.9.3 Edge timing
10.9.4 Pulse-width modulation
10.10 Communications specifications
11. Glossary
12. Index
Campbell Scientific Companies
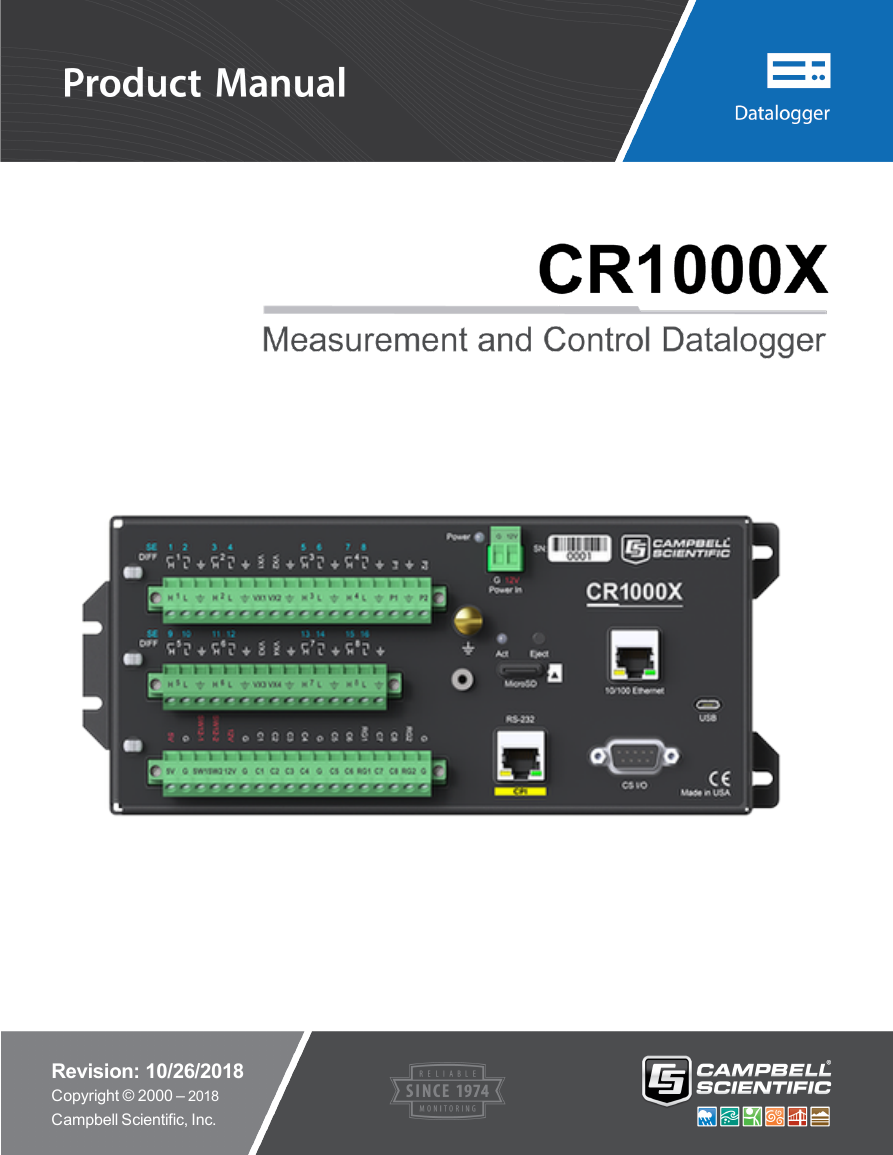
Revision: 10/26/2018 Copyright © 2000 – 2018 Campbell Scientific, Inc.
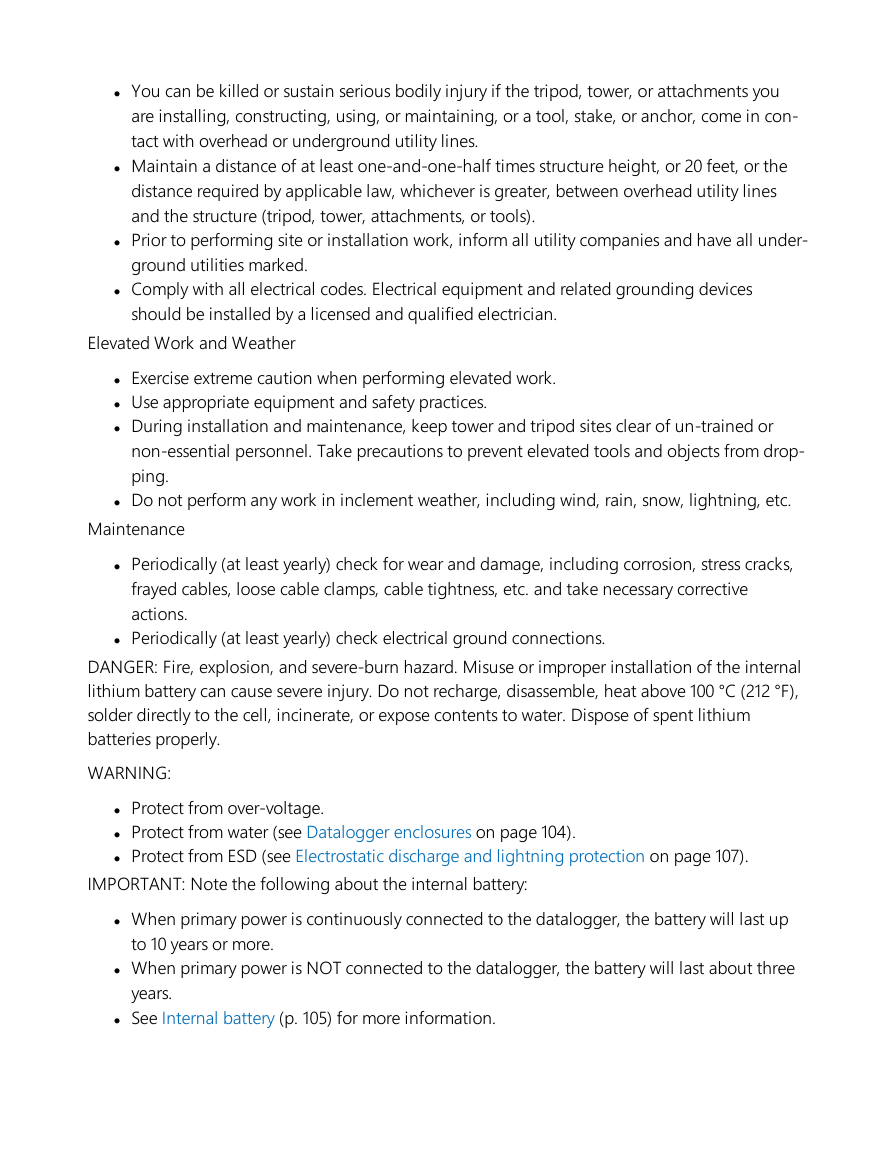
Precautions DANGER — MANY HAZARDS ARE ASSOCIATED WITH INSTALLING, USING, MAINTAINING, AND WORKING ON OR AROUND TRIPODS, TOWERS, AND ANY ATTACHMENTS TO TRIPODS AND TOWERS SUCH AS SENSORS, CROSSARMS, ENCLOSURES, ANTENNAS, ETC. FAILURE TO PROPERLY AND COMPLETELY ASSEMBLE, INSTALL, OPERATE, USE, AND MAINTAIN TRIPODS, TOWERS, AND ATTACHMENTS, AND FAILURE TO HEED WARNINGS, INCREASES THE RISK OF DEATH, ACCIDENT, SERIOUS INJURY, PROPERTY DAMAGE, AND PRODUCT FAILURE. TAKE ALL REASONABLE PRECAUTIONS TO AVOID THESE HAZARDS. CHECK WITH YOUR ORGANIZATION'S SAFETY COORDINATOR (OR POLICY) FOR PROCEDURES AND REQUIRED PROTECTIVE EQUIPMENT PRIOR TO PERFORMING ANY WORK. Use tripods, towers, and attachments to tripods and towers only for purposes for which they are designed. Do not exceed design limits. Be familiar and comply with all instructions provided in product manuals. Manuals are available at www.campbellsci.com or by telephoning 435-227- 9000 (USA). You are responsible for conformance with governing codes and regulations, including safety regulations, and the integrity and location of structures or land to which towers, tripods, and any attachments are attached. Installation sites should be evaluated and approved by a qualified engineer. If questions or concerns arise regarding installation, use, or maintenance of tripods, towers, attachments, or electrical connections, consult with a licensed and qualified engineer or electrician. General l Prior to performing site or installation work, obtain required approvals and permits. Com- ply with all governing structure-height regulations, such as those of the FAA in the USA. l Use only qualified personnel for installation, use, and maintenance of tripods and towers, and any attachments to tripods and towers. The use of licensed and qualified contractors is highly recommended. l Read all applicable instructions carefully and understand procedures thoroughly before reasonable precautions to secure tripod and tower sites from trespassers. l Use only manufacturer recommended parts, materials, and tools. Utility and Electrical beginning work. l Wear a hardhat and eye protection, and take other appropriate safety precautions while working on or around tripods and towers. l Do not climb tripods or towers at any time, and prohibit climbing by other persons. Take
l You can be killed or sustain serious bodily injury if the tripod, tower, or attachments you are installing, constructing, using, or maintaining, or a tool, stake, or anchor, come in con- tact with overhead or underground utility lines. l Maintain a distance of at least one-and-one-half times structure height, or 20 feet, or the distance required by applicable law, whichever is greater, between overhead utility lines and the structure (tripod, tower, attachments, or tools). l Prior to performing site or installation work, inform all utility companies and have all under- ground utilities marked. l Comply with all electrical codes. Electrical equipment and related grounding devices should be installed by a licensed and qualified electrician. Elevated Work and Weather l Exercise extreme caution when performing elevated work. l Use appropriate equipment and safety practices. l During installation and maintenance, keep tower and tripod sites clear of un-trained or non-essential personnel. Take precautions to prevent elevated tools and objects from drop- ping. l Do not perform any work in inclement weather, including wind, rain, snow, lightning, etc. Maintenance l Periodically (at least yearly) check for wear and damage, including corrosion, stress cracks, frayed cables, loose cable clamps, cable tightness, etc. and take necessary corrective actions. l Periodically (at least yearly) check electrical ground connections. DANGER: Fire, explosion, and severe-burn hazard. Misuse or improper installation of the internal lithium battery can cause severe injury. Do not recharge, disassemble, heat above 100 °C (212 °F), solder directly to the cell, incinerate, or expose contents to water. Dispose of spent lithium batteries properly. WARNING: l Protect from over-voltage. l Protect from water (see Datalogger enclosures on page 104). l Protect from ESD (see Electrostatic discharge and lightning protection on page 107). IMPORTANT: Note the following about the internal battery: l When primary power is continuously connected to the datalogger, the battery will last up l When primary power is NOT connected to the datalogger, the battery will last about three to 10 years or more. years. l See Internal battery (p. 105) for more information.
IMPORTANT: Maintain a level of calibration appropriate to the application. Campbell Scientific recommends factory recalibration of the datalogger every three years. WHILE EVERY ATTEMPT IS MADE TO EMBODY THE HIGHEST DEGREE OF SAFETY IN ALL CAMPBELL SCIENTIFIC PRODUCTS, THE CUSTOMER ASSUMES ALL RISK FROM ANY INJURY RESULTING FROM IMPROPER INSTALLATION, USE, OR MAINTENANCE OF TRIPODS, TOWERS, OR ATTACHMENTS TO TRIPODS AND TOWERS SUCH AS SENSORS, CROSSARMS, ENCLOSURES, ANTENNAS, ETC.
Warranty and Acknowledgements The datalogger is warranted for three (3) years subject to this limited warranty: https://www.campbellsci.com/terms#warranty. Acknowledgements lwIP Copyright (c) 2001-2004 Swedish Institute of Computer Science. All rights reserved. Redistribution and use in source and binary forms, with or without modification, are permitted provided that the following conditions are met: 1. Redistributions of source code must retain the above copyright notice, this list of con- ditions and the following disclaimer. 2. Redistributions in binary form must reproduce the above copyright notice, this list of con- ditions and the following disclaimer in the documentation and/or other materials provided with the distribution. 3. The name of the author may not be used to endorse or promote products derived from this software without specific prior written permission. THIS SOFTWARE IS PROVIDED BY THE AUTHOR “AS IS” AND ANY EXPRESS OR IMPLIED WARRANTIES, INCLUDING, BUT NOT LIMITED TO, THE IMPLIED WARRANTIES OF MERCHANTABILITY AND FITNESS FOR A PARTICULAR PURPOSE ARE DISCLAIMED. IN NO EVENT SHALL THE AUTHOR BE LIABLE FOR ANY DIRECT, INDIRECT, INCIDENTAL, SPECIAL, EXEMPLARY, OR CONSEQUENTIAL DAMAGES (INCLUDING, BUT NOT LIMITED TO, PROCUREMENT OF SUBSTITUTE GOODS OR SERVICES; LOSS OF USE, DATA, OR PROFITS; OR BUSINESS INTERRUPTION) HOWEVER CAUSED AND ON ANY THEORY OF LIABILITY, WHETHER IN CONTRACT, STRICT LIABILITY, OR TORT (INCLUDING NEGLIGENCE OR OTHERWISE) ARISING IN ANY WAY OUT OF THE USE OF THIS SOFTWARE, EVEN IF ADVISED OF THE POSSIBILITY OF SUCH DAMAGE.
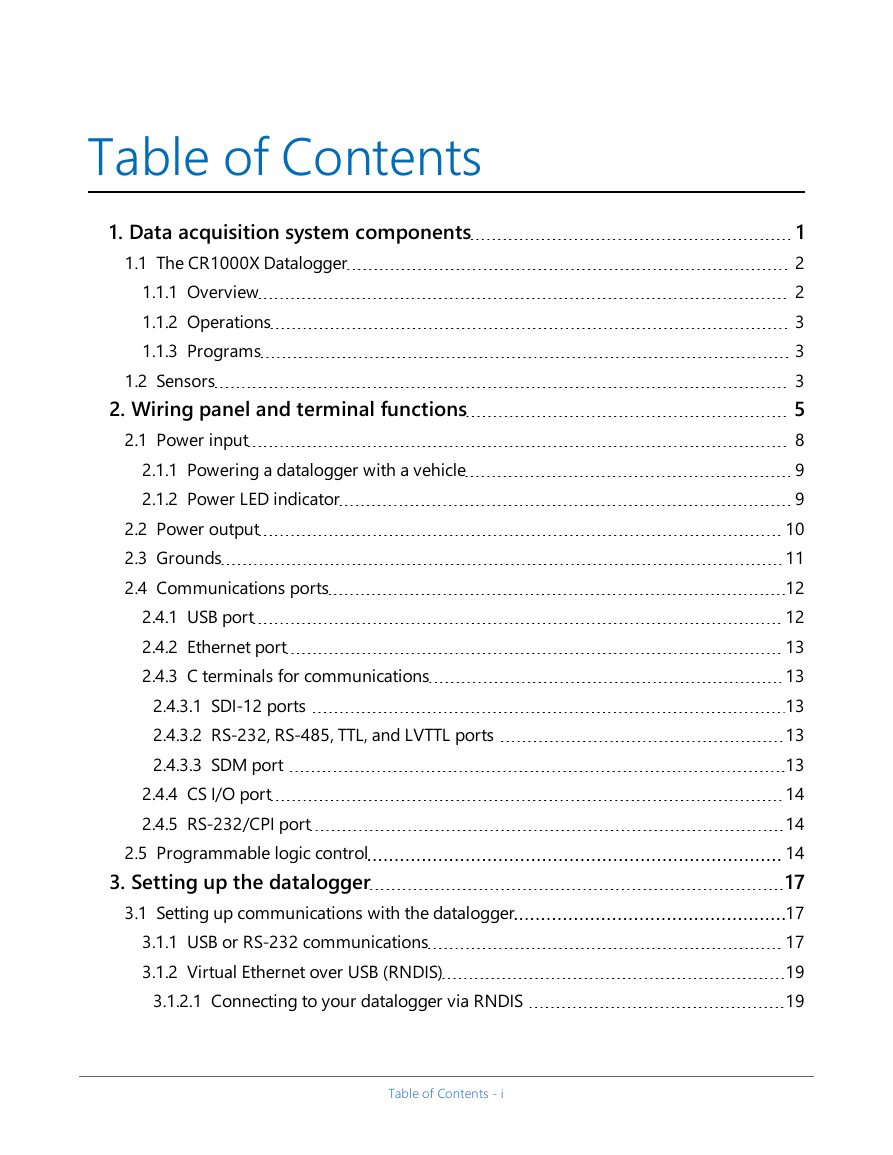
Table of Contents 1. Data acquisition system components 1.1 The CR1000X Datalogger 1.1.1 Overview 1.1.2 Operations 1.1.3 Programs 1.2 Sensors 2. Wiring panel and terminal functions 2.1 Power input 2.1.1 Powering a datalogger with a vehicle 2.1.2 Power LED indicator 2.2 Power output 2.3 Grounds 2.4 Communications ports 2.4.1 USB port 2.4.2 Ethernet port 2.4.3 C terminals for communications 2.4.3.1 SDI-12 ports 2.4.3.2 RS-232, RS-485, TTL, and LVTTL ports 2.4.3.3 SDM port 2.4.4 CS I/O port 2.4.5 RS-232/CPI port 2.5 Programmable logic control 3. Setting up the datalogger 3.1 Setting up communications with the datalogger 3.1.1 USB or RS-232 communications 3.1.2 Virtual Ethernet over USB (RNDIS) 3.1.2.1 Connecting to your datalogger via RNDIS Table of Contents - i 1 2 2 3 3 3 5 8 9 9 10 11 12 12 13 13 13 13 13 14 14 14 17 17 17 19 19
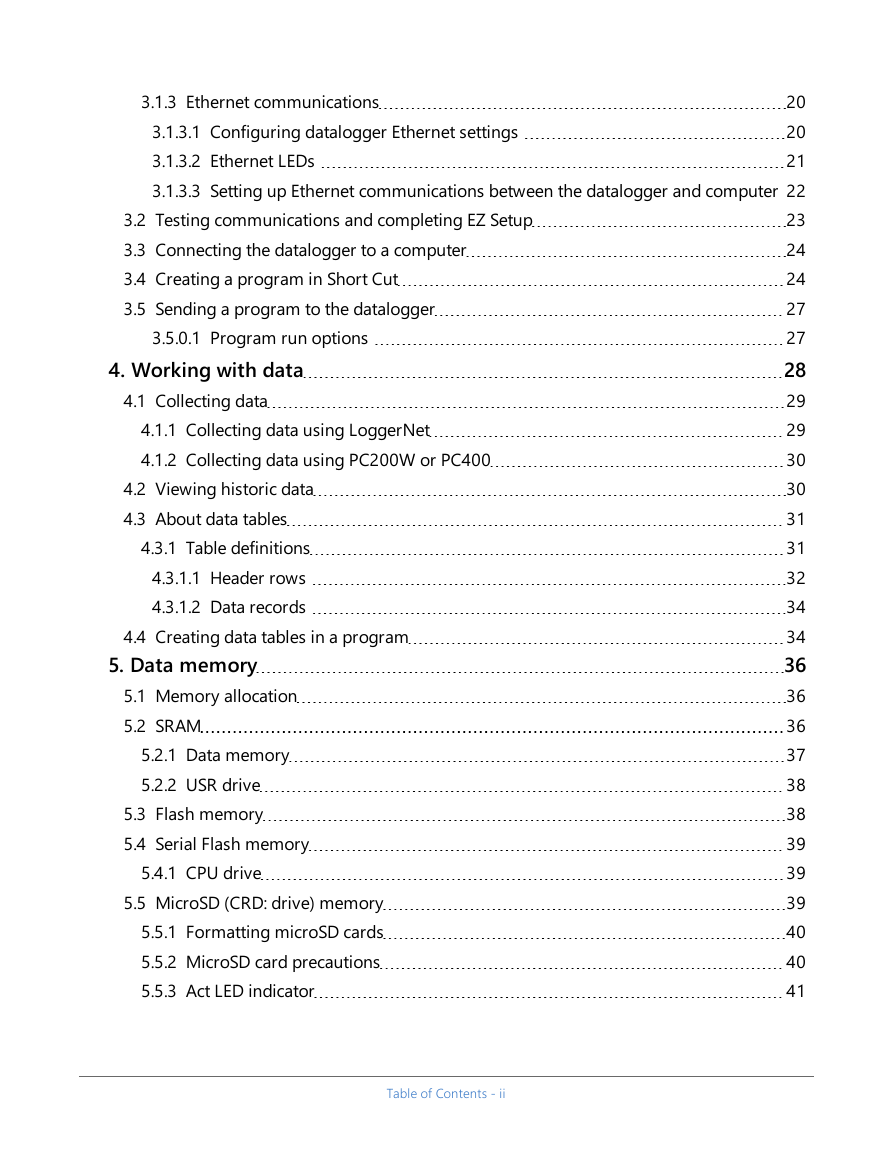
3.5.0.1 Program run options 4. Working with data 4.1 Collecting data 4.1.1 Collecting data using LoggerNet 4.1.2 Collecting data using PC200W or PC400 3.2 Testing communications and completing EZ Setup 3.3 Connecting the datalogger to a computer 3.4 Creating a program in Short Cut 3.5 Sending a program to the datalogger 20 3.1.3 Ethernet communications 20 3.1.3.1 Configuring datalogger Ethernet settings 3.1.3.2 Ethernet LEDs 21 3.1.3.3 Setting up Ethernet communications between the datalogger and computer 22 23 24 24 27 27 28 29 29 30 30 31 31 32 34 34 36 36 36 37 38 38 39 39 39 40 40 41 5.5 MicroSD (CRD: drive) memory 5.5.1 Formatting microSD cards 5.5.2 MicroSD card precautions 5.5.3 Act LED indicator 4.2 Viewing historic data 4.3 About data tables 4.3.1 Table definitions 4.3.1.1 Header rows 4.3.1.2 Data records 5.2.1 Data memory 5.2.2 USR drive 5.3 Flash memory 5.4 Serial Flash memory 5.4.1 CPU drive 4.4 Creating data tables in a program 5. Data memory 5.1 Memory allocation 5.2 SRAM Table of Contents - ii
6.1.1 Single-ended measurements 6.1.2 Differential measurements 6.1.2.1 Reverse differential 6.1.3 Improving voltage measurement quality 6.1.3.1 Deciding between single-ended or differential measurements 6.1.3.2 Minimizing ground potential differences Ground potential differences 6.1.3.3 Detecting open inputs 6.1.3.4 Minimizing power-related artifacts Minimizing electronic noise 6.1.3.5 Filtering to reduce measurement noise CR1000X filtering details 6.1.3.6 Minimizing settling errors Measuring settling time 6.1.3.7 Factors affecting accuracy Measurement accuracy example 6.1.3.8 Minimizing offset voltages Compensating for offset voltage Measuring ground reference offset voltage 6.2 Current-loop measurements 6.2.1 Example Current-Loop Measurement Connections 6.3 Resistance measurements 5.6 File management via powerup.ini 5.6.1 Syntax 5.6.2 Example powerup.ini files 6. Measurements 6.1 Voltage measurements 6.3.1 Resistance measurements with voltage excitation 6.3.2 Strain measurements 6.3.3 AC excitation 6.3.4 Accuracy for resistance measurements Table of Contents - iii 41 41 43 45 45 46 47 47 47 47 49 49 50 50 51 52 53 53 53 56 56 57 58 60 61 61 62 63 66 68 69
分享到:
收藏