//DHT11.c 文件
#include
#include
//the main only needs to call get DHT11(),then the temperature and huminity was got in
F16T,F16RH as float
sbit bit11=P2^0;
unsigned char U8T_data_H,U8T_data_L,U8RH_data_H,U8RH_data_L,U8checkdata;
float F16T,F16RH;
// read 8 bits onice
char COM(void)
//用于最终读取的温湿度数据
{
}
char i,U8temp,U8comdata;
for(i=0;i<8;i++)
{
while(!bit11); //表示读取的高电位延时大于 20 多 us 则读取的是 1 否则读取的是 0
Delay_us(35);
U8temp=0;
if(bit11)U8temp=1;
while(bit11);
U8comdata<<=1;
U8comdata|=U8temp;
}//rof
return
U8comdata;
//通过 U8FLAG 可判断 bit11 显示数据的脉长
//0
//--------------------------------
//-----温湿度读取子程序 ----------
//--------------------------------
//----以下变量均为全局变量--------
//----温度高 8 位== U8T_data_H------
//----温度低 8 位== U8T_data_L------
//----湿度高 8 位== U8RH_data_H-----
//----湿度低 8 位== U8RH_data_L-----
//----校验 8 位 == U8checkdata-----
//----调用相关子程序如下----------
//---- Delay();, Delay_10us();,COM();
//--------------------------------
�
void getDHT11(void)
{
//主机拉低 18ms
GO1:
bit11=0;
Delay_ms(20);
bit11=1;
//总线由上拉电阻拉高 主机延时 20us
Delay_us(60);
//主机设为输入 判断从机响应信号
//
//判断从机是否有低电平响应信号 如不响应则跳出,响应则向下运行
bit11=1;
if(!bit11)
{
//T !
while(!bit11);
//wait DHT goto high
while(bit11);
//数据接收状态
U8RH_data_H=COM();
U8RH_data_L=COM();
U8T_data_H=COM();
U8T_data_L=COM();
U8checkdata=COM();
bit11=1;
//数据校验
if((U8T_data_H+U8T_data_L+U8RH_data_H+U8RH_data_L)!=U8checkdata)
//if
check wrong,read again
goto GO1;
}//fi
F16T=U8T_data_H+(float)U8T_data_L/256;
F16RH=U8RH_data_H+(float)U8RH_data_L/256;
//change integer to float
}
�
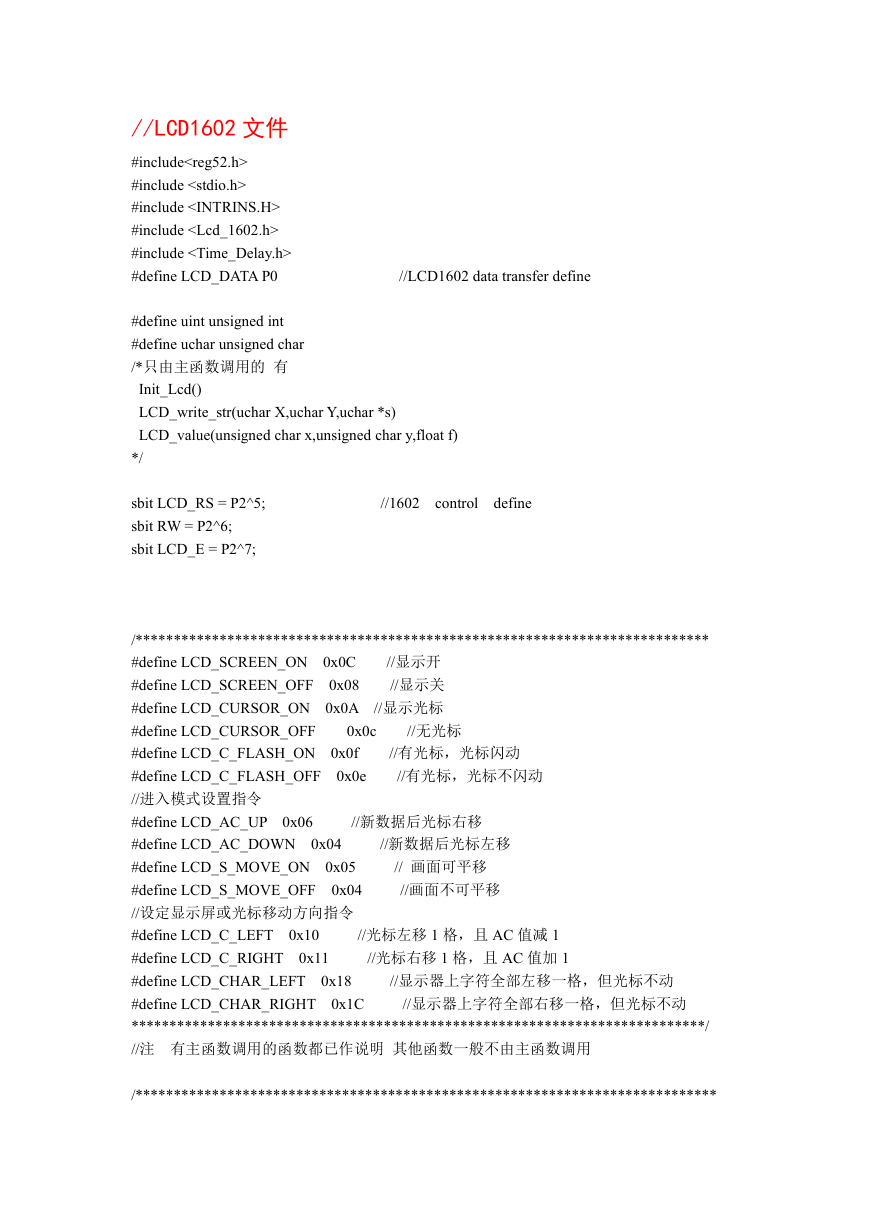
//LCD1602 文件
#include
#include
#include
#include
#include
#define LCD_DATA P0
//LCD1602 data transfer define
#define uint unsigned int
#define uchar unsigned char
/*只由主函数调用的 有
Init_Lcd()
LCD_write_str(uchar X,uchar Y,uchar *s)
LCD_value(unsigned char x,unsigned char y,float f)
*/
sbit LCD_RS = P2^5;
sbit RW = P2^6;
sbit LCD_E = P2^7;
//1602
control define
0x0c
//无光标
//新数据后光标右移
//新数据后光标左移
//有光标,光标闪动
//有光标,光标不闪动
/***************************************************************************
//显示开
#define LCD_SCREEN_ON 0x0C
//显示关
#define LCD_SCREEN_OFF 0x08
#define LCD_CURSOR_ON 0x0A //显示光标
#define LCD_CURSOR_OFF
#define LCD_C_FLASH_ON 0x0f
#define LCD_C_FLASH_OFF 0x0e
//进入模式设置指令
#define LCD_AC_UP 0x06
#define LCD_AC_DOWN 0x04
#define LCD_S_MOVE_ON 0x05
#define LCD_S_MOVE_OFF 0x04
//设定显示屏或光标移动方向指令
#define LCD_C_LEFT 0x10
#define LCD_C_RIGHT 0x11
#define LCD_CHAR_LEFT 0x18
#define LCD_CHAR_RIGHT 0x1C
***************************************************************************/
//注 有主函数调用的函数都已作说明 其他函数一般不由主函数调用
//光标左移 1 格,且 AC 值减 1
//光标右移 1 格,且 AC 值加 1
// 画面可平移
//画面不可平移
//显示器上字符全部左移一格,但光标不动
//显示器上字符全部右移一格,但光标不动
/****************************************************************************
�
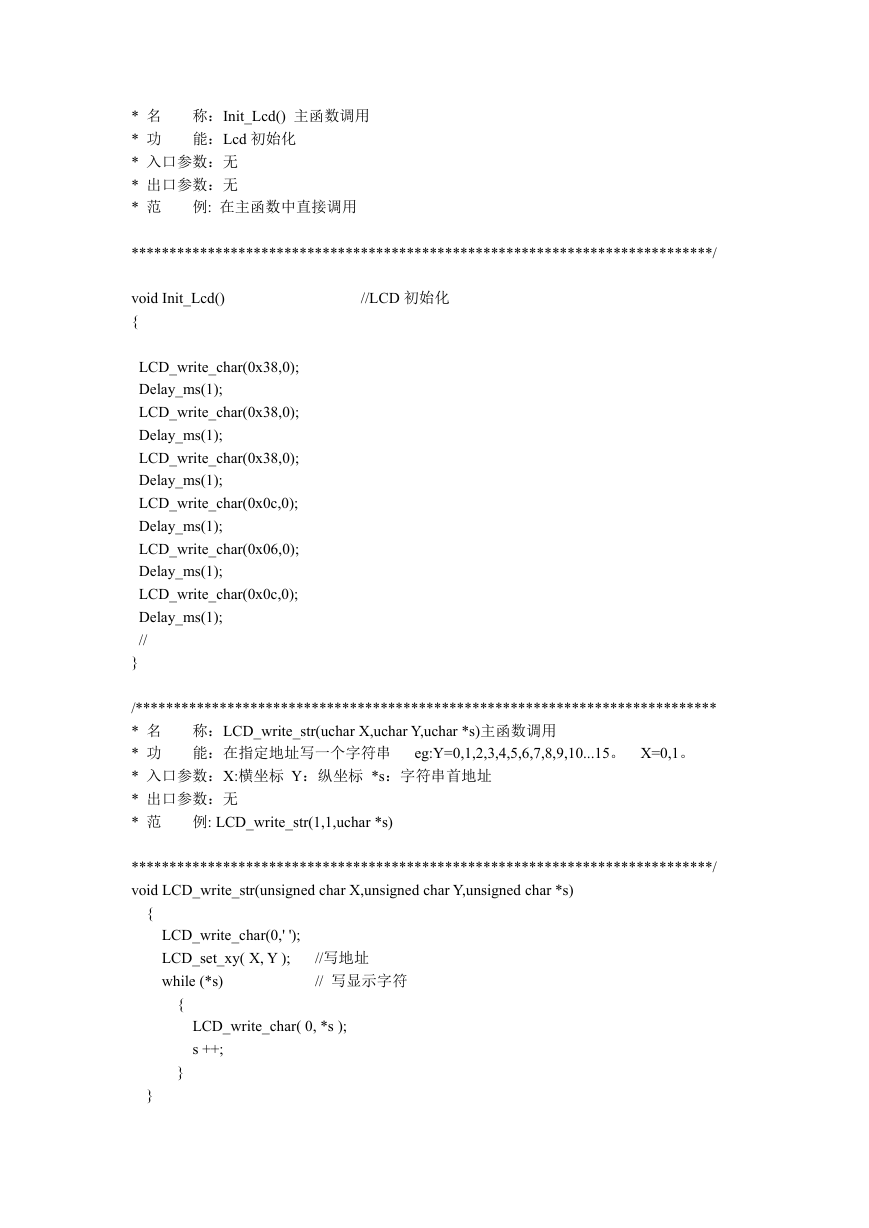
称:Init_Lcd() 主函数调用
能:Lcd 初始化
* 名
* 功
* 入口参数:无
* 出口参数:无
* 范
例: 在主函数中直接调用
****************************************************************************/
//LCD 初始化
void Init_Lcd()
{
LCD_write_char(0x38,0);
Delay_ms(1);
LCD_write_char(0x38,0);
Delay_ms(1);
LCD_write_char(0x38,0);
Delay_ms(1);
LCD_write_char(0x0c,0);
Delay_ms(1);
LCD_write_char(0x06,0);
Delay_ms(1);
LCD_write_char(0x0c,0);
Delay_ms(1);
//
}
称:LCD_write_str(uchar X,uchar Y,uchar *s)主函数调用
能:在指定地址写一个字符串 eg:Y=0,1,2,3,4,5,6,7,8,9,10...15。 X=0,1。
/****************************************************************************
* 名
* 功
* 入口参数:X:横坐标 Y:纵坐标 *s:字符串首地址
* 出口参数:无
* 范
例: LCD_write_str(1,1,uchar *s)
****************************************************************************/
void LCD_write_str(unsigned char X,unsigned char Y,unsigned char *s)
{
}
LCD_write_char(0,' ');
LCD_set_xy( X, Y );
while (*s)
//写地址
// 写显示字符
{
}
LCD_write_char( 0, *s );
s ++;
�
称:LCD_set_xy( uchar x, uchar y )
能:指定一个地址
/****************************************************************************
* 名
* 功
* 入口参数:X:横坐标 Y:纵坐标
* 出口参数:无
* 范
例: LCD_set_xy(5,1)
the optic sign
flash?
*************CD_set_xy*********************************************************
******/
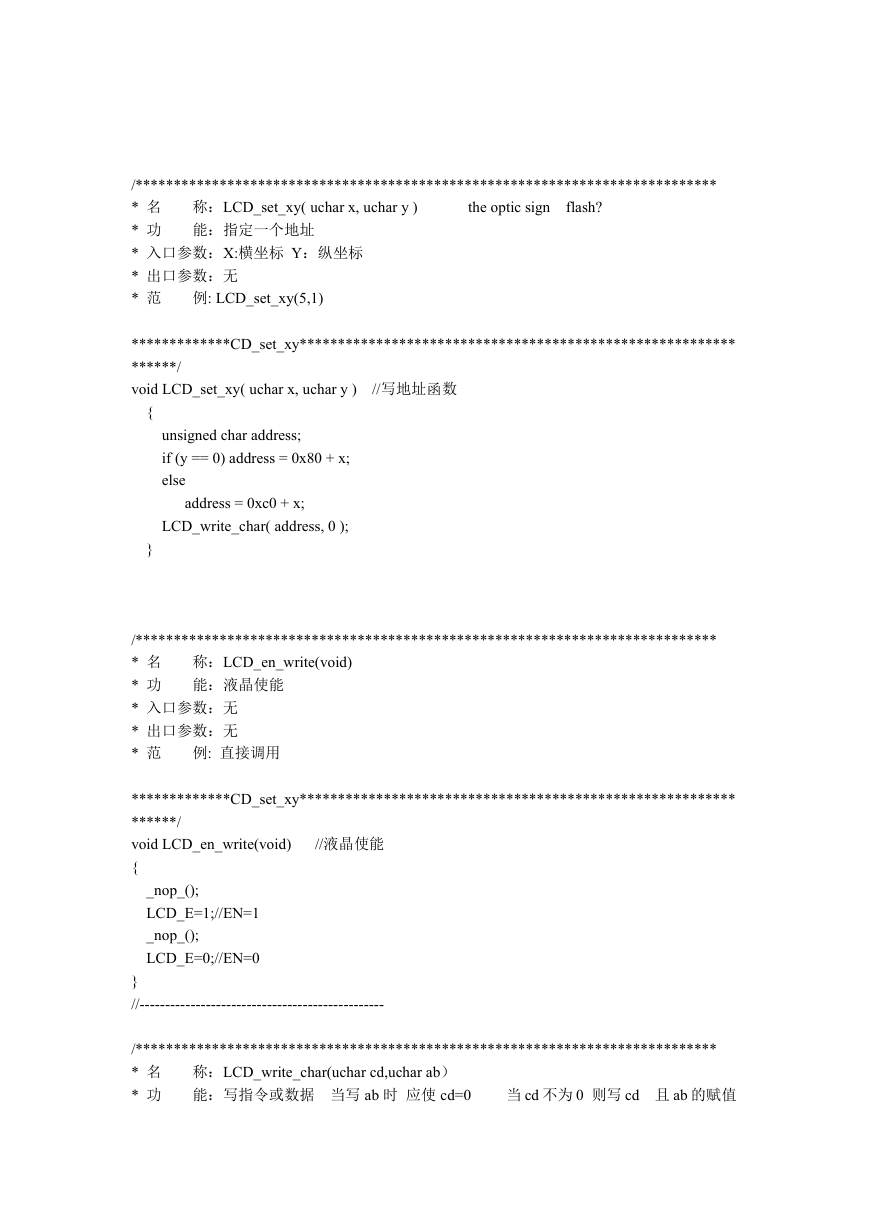
void LCD_set_xy( uchar x, uchar y )
//写地址函数
{
}
unsigned char address;
if (y == 0) address = 0x80 + x;
else
address = 0xc0 + x;
LCD_write_char( address, 0 );
称:LCD_en_write(void)
能:液晶使能
/****************************************************************************
* 名
* 功
* 入口参数:无
* 出口参数:无
* 范
例: 直接调用
*************CD_set_xy*********************************************************
******/
void LCD_en_write(void)
{
//液晶使能
_nop_();
LCD_E=1;//EN=1
_nop_();
LCD_E=0;//EN=0
}
//------------------------------------------------
/****************************************************************************
* 名
* 功
称:LCD_write_char(uchar cd,uchar ab)
能:写指令或数据 当写 ab 时 应使 cd=0
当 cd 不为 0 则写 cd 且 ab 的赋值
�
无效
* 入口参数:cd:指令内容 ab:数据内容 指令常量已在上面定义 但一般不用
* 出口参数:无
* 范
例: LCD_write_char( 0, ‘f’)
*************LCD_set_xy*******************************************************
********/
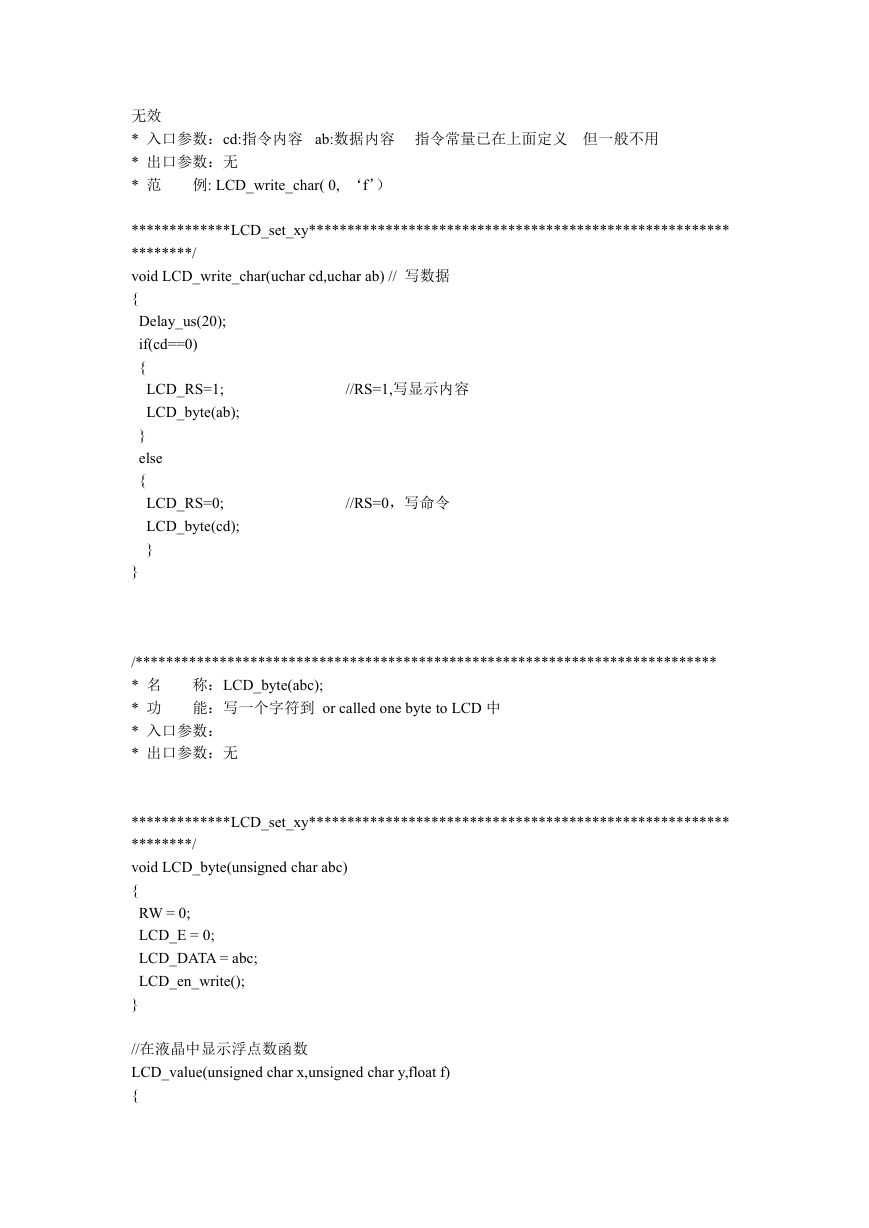
void LCD_write_char(uchar cd,uchar ab) // 写数据
{
Delay_us(20);
if(cd==0)
{
LCD_RS=1;
LCD_byte(ab);
}
else
{
LCD_RS=0;
LCD_byte(cd);
}
}
//RS=1,写显示内容
//RS=0,写命令
称:LCD_byte(abc);
能:写一个字符到 or called one byte to LCD 中
/****************************************************************************
* 名
* 功
* 入口参数:
* 出口参数:无
*************LCD_set_xy*******************************************************
********/
void LCD_byte(unsigned char abc)
{
RW = 0;
LCD_E = 0;
LCD_DATA = abc;
LCD_en_write();
}
//在液晶中显示浮点数函数
LCD_value(unsigned char x,unsigned char y,float f)
{
�
//不能定义为 char* str,数组长度一定要大于浮点
//1 表示小数位数 小数太多 自动四舍五入
unsigned char str[15];
数的总位数
sprintf(str,"%.1f",f);
LCD_write_str( x, y, str);
return 0;
}
//主函数文件
#include
#include
#include
#include
#include"DHT11.h"
extern float F16T,F16RH;
void main ()
{
Init_Lcd();
LCD_write_str(0,1,"abc");
LCD_value(0,0,34.345);
Delay_ms(2000);
//全局变量声明
//液晶预显示测试
Init_Lcd();
while(1)
{
getDHT11();
LCD_write_str(0,0,"T=");
LCD_value(3,0,F16T); LCD_write_str(8,0,"\"C");
LCD_write_str(0,1,"RH=");
LCD_value(4,1,F16RH);
Delay_ms(500);
}
LCD_write_str(9,1,"%");
//字符" 应用转义格式
}
//延时函数文件
//以下为延时函数 this is fit to old C51
void Delay_ms(unsigned int n)//n 毫秒延时
{
12MHz,
12 devide freqency
�
unsigned char j;
while(n--)
{
for(j=0;j<125;j++);
}
}
void Delay_us(unsigned char n)
//N us 延时函数
精度 ±4us
{
}
n=n/2;
while(--n);
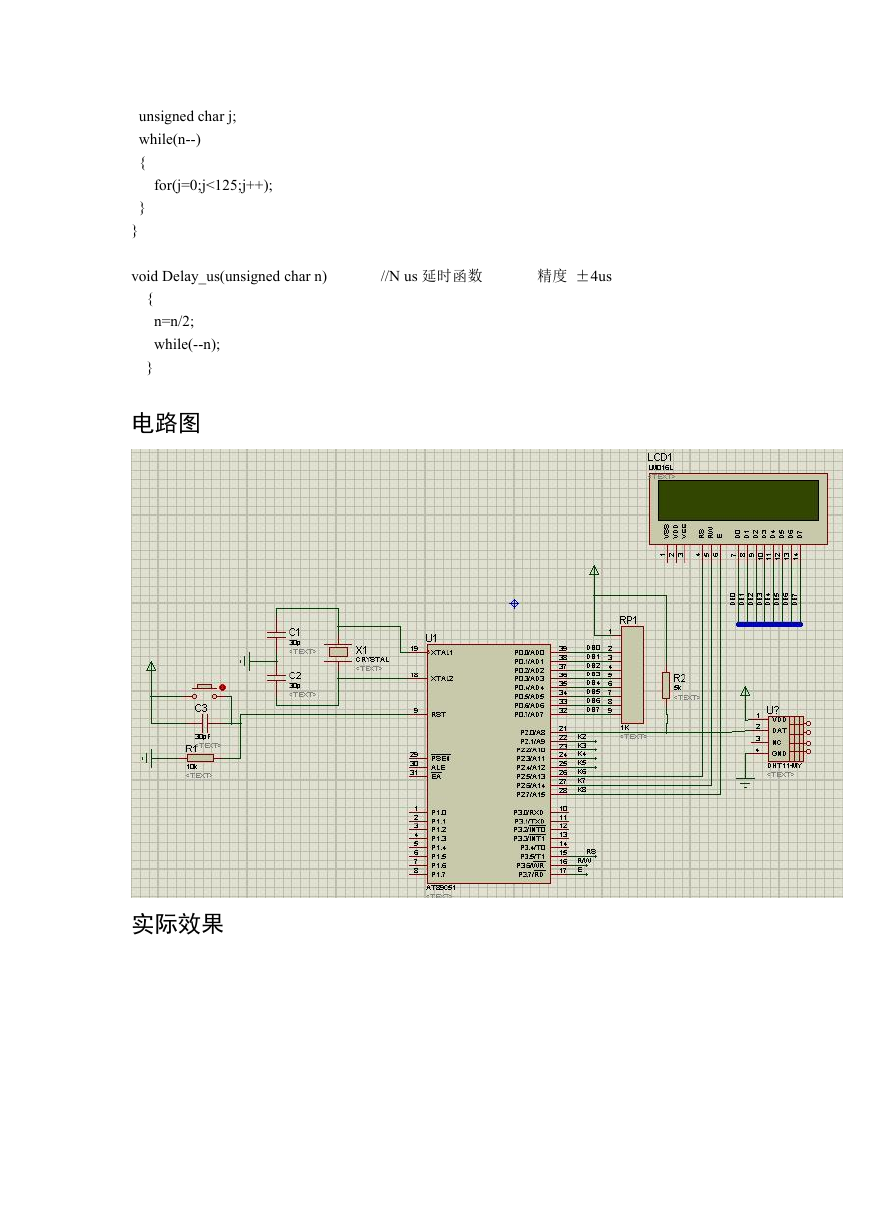
电路图
实际效果
�





 2023年江西萍乡中考道德与法治真题及答案.doc
 2012年重庆南川中考生物真题及答案.doc
 2013年江西师范大学地理学综合及文艺理论基础考研真题.doc
 2020年四川甘孜小升初语文真题及答案I卷.doc
 2020年注册岩土工程师专业基础考试真题及答案.doc
 2023-2024学年福建省厦门市九年级上学期数学月考试题及答案.doc
 2021-2022学年辽宁省沈阳市大东区九年级上学期语文期末试题及答案.doc
 2022-2023学年北京东城区初三第一学期物理期末试卷及答案.doc
 2018上半年江西教师资格初中地理学科知识与教学能力真题及答案.doc
 2012年河北国家公务员申论考试真题及答案-省级.doc
 2020-2021学年江苏省扬州市江都区邵樊片九年级上学期数学第一次质量检测试题及答案.doc
 2022下半年黑龙江教师资格证中学综合素质真题及答案.doc