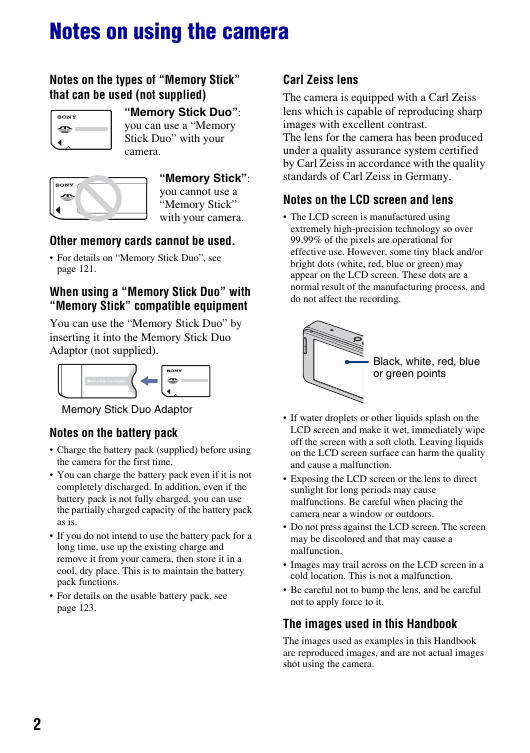
Notes on using the camera
Table of contents
Features of the camera
Storing
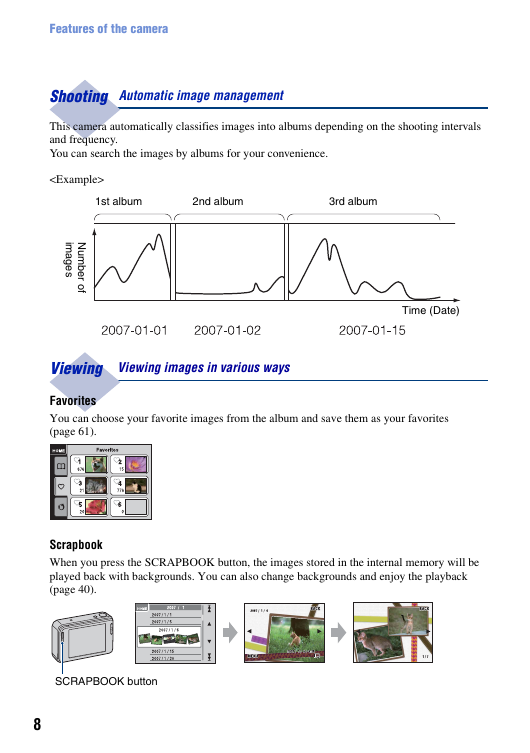
Shooting
Viewing
Sharing
Basic techniques for better images
Focus
Exposure
Color
Quality
Flash
Identifying parts
Indicators on the screen
Operate the touch panel
Changing the screen display
Basic Operations
Shooting images easily
Setting Image size/Self-timer/Flash mode/Macro recording
Setting Focus/Metering Mode/ISO/EV
Viewing images
Selecting how to play back images
Using the SCRAPBOOK
Deleting images
Learning the various functions - HOME/Menu
Using the HOME screen
HOME items
Using the menu items
Menu items
Using the shooting functions
Switching the shooting mode
Shooting menu
REC Mode: Selecting the continuous shooting method
EV: Adjusting the light intensity
Focus: Changing the focus method
Metering Mode: Selecting the metering mode
White Balance: Adjusting the color tones
Color Mode: Changing the vividness of the image or adding special effects
Flash Level: Adjusting the amount of flash light
Red Eye Reduction: Reducing the red-eye phenomenon
Face Detection: Detecting the face of subject
SteadyShot: Selecting the anti-blur mode
Setup: Selecting the shooting settings
Using the viewing functions
Playing back images from the HOME screen
(Album List): Display the list of image groups
(Calendar): Display images on a calendar
(Slideshow): Playing back a series of images
(Memory Stick): Display images in Memory Stick
Viewing menu
(Add/Remove Favorites): Adding/Removing Favorites
(Add/Remove Sharemark): Adding/Removing the reservation to upload images on the Web
(Remove Favorites): Removing Favorites
(Remove Sharemark): Removing sharemark to cancel the reservation to upload images on the Web
(Retouch): Retouching still images
(Paint): Painting on still images
(Slideshow): Playing back a series of images
(Delete): Deleting images
(Protect): Preventing accidental erasure
(Album View): Return to Album screen
(Print): Printing images using a printer
(Rotate): Rotating a still image
(Import): Importing images
(Export): Exporting images
(Select Folder): Selecting the folder for viewing images
(Volume Settings): Adjusting the volume
(Background): Changing the background
Painting or putting stamps on still images (Paint)
Customizing the settings
Customizing the Manage Memory feature and the Settings
Manage Memory
Memory Tool - Memory Stick Tool
Format
Create REC.Folder
Change REC.Folder
Mass Storage
Memory Tool - Internal Memory Tool
Format
Settings
Main Settings - Main Settings 1
Beep
Function Guide
Initialize
Calibration
Main Settings - Main Settings 2
USB Connect
COMPONENT
Video Out
Shooting Settings - Shooting Settings 1
AF Illuminator
Grid Line
AF Mode
Digital Zoom
Shooting Settings - Shooting Settings 2
Auto Orientation
Auto Review
Smile Level
Clock Settings
Language Setting
Viewing images on a TV
Viewing images on a TV
Viewing images by connecting the camera to a TV with the cable for multi-use terminal (not supplied)
Viewing an image by connecting the camera to an HD TV
Using your computer
Enjoying your Windows computer
Recommended computer environment
Notes on the websites preset in “PMB Portable”
Installing the software (supplied)
On the “Picture Motion Browser” (supplied)
“Picture Motion Browser” overview
Starting and exiting the “Picture Motion Browser”
Connecting to computers
Preparing the camera and the computer
Connecting the camera to your computer
To delete the USB connection
Image file storage destinations and file names
Using the “Music Transfer” (supplied)
Adding/Changing Music using “Music Transfer”
Viewing “Cyber-shot Step-up Guide”
Viewing on Windows
Printing still images
How to print still images
Printing images directly using a PictBridge compliant printer
Stage 1: Preparing the camera
Stage 2: Connecting the camera to the printer
Stage 3: Selecting images you want to print
Stage 4: Printing
Stage 5: Completing the printing
Troubleshooting
Troubleshooting
Battery pack and power
Shooting still images/movies
Viewing images
Deleting/Editing images
Computers
Sharemark
Internal memory
“Memory Stick Duo”
Printing
PictBridge compliant printer
Touch panel
Others
Warning indicators and messages
Self-diagnosis display
Messages
Others
Using the camera abroad - Power sources
On the “Memory Stick Duo”
On the battery pack
On the battery charger
On “Cyber-shot Station”
Index
Index




 2023年江西萍乡中考道德与法治真题及答案.doc
 2012年重庆南川中考生物真题及答案.doc
 2013年江西师范大学地理学综合及文艺理论基础考研真题.doc
 2020年四川甘孜小升初语文真题及答案I卷.doc
 2020年注册岩土工程师专业基础考试真题及答案.doc
 2023-2024学年福建省厦门市九年级上学期数学月考试题及答案.doc
 2021-2022学年辽宁省沈阳市大东区九年级上学期语文期末试题及答案.doc
 2022-2023学年北京东城区初三第一学期物理期末试卷及答案.doc
 2018上半年江西教师资格初中地理学科知识与教学能力真题及答案.doc
 2012年河北国家公务员申论考试真题及答案-省级.doc
 2020-2021学年江苏省扬州市江都区邵樊片九年级上学期数学第一次质量检测试题及答案.doc
 2022下半年黑龙江教师资格证中学综合素质真题及答案.doc