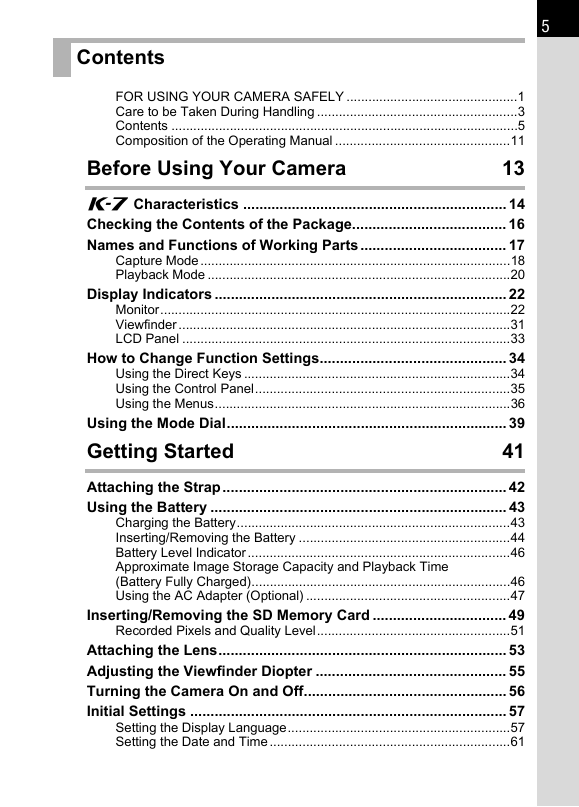
FOR USING YOUR CAMERA SAFELY
Care to be Taken During Handling
Contents
Composition of the Operating Manual
1 Before Using Your Camera
K-7 Characteristics
Checking the Contents of the Package
Names and Functions of Working Parts
Capture Mode
Playback Mode
Display Indicators
Monitor
Viewfinder
LCD Panel
How to Change Function Settings
Using the Direct Keys
Using the Control Panel
Using the Menus
Using the Mode Dial
2 Getting Started
Attaching the Strap
Using the Battery
Charging the Battery
Inserting/Removing the Battery
Battery Level Indicator
Approximate Image Storage Capacity and Playback Time (Battery Fully Charged)
Using the AC Adapter (Optional)
Inserting/Removing the SD Memory Card
Recorded Pixels and Quality Level
Attaching the Lens
Adjusting the Viewfinder Diopter
Turning the Camera On and Off
Initial Settings
Setting the Display Language
Setting the Date and Time
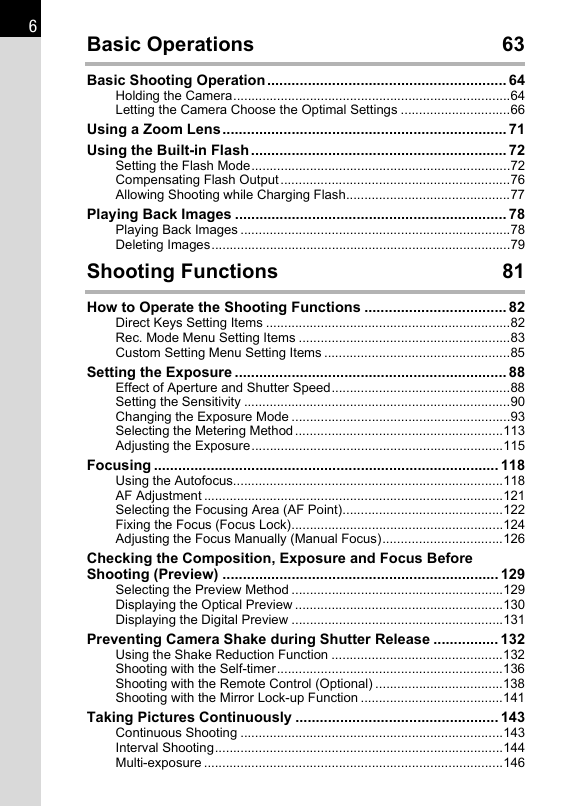
3 Basic Operations
Basic Shooting Operation
Holding the Camera
Letting the Camera Choose the Optimal Settings
Using a Zoom Lens
Using the Built-in Flash
Setting the Flash Mode
Compensating Flash Output
Allowing Shooting while Charging Flash
Playing Back Images
Playing Back Images
Deleting Images
4 Shooting Functions
How to Operate the Shooting Functions
Direct Keys Setting Items
Rec. Mode Menu Setting Items
Custom Setting Menu Setting Items
Setting the Exposure
Effect of Aperture and Shutter Speed
Setting the Sensitivity
Changing the Exposure Mode
Selecting the Metering Method
Adjusting the Exposure
Focusing
Using the Autofocus
AF Adjustment
Selecting the Focusing Area (AF Point)
Fixing the Focus (Focus Lock)
Adjusting the Focus Manually (Manual Focus)
Checking the Composition, Exposure and Focus Before Shooting (Preview)
Selecting the Preview Method
Displaying the Optical Preview
Displaying the Digital Preview
Preventing Camera Shake during Shutter Release
Using the Shake Reduction Function
Shooting with the Self-timer
Shooting with the Remote Control (Optional)
Shooting with the Mirror Lock-up Function
Taking Pictures Continuously
Continuous Shooting
Interval Shooting
Multi-exposure
Shooting while Adjusting the Settings (Auto Bracket)
Shooting while the Exposure is Automatically Changed (Exposure Bracketing)
Shooting while Adjusting Other Settings (Extended Bracketing)
Taking Pictures Using Digital Filter
Shooting with the Live View
Taking Still Pictures
Recording Movies
5 Using the Flash
Flash Characteristics in Each Exposure Mode
Using the Slow-Speed Sync
Using the Trailing Curtain Sync
Distance and Aperture when Using the Built-in Flash
Lens Compatibility with the Built-in Flash
Using an External Flash (Optional)
Using P-TTL Auto Mode
Using High-Speed Flash Sync Mode
Using in Wireless Mode
Red-Eye Reduction
Trailing Curtain Sync
Connecting an External Flash with an Extension Cord
Multiple Flash Shooting Using Extension Cords
Contrast-Control-Sync Flash
X-sync Socket
6 Shooting Settings
Setting the File Format
Setting the JPEG Recorded Pixels
Setting the JPEG Quality Level
Setting the File Format
Setting the White Balance
Fine-tuning the White Balance
Adjusting the White Balance Manually
Adjusting the White Balance with Color Temperature
Saving the White Balance Setting of a Captured Image
Correcting Images
Adjusting the Brightness
Lens Correction
Adjusting the Composition
Setting the Image Finishing Tone (Custom Image)
Storing Frequently Used Settings
Saving the Settings
Checking the Saved USER Settings
Using Saved USER Settings
Changing the Settings
Resetting to Default Settings
7 Playback Functions
Playback Functions Operation
Playback Mode Palette Setting Items
Playback Menu Setting Items
Enlarging Images
Displaying Multiple Images
Multi-image Display Screen
Displaying Images by Folder
Displaying Images by Shooting Date (Calendar display)
Joining Multiple Images (Index)
Slideshow
Setting the Slideshow Display
Starting the Slideshow
Rotating Images
Comparing Images
Deleting Multiple Images
Deleting Selected Images
Deleting a Folder
Deleting All Images
Protecting Images from Deletion (Protect)
Protecting a Single Image
Protecting All Images
Connecting the Camera to AV Equipment
Connecting the Camera to a Video IN Jack
Connecting the Camera to an HDMI Terminal
8 Processing Images
Changing the Image Size
Changing the Number of Recorded Pixels and Quality Level (Resize)
Cutting Out Part of the Image (Cropping)
Processing Images with Digital Filters
Applying the Digital Filter
Recreating Filter Effects
Searching for the Original Image
Developing RAW Images
Developing One RAW Image
Developing Multiple RAW Images
Specifying the Parameters
Readjusting Images Shot in JPEG Format
9 Changing Additional Settings
How to Operate the Set-up Menu
Set-up Menu Setting Items
Formatting the SD Memory Card
Setting the Beep, Date and Time, and Display Language
Setting the Beep
Changing the Date Display
Setting the World Time
Setting the Display Language
Adjusting the Monitor and the Menu Display
Setting the Text Size
Setting the Guide Display Time
Setting the Status Screen Display
Setting the Display for Instant Review
Adjusting the Brightness of the Monitor
Adjusting the Color of the Monitor
Setting the Electronic Level Display
Setting the Folder Name/File Number Naming Convention
Selecting the Folder Name
Selecting the File Number Setting
Setting the File Name
Setting the Power Setting
Setting Auto Power Off
Selecting a Battery
Setting the DPOF Settings
Setting USB Connection Mode
Setting the Photographer Information Saved to Exif
Setting the Color Space
Correcting Defective Pixels in the CMOS Sensor (Pixel Mapping)
Selecting Settings to Save in the Camera (Memory)
10 Appendix
Default Settings
Resetting the Menu
Functions Available with Various Lens Combinations
Notes on [37. Using Aperture Ring]
Cleaning the CMOS Sensor
Removing Dust with Ultrasonic Vibrations (Dust Removal)
Detecting Dust on the CMOS Sensor (Dust Alert)
Removing Dust with a Blower
Optional Accessories
Error Messages
Troubleshooting
Main Specifications
Glossary
Index
WARRANTY POLICY


 2023年江西萍乡中考道德与法治真题及答案.doc
 2012年重庆南川中考生物真题及答案.doc
 2013年江西师范大学地理学综合及文艺理论基础考研真题.doc
 2020年四川甘孜小升初语文真题及答案I卷.doc
 2020年注册岩土工程师专业基础考试真题及答案.doc
 2023-2024学年福建省厦门市九年级上学期数学月考试题及答案.doc
 2021-2022学年辽宁省沈阳市大东区九年级上学期语文期末试题及答案.doc
 2022-2023学年北京东城区初三第一学期物理期末试卷及答案.doc
 2018上半年江西教师资格初中地理学科知识与教学能力真题及答案.doc
 2012年河北国家公务员申论考试真题及答案-省级.doc
 2020-2021学年江苏省扬州市江都区邵樊片九年级上学期数学第一次质量检测试题及答案.doc
 2022下半年黑龙江教师资格证中学综合素质真题及答案.doc