QTP 六脉神剑之调用 Java 程序
版权声明:原创作品,转载请以链接方式注明出自 http://www.51testing.com/?35,否则将追究法律责任。
本文出自 songfun 的 51Testing 软件测试博客:http://www.51testing.com/?35
不少网友对于 QTP 调用 Java 程序感到束手无策,实际上要调用 Java 程序是非常容易的。接下来 songfun 老师
传授给大家武林绝技之六脉神剑。在演示这个例子前,请大家先造一个 java 程序(我以 java 计算器为例,源
码见下),以方便观察调用结果。
第一式:少商剑。特点:剑路雄劲,石破天惊。
打开 QTP,在 QTP 的 Expert View 中输入:InvokeApplication "cmd /k cd c:\ && java Counter && exit"
运行 QTP,看看,打开了吗?
第二式:商阳剑。特点:巧妙灵活,难以捉摸。
在 C 盘上新建一个 bat 文件,取名为 runjava.bat,在文件里面输入一段文本:cmd /k "cd c:\ && java Counter
&& exit",然后保存下来。
打开 QTP,在 QTP 的 Expert View 中输入:SystemUtil.Run "C:\runjava.bat"
运行 QTP,看看,打开了吗?
第三式:中冲剑。特点:大开大阖,气势雄迈。
打开 QTP,在 QTP 的 Expert View 中输入:
Dim oWsh
Set Wsh = CreateObject("WScript.Shell")
oWsh.Exec "cmd /k cd c:\ && java Counter && exit"
Set Wsh = Nothing
运行 QTP,看看,打开了吗?
第四式:关冲剑。特点:以拙滞古朴取胜。
在 C 盘上新建一个 qfl 文件,取名为 runjava.qfl,在文件里面输入一段文本:
CallJava "Counter"
Sub CallJava(ByVal strJavaName)
Dim oWsh
Set Wsh = CreateObject("WScript.Shell")
oWsh.Run "cmd /k cd c:\ && java " & strJavaName & " && exit"
Set Wsh = Nothing
End Sub
打开 QTP,在 QTP 的 Expert View 中输入:ExecuteFile "C:\runjava.qfl"
运行 QTP,看看,打开了吗?
第五式:少冲剑。特点:轻灵婀娜,迅雷不及掩耳。
安装 QTP 的 Java Add-in,之后在 Automation—Record and Run Settings 中出现了 Java 标签页。根据下图的内容
设置即可(runjava.bat 文件内容参照六脉神剑第二式)。
�
javarecord.PNG
第六式:少泽剑。特点:忽来忽去,变化精微。
采用直接调用 jar 包的形式。要生成 jar 包,首先要确保在 C 盘下已经放置了 Counter.java 源文件,然后通过命
令行工具去编译它:
cd \
javac Counter.java
jar cvf Counter.jar *.class
执行完命令看看在 C 盘是否已经生成了 Counter.jar 文件?
接下来解压 Counter.jar 文件,在 C:\Counter\META-INF 目录下可以找到 MANIFEST.MF 这个文件,用 Notepad 打
开,在第三行空行处加入入口类的代码(蓝色字体部分):
Manifest-Version: 1.0
Created-By: 1.6.0_07 (Sun Microsystems Inc.)
Main-Class: Counter
保存完以后,回到命令行窗口处,输入命令更新 jar 包:
jar umf C:\Counter\META-INF\MANIFEST.MF Counter.jar
写完测试一下:java -jar Counter.jar
如果计算器可以打开说明前期铺垫工作已经完成,那接下来的就是在 QTP 的 Expert View 中输入:
SystemUtil.Run "C:\Counter.jar"
运行 QTP,看看,打开了吗?
本文出自 songfun 的 51Testing 软件测试博客:http://www.51testing.com/?35
当然实际上要调用 Java 程序的方法还有很多,这里就不一一介绍了。在下次课,songfun 老师将会传授 QTP 独
门秘笈之降龙十八掌给大家。谢谢!再见!
本文出自 songfun 的 51Testing 软件测试博客:http://www.51testing.com/?35
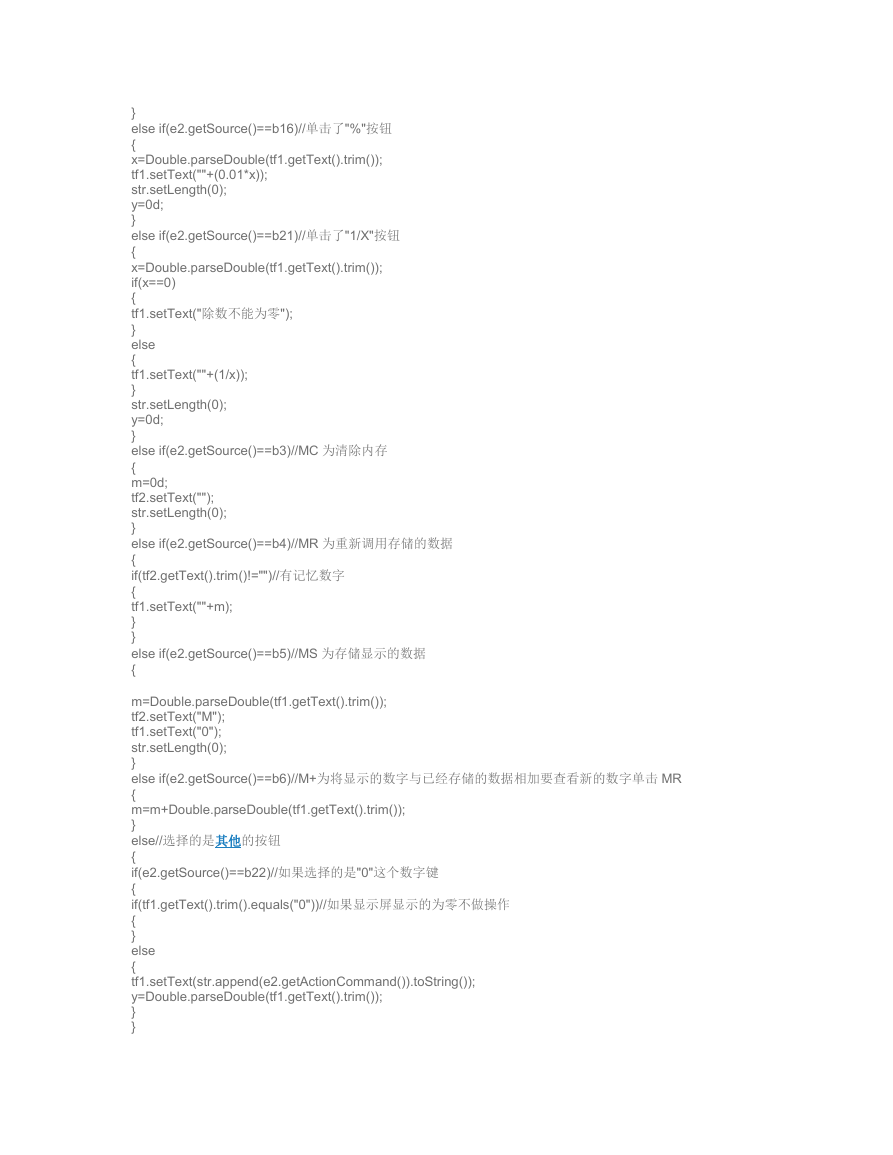
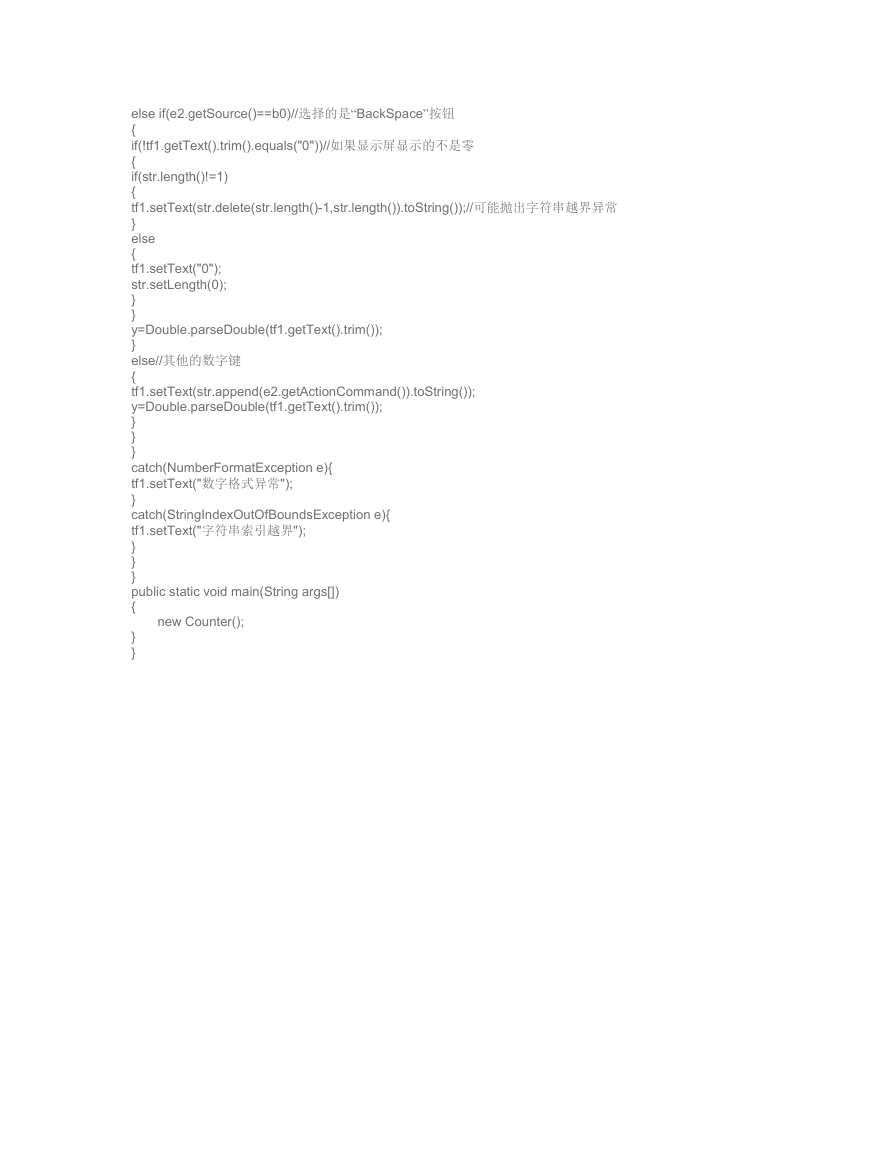
附:Counter.java 源码。
import java.awt.*;
import java.awt.event.*;
import java.lang.*;
import javax.swing.*;
public class Counter extends Frame.
{
//声明三个面板的布局
GridLayout gl1,gl2,gl3;
Panel p0,p1,p2,p3;
JTextField tf1;
TextField tf2;
Button
b0,b1,b2,b3,b4,b5,b6,b7,b8,b9,b10,b11,b12,b13,b14,b15,b16,b17,b18,b19,b20,b21,b22,b23,b24,b25,b26;
StringBuffer str;//显示屏所显示的字符串
double x,y;//x 和 y 都是运算数
int z;//Z 表示单击了那一个运算符.0 表示"+",1 表示"-",2 表示"*",3 表示"/"
static double m;//记忆的数字
public Counter()
{
gl1=new GridLayout(1,4,10,0);//实例化三个面板的布局
gl2=new GridLayout(4,1,0,15);
gl3=new GridLayout(4,5,10,15);
tf1=new JTextField(27);//显示屏
tf1.setHorizontalAlignment(JTextField.RIGHT);
�
tf1.setEnabled(false);
tf1.setText("0");
tf2=new TextField(10);//显示记忆的索引值
tf2.setEditable(false);
//实例化所有按钮、设置其前景色并注册**
b0=new Button("Backspace");
b0.setForeground(Color.red);
b0.addActionListener(new Bt());
b1=new Button("CE");
b1.setForeground(Color.red);
b1.addActionListener(new Bt());
b2=new Button("C");
b2.setForeground(Color.red);
b2.addActionListener(new Bt());
b3=new Button("MC");
b3.setForeground(Color.red);
b3.addActionListener(new Bt());
b4=new Button("MR");
b4.setForeground(Color.red);
b4.addActionListener(new Bt());
b5=new Button("MS");
b5.setForeground(Color.red);
b5.addActionListener(new Bt());
b6=new Button("M+");
b6.setForeground(Color.red);
b6.addActionListener(new Bt());
b7=new Button("7");
b7.setForeground(Color.blue);
b7.addActionListener(new Bt());
b8=new Button("8");
b8.setForeground(Color.blue);
b8.addActionListener(new Bt());
b9=new Button("9");
b9.setForeground(Color.blue);
b9.addActionListener(new Bt());
b10=new Button("/");
b10.setForeground(Color.red);
b10.addActionListener(new Bt());
b11=new Button("sqrt");
b11.setForeground(Color.blue);
b11.addActionListener(new Bt());
b12=new Button("4");
b12.setForeground(Color.blue);
b12.addActionListener(new Bt());
b13=new Button("5");
b13.setForeground(Color.blue);
b13.addActionListener(new Bt());
b14=new Button("6");
b14.setForeground(Color.blue);
b14.addActionListener(new Bt());
b15=new Button("*");
b15.setForeground(Color.red);
b15.addActionListener(new Bt());
b16=new Button("%");
b16.setForeground(Color.blue);
b16.addActionListener(new Bt());
b17=new Button("1");
b17.setForeground(Color.blue);
b17.addActionListener(new Bt());
b18=new Button("2");
b18.setForeground(Color.blue);
b18.addActionListener(new Bt());
�
b19=new Button("3");
b19.setForeground(Color.blue);
b19.addActionListener(new Bt());
b20=new Button("-");
b20.setForeground(Color.red);
b20.addActionListener(new Bt());
b21=new Button("1/X");
b21.setForeground(Color.blue);
b21.addActionListener(new Bt());
b22=new Button("0");
b22.setForeground(Color.blue);
b22.addActionListener(new Bt());
b23=new Button("+/-");
b23.setForeground(Color.blue);
b23.addActionListener(new Bt());
b24=new Button(".");
b24.setForeground(Color.blue);
b24.addActionListener(new Bt());
b25=new Button("+");
b25.setForeground(Color.red);
b25.addActionListener(new Bt());
b26=new Button("=");
b26.setForeground(Color.red);
b26.addActionListener(new Bt());
//实例化四个面板
p0=new Panel();
p1=new Panel();
p2=new Panel();
p3=new Panel();
//创建一个空字符串缓冲区
str=new StringBuffer();
//添加面板 p0 中的组件和设置其在框架中的位置和大小
p0.add(tf1);
p0.setBounds(10,25,300,40);
//添加面板 p1 中的组件和设置其在框架中的位置和大小
p1.setLayout(gl1);
p1.add(tf2);
p1.add(b0);
p1.add(b1);
p1.add(b2);
p1.setBounds(10,65,300,25);
//添加面板 p2 中的组件并设置其的框架中的位置和大小
p2.setLayout(gl2);
p2.add(b3);
p2.add(b4);
p2.add(b5);
p2.add(b6);
p2.setBounds(10,110,40,150);
//添加面板 p3 中的组件并设置其在框架中的位置和大小
p3.setLayout(gl3);//设置 p3 的布局
p3.add(b7);
p3.add(b8);
p3.add(b9);
p3.add(b10);
p3.add(b11);
p3.add(b12);
p3.add(b13);
p3.add(b14);
p3.add(b15);
p3.add(b16);
�
p3.add(b17);
p3.add(b18);
p3.add(b19);
p3.add(b20);
p3.add(b21);
p3.add(b22);
p3.add(b23);
p3.add(b24);
p3.add(b25);
p3.add(b26);
p3.setBounds(60,110,250,150);
//设置框架中的布局为空布局并添加 4 个面板
setLayout(null);
add(p0);
add(p1);
add(p2);
add(p3);
setResizable(false);//禁止调整框架的大小
//匿名类关闭窗口
addWindowListener(new WindowAdapter(){
public void windowClosing(WindowEvent e1)
{
System.exit(0);
}
});
setBackground(Color.lightGray);
setBounds(100,100,320,280);
setVisible(true);
}
//构造**
class Bt implements ActionListener
{
public void actionPerformed(ActionEvent e2)
{
try{
if(e2.getSource()==b1)//选择"CE"清零
{
tf1.setText("0");//把显示屏清零
str.setLength(0);//清空字符串缓冲区以准备接收新的输入运算数
}
else if(e2.getSource()==b2)//选择"C"清零
{
tf1.setText("0");//把显示屏清零
str.setLength(0);
}
else if(e2.getSource()==b23)//单击"+/-"选择输入的运算数是正数还是负数
{
x=Double.parseDouble(tf1.getText().trim());
tf1.setText(""+(-x));
}
else if(e2.getSource()==b25)//单击加号按钮获得 x 的值和 z 的值并清空 y 的值
{
x=Double.parseDouble(tf1.getText().trim());
str.setLength(0);//清空缓冲区以便接收新的另一个运算数
y=0d;
z=0;
}
else if(e2.getSource()==b20)//单击减号按钮获得 x 的值和 z 的值并清空 y 的值
{
x=Double.parseDouble(tf1.getText().trim());
�
str.setLength(0);
y=0d;
z=1;
}
else if(e2.getSource()==b15)//单击乘号按钮获得 x 的值和 z 的值并清空 y 的值
{
x=Double.parseDouble(tf1.getText().trim());
str.setLength(0);
y=0d;
z=2;
}
else if(e2.getSource()==b10)//单击除号按钮获得 x 的值和 z 的值并空 y 的值
{
x=Double.parseDouble(tf1.getText().trim());
str.setLength(0);
y=0d;
z=3;
}
else if(e2.getSource()==b26)//单击等号按钮输出计算结果
{
str.setLength(0);
switch(z)
{
case 0 : tf1.setText(""+(x+y));break;
case 1 : tf1.setText(""+(x-y));break;
case 2 : tf1.setText(""+(x*y));break;
case 3 : tf1.setText(""+(x/y));break;
}
}
else if(e2.getSource()==b24)//单击"."按钮输入小数
{
if(tf1.getText().trim().indexOf('.')!=-1)//判断字符串中是否已经包含了小数点
{
}
else//如果没数点有小
{
if(tf1.getText().trim().equals("0"))//如果初时显示为 0
{
str.setLength(0);
tf1.setText((str.append("0"+e2.getActionCommand())).toString());
}
else if(tf1.getText().trim().equals(""))//如果初时显示为空则不做任何操作
{
}
else
{
tf1.setText(str.append(e2.getActionCommand()).toString());
}
}
y=0d;
}
else if(e2.getSource()==b11)//求平方根
{
x=Double.parseDouble(tf1.getText().trim());
tf1.setText("数字格式异常");
if(x<0)
tf1.setText("负数没有平方根");
else
tf1.setText(""+Math.sqrt(x));
str.setLength(0);
y=0d;
�
}
else if(e2.getSource()==b16)//单击了"%"按钮
{
x=Double.parseDouble(tf1.getText().trim());
tf1.setText(""+(0.01*x));
str.setLength(0);
y=0d;
}
else if(e2.getSource()==b21)//单击了"1/X"按钮
{
x=Double.parseDouble(tf1.getText().trim());
if(x==0)
{
tf1.setText("除数不能为零");
}
else
{
tf1.setText(""+(1/x));
}
str.setLength(0);
y=0d;
}
else if(e2.getSource()==b3)//MC 为清除内存
{
m=0d;
tf2.setText("");
str.setLength(0);
}
else if(e2.getSource()==b4)//MR 为重新调用存储的数据
{
if(tf2.getText().trim()!="")//有记忆数字
{
tf1.setText(""+m);
}
}
else if(e2.getSource()==b5)//MS 为存储显示的数据
{
m=Double.parseDouble(tf1.getText().trim());
tf2.setText("M");
tf1.setText("0");
str.setLength(0);
}
else if(e2.getSource()==b6)//M+为将显示的数字与已经存储的数据相加要查看新的数字单击 MR
{
m=m+Double.parseDouble(tf1.getText().trim());
}
else//选择的是其他的按钮
{
if(e2.getSource()==b22)//如果选择的是"0"这个数字键
{
if(tf1.getText().trim().equals("0"))//如果显示屏显示的为零不做操作
{
}
else
{
tf1.setText(str.append(e2.getActionCommand()).toString());
y=Double.parseDouble(tf1.getText().trim());
}
}
�
else if(e2.getSource()==b0)//选择的是“BackSpace”按钮
{
if(!tf1.getText().trim().equals("0"))//如果显示屏显示的不是零
{
if(str.length()!=1)
{
tf1.setText(str.delete(str.length()-1,str.length()).toString());//可能抛出字符串越界异常
}
else
{
tf1.setText("0");
str.setLength(0);
}
}
y=Double.parseDouble(tf1.getText().trim());
}
else//其他的数字键
{
tf1.setText(str.append(e2.getActionCommand()).toString());
y=Double.parseDouble(tf1.getText().trim());
}
}
}
catch(NumberFormatException e){
tf1.setText("数字格式异常");
}
catch(StringIndexOutOfBoundsException e){
tf1.setText("字符串索引越界");
}
}
}
public static void main(String args[])
{
new Counter();
}
}
�




 2023年江西萍乡中考道德与法治真题及答案.doc
 2012年重庆南川中考生物真题及答案.doc
 2013年江西师范大学地理学综合及文艺理论基础考研真题.doc
 2020年四川甘孜小升初语文真题及答案I卷.doc
 2020年注册岩土工程师专业基础考试真题及答案.doc
 2023-2024学年福建省厦门市九年级上学期数学月考试题及答案.doc
 2021-2022学年辽宁省沈阳市大东区九年级上学期语文期末试题及答案.doc
 2022-2023学年北京东城区初三第一学期物理期末试卷及答案.doc
 2018上半年江西教师资格初中地理学科知识与教学能力真题及答案.doc
 2012年河北国家公务员申论考试真题及答案-省级.doc
 2020-2021学年江苏省扬州市江都区邵樊片九年级上学期数学第一次质量检测试题及答案.doc
 2022下半年黑龙江教师资格证中学综合素质真题及答案.doc