Search
emWin
GUIBuilder
Embedded Software
GUIBuilder
The GUIBuilder application is a tool for creating dialogs without any knowledge of the C programming language. Instead of writing source code
the widgets can be placed and sized by drag and drop. Additional properties can be added per context menu. Fine tuning can be done by editing
the properties of the widgets. This does not require any knowledge of the C programming language. The dialogs can be saved as C files which
can be enhanced by adding user defined code. Of course these C files with the embedded user code can be loaded and modified by the
GUIBuilder.
Introduction
The following diagram shows the elements of the graphical user interface of the GUIBuilder:
Home
Embedded Software
embOS
embOS/IP
emWin
Anti Aliasing
Bitmap Converter
CPU / MCU driver
Dialogs
Display Drivers
Font Converter
Foreign Language
GUIBuilder
Memory Devices
Multiple Buffering
Multi layer/multi display
PC Evaluation Version
Performance
Pointer Input Devices
Resource Usage
Samples
Simulation
Skinning
Starter boards
Viewer
Virtual Screen Support
VNC Support
Window Manager
Window Objects
emFile
emUSB Device
emUSB Host
emLoad
Development Tools
Production Tools
Evaluate our software!
Downloads
Distributors
Customers
Partners
Pricing
Forum
About us
Head office
Germany
Phone: +49-2103-2878-0
Fax: +49-2103-2878-28
E-mail:
www.segger.com
info@segger.com
US office
Phone: +1-978-874-0299
Fax: +1-978-874-0599
E-mail:
info@segger-
us.com
www.segger-us.com
Widget selection bar
www.segger.com/guibuilder.html
1/5
This bar contains all available widgets of the GUIBuilder. They can be added by a single click into the selection bar on the desired widget or by
dragging them into the editor area.
�
dragging them into the editor area.
Object tree
This area shows all currently loaded dialogs and their child widgets. It can be used for selecting a widget by clicking on the according entry.
Widget properties
It shows the properties of each widget and can be used for editing them.
Editor
The editor window shows the currently selected dialog. It can be used to place and resize the dialog and its widgets.
Getting started
Before starting a project, the GUIBuilder needs to know the project path. Per default this is the application path of the GUIBuilder. All files are
saved in this folder.
Setting up the project path
After the first execution, the GUIBuilder directory contains the configuration file GUIBuilder.ini. Within this file the project path can be changed by
editing the value ProjectPath:
[Settings]ProjectPath="C:\Work\MyProject\"
Creating a dialog
The following shows how to create a dialog and how to modify the properties of the used widgets.
Selecting a parent widget
Each dialog requires a valid parent widget. So it is required to start with a widget which is able to serve as a parent. Currently there are 2 widgets
which can be used at this point:
Frame window widget
Window widget
The table above shows the according buttons of the widget selection bar. To get a widget into the editor the buttons can be single clicked,
dragged with the mouse into the editor window or created by using the ’New’ menu.
Resizing and positioning in the editor
After placing a widget into the editor area it can be moved by using the mouse or the arrow keys of the keyboard. Resizing
can be done by dragging the markers.
Modifying the widget properties
The lower left area of the GUIBuilder contains the property window. After creating a new widget it shows the default properties of the widget:
Name, position, size and extra bytes. These properties are available for all kinds of widgets and can not be removed. Contrary to the default
properties all additional properties can be removed by the context menu or by
pressing when the according line is selected. To change a value it can be selected by the keyboard by pressing (if the desired
line is selected and the window has the focus) or by single clicking into the value field. Further the ’Edit’ entry of the context menu available with a
right click can be used to start the edit operation. can be used to abort the edit operation.
Adding additional functions to a widget
To get a context menu with the available functions for a widget either a right click in the editor window on the desired widget or a right click in the
object tree can be done. Selecting a function adds a new property to the widget and starts the edit operation for the chosen function. In case of
numerical or alpha numerical values the edit operation is done within the property window.
In case of choosing fonts, text alignments or colors a separate selection window occurs.
Alignment selection
The alignment selection dialog shows the previous selected alignment in green. A single click within the box selects a new alignment.
aborts the selection.
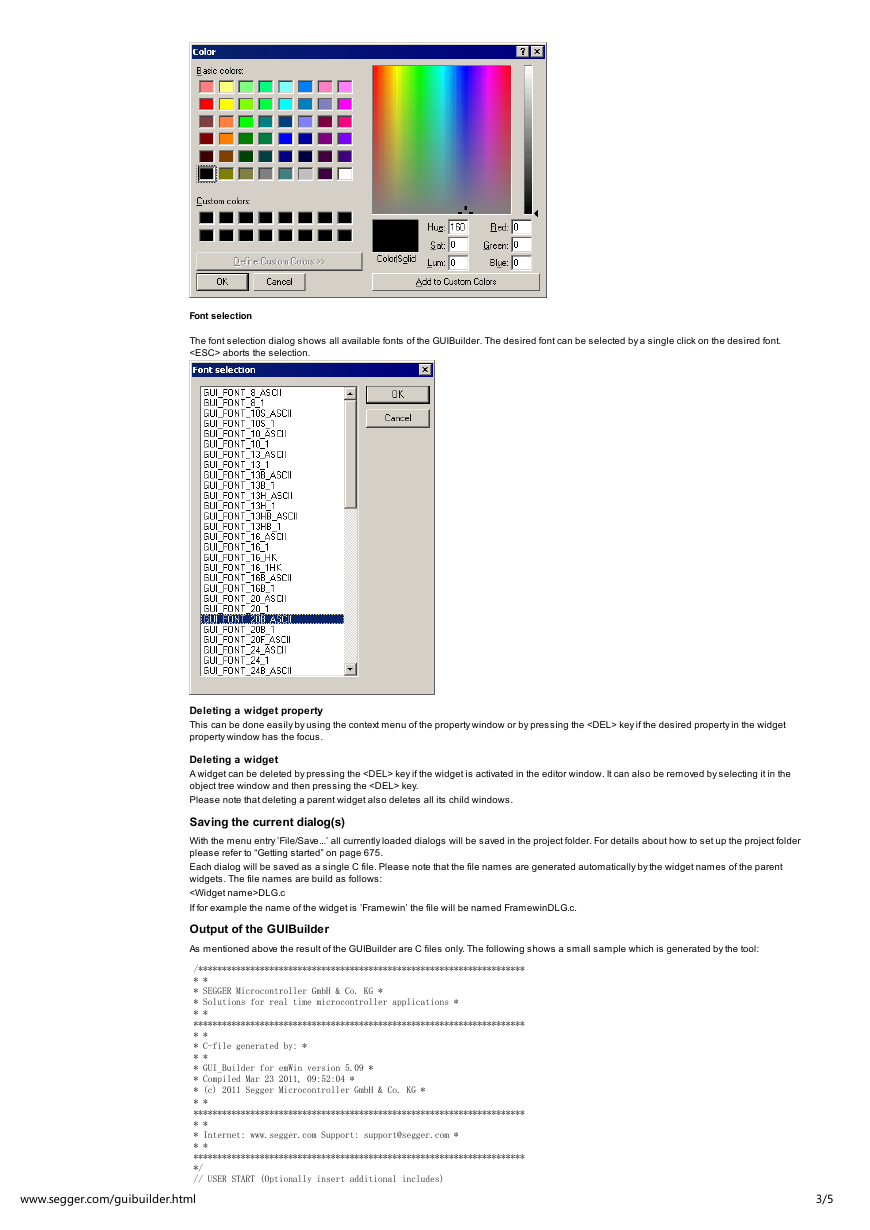
Color selection
For selecting a color the Windows default color selection dialog occurs. aborts the selection.
www.segger.com/guibuilder.html
2/5
�
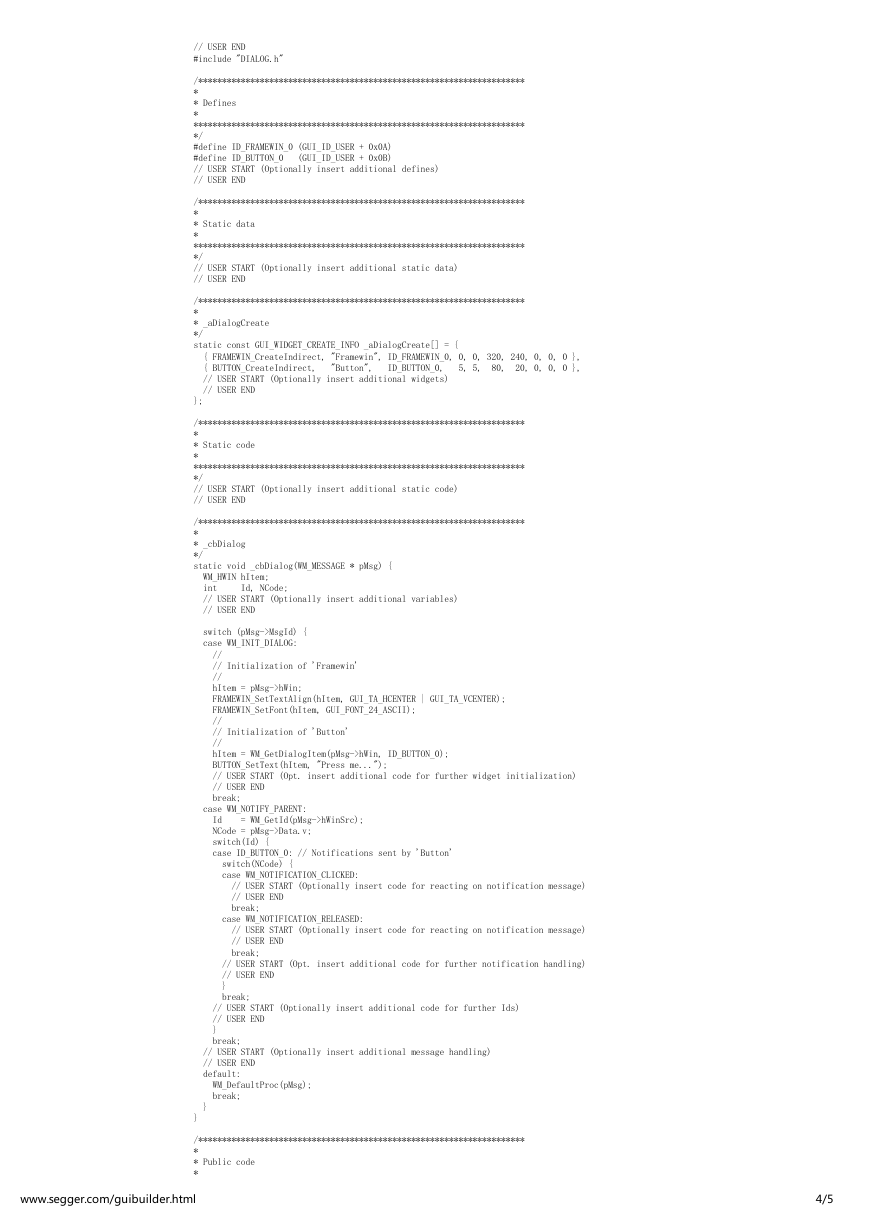
Font selection
The font selection dialog shows all available fonts of the GUIBuilder. The desired font can be selected by a single click on the desired font.
aborts the selection.
Deleting a widget property
This can be done easily by using the context menu of the property window or by pressing the key if the desired property in the widget
property window has the focus.
Deleting a widget
A widget can be deleted by pressing the key if the widget is activated in the editor window. It can also be removed by selecting it in the
object tree window and then pressing the key.
Please note that deleting a parent widget also deletes all its child windows.
Saving the current dialog(s)
With the menu entry ’File/Save...’ all currently loaded dialogs will be saved in the project folder. For details about how to set up the project folder
please refer to “Getting started” on page 675.
Each dialog will be saved as a single C file. Please note that the file names are generated automatically by the widget names of the parent
widgets. The file names are build as follows:
DLG.c
If for example the name of the widget is ’Framewin’ the file will be named FramewinDLG.c.
Output of the GUIBuilder
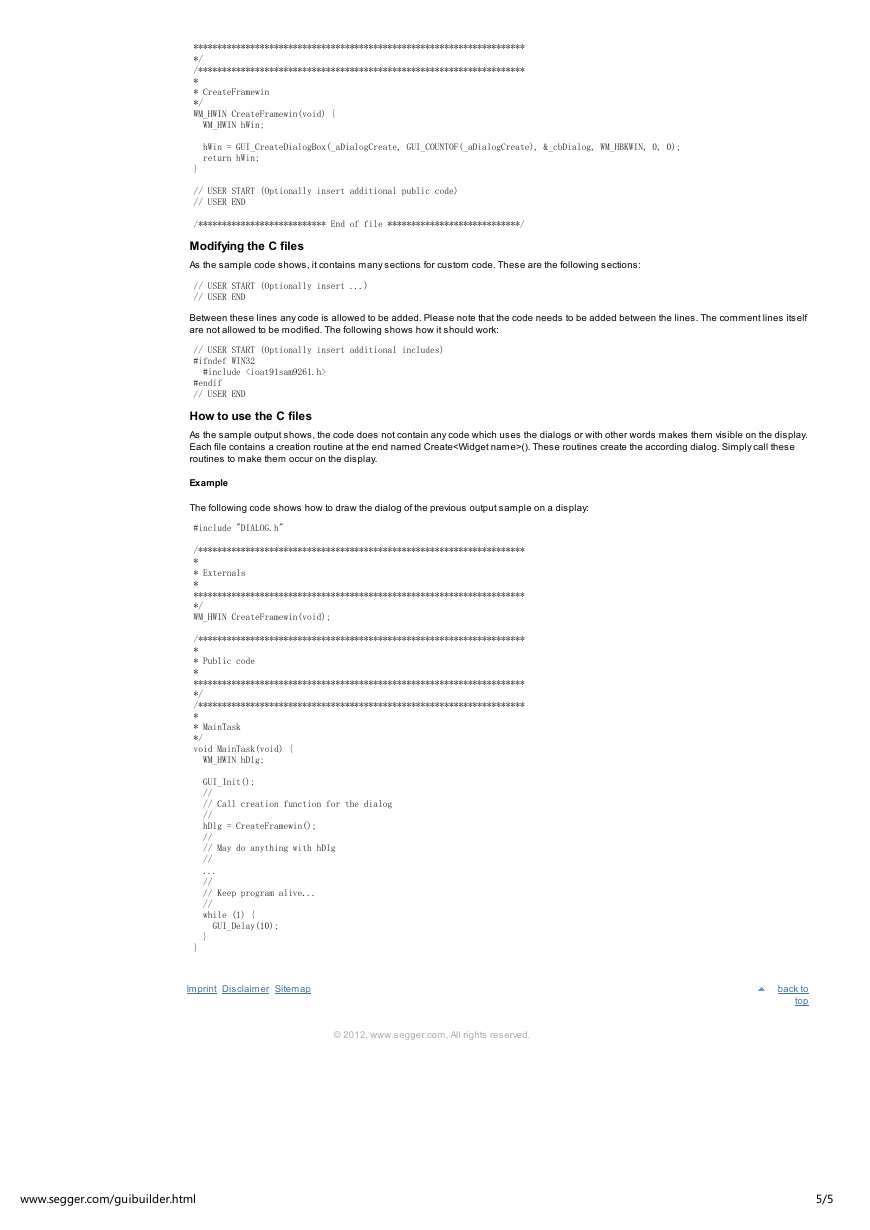
As mentioned above the result of the GUIBuilder are C files only. The following shows a small sample which is generated by the tool:
/*********************************************************************
* *
* SEGGER Microcontroller GmbH & Co. KG *
* Solutions for real time microcontroller applications *
* *
**********************************************************************
* *
* C-file generated by: *
* *
* GUI_Builder for emWin version 5.09 *
* Compiled Mar 23 2011, 09:52:04 *
* (c) 2011 Segger Microcontroller GmbH & Co. KG *
* *
**********************************************************************
* *
* Internet: www.segger.com Support: support@segger.com *
* *
**********************************************************************
*/
// USER START (Optionally insert additional includes)
www.segger.com/guibuilder.html
3/5
�
// USER END
#include "DIALOG.h"
/*********************************************************************
*
* Defines
*
**********************************************************************
*/
#define ID_FRAMEWIN_0 (GUI_ID_USER + 0x0A)
#define ID_BUTTON_0 (GUI_ID_USER + 0x0B)
// USER START (Optionally insert additional defines)
// USER END
/*********************************************************************
*
* Static data
*
**********************************************************************
*/
// USER START (Optionally insert additional static data)
// USER END
/*********************************************************************
*
* _aDialogCreate
*/
static const GUI_WIDGET_CREATE_INFO _aDialogCreate[] = {
{ FRAMEWIN_CreateIndirect, "Framewin", ID_FRAMEWIN_0, 0, 0, 320, 240, 0, 0, 0 },
{ BUTTON_CreateIndirect, "Button", ID_BUTTON_0, 5, 5, 80, 20, 0, 0, 0 },
// USER START (Optionally insert additional widgets)
// USER END
};
/*********************************************************************
*
* Static code
*
**********************************************************************
*/
// USER START (Optionally insert additional static code)
// USER END
/*********************************************************************
*
* _cbDialog
*/
static void _cbDialog(WM_MESSAGE * pMsg) {
WM_HWIN hItem;
int Id, NCode;
// USER START (Optionally insert additional variables)
// USER END
switch (pMsg->MsgId) {
case WM_INIT_DIALOG:
//
// Initialization of 'Framewin'
//
hItem = pMsg->hWin;
FRAMEWIN_SetTextAlign(hItem, GUI_TA_HCENTER | GUI_TA_VCENTER);
FRAMEWIN_SetFont(hItem, GUI_FONT_24_ASCII);
//
// Initialization of 'Button'
//
hItem = WM_GetDialogItem(pMsg->hWin, ID_BUTTON_0);
BUTTON_SetText(hItem, "Press me...");
// USER START (Opt. insert additional code for further widget initialization)
// USER END
break;
case WM_NOTIFY_PARENT:
Id = WM_GetId(pMsg->hWinSrc);
NCode = pMsg->Data.v;
switch(Id) {
case ID_BUTTON_0: // Notifications sent by 'Button'
switch(NCode) {
case WM_NOTIFICATION_CLICKED:
// USER START (Optionally insert code for reacting on notification message)
// USER END
break;
case WM_NOTIFICATION_RELEASED:
// USER START (Optionally insert code for reacting on notification message)
// USER END
break;
// USER START (Opt. insert additional code for further notification handling)
// USER END
}
break;
// USER START (Optionally insert additional code for further Ids)
// USER END
}
break;
// USER START (Optionally insert additional message handling)
// USER END
default:
WM_DefaultProc(pMsg);
break;
}
}
/*********************************************************************
*
* Public code
*
www.segger.com/guibuilder.html
4/5
�
**********************************************************************
*/
/*********************************************************************
*
* CreateFramewin
*/
WM_HWIN CreateFramewin(void) {
WM_HWIN hWin;
hWin = GUI_CreateDialogBox(_aDialogCreate, GUI_COUNTOF(_aDialogCreate), &_cbDialog, WM_HBKWIN, 0, 0);
return hWin;
}
// USER START (Optionally insert additional public code)
// USER END
/*************************** End of file ****************************/
Modifying the C files
As the sample code shows, it contains many sections for custom code. These are the following sections:
// USER START (Optionally insert ...)
// USER END
Between these lines any code is allowed to be added. Please note that the code needs to be added between the lines. The comment lines itself
are not allowed to be modified. The following shows how it should work:
// USER START (Optionally insert additional includes)
#ifndef WIN32
#include
#endif
// USER END
How to use the C files
As the sample output shows, the code does not contain any code which uses the dialogs or with other words makes them visible on the display.
Each file contains a creation routine at the end named Create(). These routines create the according dialog. Simply call these
routines to make them occur on the display.
Example
The following code shows how to draw the dialog of the previous output sample on a display:
#include "DIALOG.h"
/*********************************************************************
*
* Externals
*
**********************************************************************
*/
WM_HWIN CreateFramewin(void);
/*********************************************************************
*
* Public code
*
**********************************************************************
*/
/*********************************************************************
*
* MainTask
*/
void MainTask(void) {
WM_HWIN hDlg;
GUI_Init();
//
// Call creation function for the dialog
//
hDlg = CreateFramewin();
//
// May do anything with hDlg
//
...
//
// Keep program alive...
//
while (1) {
GUI_Delay(10);
}
}
Imprint Disclaimer Sitemap
© 2012, www.segger.com, All rights reserved.
back to
top
www.segger.com/guibuilder.html
5/5
�


 2023年江西萍乡中考道德与法治真题及答案.doc
 2012年重庆南川中考生物真题及答案.doc
 2013年江西师范大学地理学综合及文艺理论基础考研真题.doc
 2020年四川甘孜小升初语文真题及答案I卷.doc
 2020年注册岩土工程师专业基础考试真题及答案.doc
 2023-2024学年福建省厦门市九年级上学期数学月考试题及答案.doc
 2021-2022学年辽宁省沈阳市大东区九年级上学期语文期末试题及答案.doc
 2022-2023学年北京东城区初三第一学期物理期末试卷及答案.doc
 2018上半年江西教师资格初中地理学科知识与教学能力真题及答案.doc
 2012年河北国家公务员申论考试真题及答案-省级.doc
 2020-2021学年江苏省扬州市江都区邵樊片九年级上学期数学第一次质量检测试题及答案.doc
 2022下半年黑龙江教师资格证中学综合素质真题及答案.doc