�
Copyright © 2002 SONICblue Incorporated. All rights reserved.
SONICblue Incorporated does not assume any responsibility for errors or omissions in this document or make any commitment to update
the information contained herein.
Rio is a registered trademark of RioPort, Inc. in the USA and/or other countries and is used under license. All other product names may be
trademarks of the companies with which they are associated.
NOTE: This equipment has been tested and found to comply with the limits for a Class B digital device, pursuant to Part 15 of the FCC
Rules. These limits are designed to provide reasonable protection against harmful interference in a residential installation. This equipment
generates, uses and can radiate radio frequency energy and, if not installed and used in accordance with the instructions, may cause harm-
ful interference to radio communications. However, there is no guarantee that interference will not occur in a particular installation. If this
equipment does cause harmful interference to radio or television reception, which can be determined by turning the equipment off and on,
the user is encouraged to try to correct the interference by one or more of the following measures:
Reorient or relocate the receiving antenna.
Increase the separation between the equipment and receiver.
Connect the equipment into an outlet on a circuit different from that to which the receiver is connected.
Consult the dealer or an experienced radio/TV technician for help.
Part No. 41000686-001
2
Safety Warnings
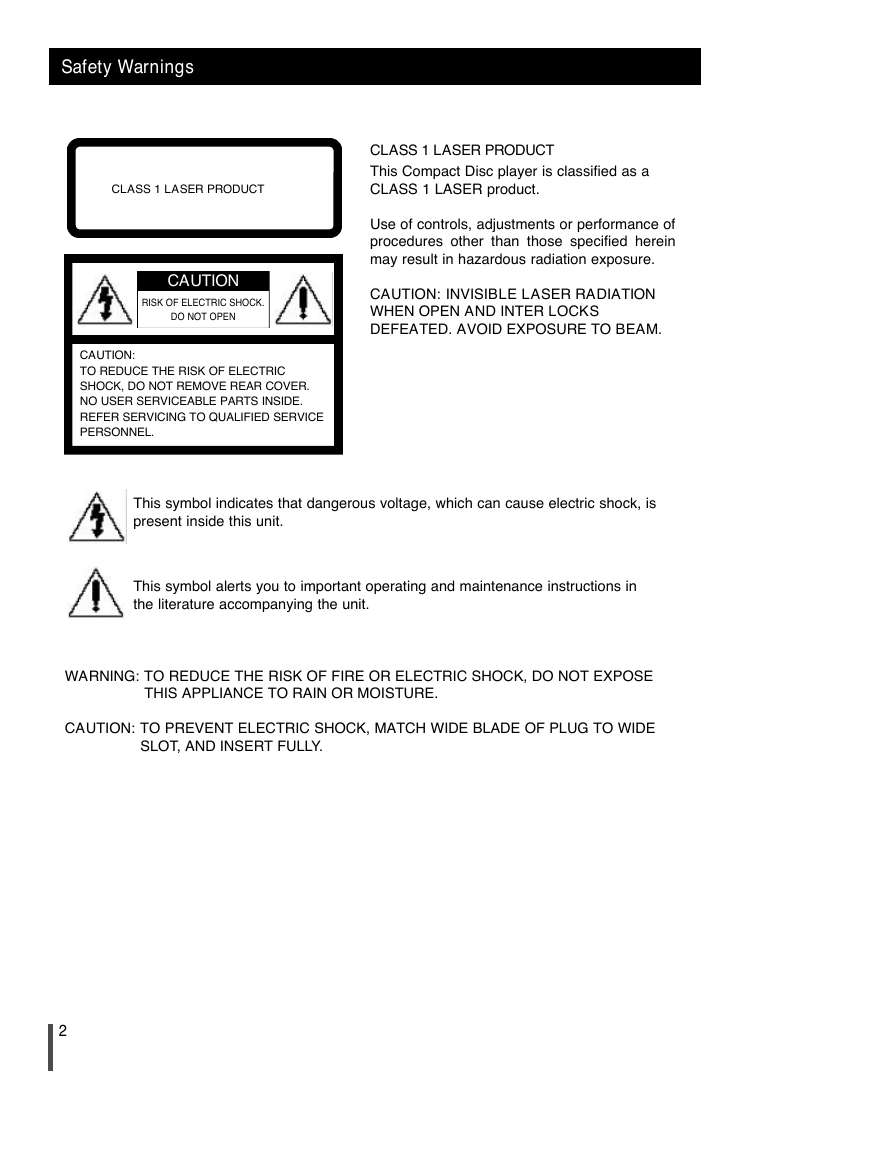
CLASS 1 LASER PRODUCT
CAUTION
RISK OF ELECTRIC SHOCK.
DO NOT OPEN
CAUTION:
TO REDUCE THE RISK OF ELECTRIC
SHOCK, DO NOT REMOVE REAR COVER.
NO USER SERVICEABLE PARTS INSIDE.
REFER SERVICING TO QUALIFIED SERVICE
PERSONNEL.
CLASS 1 LASER PRODUCT
This Compact Disc player is classified as a
CLASS 1 LASER product.
Use of controls, adjustments or performance of
procedures other than those specified herein
may result in hazardous radiation exposure.
CAUTION: INVISIBLE LASER RADIATION
WHEN OPEN AND INTER LOCKS
DEFEATED. AVOID EXPOSURE TO BEAM.
This symbol indicates that dangerous voltage, which can cause electric shock, is
present inside this unit.
This symbol alerts you to important operating and maintenance instructions in
the literature accompanying the unit.
WARNING: TO REDUCE THE RISK OF FIRE OR ELECTRIC SHOCK, DO NOT EXPOSE
THIS APPLIANCE TO RAIN OR MOISTURE.
CAUTION: TO PREVENT ELECTRIC SHOCK, MATCH WIDE BLADE OF PLUG TO WIDE
SLOT, AND INSERT FULLY.
2
�
Contents
Thank you for buying this
Rio Executive Shelf System.
Please take time to read these instructions.
They will allow you to operate your
system with ease and take full advantage
of its features.
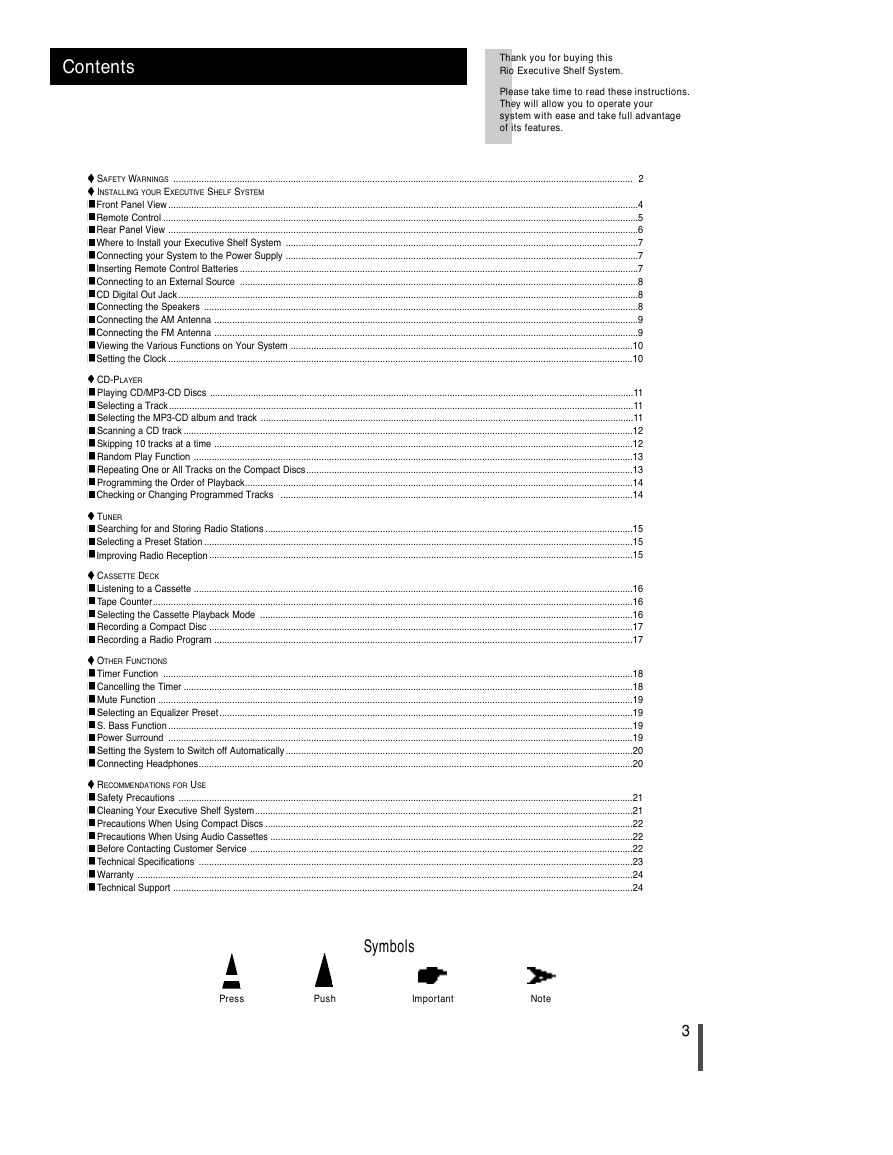
SAFETY WARNINGS .................................................................................................................................................................................... 2
INSTALLING YOUR EXECUTIVE SHELF SYSTEM
Front Panel View ........................................................................................................................................................................................4
Remote Control ..........................................................................................................................................................................................5
Rear Panel View ........................................................................................................................................................................................6
Where to Install your Executive Shelf System ..........................................................................................................................................7
Connecting your System to the Power Supply ..........................................................................................................................................7
Inserting Remote Control Batteries ............................................................................................................................................................7
Connecting to an External Source ............................................................................................................................................................8
CD Digital Out Jack ....................................................................................................................................................................................8
Connecting the Speakers ..........................................................................................................................................................................8
Connecting the AM Antenna ......................................................................................................................................................................9
Connecting the FM Antenna ......................................................................................................................................................................9
Viewing the Various Functions on Your System ......................................................................................................................................10
Setting the Clock ......................................................................................................................................................................................10
CD-PLAYER
Playing CD/MP3-CD Discs ......................................................................................................................................................................11
Selecting a Track......................................................................................................................................................................................11
Selecting the MP3-CD album and track ..................................................................................................................................................11
Scanning a CD track ................................................................................................................................................................................12
Skipping 10 tracks at a time ....................................................................................................................................................................12
Random Play Function ............................................................................................................................................................................13
Repeating One or All Tracks on the Compact Discs................................................................................................................................13
Programming the Order of Playback........................................................................................................................................................14
Checking or Changing Programmed Tracks ..........................................................................................................................................14
TUNER
Searching for and Storing Radio Stations ................................................................................................................................................15
Selecting a Preset Station ........................................................................................................................................................................15
Improving Radio Reception ......................................................................................................................................................................15
CASSETTE DECK
Listening to a Cassette ............................................................................................................................................................................16
Tape Counter............................................................................................................................................................................................16
Selecting the Cassette Playback Mode ..................................................................................................................................................16
Recording a Compact Disc ......................................................................................................................................................................17
Recording a Radio Program ....................................................................................................................................................................17
OTHER FUNCTIONS
Timer Function ........................................................................................................................................................................................18
Cancelling the Timer ................................................................................................................................................................................18
Mute Function ..........................................................................................................................................................................................19
Selecting an Equalizer Preset..................................................................................................................................................................19
S. Bass Function ......................................................................................................................................................................................19
Power Surround ......................................................................................................................................................................................19
Setting the System to Switch off Automatically ........................................................................................................................................20
Connecting Headphones..........................................................................................................................................................................20
RECOMMENDATIONS FOR USE
Safety Precautions ..................................................................................................................................................................................21
Cleaning Your Executive Shelf System....................................................................................................................................................21
Precautions When Using Compact Discs ................................................................................................................................................22
Precautions When Using Audio Cassettes ..............................................................................................................................................22
Before Contacting Customer Service ......................................................................................................................................................22
Technical Specifications ..........................................................................................................................................................................23
Warranty ..................................................................................................................................................................................................24
Technical Support ....................................................................................................................................................................................24
Symbols
Press
Push
Important
Note
3
�
Front Panel View
1
2
3
4
5
6
20
19
18
17
16
15
14
7 8
9
10
11
12
13
Function (TUNER/CD/TAPE)
1.
2. REC/Pause
3. Demo
4. On/Standby
5. CD Synchro
6. Headphone Jack Connector
7. AUX
8. CD Repeat
9.
10. Disc Compartment
Stop
11. Skip or Search
12. Mono/ST
13. CD Door open/close
14. Multi Jog
15. S.Bass
16. Sound Mode
17. Volume
18. Power Surround
19. Sleep
20. Push Eject (Cassette Door Open/Close)
4
�
Remote Control
1
2
3
4
5
6
7
8
9
10
11
12
25
24
23
22
21
20
19
18
17
16
15
14
13
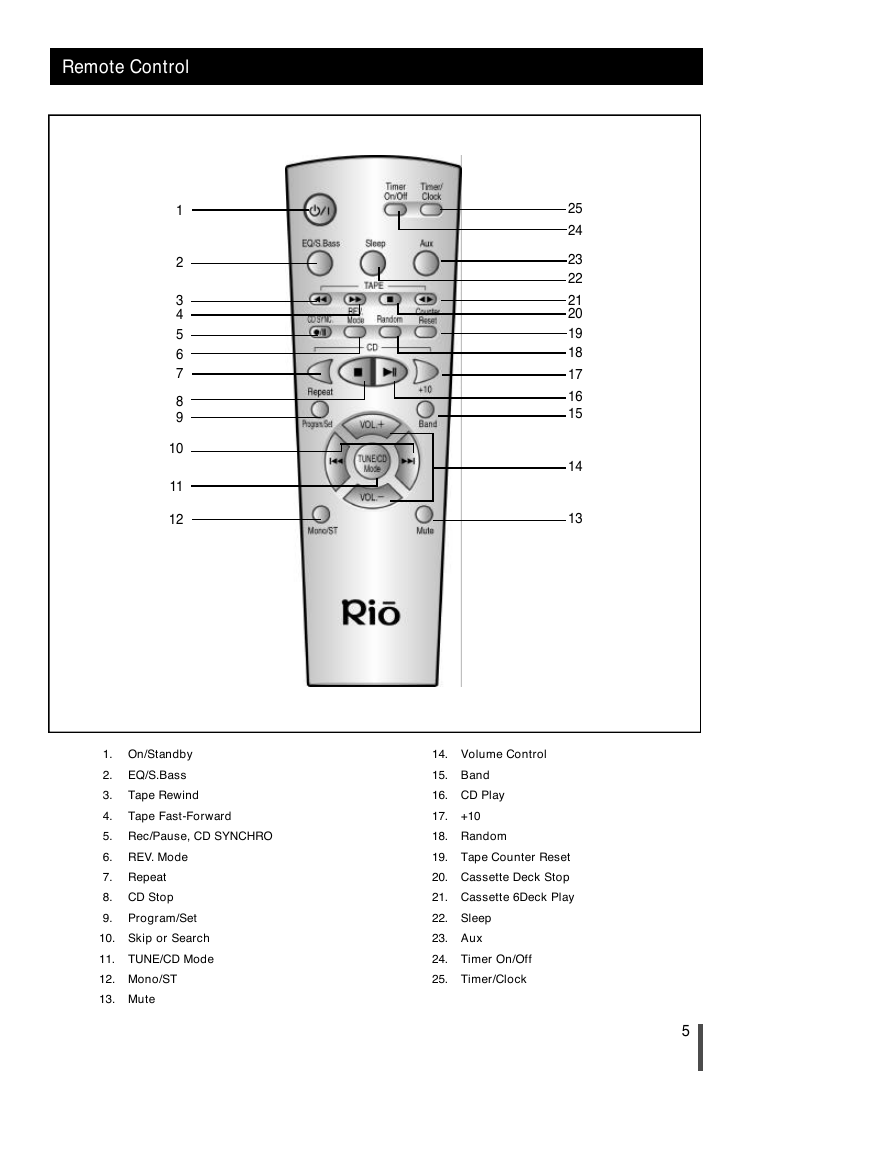
Tape Rewind
Tape Fast-Forward
1. On/Standby
2. EQ/S.Bass
3.
4.
5. Rec/Pause, CD SYNCHRO
6. REV. Mode
7. Repeat
8. CD Stop
9. Program/Set
10. Skip or Search
11. TUNE/CD Mode
12. Mono/ST
13. Mute
14. Volume Control
15. Band
16. CD Play
17. +10
18. Random
19. Tape Counter Reset
20. Cassette Deck Stop
21. Cassette 6Deck Play
22. Sleep
23. Aux
24. Timer On/Off
25. Timer/Clock
5
�
1
2
3
4
5
Rear Panel View
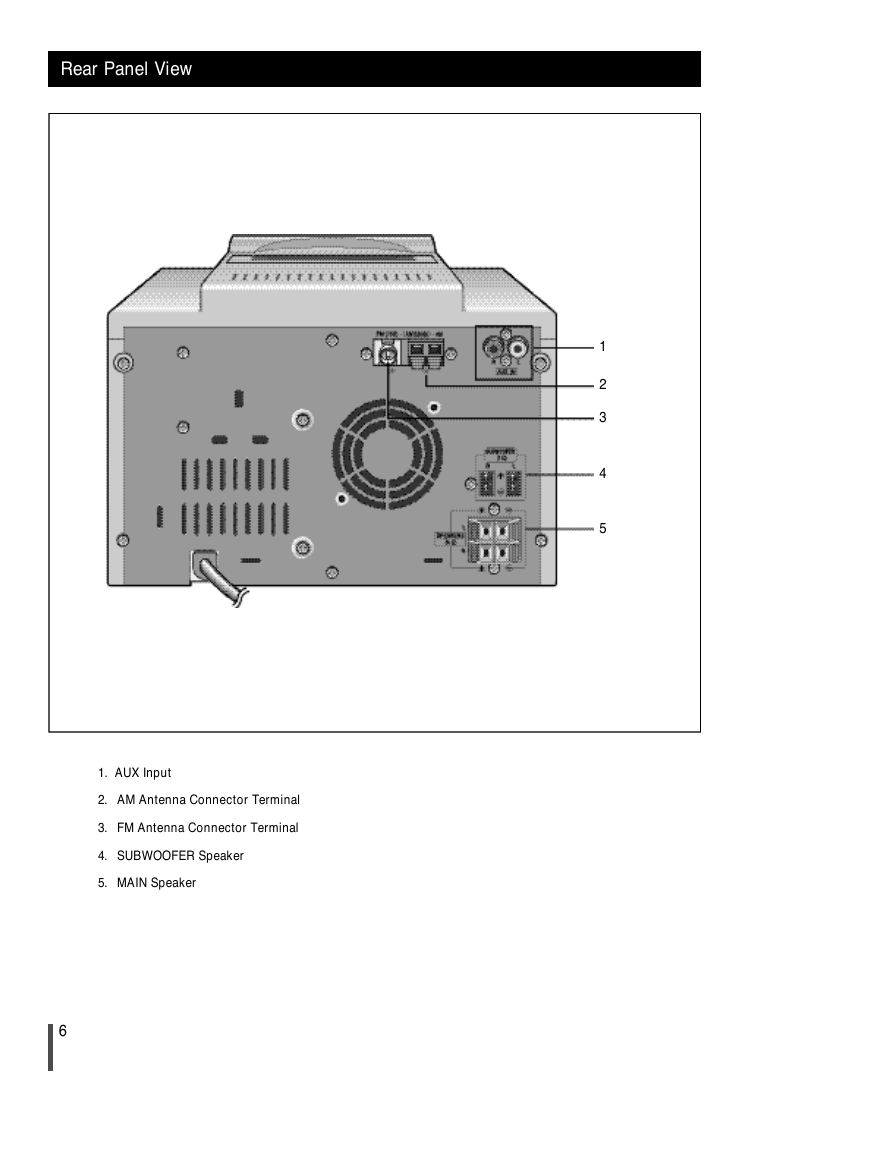
1. AUX Input
2. AM Antenna Connector Terminal
3. FM Antenna Connector Terminal
4. SUBWOOFER Speaker
5. MAIN Speaker
6
�
Where to Install your
Executive Shelf System
Inserting Remote Control Batteries
To take full advantage of your new Executive Shelf System, follow these
installation instructions before connecting the unit.
Install the system on a flat, stable surface.
Never place this unit on carpeting.
Never place this unit in an outdoor area.
Maintain an open space of approximately 6 inches (15 cm) on the sides
and rear of the system, for ventilation purposes.
Make sure that you have enough room to open the compact disc com-
partment easily.
Place the speakers at a reasonable distance on either side of the system
to ensure good stereo sound.
For optimum performance, make sure that both speakers are placed at
an equal distance above the floor.
Insert or replace remote control batteries when you:
Purchase the Executive Shelf System
Find that the remote control is no longer operating correctly
When replacing the batteries, use a new set of batteries and never
mix alkaline and manganese batteries.
1
2
3
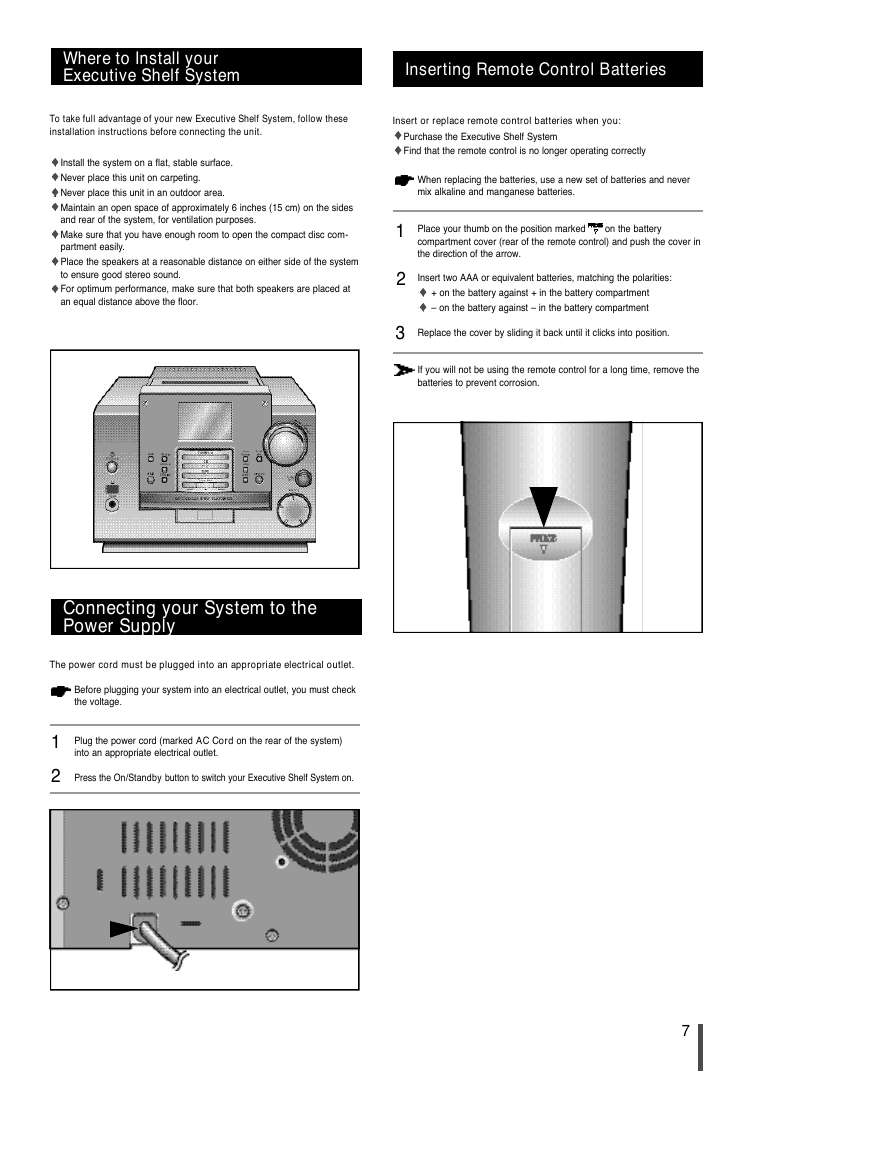
Place your thumb on the position marked on the battery
compartment cover (rear of the remote control) and push the cover in
the direction of the arrow.
Insert two AAA or equivalent batteries, matching the polarities:
+ on the battery against + in the battery compartment
– on the battery against – in the battery compartment
Replace the cover by sliding it back until it clicks into position.
If you will not be using the remote control for a long time, remove the
batteries to prevent corrosion.
Connecting your System to the
Power Supply
The power cord must be plugged into an appropriate electrical outlet.
Before plugging your system into an electrical outlet, you must check
the voltage.
1
2
Plug the power cord (marked AC Cord on the rear of the system)
into an appropriate electrical outlet.
Press the On/Standby button to switch your Executive Shelf System on.
7
�



 2023年江西萍乡中考道德与法治真题及答案.doc
 2012年重庆南川中考生物真题及答案.doc
 2013年江西师范大学地理学综合及文艺理论基础考研真题.doc
 2020年四川甘孜小升初语文真题及答案I卷.doc
 2020年注册岩土工程师专业基础考试真题及答案.doc
 2023-2024学年福建省厦门市九年级上学期数学月考试题及答案.doc
 2021-2022学年辽宁省沈阳市大东区九年级上学期语文期末试题及答案.doc
 2022-2023学年北京东城区初三第一学期物理期末试卷及答案.doc
 2018上半年江西教师资格初中地理学科知识与教学能力真题及答案.doc
 2012年河北国家公务员申论考试真题及答案-省级.doc
 2020-2021学年江苏省扬州市江都区邵樊片九年级上学期数学第一次质量检测试题及答案.doc
 2022下半年黑龙江教师资格证中学综合素质真题及答案.doc