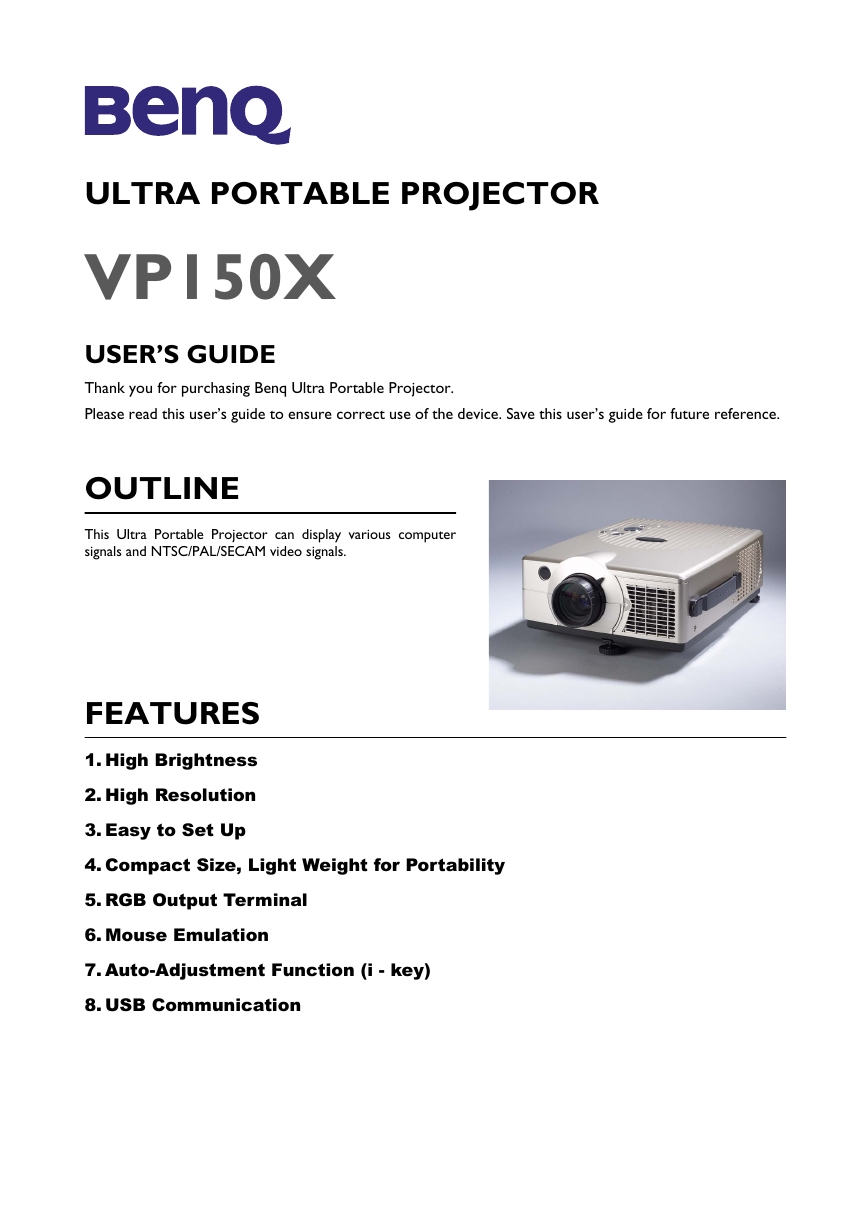
Ultra Portable Projector
VP150X
Outline
Features
Copyright
Disclaimer
Warning
Fill this in!!
Safety Instructions
1. Read this user’s guide before you operate your projector and save it for future reference.
2. When the lamp becomes extremely hot during operation, allow the projector to cool for approxim...
3. Power is still available when the projector is in the standby mode. Never replace lamp assembl...
4. Do not attempt to service this product yourself, as opening or removing covers may damage the ...
5. Do not place this product on an unstable cart, stand, or table. The product may fall, causing ...
6. The standard remote control contains a low-power laser that acts as a pointing device during p...
7. This product is capable of displaying inverted images for ceiling mount configurations. Please...
8. Openings in front or at two sides are for ventilation. They must not be blocked or covered.
9. For ventilation reasons, fans continue to operate for about 1 minute after the projector is po...
10. Do not look straight at the projector lens during operation. The intense light beam may injur...
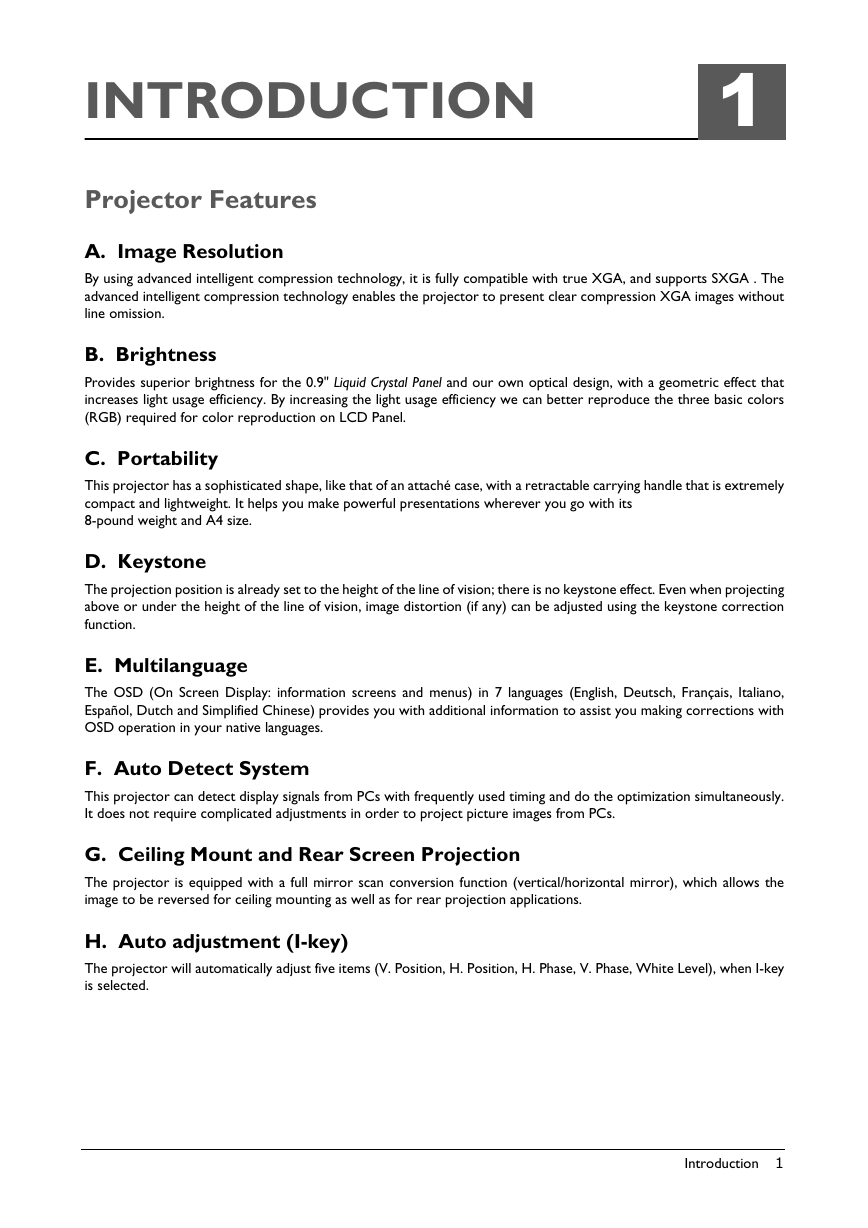
Introduction
Projector Features
A. Image Resolution
B. Brightness
C. Portability
D. Keystone
E. Multilanguage
F. Auto Detect System
G. Ceiling Mount and Rear Screen Projection
H. Auto adjustment (I-key)
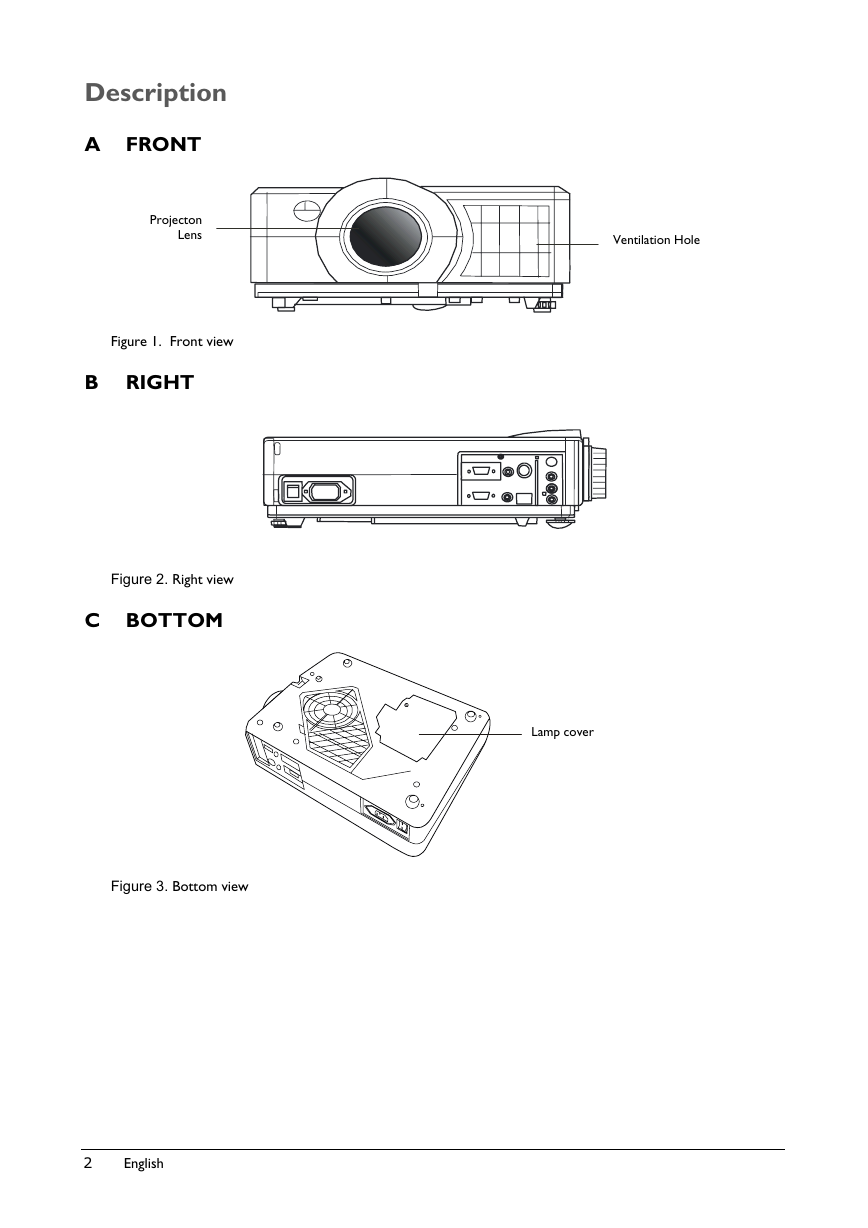
Description
A FRONT
Figure 1. Front view
B RIGHT
Figure 2. Right view
C BOTTOM
Figure 3. Bottom view
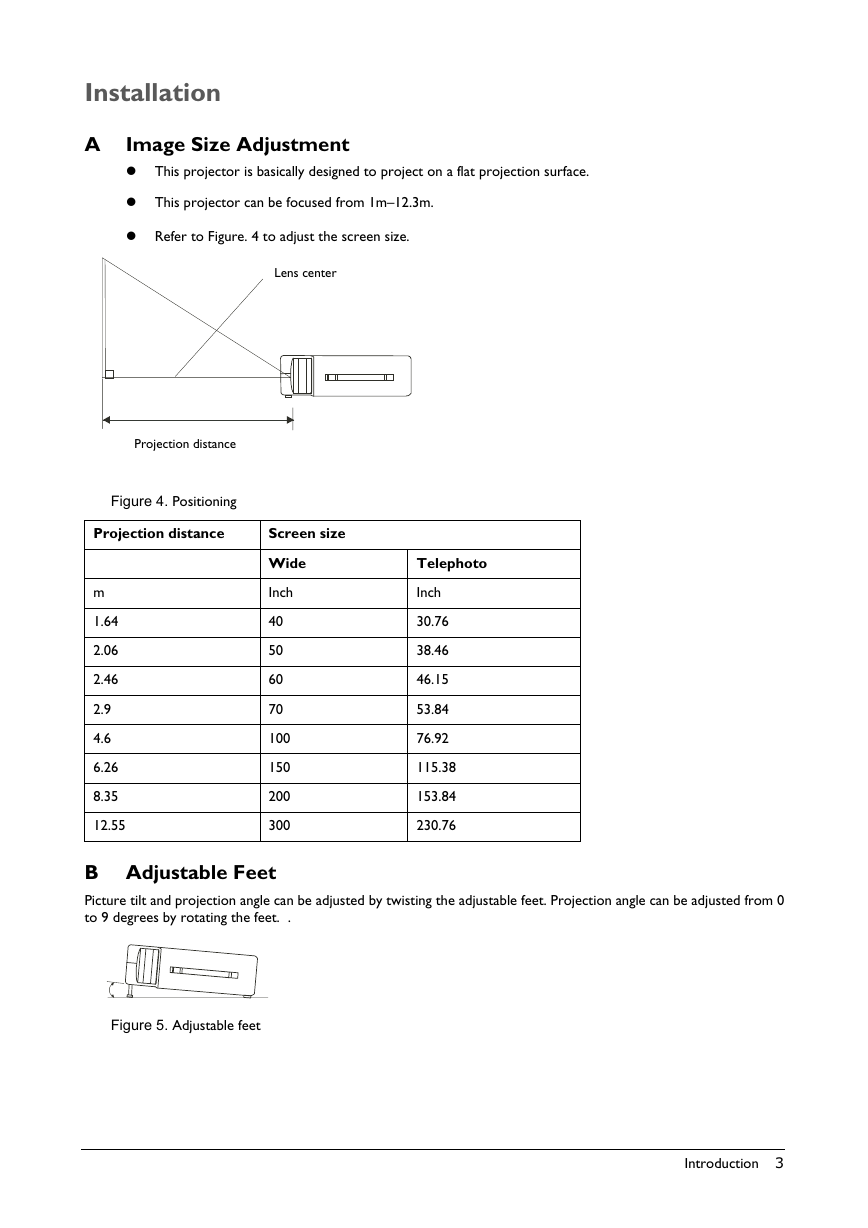
Installation
A Image Size Adjustment
Figure 4. Positioning
B Adjustable Feet
Figure 5. Adjustable feet
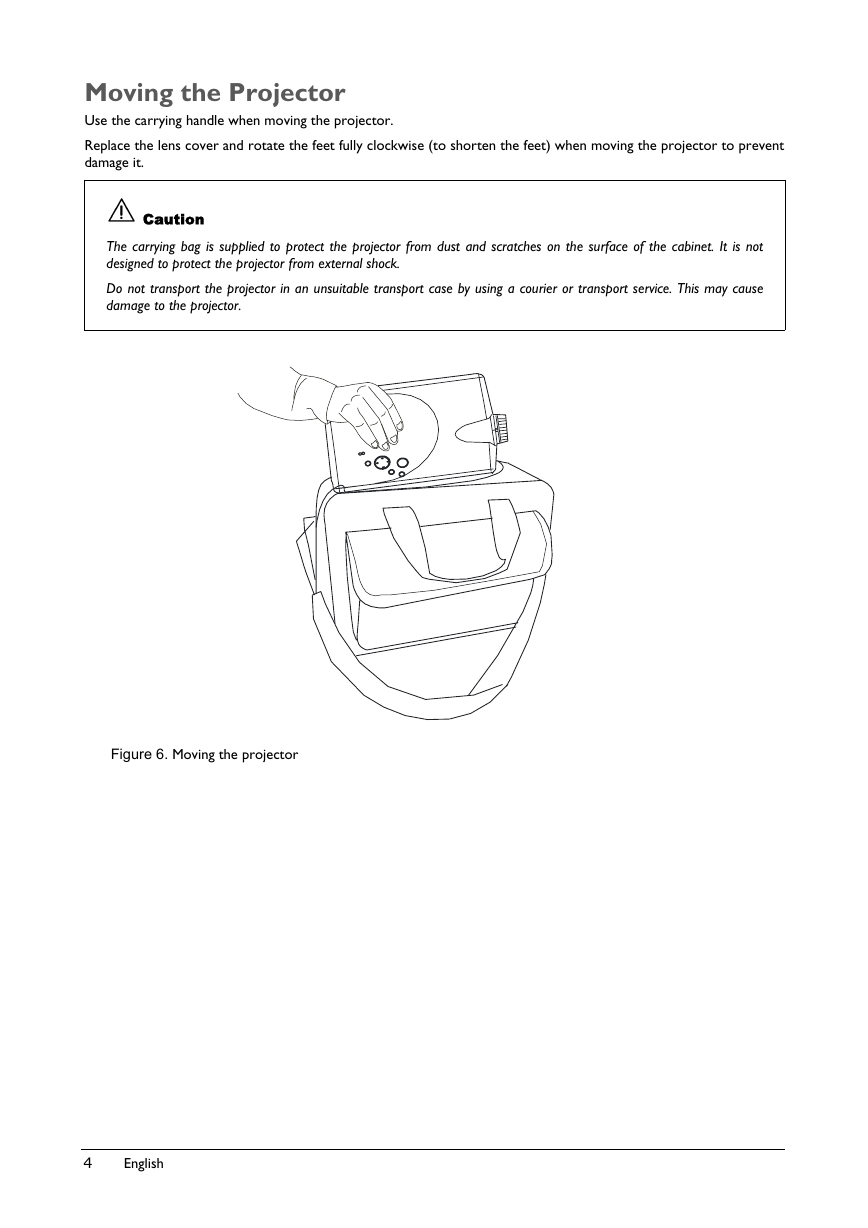
Moving the Projector
Figure 6. Moving the projector
Accessories
Figure 7. Accessories
Connection
Connect the Projector to Computer
Figure 8. Connect to PC
Connect the Projector to Notebook
Figure 9. Connect to notebook
Connect the Projector to Macintosh
Figure 10. Connect to Macintosh
Connect the Projector to Power Book
Figure 11. Connect to Power Book
Connect to Video/ S-Video
Figure 12. Connect to Video, S-Video
Operation
Turn On/Off Procedure
A Power on
B Standby
External Control
A Control Pad
Figure 13. External control pad
MAIN UNIT
FUNCTION
B Remote Control
Figure 14. Remote control
Main Unit
Function
Inserting Batteries in the Remote Control
Figure 15. Battery replacement process
Remote Control Range
Figure 16. Range
Usage and Replacement of Lamp
A Lamp/Temperature Status LED Indicator
1. Excessive lamp service hours
2. Lamp is not well attached
3. Temperature is too high
4. Normal status
B Lamp Replacement
Lamp Replacement Procedure
Figure 17. Lamp replacement: Step 1, Step 2, Step 3
Resetting Lamp Timer
OSD
FUNCTION
OSD
Main OSD Menu
Figure 18. Main OSD menu
A Display Page
Figure 19. Display sub-page when the input source is PC (with/without video, s-video).
Figure 20. Display sub-page when the input source is video, s-video.
Setting effects
B Image Page
Figure 21. Image sub-page Only available when the input signal is PC.
Figure 22. Image sub-page
Only available when the input signal is from video, S-video
Setting effects
C Control Page
Figure 23. Control sub-page
Setting effects
D Source Page
Figure 24. Source sub-page (video, s-video)
Other Correspondent and Remote Functions Messages
OSD
FUNCTION
Maintenance and Troubleshooting
A Lamp Replacement
B Cleaning the Lens
1. Apply a non-abrasive camera lens cleaner to a soft, dry cleaning cloth (abrasive cleaners, sol...
2. Avoid using an excessive amount of cleaner.
3. Lightly wipe the clean cloth over the lens.
4. Affix the lens cover whenever the projector is not in use.
C Troubleshooting
PROBLEMS
TRY THESE SOLUTIONS
Specifications
A Optical
B Electrical
C Mechanical
D Preset Display Resolution Table


 2023年江西萍乡中考道德与法治真题及答案.doc
 2012年重庆南川中考生物真题及答案.doc
 2013年江西师范大学地理学综合及文艺理论基础考研真题.doc
 2020年四川甘孜小升初语文真题及答案I卷.doc
 2020年注册岩土工程师专业基础考试真题及答案.doc
 2023-2024学年福建省厦门市九年级上学期数学月考试题及答案.doc
 2021-2022学年辽宁省沈阳市大东区九年级上学期语文期末试题及答案.doc
 2022-2023学年北京东城区初三第一学期物理期末试卷及答案.doc
 2018上半年江西教师资格初中地理学科知识与教学能力真题及答案.doc
 2012年河北国家公务员申论考试真题及答案-省级.doc
 2020-2021学年江苏省扬州市江都区邵樊片九年级上学期数学第一次质量检测试题及答案.doc
 2022下半年黑龙江教师资格证中学综合素质真题及答案.doc