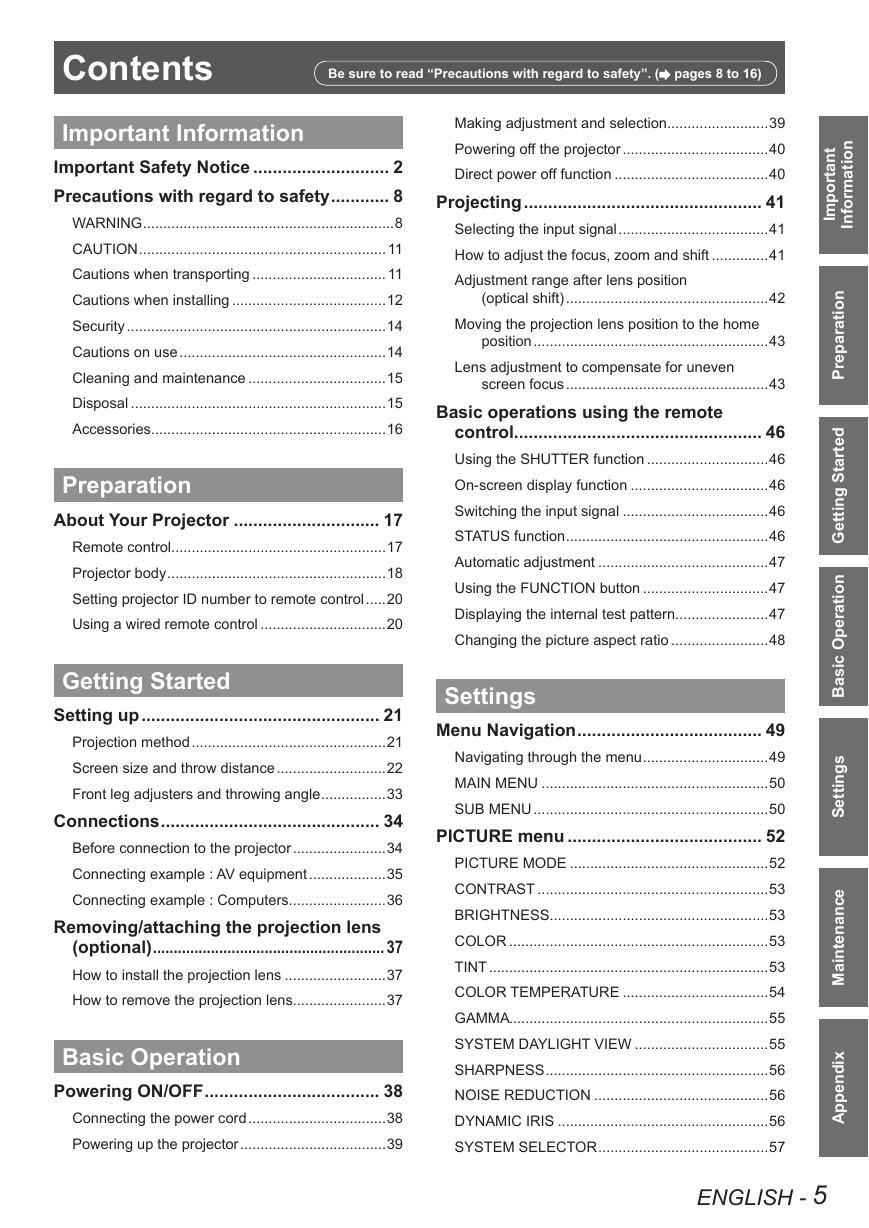
Important Information
Important Safety Notice
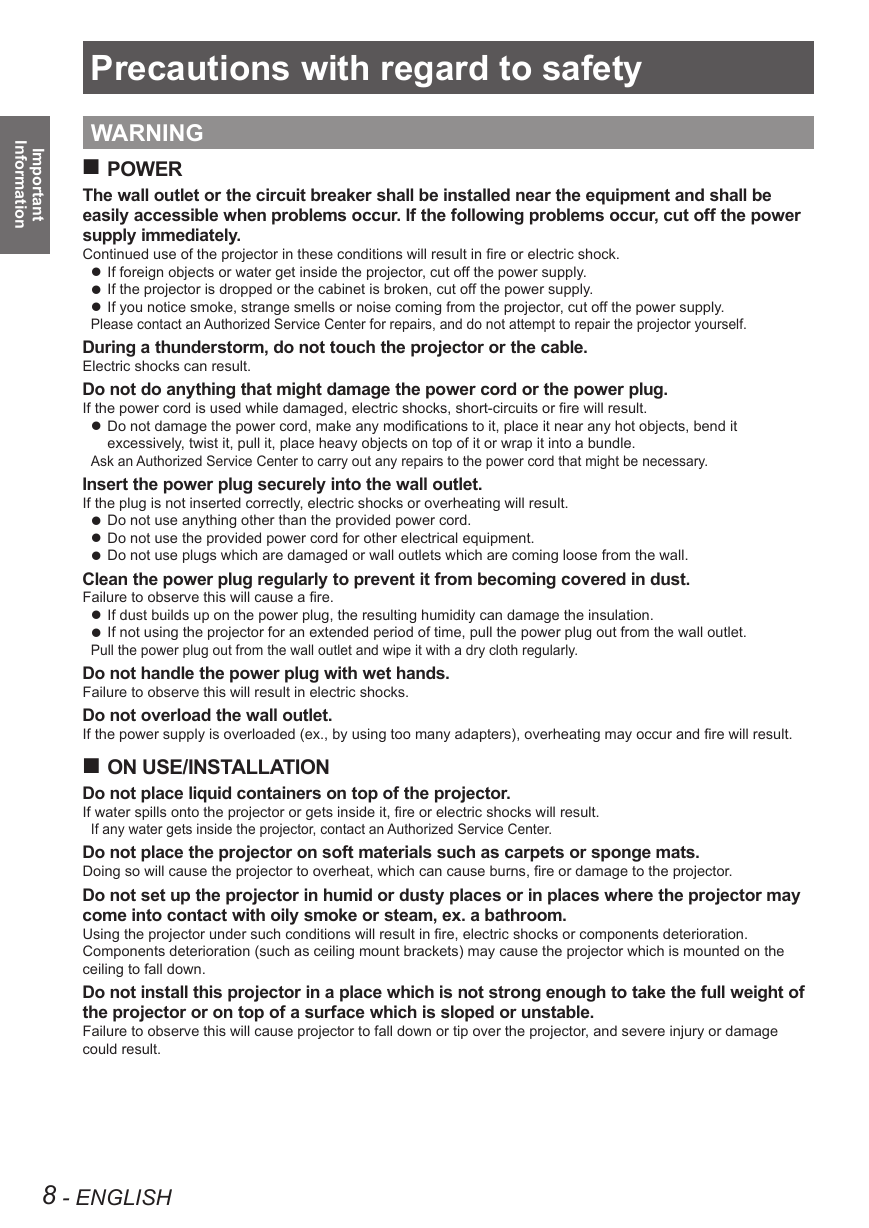
Precautions with regard to safety
WARNING
CAUTION
Cautions when transporting
Cautions when installing
Security
Cautions on use
Cleaning and maintenance
Disposal
Accessories
Preparation
About Your Projector
Remote control
Projector body
Setting projector ID number to remote control
Using a wired remote control
Getting Started
Setting up
Projection method
Screen size and throw distance
Front leg adjusters and throwing angle
Connections
Before connection to the projector
Connecting example : AV equipment
Connecting example : Computers
Removing/attaching the projection lens (optional)
How to install the projection lens
How to remove the projection lens
Basic Operation
Powering ON/OFF
Connecting the power cord
Powering up the projector
Making adjustment and selection
Powering off the projector
Direct power off function
Projecting
Selecting the input signal
How to adjust the focus, zoom and shift
Adjustment range after lens position (optical shift)
Moving the projection lens position to the home position
Lens adjustment to compensate for uneven screen focus
Basic operations using the remote control
Using the SHUTTER function
On-screen display function
Switching the input signal
STATUS function
Automatic adjustment
Using the FUNCTION button
Displaying the internal test pattern
Changing the picture aspect ratio
Settings
Menu Navigation
Navigating through the menu
MAIN MENU
SUB MENU
PICTURE menu
PICTURE MODE
CONTRAST
BRIGHTNESS
COLOR
TINT
COLOR TEMPERATURE
GAMMA
SYSTEM DAYLIGHT VIEW
SHARPNESS
NOISE REDUCTION
DYNAMIC IRIS
SYSTEM SELECTOR
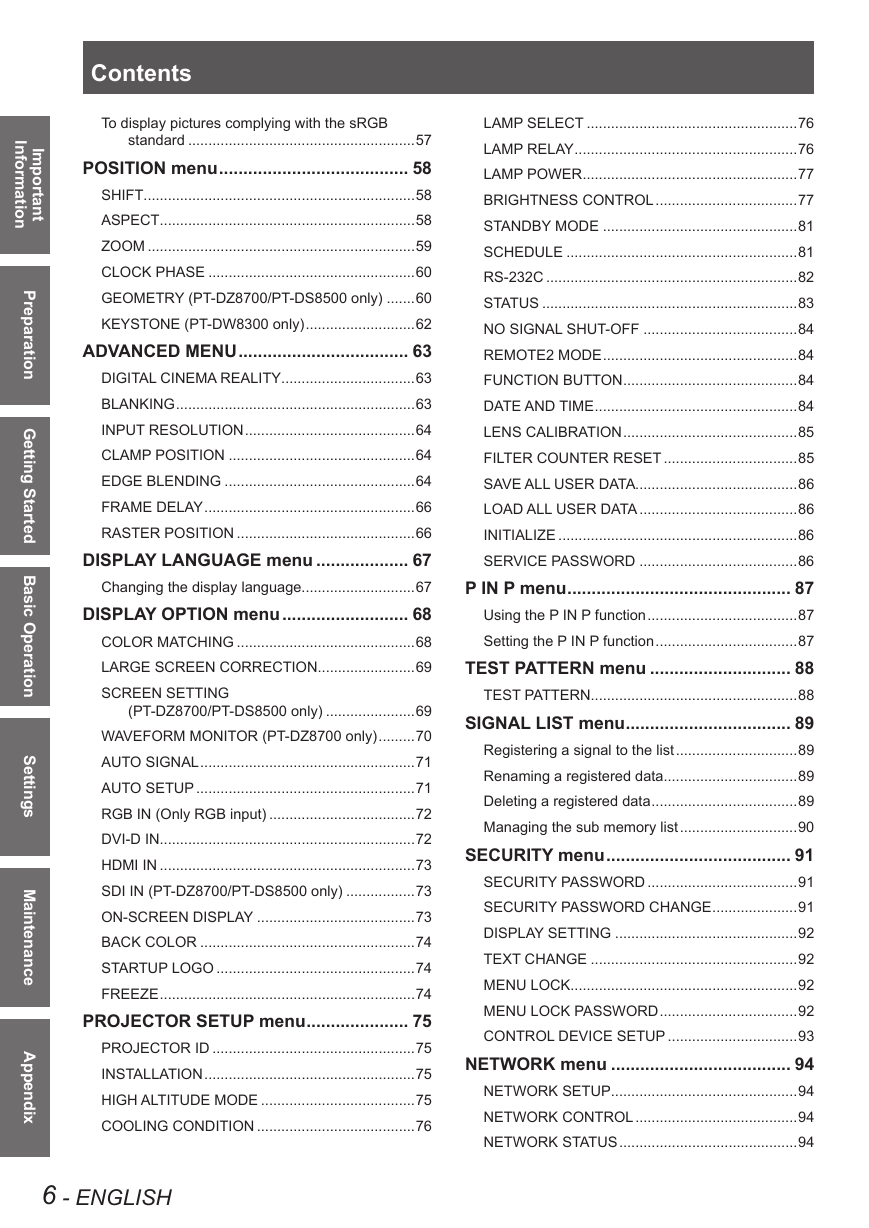
To display pictures complying with the sRGB standard
POSITION menu
SHIFT
ASPECT
ZOOM
CLOCK PHASE
GEOMETRY (PT-DZ8700/PT-DS8500 only)
KEYSTONE (PT-DW8300 only)
ADVANCED MENU
DIGITAL CINEMA REALITY
BLANKING
INPUT RESOLUTION
CLAMP POSITION
EDGE BLENDING
FRAME DELAY
RASTER POSITION
DISPLAY LANGUAGE menu
Changing the display language
DISPLAY OPTION menu
COLOR MATCHING
LARGE SCREEN CORRECTION
SCREEN SETTING (PT-DZ8700/PT-DS8500 only)
WAVEFORM MONITOR (PT-DZ8700 only)
AUTO SIGNAL
AUTO SETUP
RGB IN (Only RGB input)
DVI-D IN
HDMI IN
SDI IN (PT-DZ8700/PT-DS8500 only)
ON-SCREEN DISPLAY
BACK COLOR
STARTUP LOGO
FREEZE
PROJECTOR SETUP menu
PROJECTOR ID
INSTALLATION
HIGH ALTITUDE MODE
COOLING CONDITION
LAMP SELECT
LAMP RELAY
LAMP POWER
BRIGHTNESS CONTROL
STANDBY MODE
SCHEDULE
RS-232C
STATUS
NO SIGNAL SHUT-OFF
REMOTE2 MODE
FUNCTION BUTTON
DATE AND TIME
LENS CALIBRATION
FILTER COUNTER RESET
SAVE ALL USER DATA
LOAD ALL USER DATA
INITIALIZE
SERVICE PASSWORD
P IN P menu
Using the P IN P function
Setting the P IN P function
TEST PATTERN menu
TEST PATTERN
SIGNAL LIST menu
Registering a signal to the list
Renaming a registered data
Deleting a registered data
Managing the sub memory list
SECURITY menu
SECURITY PASSWORD
SECURITY PASSWORD CHANGE
DISPLAY SETTING
TEXT CHANGE
MENU LOCK
MENU LOCK PASSWORD
CONTROL DEVICE SETUP
NETWORK menu
NETWORK SETUP
NETWORK CONTROL
NETWORK STATUS
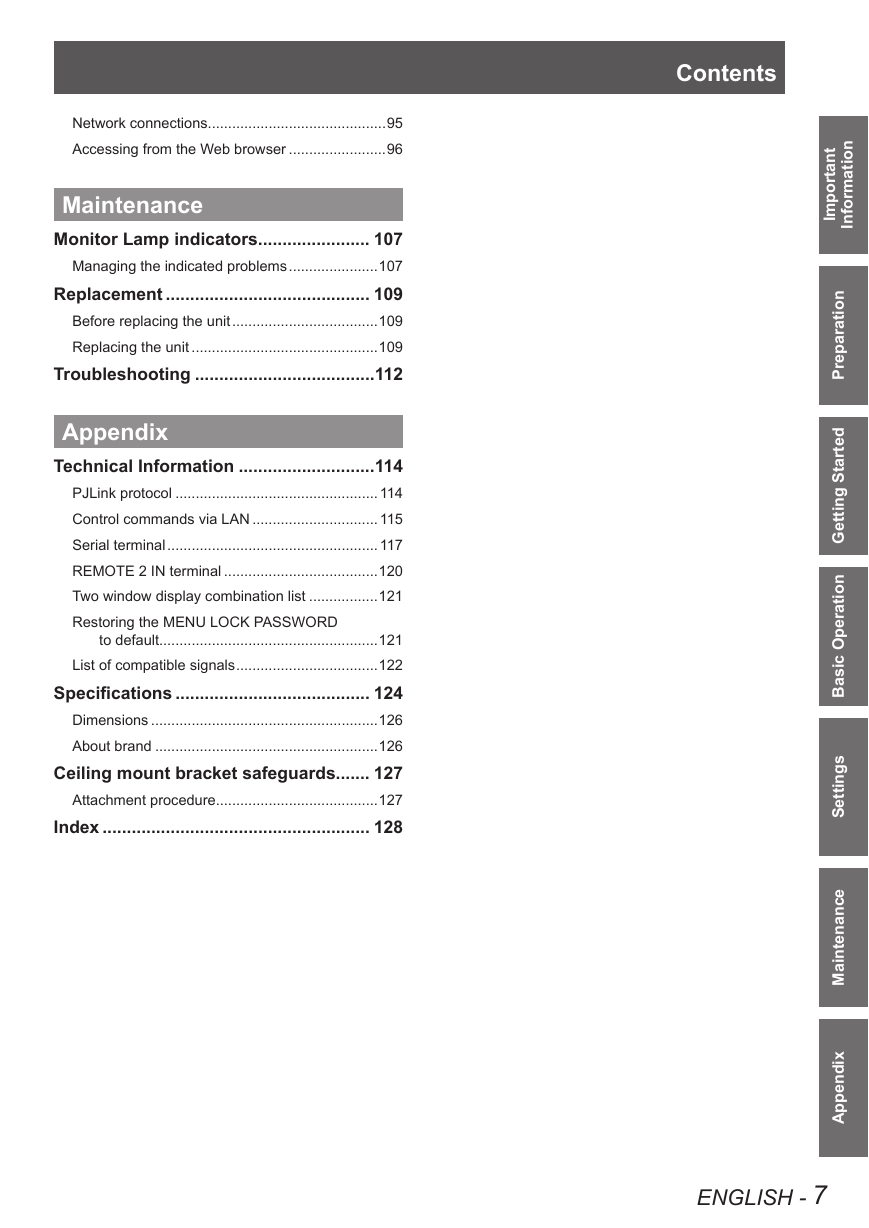
Network connections
Accessing from the Web browser
Maintenance
Monitor Lamp indicators
Managing the indicated problems
Replacement
Before replacing the unit
Replacing the unit
Troubleshooting
Appendix
Technical Information
PJLink protocol
Control commands via LAN
Serial terminal
REMOTE 2 IN terminal
Two window display combination list
Restoring the MENU LOCK PASSWORD to default
List of compatible signals
Specifications
Dimensions
About brand
Ceiling mount bracket safeguards
Attachment procedure
Index



 2023年江西萍乡中考道德与法治真题及答案.doc
 2012年重庆南川中考生物真题及答案.doc
 2013年江西师范大学地理学综合及文艺理论基础考研真题.doc
 2020年四川甘孜小升初语文真题及答案I卷.doc
 2020年注册岩土工程师专业基础考试真题及答案.doc
 2023-2024学年福建省厦门市九年级上学期数学月考试题及答案.doc
 2021-2022学年辽宁省沈阳市大东区九年级上学期语文期末试题及答案.doc
 2022-2023学年北京东城区初三第一学期物理期末试卷及答案.doc
 2018上半年江西教师资格初中地理学科知识与教学能力真题及答案.doc
 2012年河北国家公务员申论考试真题及答案-省级.doc
 2020-2021学年江苏省扬州市江都区邵樊片九年级上学期数学第一次质量检测试题及答案.doc
 2022下半年黑龙江教师资格证中学综合素质真题及答案.doc