RSView Machine Edition User’s guide Volume 1
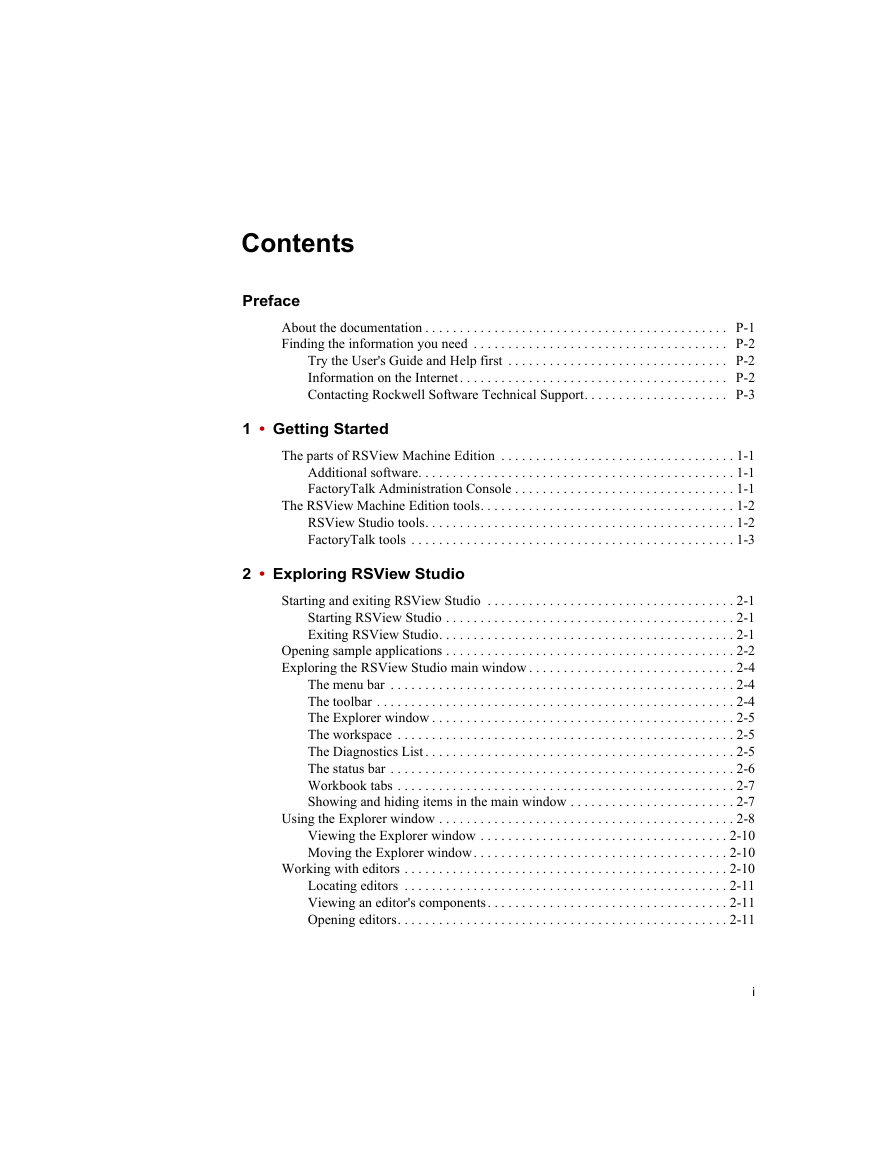
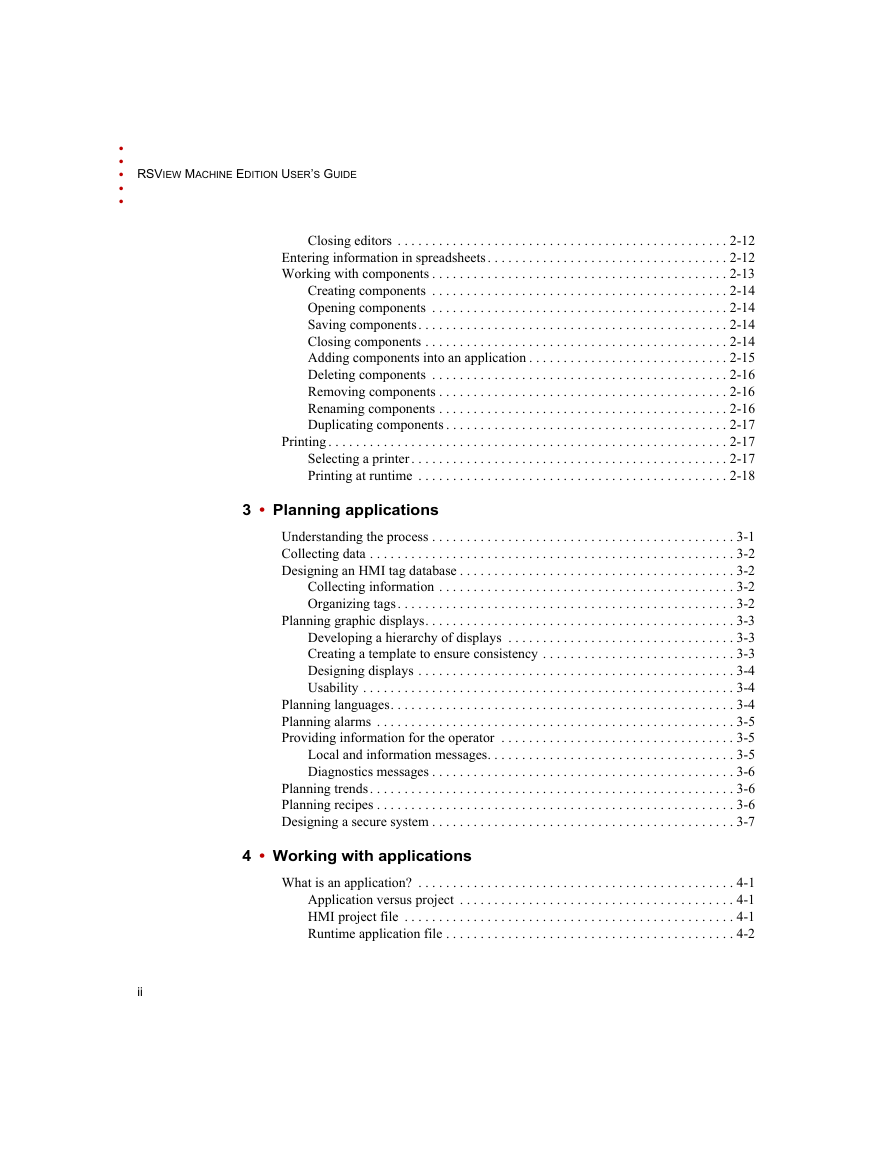
Contents
Preface
1-Getting Started
The parts of RSView Machine Edition
Additional software
FactoryTalk Administration Console
The RSView Machine Edition tools
RSView Studio tools
FactoryTalk tools
2-Exploring RSView Studio
Starting and exiting RSView Studio
Starting RSView Studio
Exiting RSView Studio
Opening sample applications
Exploring the RSView Studio main window
The menu bar
The toolbar
The Explorer window
The workspace
The Diagnostics List
The status bar
Workbook tabs
Showing and hiding items in the main window
Using the Explorer window
Viewing the Explorer window
Moving the Explorer window
Working with editors
Locating editors
Viewing an editor's components
Opening editors
Closing editors
Entering information in spreadsheets
Working with components
Creating components
Opening components
Saving components
Closing components
Adding components into an application
Deleting components
Removing components
Renaming components
Duplicating components
Printing
Selecting a printer
Printing at runtime
3-Planning applications
Understanding the process
Collecting data
Designing an HMI tag database
Collecting information
Organizing tags
Planning graphic displays
Developing a hierarchy of displays
Creating a template to ensure consistency
Designing displays
Usability
Planning languages
Planning alarms
Providing information for the operator
Local and information messages
Diagnostics messages
Planning trends
Planning recipes
Designing a secure system
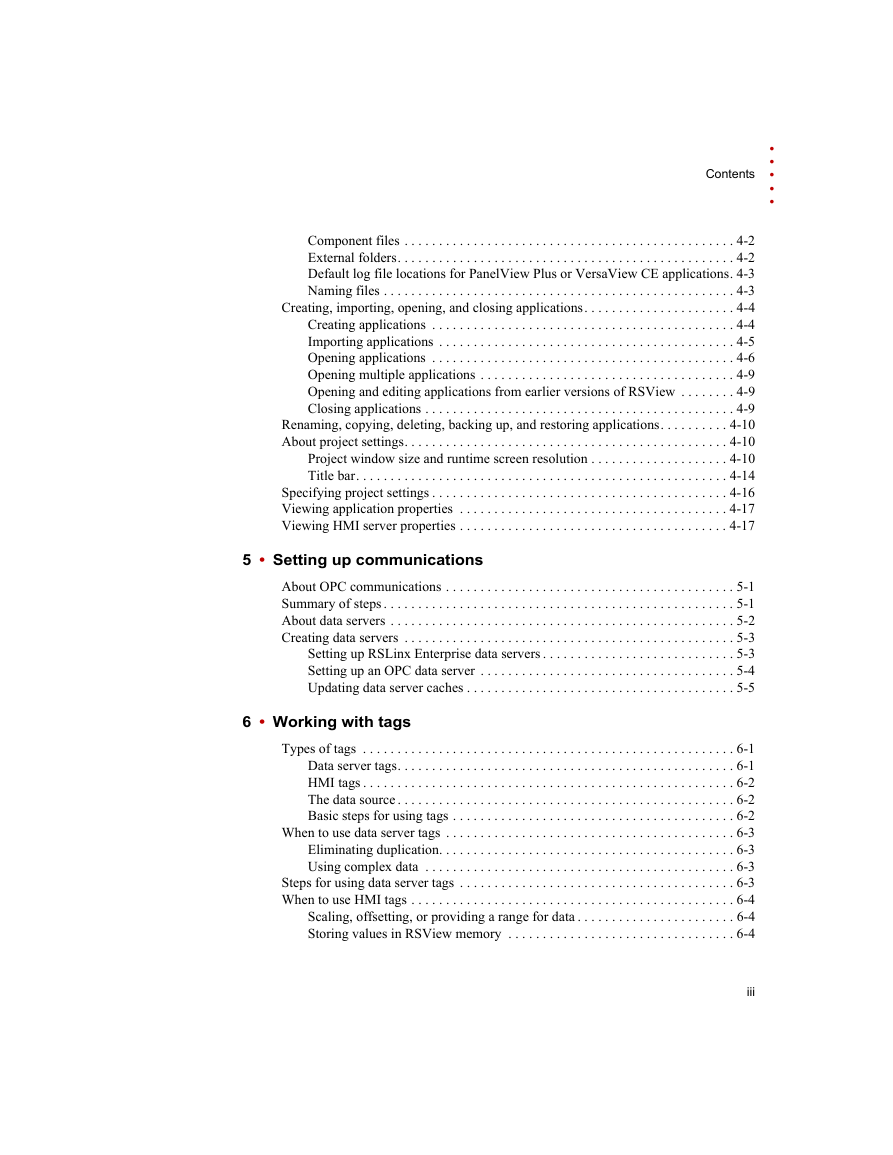
4-Working with applications
What is an application?
Application versus project
HMI project file
Runtime application file
Component files
External folders
Default log file locations for PanelView Plus or VersaView CE applications
Naming files
Creating, importing, opening, and closing applications
Creating applications
Importing applications
Opening applications
Opening multiple applications
Opening and editing applications from earlier versions of RSView
Closing applications
Renaming, copying, deleting, backing up, and restoring applications
About project settings
Project window size and runtime screen resolution
Title bar
Specifying project settings
Viewing application properties
Viewing HMI server properties
5-Setting up communications
About OPC communications
Summary of steps
About data servers
Creating data servers
Setting up RSLinx Enterprise data servers
Setting up an OPC data server
Updating data server caches
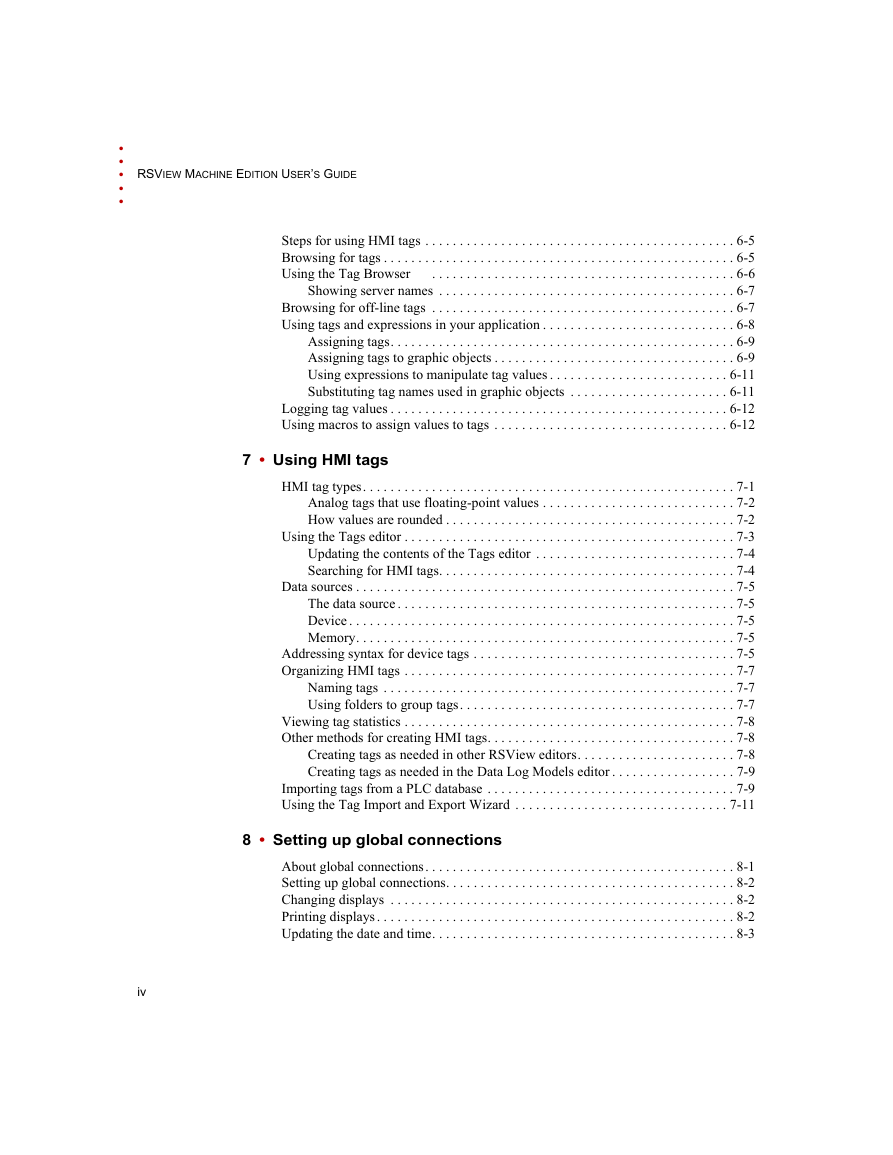
6-Working with tags
Types of tags
Data server tags
HMI tags
The data source
Basic steps for using tags
When to use data server tags
Eliminating duplication
Using complex data
Steps for using data server tags
When to use HMI tags
Scaling, offsetting, or providing a range for data
Storing values in RSView memory
Steps for using HMI tags
Browsing for tags
Using the Tag Browser
Showing server names
Browsing for off-line tags
Using tags and expressions in your application
Assigning tags
Assigning tags to graphic objects
Using expressions to manipulate tag values
Substituting tag names used in graphic objects
Logging tag values
Using macros to assign values to tags
7-Using HMI tags
HMI tag types
Analog tags that use floating-point values
How values are rounded
Using the Tags editor
Updating the contents of the Tags editor
Searching for HMI tags
Data sources
The data source
Device
Memory
Addressing syntax for device tags
Organizing HMI tags
Naming tags
Using folders to group tags
Viewing tag statistics
Other methods for creating HMI tags
Creating tags as needed in other RSView editors
Creating tags as needed in the Data Log Models editor
Importing tags from a PLC database
Using the Tag Import and Export Wizard
8-Setting up global connections
About global connections
Setting up global connections
Changing displays
Printing displays
Updating the date and time
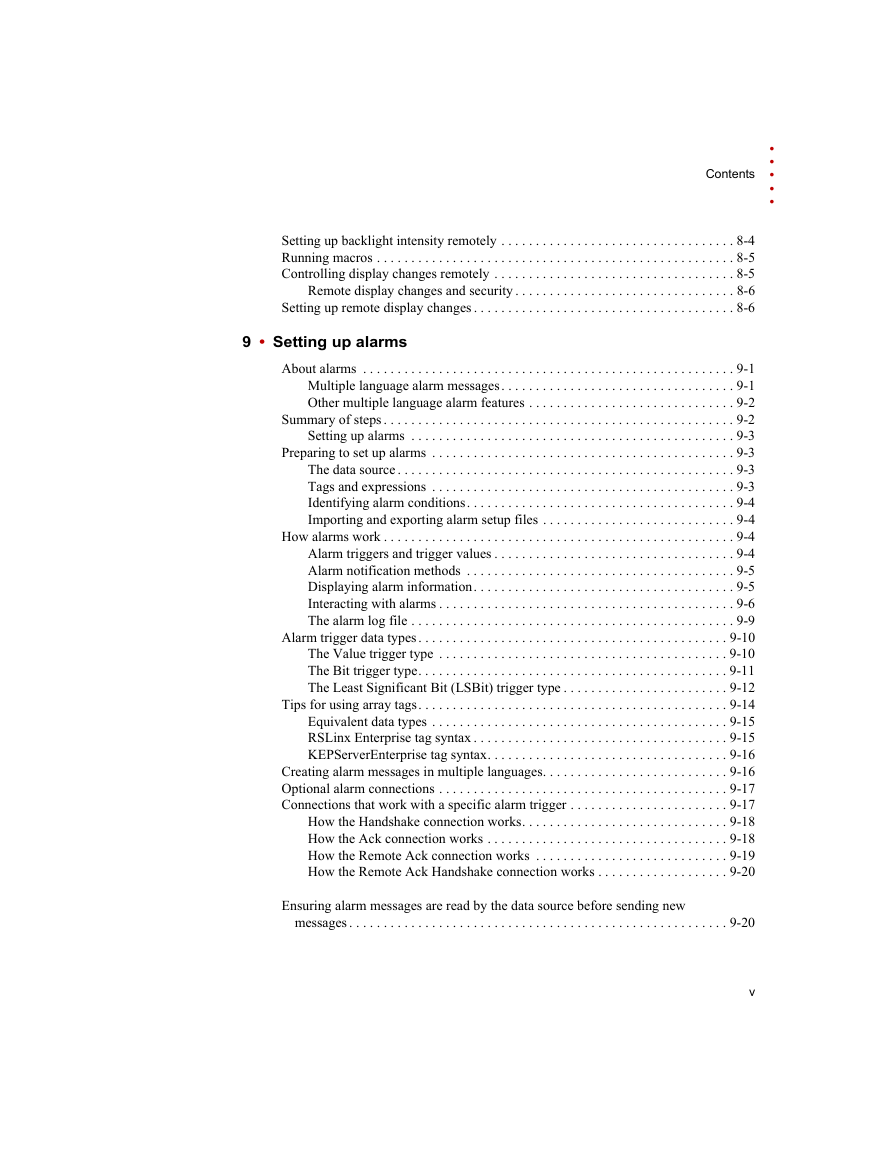
Setting up backlight intensity remotely
Running macros
Controlling display changes remotely
Remote display changes and security
Setting up remote display changes
9-Setting up alarms
About alarms
Multiple language alarm messages
Other multiple language alarm features
Summary of steps
Setting up alarms
Preparing to set up alarms
The data source
Tags and expressions
Identifying alarm conditions
Importing and exporting alarm setup files
How alarms work
Alarm triggers and trigger values
Alarm notification methods
Displaying alarm information
Interacting with alarms
The alarm log file
Alarm trigger data types
The Value trigger type
The Bit trigger type
The Least Significant Bit (LSBit) trigger type
Tips for using array tags
Equivalent data types
RSLinx Enterprise tag syntax
KEPServerEnterprise tag syntax
Creating alarm messages in multiple languages
Optional alarm connections
Connections that work with a specific alarm trigger
How the Handshake connection works
How the Ack connection works
How the Remote Ack connection works
How the Remote Ack Handshake connection works
Ensuring alarm messages are read by the data source before sending new messages
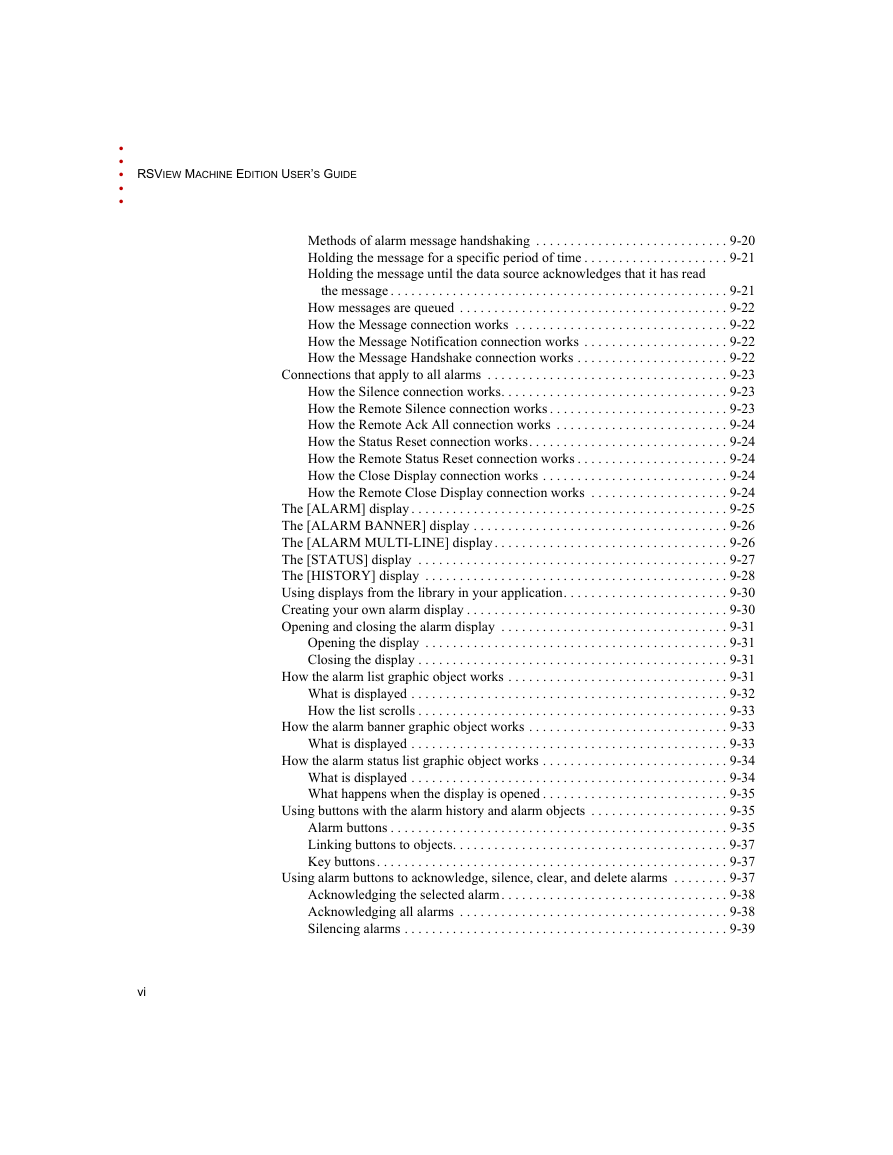
Methods of alarm message handshaking
Holding the message for a specific period of time
Holding the message until the data source acknowledges that it has read the message
How messages are queued
How the Message connection works
How the Message Notification connection works
How the Message Handshake connection works
Connections that apply to all alarms
How the Silence connection works
How the Remote Silence connection works
How the Remote Ack All connection works
How the Status Reset connection works
How the Remote Status Reset connection works
How the Close Display connection works
How the Remote Close Display connection works
The [ALARM] display
The [ALARM BANNER] display
The [ALARM MULTI-LINE] display
The [STATUS] display
The [HISTORY] display
Using displays from the library in your application
Creating your own alarm display
Opening and closing the alarm display
Opening the display
Closing the display
How the alarm list graphic object works
What is displayed
How the list scrolls
How the alarm banner graphic object works
What is displayed
How the alarm status list graphic object works
What is displayed
What happens when the display is opened
Using buttons with the alarm history and alarm objects
Alarm buttons
Linking buttons to objects
Key buttons
Using alarm buttons to acknowledge, silence, clear, and delete alarms
Acknowledging the selected alarm
Acknowledging all alarms
Silencing alarms
Clearing and deleting messages
Using alarm buttons to sort alarms and reset alarm status
Sorting alarms
Resetting alarm status
Retaining alarm status
Changing the alarm status displayed in the alarm status list
10-Setting up FactoryTalk Diagnostics
About FactoryTalk Diagnostics
Browsing diagnostics messages
How to set up FactoryTalk Diagnostics
Destinations
Message routing
Categories
Message severities
Audiences
Displaying diagnostics messages during application development
Viewing FactoryTalk Diagnostics log files
Using the Diagnostics Setup tool
Logging to an ODBC database
Routing messages
Receiving messages from a PanelView Plus or VersaView CE terminal
Displaying and printing diagnostics messages at runtime
Using the Diagnostics List Setup editor
Setting up how messages are displayed and printed at runtime
The [DIAGNOSTICS] display
Creating your own diagnostics display
Opening and closing the diagnostics display
Opening the display
Closing the display
How the diagnostics list graphic object works
What is displayed
Using buttons with the diagnostics list
11-Setting up data logging
Summary of steps
Data log files
Data Log Models
Creating Data Log Models
Data storage locations
Data logging methods
Tags in the data log model
Changing the data log model used at runtime
Displaying data logs using the trend graphic object
Problems with data logging
12-Using information messages
About information messages
Information messages versus local messages
Summary of steps
Using the Information Messages editor
Setting up how information messages are displayed
Preparing to set up information messages
The data source
Identifying the tags and values to monitor
How information messages work
Information messages and trigger values
Creating information messages in multiple languages
The [INFORMATION] display
Creating your own information message display
Opening and closing the information message display
Opening the display
Closing the display
How the information message display graphic object works
What is displayed
Changing the message file used at runtime
13-Setting up security
Using security with your application
If you don’t want to use RSAssetSecurity
If you don’t use RSView user accounts
If you use RSView user accounts
Working with the User Accounts editor
The DEFAULT user
Setting up users for 4.0 applications
Setting up users for 3.x applications
Changing RSView 3.x user passwords
Adding 3.x users or groups from a Windows domain
Removing 3.x users or groups
How user accounts and security codes work
Assigning security to graphic displays
Providing a way for users to log in and log out
Logging in
Logging out
Logging out automatically
Preventing unauthorized users from stopping the application
To prevent unauthorized users from stopping the application
Additional step for Windows 2000 and Windows XP applications
Additional step for VersaView® CE applications
Setting up RSAssetSecurity for your application
Creating RSAssetSecurity users
Creating RSAssetSecurity user groups
Setting up security access to the FactoryTalk Directory
Setting up security access to the application
Setting up security access to System policies, groups, and users
Setting up security access to networks and devices
Specifying which users can back up and restore FactoryTalk Directory and RSView applications
Specifying activities to track for audit purposes
Specifying policies for passwords, accounts, and FactoryTalk sign-on
Summary of steps
Summary of security features in a sample startup display
14-Using graphic displays
About graphic displays and graphic objects
Before you begin
Using the Graphics editor
Creating and opening graphic displays
Importing and exporting graphic displays
Tools and tips for working in the Graphics editor
Using context menus
Using the toolbars
Showing displays in grayscale
Using the grid
Zooming in and out
Correcting mistakes
Testing your displays as you work
Setting up graphic displays
Specifying display settings
About display types
Resizing displays
Creating a background for your display
Using global object displays
Creating global object displays
Using graphic libraries
Creating graphic libraries
Using libraries as displays in your application
Using libraries to store displays with multiple languages
Location of library components
Importing images into your application
Bitmap images that come with RSView Studio
Importing bitmap and JPEG images
Using the Image Browser to import images
Tips for using images
Using parameter files
About tag placeholders
Summary of steps
Using the Parameters editor
Assigning parameter files to graphic displays
Using local messages
Local messages versus information messages
Summary of steps
Using the Local Messages editor
Preparing to set up local messages
How local messages work
Local messages and trigger values
Creating local messages in multiple languages
How the local message display graphic object works
Printing displays
Printing displays at runtime
15-Using graphic objects
Types of graphic objects
About connections
Illustrating your displays
Controlling the application
Starting and controlling processes
Displaying processes and values graphically
Working with lists, trends, alarm banners, and numeric input objects
Entering and displaying numeric and string values
Displaying alarms and messages
Selecting tools for creating graphic objects
Before you begin creating objects
Creating graphic objects
Creating drawing objects
Creating text
Creating images
Creating panels
Creating arcs and wedges
Creating ellipses and circles
Creating freehand shapes
Creating lines
Creating polygons and polylines
Creating rectangles and squares
Creating rounded rectangles and squares
Using .wmf and .dxf files
Using ActiveX objects
Creating reference objects
Tools and tips for working with objects
Selecting and deselecting objects
Using the Object Explorer
Highlighting objects in the Object Explorer
Using the Properties dialog box
Using the Property Panel
Setting up properties
Assigning tags and expressions to an object’s connections
Coloring objects using the color toolbars
Naming objects
Testing how objects look in different states
Assigning tags and expressions to graphic objects
Assigning tags
Using expressions to manipulate tag values
Replacing tags using tag substitution
Using tag placeholders
Performing basic operations on objects
Moving objects
Copying objects
Duplicating objects
Resizing objects
Reshaping drawing objects
Deleting objects
Working with groups of objects
Grouping and ungrouping objects
Editing groups of objects
Editing objects within a group
Arranging objects
Layering objects
Aligning objects
Spacing objects
Flipping drawing objects
Rotating drawing objects
Locking objects into position
16-Setting up graphic objects
Setting up objects’ spatial properties, names, and visibility
Tips for setting up objects with states
Copying and pasting properties from one state to another
Adding and removing states
Setting up reference objects’ link properties
Deleting the base object
Setting up how objects are used at runtime
Positioning objects for touch screens
Using touch margins
Assigning function keys to buttons
Function key equivalents
Using the keyboard to navigate to and select objects
What input focus looks like
Using the keys on the keyboard or keypad
Removing objects from and adding objects to the tab sequence
Linking buttons to objects
Repeating a button’s action by holding down the button
Ensuring values are read by the data source before sending new values
Methods of Enter key handshaking
Holding the value for a specific period of time
Holding the value until the data source acknowledges that it has read the value
Time, date, and number formats for graphic objects
Setting up buttons
Buttons described later in the chapter
How to use push buttons
Setting up momentary push buttons
Setting up maintained push buttons
Setting up latched push buttons
Setting up multistate push buttons
Setting up interlocked push buttons
Setting up ramp buttons
Setting up numeric displays
How values are displayed
Problems with displaying values
Setting up numeric input enable buttons
Setting up numeric input cursor points
Setting up string displays
How values are displayed
Setting up string input enable buttons
Setting up goto display buttons
Setting up close display buttons
Setting up display list selectors
How to use indicators
Setting up multistate indicators
Setting up symbols
Setting up list indicators
How to use bar graphs, gauges, and scales
Bar graphs make it easy to compare values
Thresholds change a bar graph’s fill color
Use bar graphs with scales to show limits
Gauges make it easy to see limits
Thresholds change a gauge’s fill color
Setting up bar graphs
Setting up gauges
Setting up scales
Setting up control list selectors
Using buttons with the control list selector
How Enter key handshaking works
Setting up piloted control list selectors
Choosing between piloted control list selectors and control list selectors
How piloted control list selectors work at runtime
Setting up local message displays
Setting up macro buttons
Setting up time and date displays
Setting up print alarm history buttons
Setting up print alarm status buttons
Setting up alarm lists
Setting up alarm banners
Setting up alarm status lists
Setting up diagnostics lists
Setting up information message displays
17-Animating graphic objects
Types of animation
Which objects can have which types of animation?
Using the Animation dialog box
About the Animation dialog box
Using Object Smart Path to visually set animation
Testing animation
Using tag names and tag placeholders
Tag names
Tag placeholders
Using expressions
Setting minimum and maximum values
Defining a range of motion
Animation that does not use a range of motion
Using Object Smart Path
Setting up the different types of animation
Setting up visibility animation
Setting up color animation
Setting up fill animation
Setting up horizontal position animation
Setting up vertical position animation
Setting up width animation
Setting up height animation
Setting up rotation animation
Setting up horizontal slider animation
Setting up vertical slider animation
Applying animation to groups
Checking the animation on objects
Copying or duplicating objects with animation
Copying animation without copying objects
Setting up animation for global objects


 2023年江西萍乡中考道德与法治真题及答案.doc
 2012年重庆南川中考生物真题及答案.doc
 2013年江西师范大学地理学综合及文艺理论基础考研真题.doc
 2020年四川甘孜小升初语文真题及答案I卷.doc
 2020年注册岩土工程师专业基础考试真题及答案.doc
 2023-2024学年福建省厦门市九年级上学期数学月考试题及答案.doc
 2021-2022学年辽宁省沈阳市大东区九年级上学期语文期末试题及答案.doc
 2022-2023学年北京东城区初三第一学期物理期末试卷及答案.doc
 2018上半年江西教师资格初中地理学科知识与教学能力真题及答案.doc
 2012年河北国家公务员申论考试真题及答案-省级.doc
 2020-2021学年江苏省扬州市江都区邵樊片九年级上学期数学第一次质量检测试题及答案.doc
 2022下半年黑龙江教师资格证中学综合素质真题及答案.doc