iPhone
User Guide
For iPhone and iPhone 3G
�
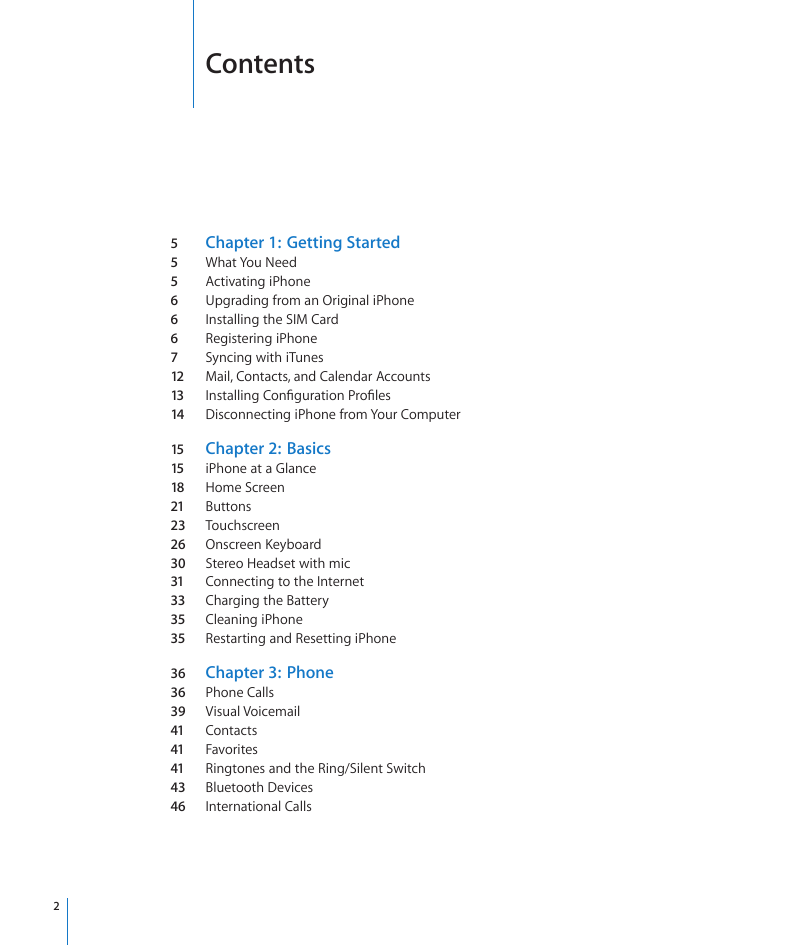
Contents
Chapter 1: Getting Started
Activating iPhone
Upgrading from an Original iPhone
Installing the SIM Card
Registering iPhone
Syncing with iTunes
5
5 What You Need
5
6
6
6
7
12 Mail, Contacts, and Calendar Accounts
13
14 Disconnecting iPhone from Your Computer
Installing Configuration Profiles
iPhone at a Glance
Buttons
Touchscreen
15 Chapter 2: Basics
15
18 Home Screen
21
23
26 Onscreen Keyboard
30
31
33
35
35
Stereo Headset with mic
Connecting to the Internet
Charging the Battery
Cleaning iPhone
Restarting and Resetting iPhone
36 Chapter 3: Phone
36
39
41
41
41
43
46
Phone Calls
Visual Voicemail
Contacts
Favorites
Ringtones and the Ring/Silent Switch
Bluetooth Devices
International Calls
2
�
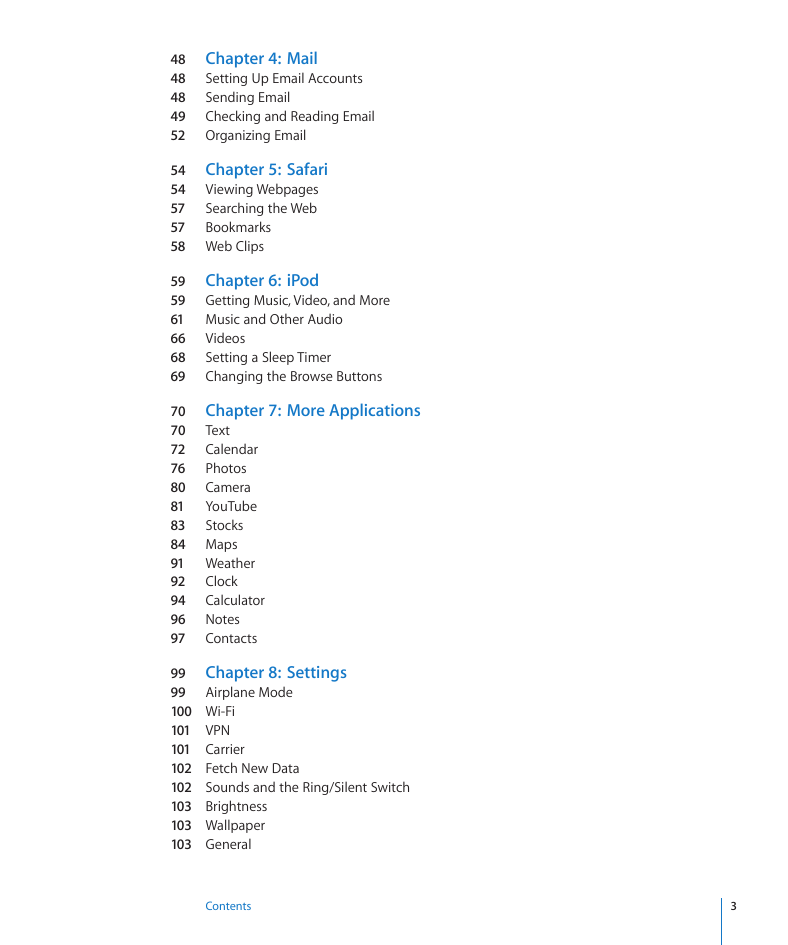
48 Chapter 4: Mail
48
48
49
52 Organizing Email
Setting Up Email Accounts
Sending Email
Checking and Reading Email
54 Chapter 5: Safari
Viewing Webpages
54
Searching the Web
57
57
Bookmarks
58 Web Clips
59 Chapter 6: iPod
59 Getting Music, Video, and More
61 Music and Other Audio
66
68
69
Videos
Setting a Sleep Timer
Changing the Browse Buttons
70 Chapter 7: More Applications
Text
70
Calendar
72
Photos
76
Camera
80
YouTube
81
83
Stocks
84 Maps
91 Weather
92
94
96 Notes
97
Clock
Calculator
Contacts
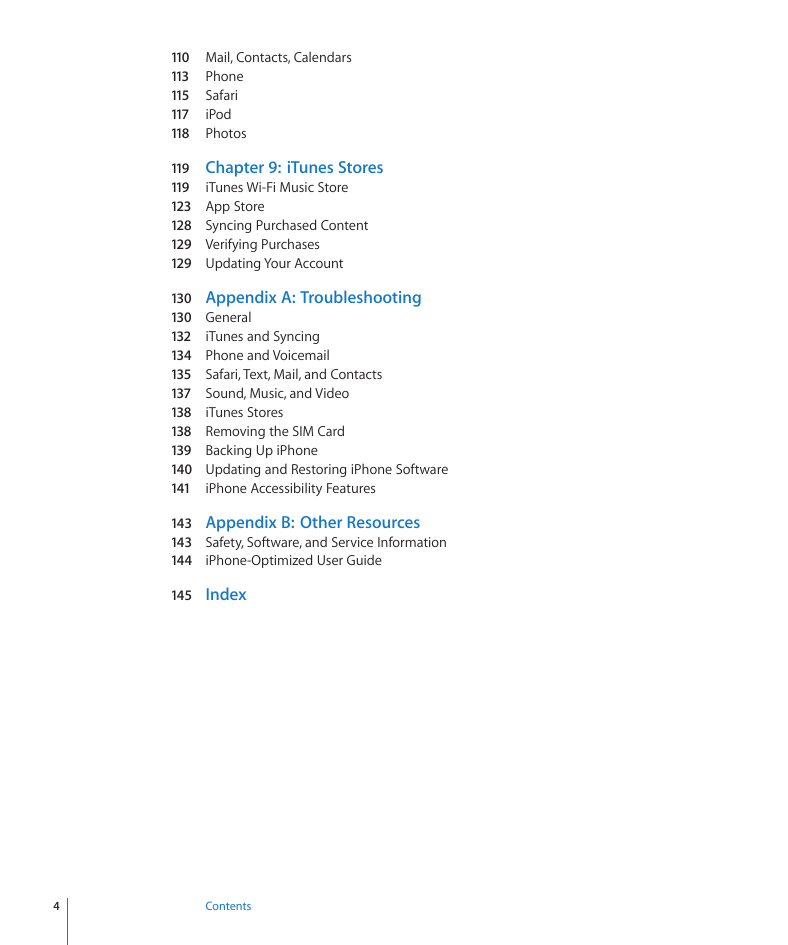
99 Chapter 8: Settings
99 Airplane Mode
100 Wi-Fi
101 VPN
101 Carrier
102 Fetch New Data
102 Sounds and the Ring/Silent Switch
103 Brightness
103 Wallpaper
103 General
Contents 3
�
110 Mail, Contacts, Calendars
113 Phone
115 Safari
117
iPod
118 Photos
iTunes Wi-Fi Music Store
119 Chapter 9: iTunes Stores
119
123 App Store
128 Syncing Purchased Content
129 Verifying Purchases
129 Updating Your Account
iTunes and Syncing
iTunes Stores
130 Appendix A: Troubleshooting
130 General
132
134 Phone and Voicemail
135 Safari, Text, Mail, and Contacts
137 Sound, Music, and Video
138
138 Removing the SIM Card
139 Backing Up iPhone
140 Updating and Restoring iPhone Software
141
iPhone Accessibility Features
143 Appendix B: Other Resources
143 Safety, Software, and Service Information
144
iPhone-Optimized User Guide
145
Index
4
Contents
�
Getting Started
1
· WARNING: To avoid injury, read all operating instructions in this guide
and safety information in the Important Product Information Guide at
www.apple.com/support/manuals/iphone before using iPhone.
What You Need
To use iPhone, you need:
Â
Â
Â
Â
Â
Â
Mac OS X version 10.4.10 or later
Windows XP Home or Professional with Service Pack 2 or later
Windows Vista Home Premium, Business, Enterprise, or Ultimate edition
A wireless service plan with a carrier that provides iPhone service in your area
A Mac or a PC with a USB 2.0 port and one of the following operating systems:
Â
Â
Â
Display resolution on your computer set to 1024 x 768 or higher
iTunes 7.7 or later, available at
An iTunes Store account (for purchases from the iTunes Wi-Fi Music Store or App
Store)
An Internet connection for your computer (broadband recommended)
www.itunes.com/download
Activating iPhone
Before you can use any of iPhone’s features, you must activate iPhone by signing up
for a service plan with an iPhone service carrier in your area and registering iPhone
with the network.
Your iPhone may have been activated at the time of purchase. If it isn’t activated,
contact your iPhone retailer or cellular service provider.
For more information about iPhone, go to www.apple.com/iphone.
5
�
Upgrading from an Original iPhone
Contact your cellular service provider for information about upgrading an original
iPhone to iPhone 3G. Additional fees may apply.
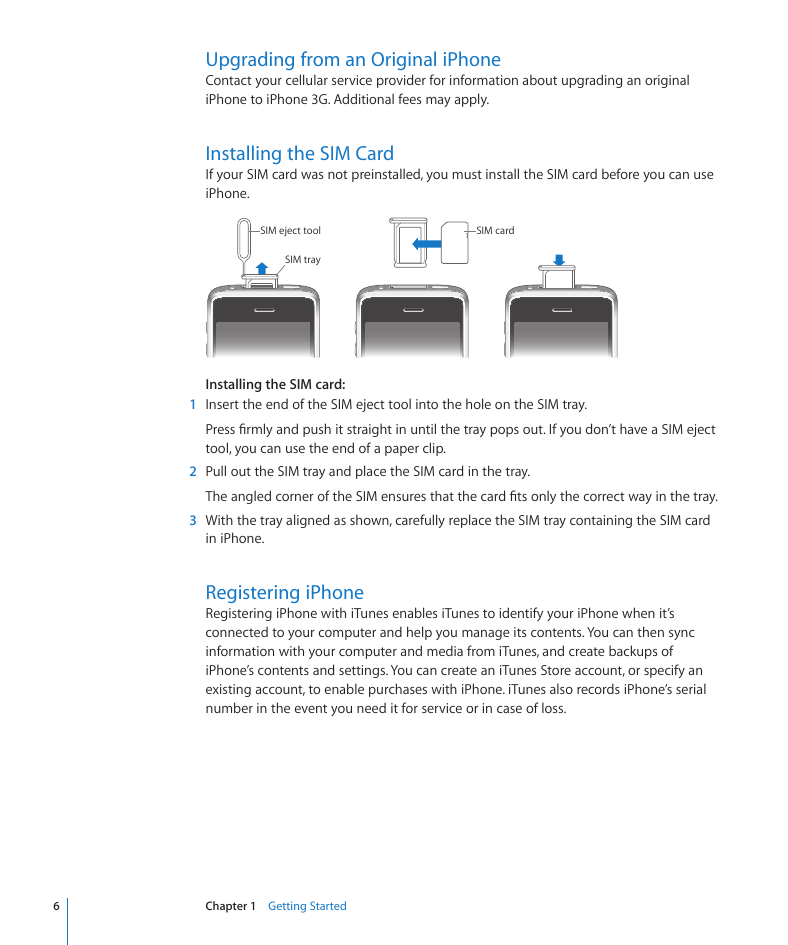
Installing the SIM Card
If your SIM card was not preinstalled, you must install the SIM card before you can use
iPhone.
SIM eject tool
SIM tray
SIM card
1
2
3
Installing the SIM card:
Insert the end of the SIM eject tool into the hole on the SIM tray.
Press firmly and push it straight in until the tray pops out. If you don’t have a SIM eject
tool, you can use the end of a paper clip.
Pull out the SIM tray and place the SIM card in the tray.
The angled corner of the SIM ensures that the card fits only the correct way in the tray.
With the tray aligned as shown, carefully replace the SIM tray containing the SIM card
in iPhone.
Registering iPhone
Registering iPhone with iTunes enables iTunes to identify your iPhone when it’s
connected to your computer and help you manage its contents. You can then sync
information with your computer and media from iTunes, and create backups of
iPhone’s contents and settings. You can create an iTunes Store account, or specify an
existing account, to enable purchases with iPhone. iTunes also records iPhone’s serial
number in the event you need it for service or in case of loss.
6
Chapter 1 Getting Started
�
1
2
3
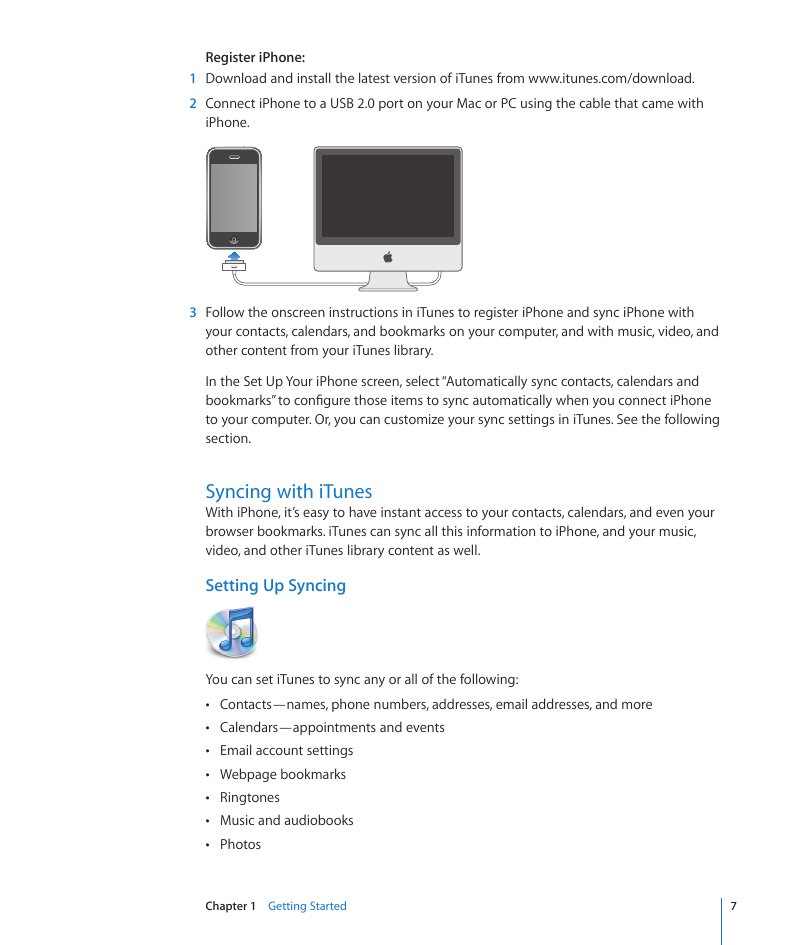
Register iPhone:
Download and install the latest version of iTunes from www.itunes.com/download.
Connect iPhone to a USB 2.0 port on your Mac or PC using the cable that came with
iPhone.
Follow the onscreen instructions in iTunes to register iPhone and sync iPhone with
your contacts, calendars, and bookmarks on your computer, and with music, video, and
other content from your iTunes library.
In the Set Up Your iPhone screen, select “Automatically sync contacts, calendars and
bookmarks” to configure those items to sync automatically when you connect iPhone
to your computer. Or, you can customize your sync settings in iTunes. See the following
section.
Syncing with iTunes
With iPhone, it’s easy to have instant access to your contacts, calendars, and even your
browser bookmarks. iTunes can sync all this information to iPhone, and your music,
video, and other iTunes library content as well.
Setting Up Syncing
You can set iTunes to sync any or all of the following:
Â
Â
Â
Â
Â
Â
Â
Contacts—names, phone numbers, addresses, email addresses, and more
Calendars—appointments and events
Email account settings
Webpage bookmarks
Ringtones
Music and audiobooks
Photos
Chapter 1 Getting Started
7
�
Â
Â
Â
Podcasts
Movies and TV shows
Applications purchased or downloaded from the iTunes Store
You can adjust sync settings whenever iPhone is connected to your computer.
Ringtones, music, audiobooks, podcasts, video content, and purchased applications
are synced from your iTunes library. If you don’t already have content in iTunes, the
iTunes Store (available in some countries) makes it easy to purchase or subscribe to
content and download it to iTunes. You can also add music to your iTunes library from
your CDs. To learn about iTunes and the iTunes Store, open iTunes and choose Help >
iTunes Help.
Contacts, calendars, and webpage bookmarks are synced from applications on your
computer, as described in the following section. Contacts and calendars are synced
both ways between your computer and iPhone. New entries or changes you make
on iPhone are synced to your computer, and vice versa. Webpage bookmarks are also
synced both ways. Photos can be synced from an application or from a folder.
Email account settings are only synced from your computer’s email application to
iPhone. This allows you to customize your email accounts on iPhone without affecting
email account settings on your computer.
Note: You can also set up email accounts directly on iPhone. See “Mail, Contacts, and
Calendar Accounts” on page 12.
Purchases made on iPhone from the iTunes Wi-Fi Music Store or the App Store are
synced back to your iTunes library. You can also purchase or download music and
applications directly from the iTunes Store on your computer, then sync them to
iPhone.
If you like, you can set iPhone to sync with only a portion of what’s on your computer.
For example, you might want to sync only a group of contacts from your address book,
or only unwatched video podcasts.
Important: You can connect and sync with only one iPhone at a time. Disconnect
one before connecting another. You should be logged in to your own computer user
account before connecting iPhone. On a PC, if you sync more than one iPhone or iPod
to the same computer user account, you must use the same sync settings for each.
8
Chapter 1 Getting Started
�


 2023年江西萍乡中考道德与法治真题及答案.doc
 2012年重庆南川中考生物真题及答案.doc
 2013年江西师范大学地理学综合及文艺理论基础考研真题.doc
 2020年四川甘孜小升初语文真题及答案I卷.doc
 2020年注册岩土工程师专业基础考试真题及答案.doc
 2023-2024学年福建省厦门市九年级上学期数学月考试题及答案.doc
 2021-2022学年辽宁省沈阳市大东区九年级上学期语文期末试题及答案.doc
 2022-2023学年北京东城区初三第一学期物理期末试卷及答案.doc
 2018上半年江西教师资格初中地理学科知识与教学能力真题及答案.doc
 2012年河北国家公务员申论考试真题及答案-省级.doc
 2020-2021学年江苏省扬州市江都区邵樊片九年级上学期数学第一次质量检测试题及答案.doc
 2022下半年黑龙江教师资格证中学综合素质真题及答案.doc