LEICA DIGITAL-MODUL-R
Instructions
Illustrations inside front and rear covers
�
Foreword
We wish you a great deal of enjoyment and success
using your new LEICA DIGITAL-MODUL-R. It allows you
to use the quality and performance of your LEICA
R8/R9 and Leica R lenses for digital photography at
any time.
Switching between the two systems is extremely simple
and there is no change in the handling of your existing
items of equipment.
The user interface for the specific digital settings is
just as logically and ergonomically structured as on the
Leica R itself.
In order to be able to use the full capabilities of your
LEICA DIGITAL-MODUL-R correctly, you should read this
manual first.
This manual has been printed on 100% chlorine free bleached
paper. The complex manufacturing process eases the burden
on the water system and thus helps to protect our environment.
60 / Foreword
�
This is a Class B product based on the standard of
the Voluntary Control Council for Interference from
Information Technology Equipment (VCCI). If this is
used near a radio or television receiver in a domestic
environment, it may cause radio interference.
Install and use the equipment according to the
instruction manual.
FCC Note: (U.S. only)
This equipment has been tested and found to comply
with the limits for a Class B digital device, pursuant to
Part 15 of the FCC Rules. These limits are designed to
provide reasonable protection against harmful interfer-
ence in a residential installation. This equipment
generates, uses, and can radiate radio frequency
energy and, if not installed and used in accordance
with the instructions, may cause harmful interference
to radio communications. However, there is no guar-
antee that interference will not occur in a particular
installation. If this equipment does cause harmful
interference to radio or television reception, which
can be determined by turning the equipment off and
on, the user is encouraged to try to correct the inter-
ference by one or more of the following measures:
• Reorient or relocate the receiving antenna.
• Increase the separation between the equipment and
receiver.
• Connect the equipment into an outlet on a circuit
different from that to which the receiver is connected.
• Consult the dealer or an experienced radio/TV
technician for help.
FCC Caution:
To assure continued compliance, follow the attached
installation instructions and use only shielded inter-
face cables with ferrite core when connecting to com-
puter or peripheral devices.
Any changes or modifications not expressly approved
by the party responsible for compliance could void the
user’s authority to operate this equipment.
Trade Name:
Model No.:
Responsible party/
Support contact:
LEICA
DIGITAL-MODUL-R
Leica Camera Inc.
156 Ludlow Avenue
Northvale, New Jersey 07647
Tel.: +12017679608
Fax: +12017678666
e-mail: olesin@aol.com
This device complies with Part 15 of the FCC Rules.
Operation is subject to the following two conditions:
(1) This device may not cause harmful interference,
and (2) this device must accept any interference
received, including interference that may cause unde-
sired operation.
This Class B digital apparatus complies with Canadian
ICES-003
LEICA DIGITAL-MODUL-R
Tested To Comply
With FCC Standards
FOR HOME OR OFFICE USE
Safety instructions / 61
�
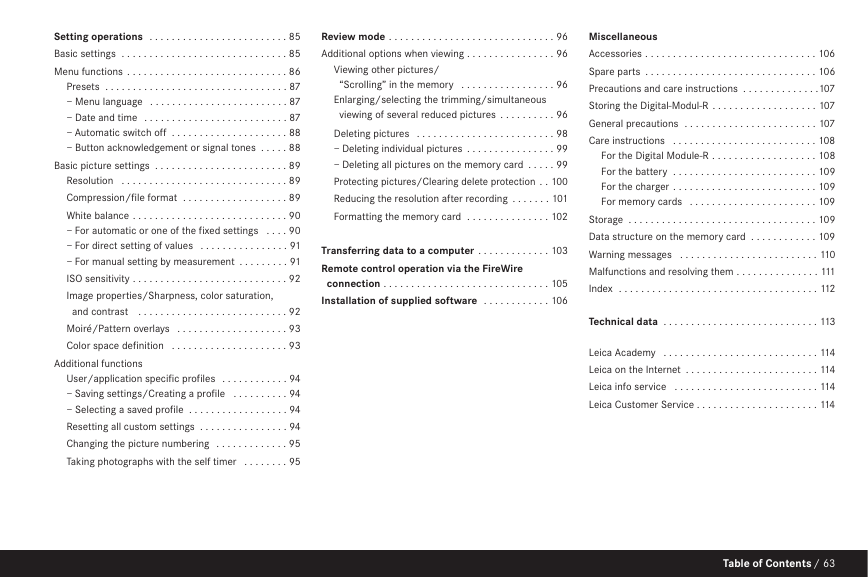
Foreword . . . . . . . . . . . . . . . . . . . . . . . . . . . . . . . . . 60
Warning notices . . . . . . . . . . . . . . . . . . . . . . . . . . . 64
Items supplied . . . . . . . . . . . . . . . . . . . . . . . . . . . . 65
Designation of parts . . . . . . . . . . . . . . . . . . . . . . . . 66
The displays
On the monitor . . . . . . . . . . . . . . . . . . . . . . . . . . . . . 68
On the data panel . . . . . . . . . . . . . . . . . . . . . . . . . . . 69
The menu items . . . . . . . . . . . . . . . . . . . . . . . . . . . 70
Quick guide
Presets . . . . . . . . . . . . . . . . . . . . . . . . . . . . . . . . . . . 71
Taking photographs . . . . . . . . . . . . . . . . . . . . . . . . . . 71
Viewing pictures . . . . . . . . . . . . . . . . . . . . . . . . . . . . 71
Enlarging pictures on the monitor screen . . . . . . . . . 71
Deleting pictures . . . . . . . . . . . . . . . . . . . . . . . . . . . . 71
Formatting the memory card . . . . . . . . . . . . . . . . . . 71
Detailed guide
Preparation . . . . . . . . . . . . . . . . . . . . . . . . . . . . . . 72
Changing the focusing screen . . . . . . . . . . . . . . . . . . 72
Cleaning the focusing screen . . . . . . . . . . . . . . . . 74
Removing the battery compartment/
an attached motor . . . . . . . . . . . . . . . . . . . . . . . . . . 74
Removing the camera back . . . . . . . . . . . . . . . . . . . . 74
Attaching the digital back . . . . . . . . . . . . . . . . . . . . . 75
Attaching the power unit . . . . . . . . . . . . . . . . . . . . . . 76
Cleaning the sensor . . . . . . . . . . . . . . . . . . . . . . . 76
Inserting/removing the battery into/
from the power unit . . . . . . . . . . . . . . . . . . . . . . . . 77
Setting the grip strap length . . . . . . . . . . . . . . . . . . . 77
Charging the battery . . . . . . . . . . . . . . . . . . . . . . . . . 78
Charge level displays . . . . . . . . . . . . . . . . . . . . . . . . 79
Mains operation . . . . . . . . . . . . . . . . . . . . . . . . . . . . 79
Inserting and removing the memory card . . . . . . . . . 80
The most important settings/controls
Switching on/off . . . . . . . . . . . . . . . . . . . . . . . . . . . . 81
Taking photographs . . . . . . . . . . . . . . . . . . . . . . . . . . 81
Selecting review modes . . . . . . . . . . . . . . . . . . . . . . 81
Review for unlimited time . . . . . . . . . . . . . . . . . . . 81
Automatic review of last picture . . . . . . . . . . . . . . 81
The shutter release buttons . . . . . . . . . . . . . . . . . . . 82
Series exposures . . . . . . . . . . . . . . . . . . . . . . . . . 83
Automatic exposure bracketing . . . . . . . . . . . . . . 83
Monitor and data panel
The monitor . . . . . . . . . . . . . . . . . . . . . . . . . . . . . 84
– Setting the monitor brightness and contrast . . . 84
– Displaying image data . . . . . . . . . . . . . . . . . . . . 84
– Histogram . . . . . . . . . . . . . . . . . . . . . . . . . . . . 84
The data panel . . . . . . . . . . . . . . . . . . . . . . . . . . . 85
Table of Contents
62 / Table of Contents
�
Setting operations . . . . . . . . . . . . . . . . . . . . . . . . . 85
Basic settings . . . . . . . . . . . . . . . . . . . . . . . . . . . . . . 85
Menu functions . . . . . . . . . . . . . . . . . . . . . . . . . . . . . 86
Presets . . . . . . . . . . . . . . . . . . . . . . . . . . . . . . . . . 87
– Menu language . . . . . . . . . . . . . . . . . . . . . . . . . 87
– Date and time . . . . . . . . . . . . . . . . . . . . . . . . . . 87
– Automatic switch off . . . . . . . . . . . . . . . . . . . . . 88
– Button acknowledgement or signal tones . . . . . 88
Basic picture settings . . . . . . . . . . . . . . . . . . . . . . . . 89
Resolution . . . . . . . . . . . . . . . . . . . . . . . . . . . . . . 89
Compression/file format . . . . . . . . . . . . . . . . . . . 89
White balance . . . . . . . . . . . . . . . . . . . . . . . . . . . . 90
– For automatic or one of the fixed settings . . . . 90
– For direct setting of values . . . . . . . . . . . . . . . . 91
– For manual setting by measurement . . . . . . . . . 91
ISO sensitivity . . . . . . . . . . . . . . . . . . . . . . . . . . . . 92
Image properties/Sharpness, color saturation,
and contrast . . . . . . . . . . . . . . . . . . . . . . . . . . . 92
Moiré/Pattern overlays . . . . . . . . . . . . . . . . . . . . 93
Color space definition . . . . . . . . . . . . . . . . . . . . . 93
Additional functions
User/application specific profiles . . . . . . . . . . . . 94
– Saving settings/Creating a profile . . . . . . . . . . 94
– Selecting a saved profile . . . . . . . . . . . . . . . . . . 94
Resetting all custom settings . . . . . . . . . . . . . . . . 94
Changing the picture numbering . . . . . . . . . . . . . 95
Taking photographs with the self timer . . . . . . . . 95
Review mode . . . . . . . . . . . . . . . . . . . . . . . . . . . . . . 96
Additional options when viewing . . . . . . . . . . . . . . . . 96
Viewing other pictures/
“Scrolling” in the memory . . . . . . . . . . . . . . . . . 96
Enlarging/selecting the trimming/simultaneous
viewing of several reduced pictures . . . . . . . . . . 96
Deleting pictures . . . . . . . . . . . . . . . . . . . . . . . . . 98
– Deleting individual pictures . . . . . . . . . . . . . . . . 99
– Deleting all pictures on the memory card . . . . . 99
Protecting pictures/Clearing delete protection . . 100
Reducing the resolution after recording . . . . . . . 101
Formatting the memory card . . . . . . . . . . . . . . . 102
Transferring data to a computer . . . . . . . . . . . . . 103
Remote control operation via the FireWire
connection . . . . . . . . . . . . . . . . . . . . . . . . . . . . . . 105
Installation of supplied software . . . . . . . . . . . . 106
Miscellaneous
Accessories . . . . . . . . . . . . . . . . . . . . . . . . . . . . . . . 106
Spare parts . . . . . . . . . . . . . . . . . . . . . . . . . . . . . . . 106
Precautions and care instructions . . . . . . . . . . . . . .107
Storing the Digital-Modul-R . . . . . . . . . . . . . . . . . . . 107
General precautions . . . . . . . . . . . . . . . . . . . . . . . . 107
Care instructions . . . . . . . . . . . . . . . . . . . . . . . . . . 108
For the Digital Module-R . . . . . . . . . . . . . . . . . . . 108
For the battery . . . . . . . . . . . . . . . . . . . . . . . . . . 109
For the charger . . . . . . . . . . . . . . . . . . . . . . . . . . 109
For memory cards . . . . . . . . . . . . . . . . . . . . . . . 109
Storage . . . . . . . . . . . . . . . . . . . . . . . . . . . . . . . . . . 109
Data structure on the memory card . . . . . . . . . . . . 109
Warning messages . . . . . . . . . . . . . . . . . . . . . . . . . 110
Malfunctions and resolving them . . . . . . . . . . . . . . . 111
Index . . . . . . . . . . . . . . . . . . . . . . . . . . . . . . . . . . . . 112
Technical data . . . . . . . . . . . . . . . . . . . . . . . . . . . . 113
Leica Academy . . . . . . . . . . . . . . . . . . . . . . . . . . . . 114
Leica on the Internet . . . . . . . . . . . . . . . . . . . . . . . . 114
Leica info service . . . . . . . . . . . . . . . . . . . . . . . . . . 114
Leica Customer Service . . . . . . . . . . . . . . . . . . . . . . 114
Table of Contents / 63
�
Warning messages
• This also applies to all of the software supplied.
• The SD logo is a registered trademark.
• Other names, company or product names referred to
in this manual are trademarks or registered trade-
marks of the relevant companies.
• You should use exclusively the recommended acces-
sories to prevent faults, short circuits or electric
shock.
• Do not expose the unit to moisture or rain.
• Do not attempt to remove parts of the housing (cov-
erings); specialist repairs can only be carried out in
authorized service centers.
Notes:
• Some components of this unit contain low quantities
of mercury or lead. Disposal of these components
may be subject to special environmental protection
rules in your country. For information on proper dis-
posal or recycling, please contact the relevant
authorities or a representative of the suppliers and
manufacturers of electronic products.
(http://www.eiae.org)
• Please ensure that you observe copyright laws. The
recording and publication of pre-recorded media
such as tapes, CDs or other published or broadcast
material may contravene copyright laws.
64 / Warning messages
�
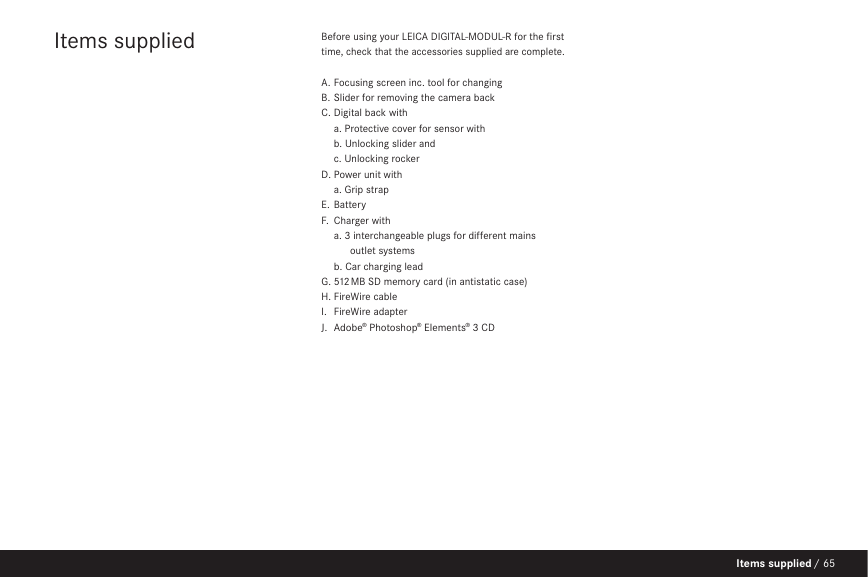
Items supplied
Before using your LEICA DIGITAL-MODUL-R for the first
time, check that the accessories supplied are complete.
A. Focusing screen inc. tool for changing
B. Slider for removing the camera back
C. Digital back with
a. Protective cover for sensor with
b. Unlocking slider and
c. Unlocking rocker
D. Power unit with
a. Grip strap
E. Battery
F. Charger with
a. 3 interchangeable plugs for different mains
outlet systems
b. Car charging lead
G. 512MB SD memory card (in antistatic case)
H. FireWire cable
I. FireWire adapter
J. Adobe® Photoshop® Elements® 3 CD
Items supplied / 65
�
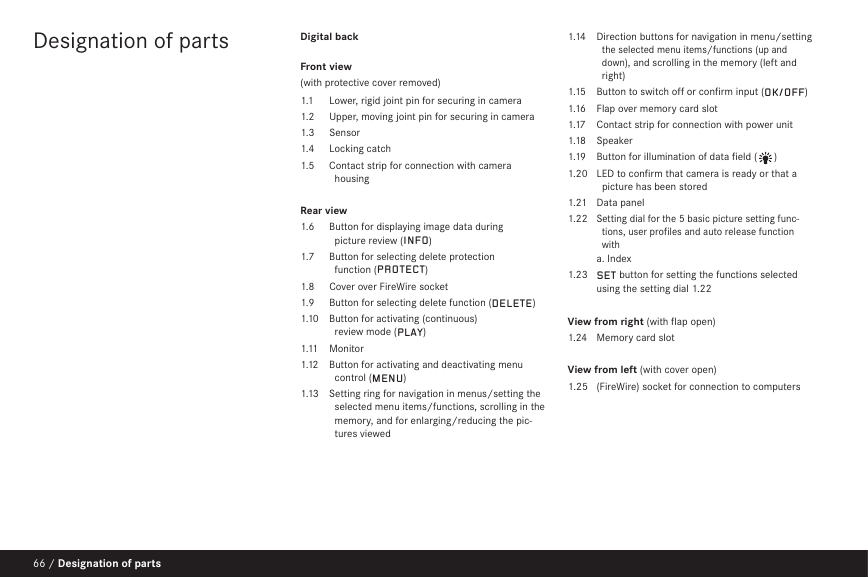
Designation of parts
Digital back
Front view
(with protective cover removed)
1.1
1.2
1.3
1.4
1.5
Lower, rigid joint pin for securing in camera
Upper, moving joint pin for securing in camera
Sensor
Locking catch
Contact strip for connection with camera
housing
Rear view
1.6
1.7
Button for displaying image data during
picture review (INFO)
Button for selecting delete protection
function (PROTECT)
Cover over FireWire socket
Button for selecting delete function (DELETE)
1.8
1.9
1.10 Button for activating (continuous)
review mode (PLAY)
1.11 Monitor
1.12 Button for activating and deactivating menu
control (MENU)
1.13 Setting ring for navigation in menus/setting the
selected menu items/functions, scrolling in the
memory, and for enlarging/reducing the pic-
tures viewed
66 / Designation of parts
1.14 Direction buttons for navigation in menu/setting
the selected menu items/functions (up and
down), and scrolling in the memory (left and
right)
1.15 Button to switch off or confirm input (OK/OFF)
1.16 Flap over memory card slot
1.17 Contact strip for connection with power unit
1.18 Speaker
1.19 Button for illumination of data field (
1.20 LED to confirm that camera is ready or that a
)
picture has been stored
1.21 Data panel
1.22 Setting dial for the 5 basic picture setting func-
tions, user profiles and auto release function
with
a. Index
1.23 SET button for setting the functions selected
using the setting dial 1.22
View from right (with flap open)
1.24 Memory card slot
View from left (with cover open)
1.25 (FireWire) socket for connection to computers
�


 2023年江西萍乡中考道德与法治真题及答案.doc
 2012年重庆南川中考生物真题及答案.doc
 2013年江西师范大学地理学综合及文艺理论基础考研真题.doc
 2020年四川甘孜小升初语文真题及答案I卷.doc
 2020年注册岩土工程师专业基础考试真题及答案.doc
 2023-2024学年福建省厦门市九年级上学期数学月考试题及答案.doc
 2021-2022学年辽宁省沈阳市大东区九年级上学期语文期末试题及答案.doc
 2022-2023学年北京东城区初三第一学期物理期末试卷及答案.doc
 2018上半年江西教师资格初中地理学科知识与教学能力真题及答案.doc
 2012年河北国家公务员申论考试真题及答案-省级.doc
 2020-2021学年江苏省扬州市江都区邵樊片九年级上学期数学第一次质量检测试题及答案.doc
 2022下半年黑龙江教师资格证中学综合素质真题及答案.doc